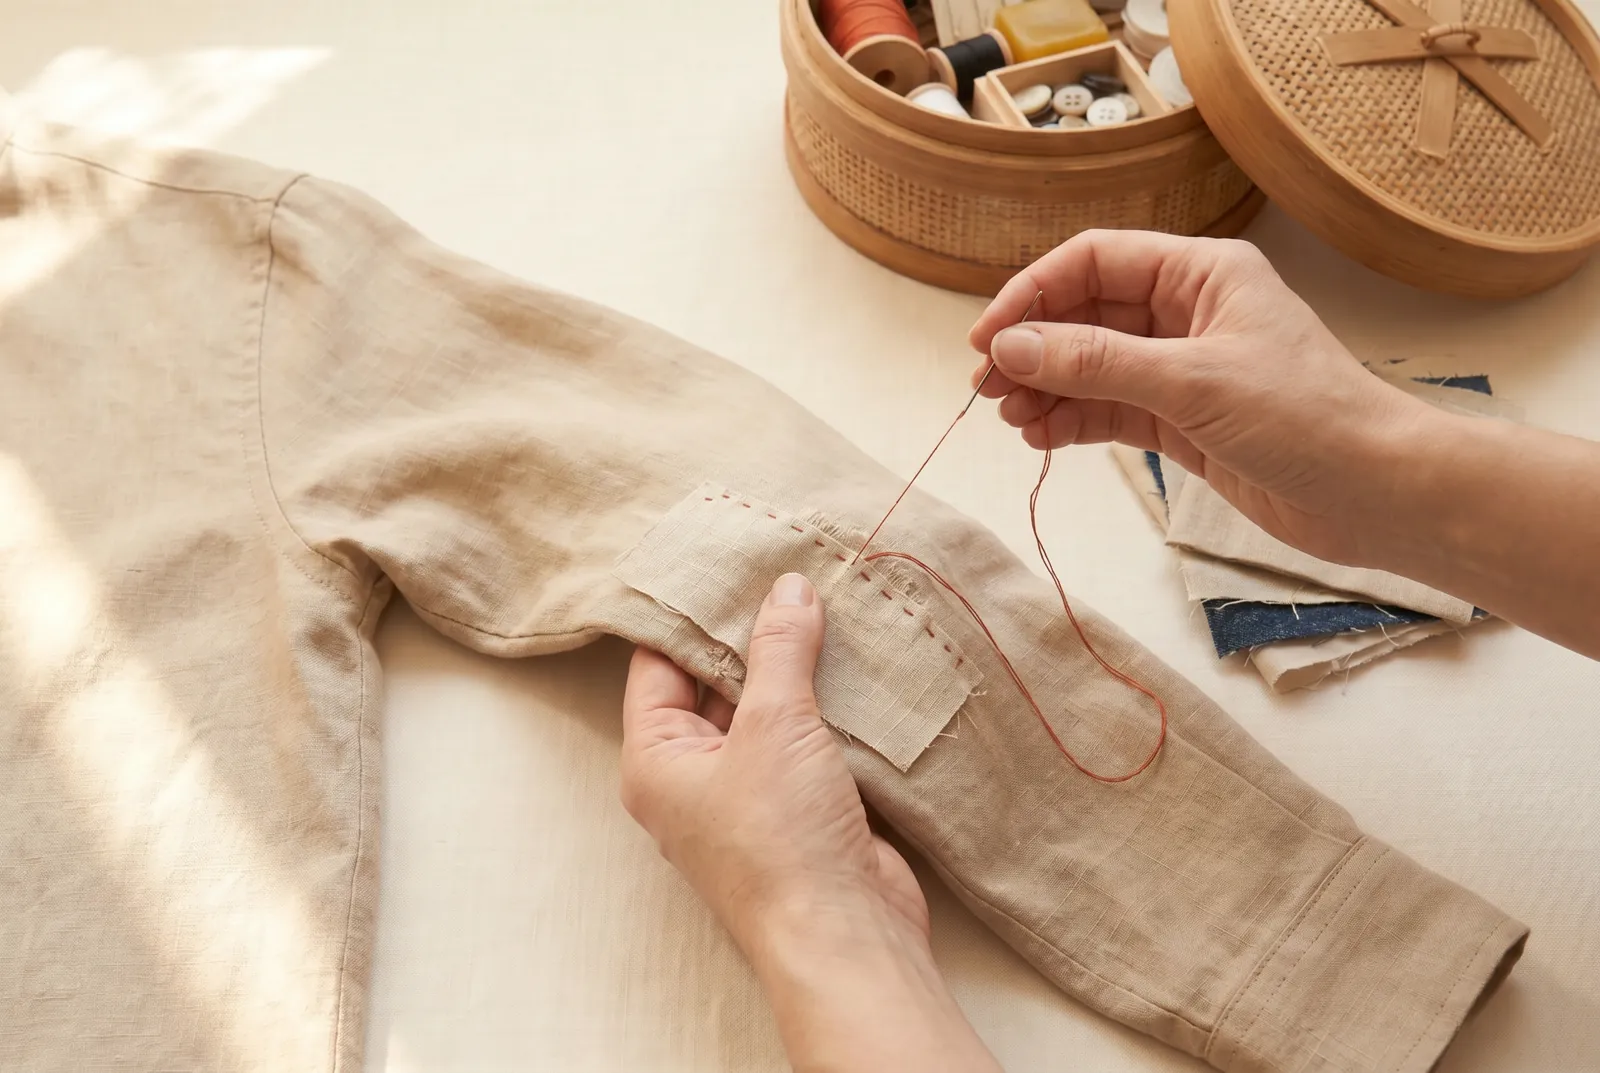
Sustainable Basics · piece Nº 01 · 48 min
Assemble a Mending Kit That Lasts
Gather your needles, thread, small tools, fasteners, and saved cloth into one basket kept in one place. With a stocked kit a rip gets sewn while you remember it; without one it gets looked at and laid aside.
The seam · 8 steps
Step 1
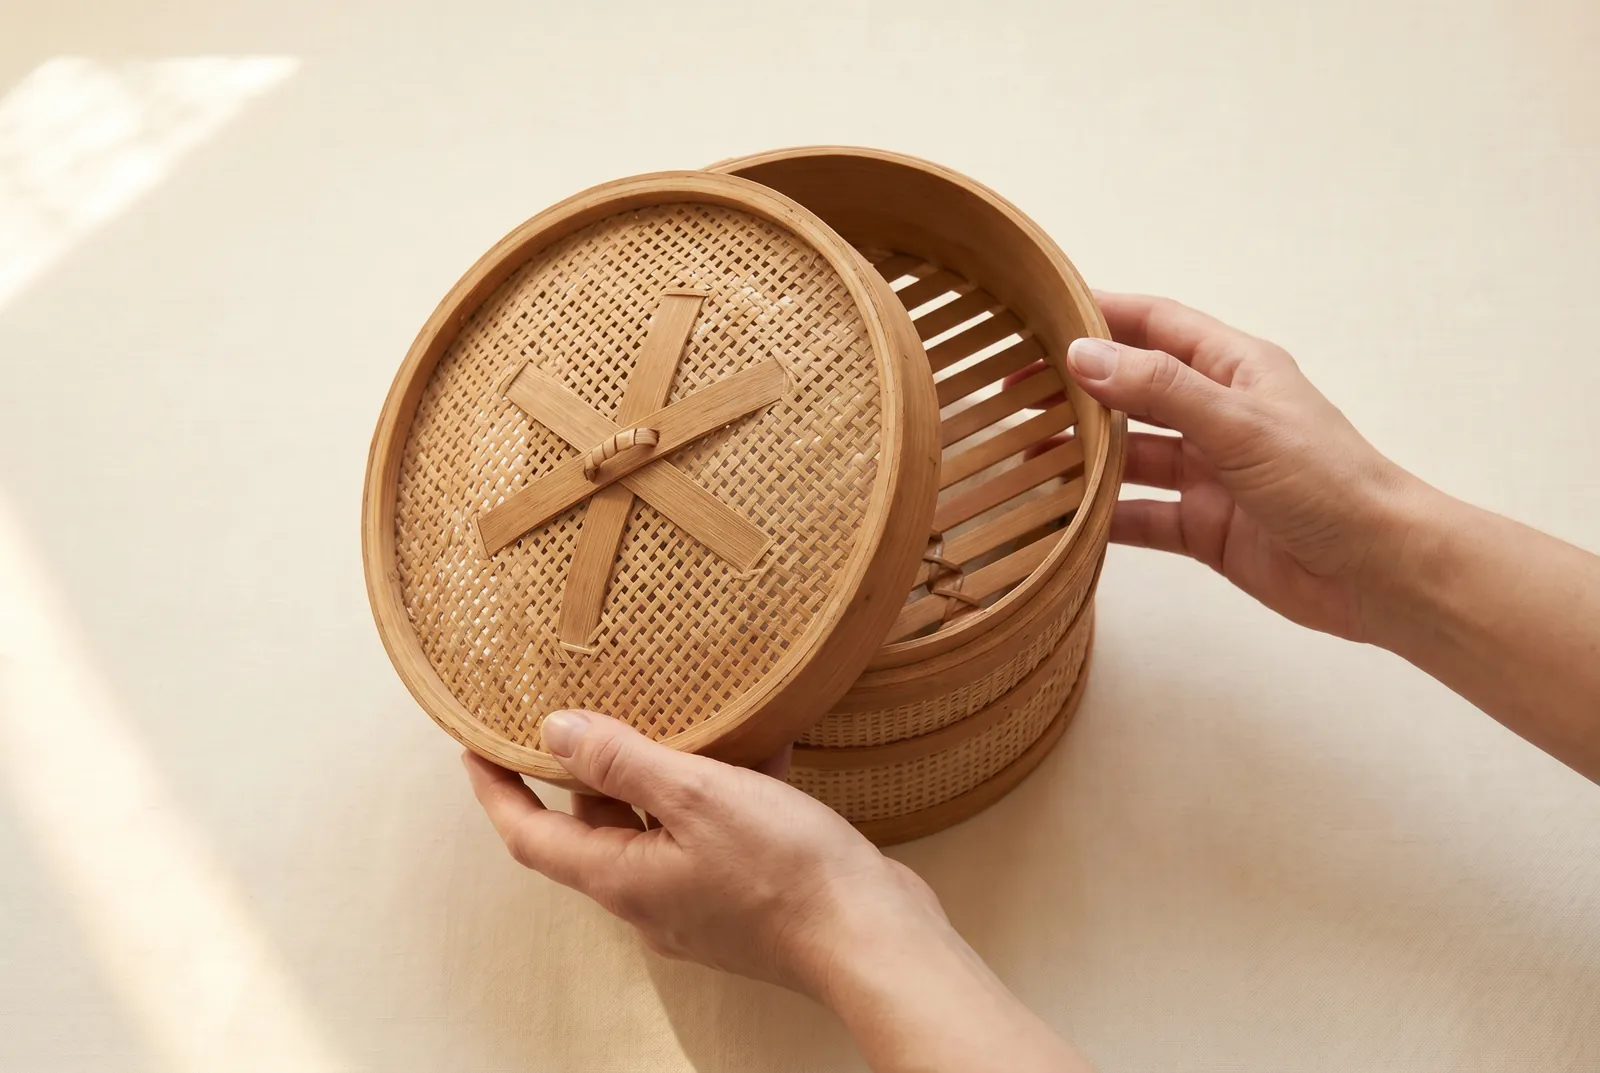
STEP 1/8Pick one container — a basket or a lidded box — and give it a fixed home you always return it to. A kit kept in one place is what lets a rip get sewn while you remember it; a kit scattered across drawers gets the rip looked at and laid aside.
Step 2
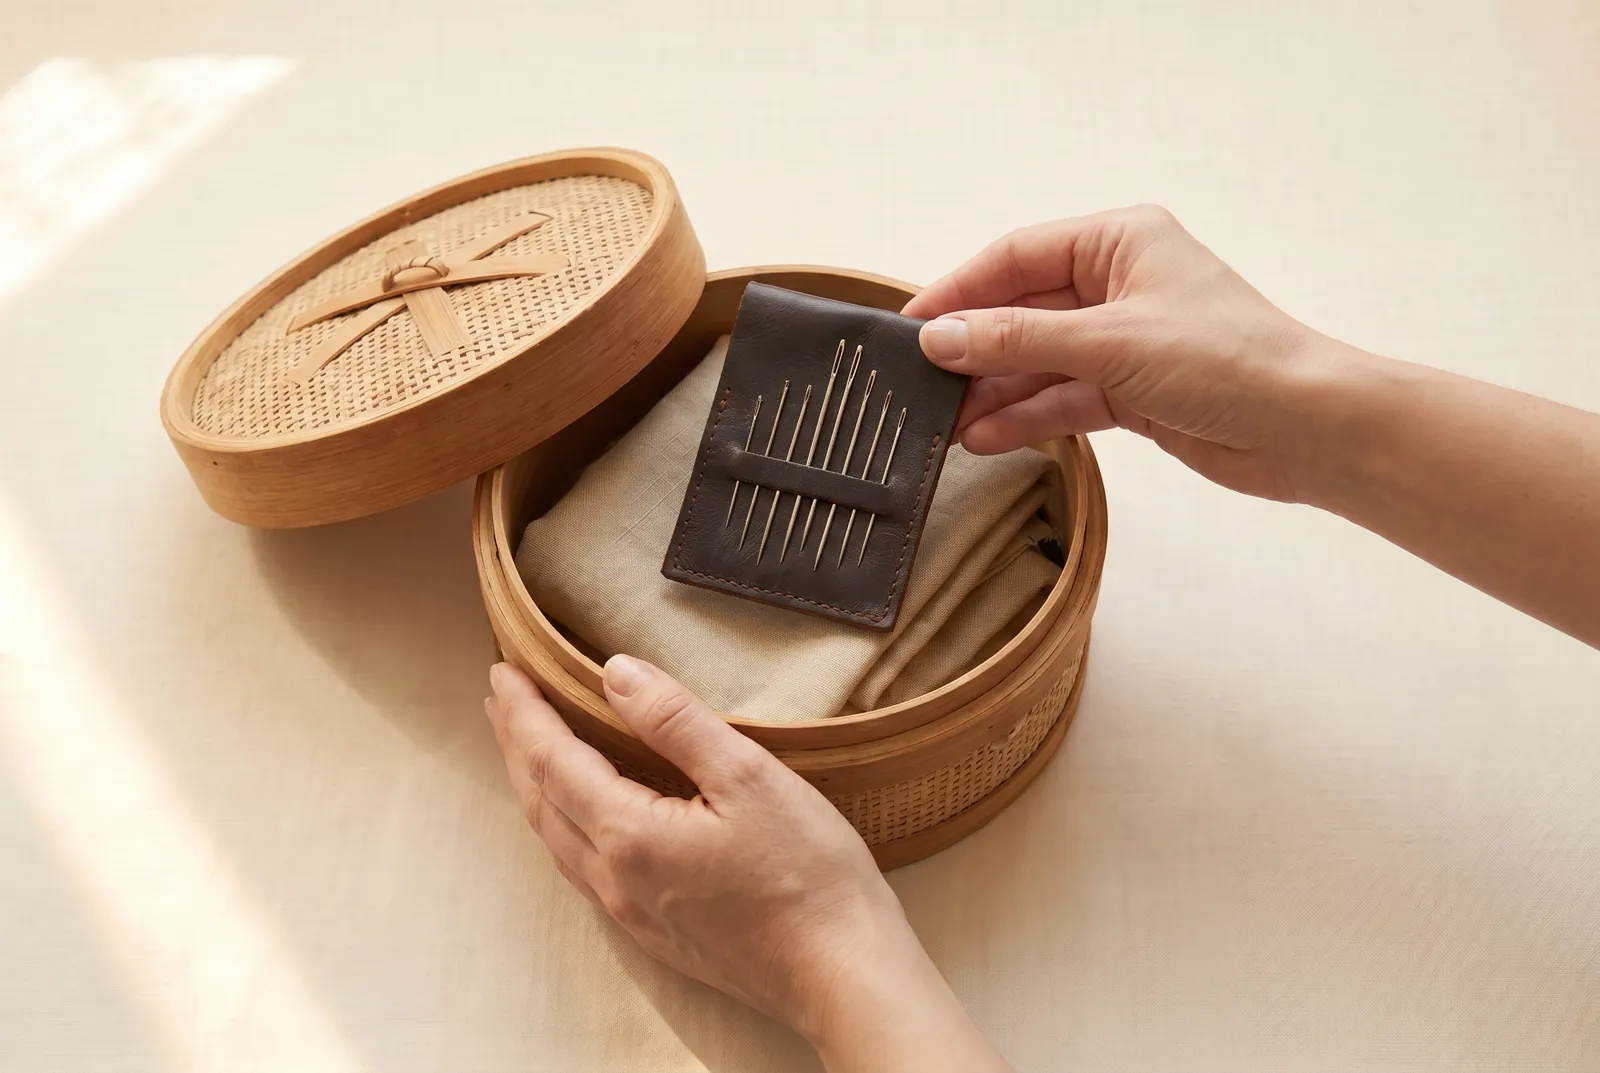
STEP 2/8Add a needle case holding sharps in sizes No. 5 to No. 10, darning needles both long and short, and one blunt tapestry needle for knitted work. Keeping the full range means the right needle is there when you reach for it, rather than forcing one size through every job.
Step 3
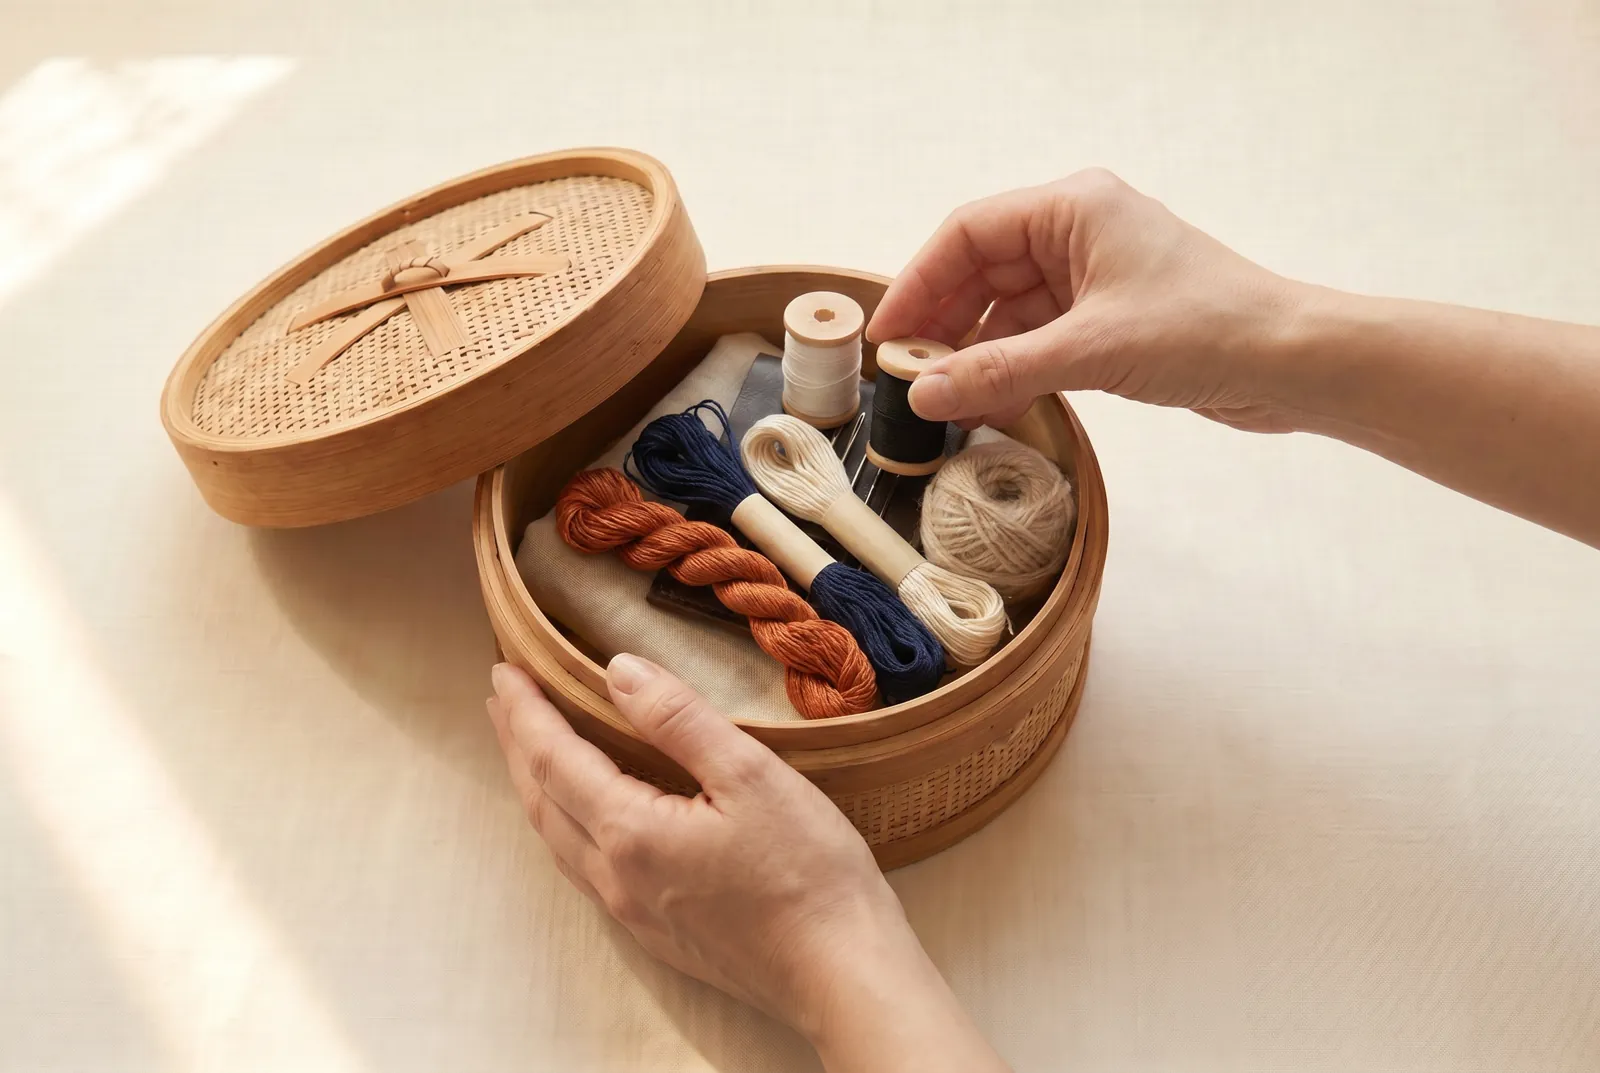
STEP 3/8Add cotton thread in white and black, sizes No. 40 to No. 70, plus silk twist and mercerized cotton in your household's usual colors, and include darning cotton for stockings and soft wool yarn for knitted things. For buttons on anything that gets washed, keep soft cotton rather than silk, since silk cuts the wet cloth.
Step 4
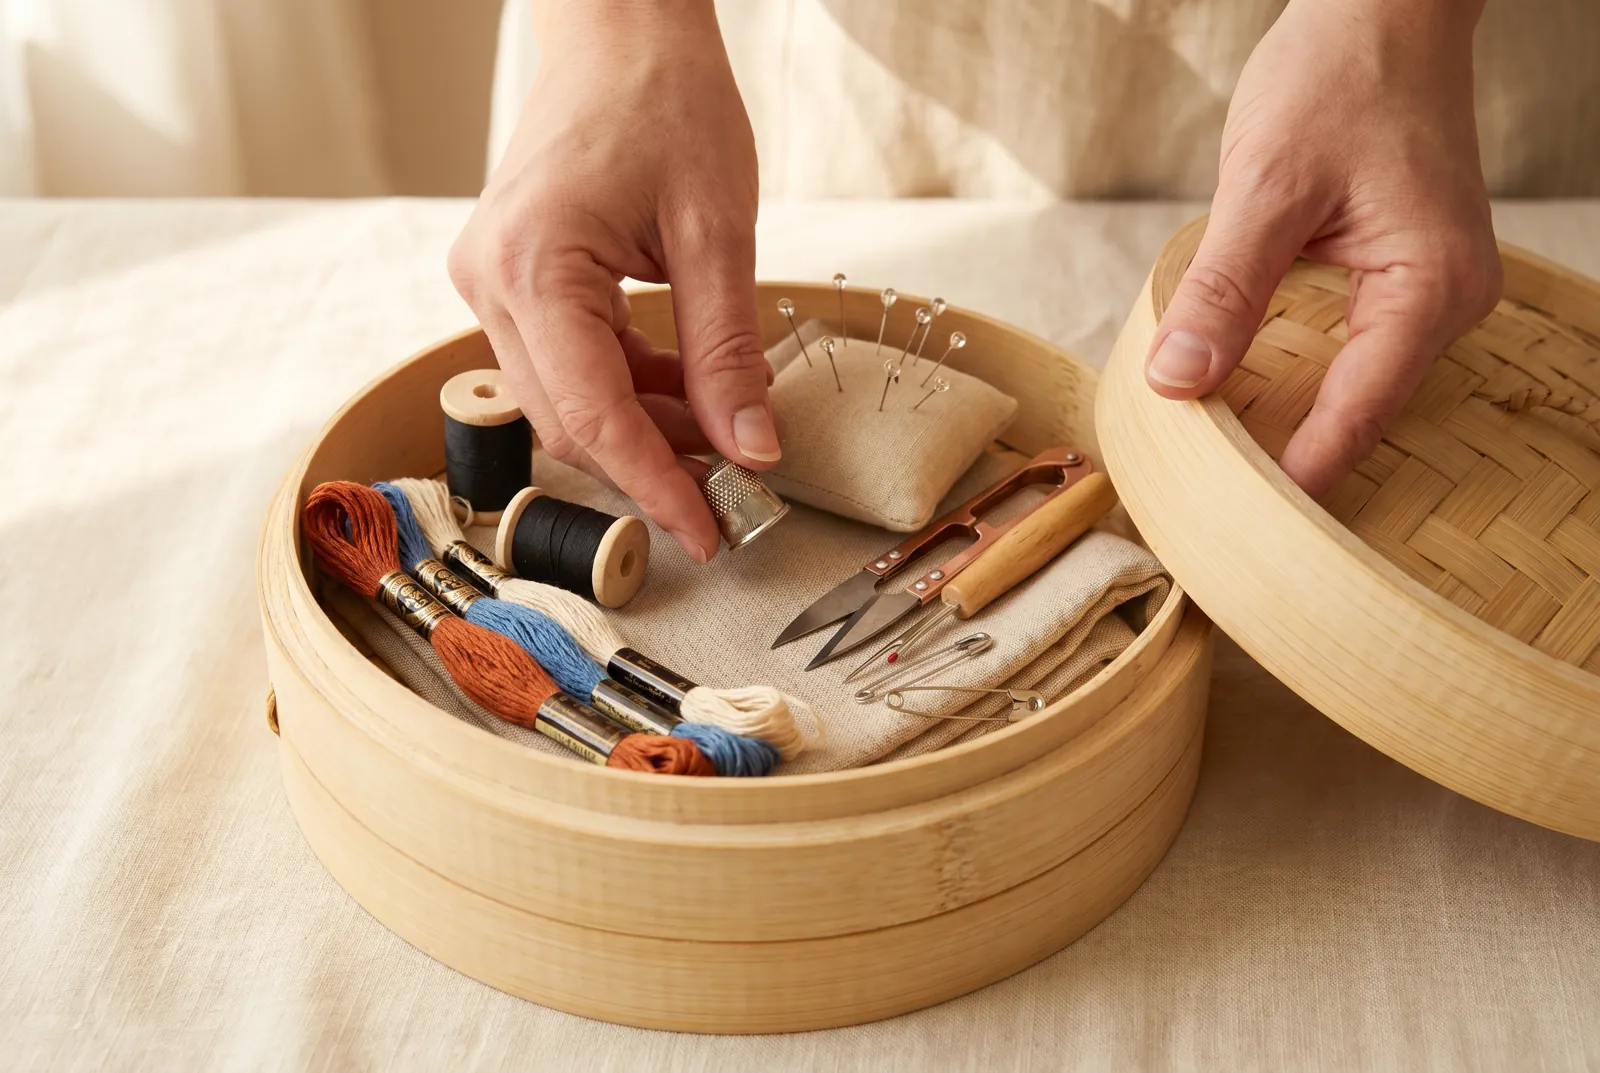
STEP 4/8Add a thimble, a small sharp scissors, a seam ripper or blade, and pins. Include a bodkin, or two safety pins, for casings.
Step 5
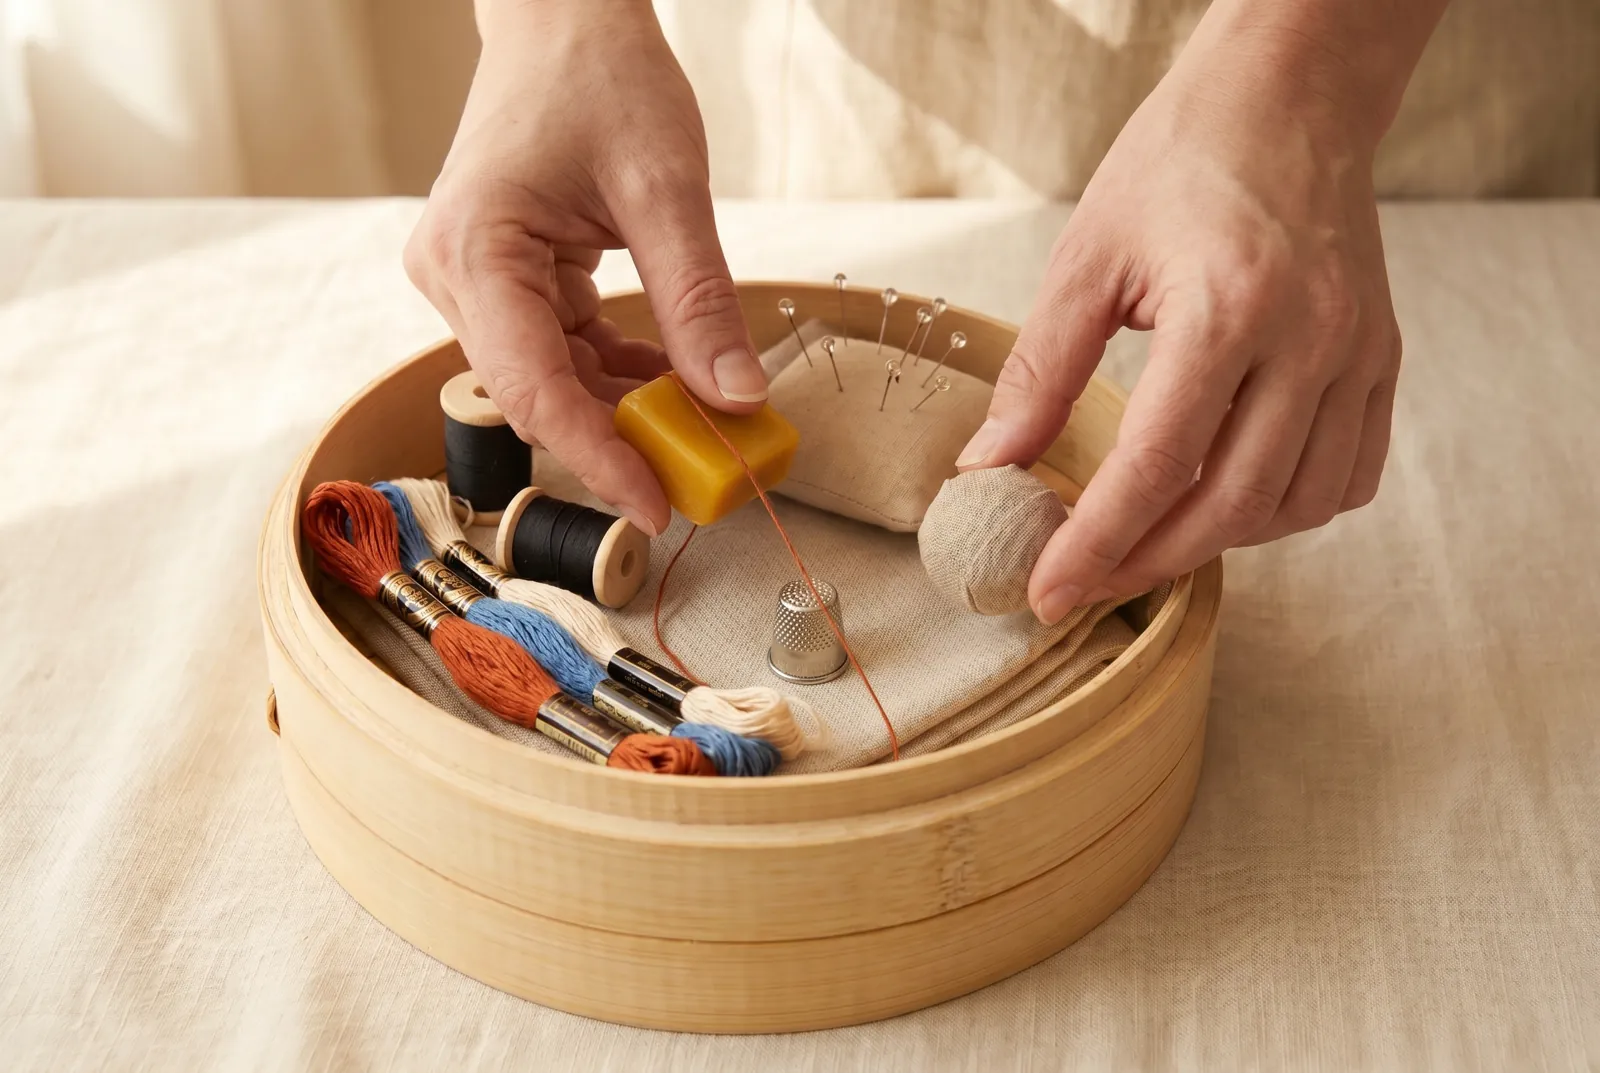
STEP 5/8Add beeswax and an emery ball; they do different jobs, so don't keep them for the same purpose. Draw thread that must bear strain across the beeswax before you sew with it, and keep the emery ball separate to rub the rust off needles that have sat unused.
Step 6
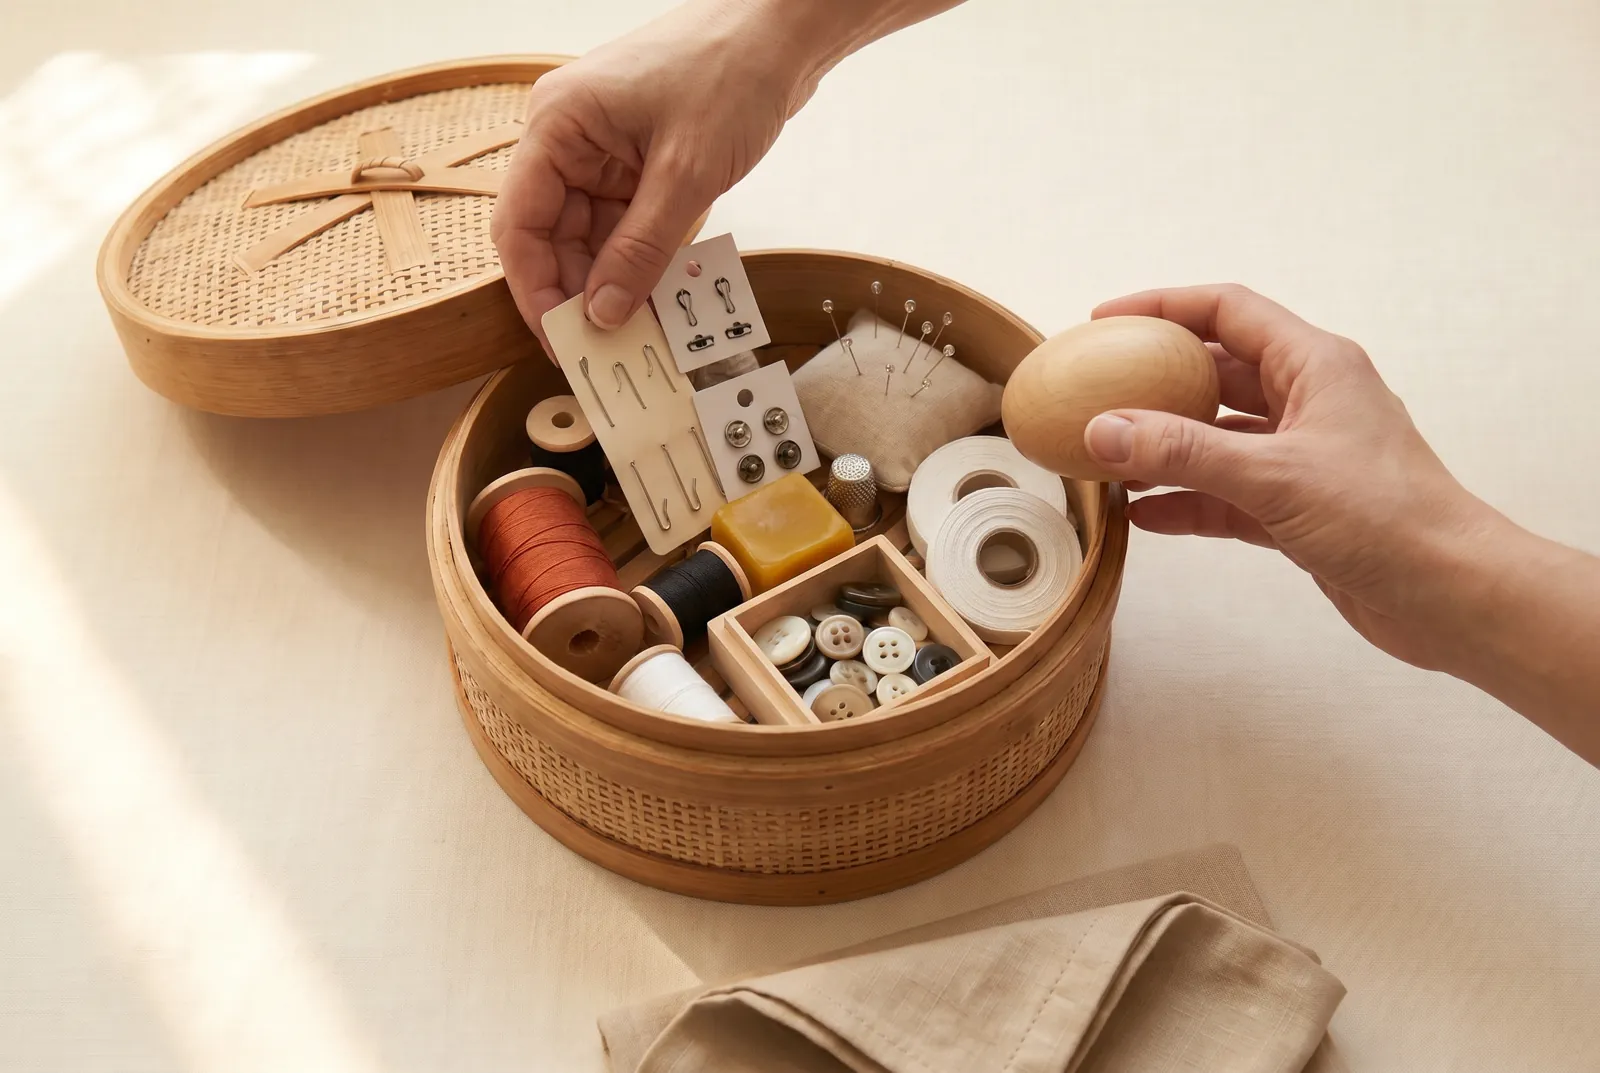
STEP 6/8Add white tape in two or three widths, a card of hooks and eyes, a card of snaps, your button boxes, and a darning ball or egg. If the tape will go into a garment that gets washed, shrink it first as you would the cloth — a raw tape sewn on flat can pucker the whole hem it was meant to strengthen.
Step 7
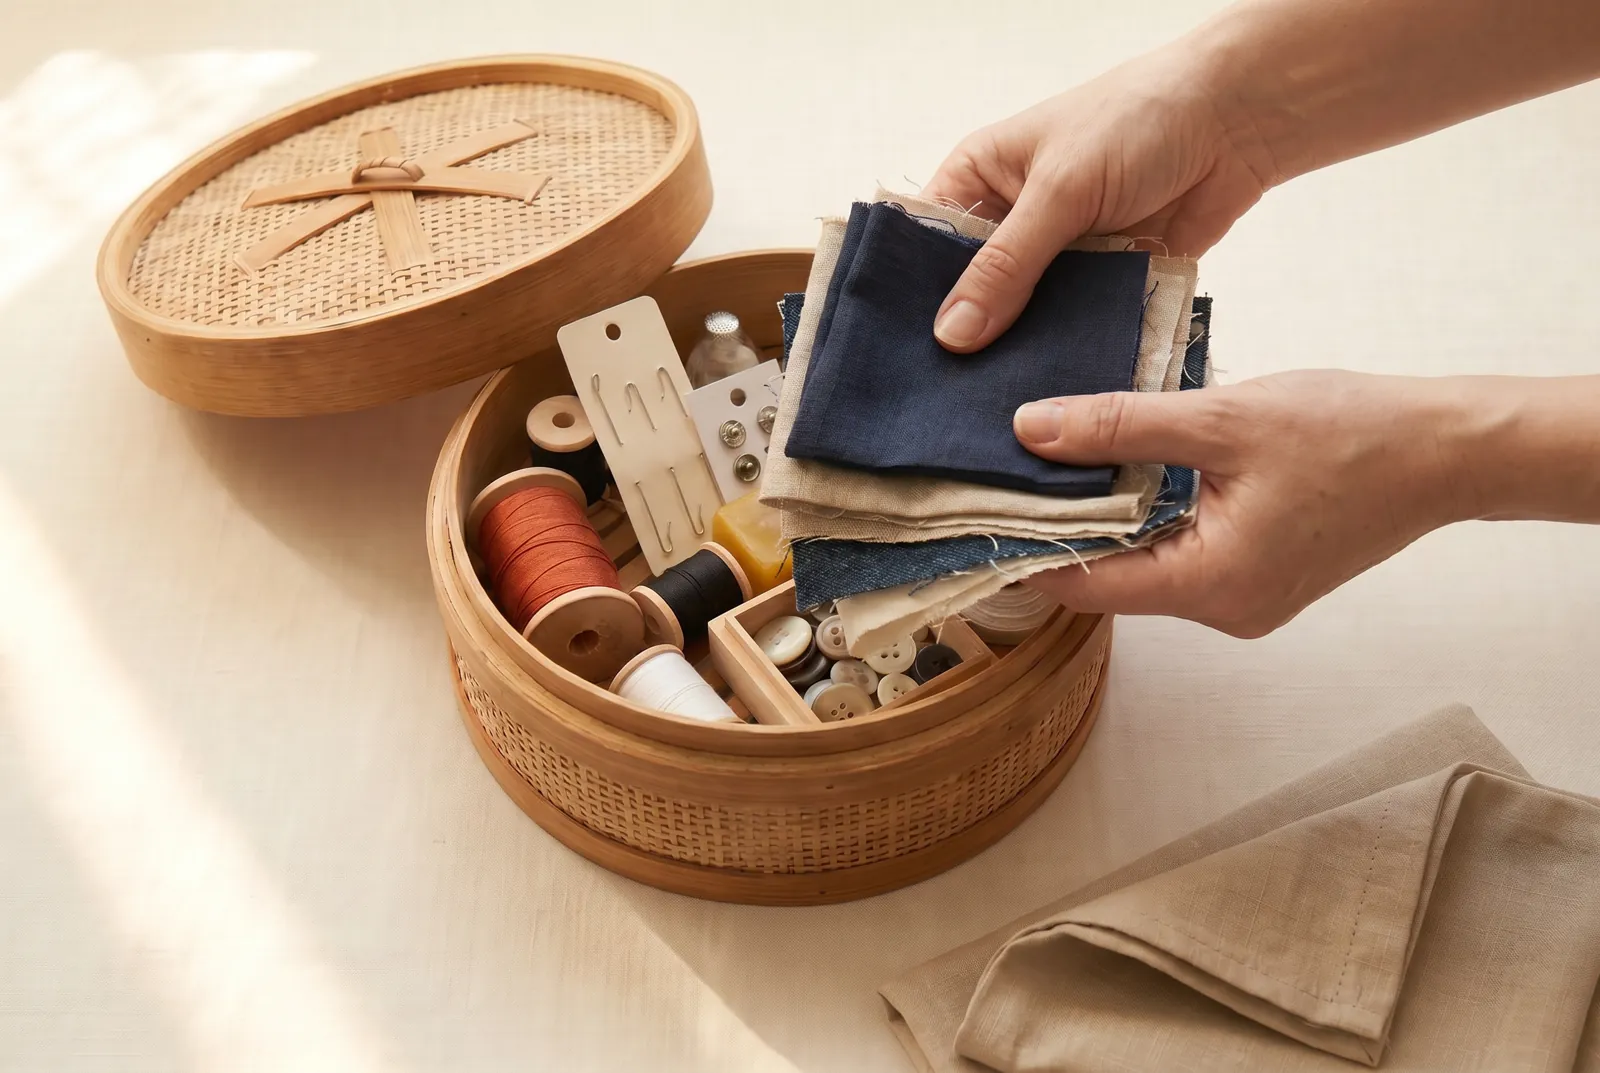
STEP 7/8Keep a piece bag of saved cloth, sorted, within reach of the basket. Seam allowances kept whole, not trimmed away, are cloth banked against a change of size, and a sorted bag lets you join two sound strips rather than mend with one doubtful piece.
Step 8
STEP 8/8Use the kit before a garment tears, not only after. The knees of trousers, the elbows of shirts and jackets, and the seat and pocket corners of work clothes give way first, so cut a stay of the same or lighter cloth from the piece bag and double each spot while the cloth is still sound.