Visible & Decorative Mending · piece Nº 12 · 54 min
Embroider Over a Mended Tear
Turn a darned tear into a detail that looks intended. You first close the tear with rows of running stitches, then work an embroidered figure over and a little past the darn so the stitches grip sound cloth and the repair reads as trim rather than damage.
The seam · 9 steps
Step 1
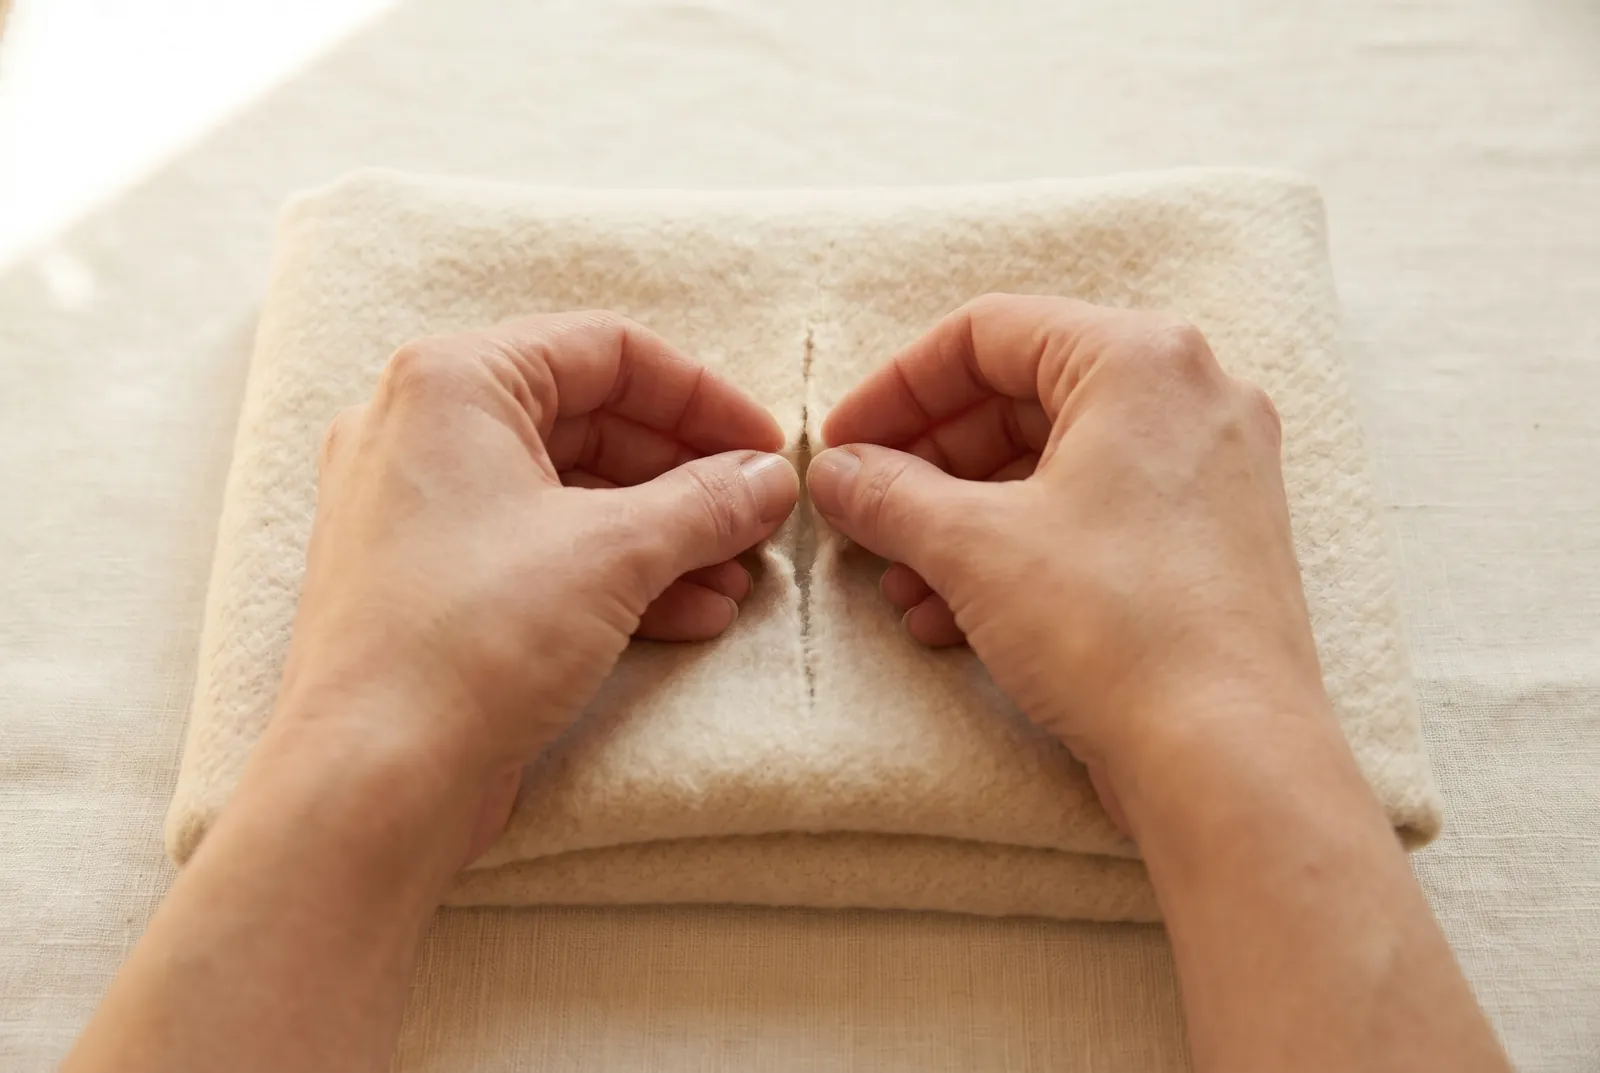
STEP 1/9Turn the garment to the wrong side and draw the two edges of the straight tear together with your fingers, so they meet as they grew, without lapping one over the other. Getting this alignment before you stitch keeps the finished darn flat rather than ridged.
Step 2
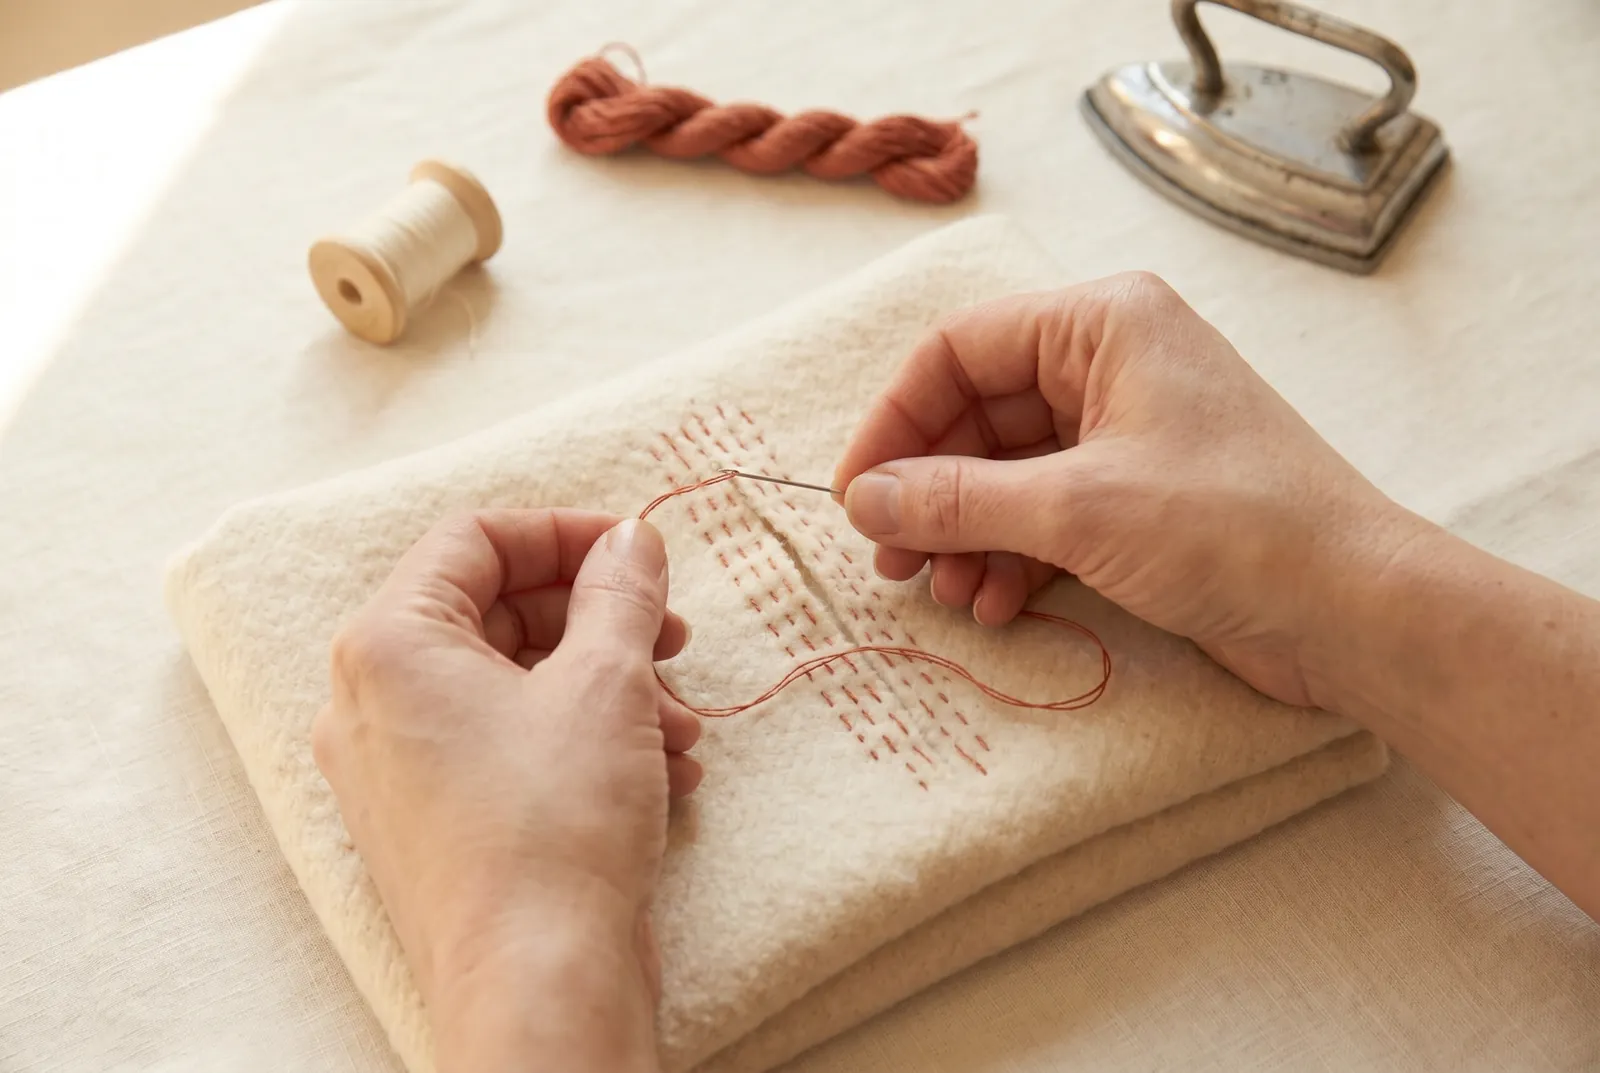
STEP 2/9Working on the wrong side, stitch rows of fine running stitches straight across the tear, at right angles to it, each row passing over the break and extending 6 mm (1/4 in) or more into the firm cloth on either side. Do not draw the stitches tight; the darn should stay supple so the mended cloth bends with the cloth around it.
Step 3
STEP 3/9Set the rows close together, a few threads apart, and let their ends fall unevenly, some longer and some shorter. A darn whose stitches all stop along one thread makes a new line of weakness there, while staggered ends carry the strain out into sound cloth.
Step 4
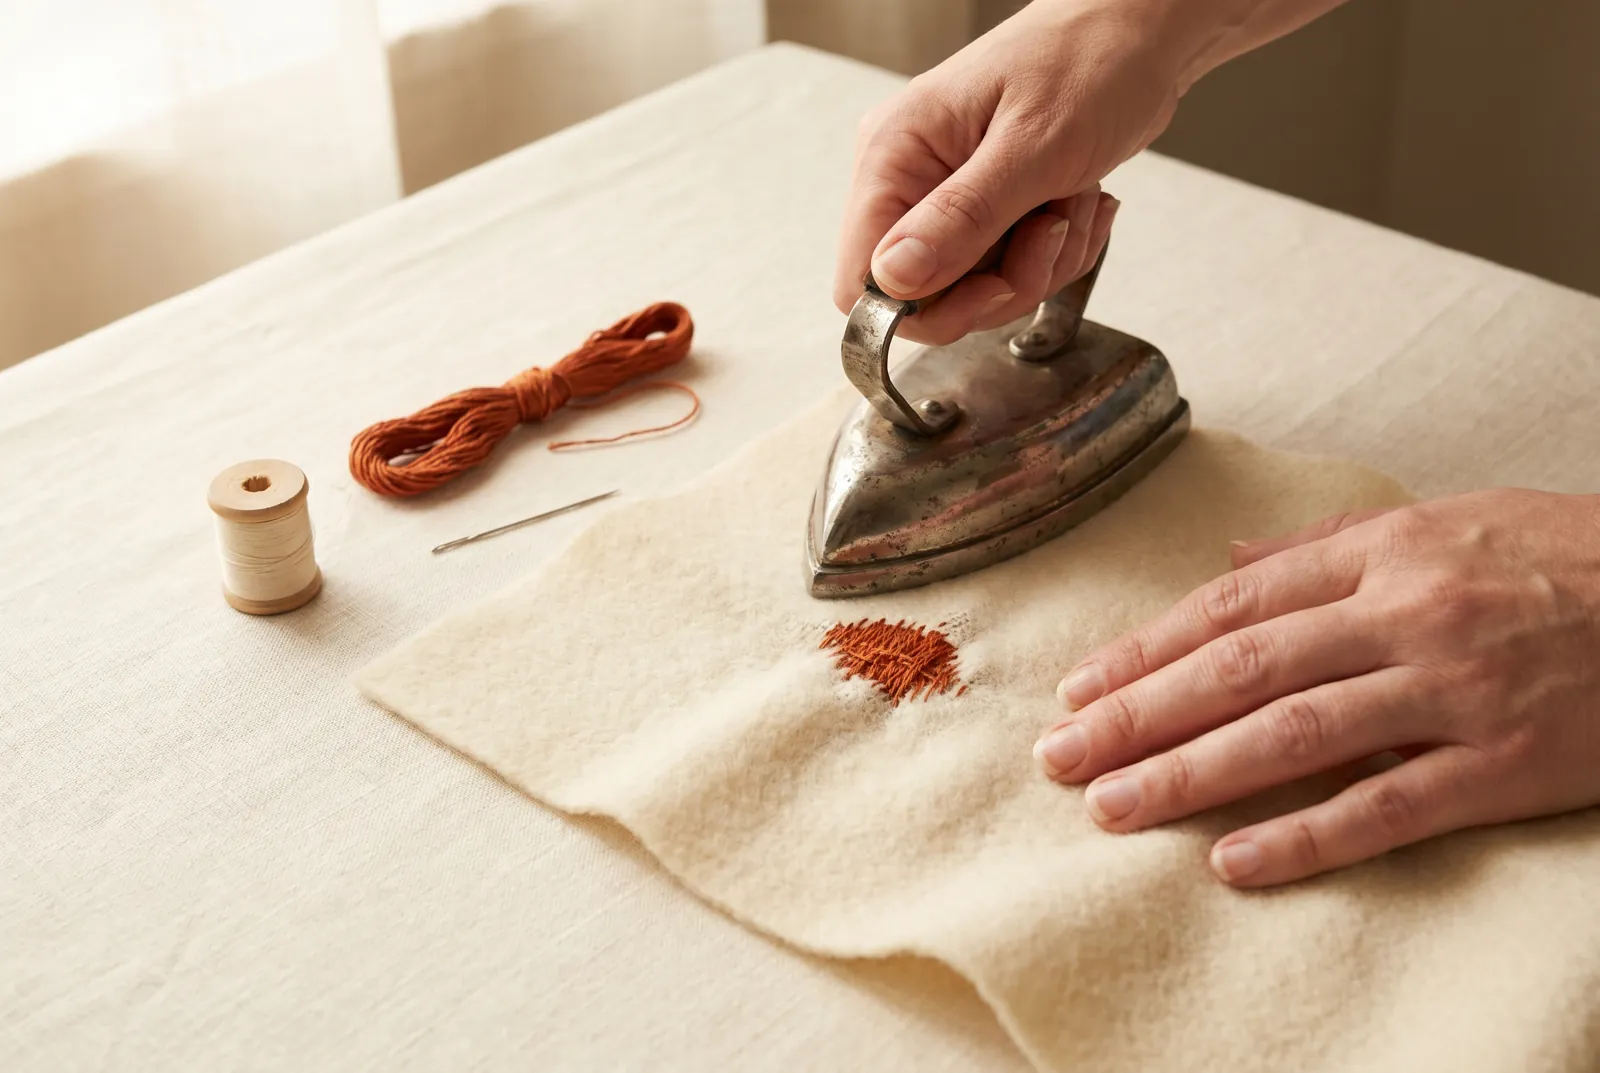
STEP 4/9Press the darn flat before you embroider over it. A flat ground lets the embroidery sit evenly; stitching over a puckered darn locks the pucker in for good.
Step 5
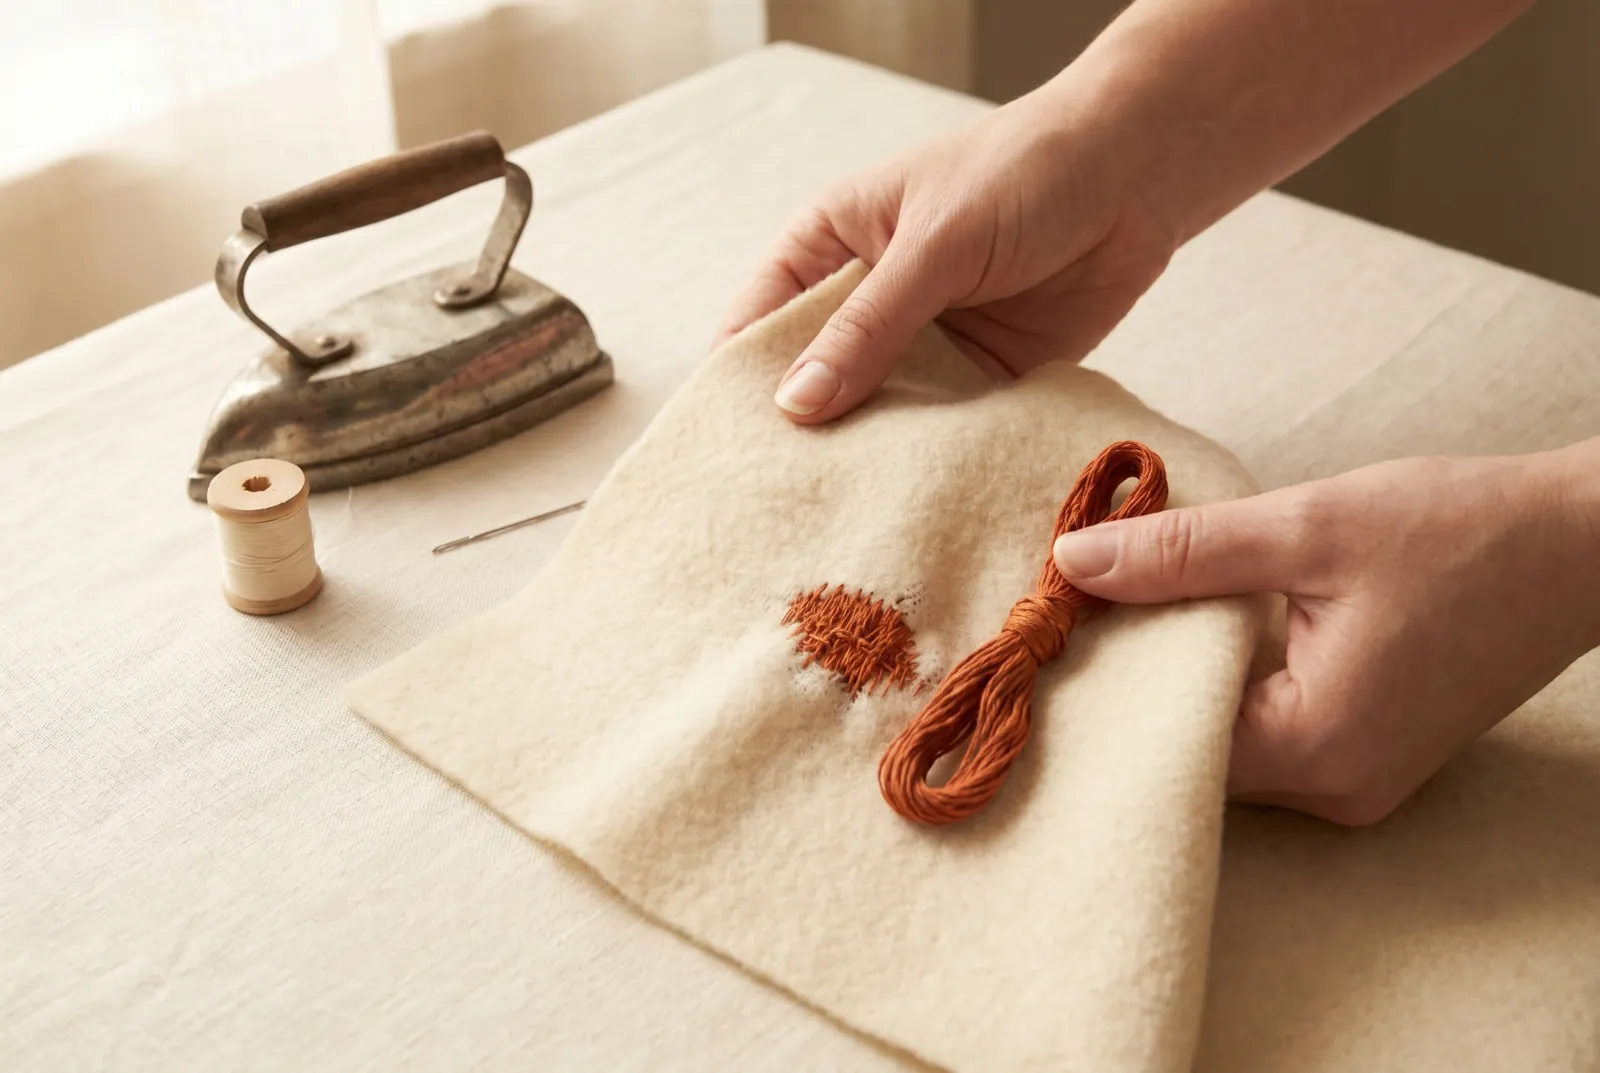
STEP 5/9Choose the embroidery thread to suit the cloth: soft embroidery cotton on wash goods, wash silk or wool on woolens. Matching thread keeps the mend quiet; contrasting thread worked in even lines turns it into a decoration, and both are sound sewing.
Step 6
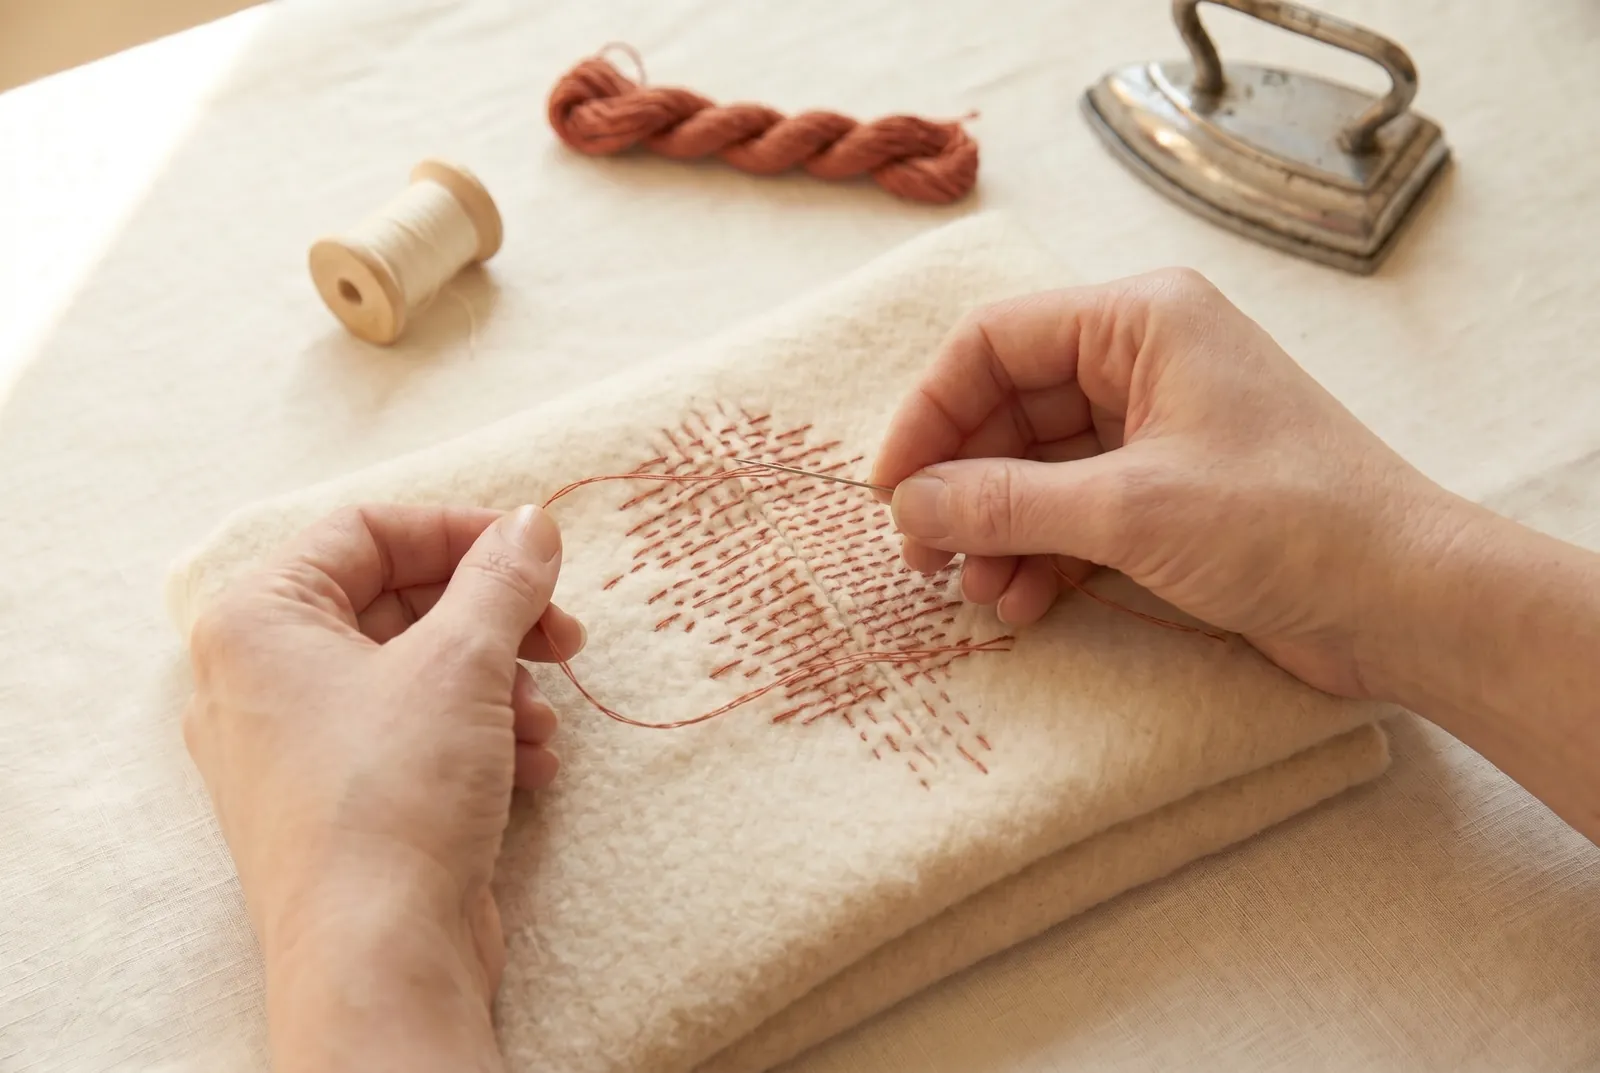
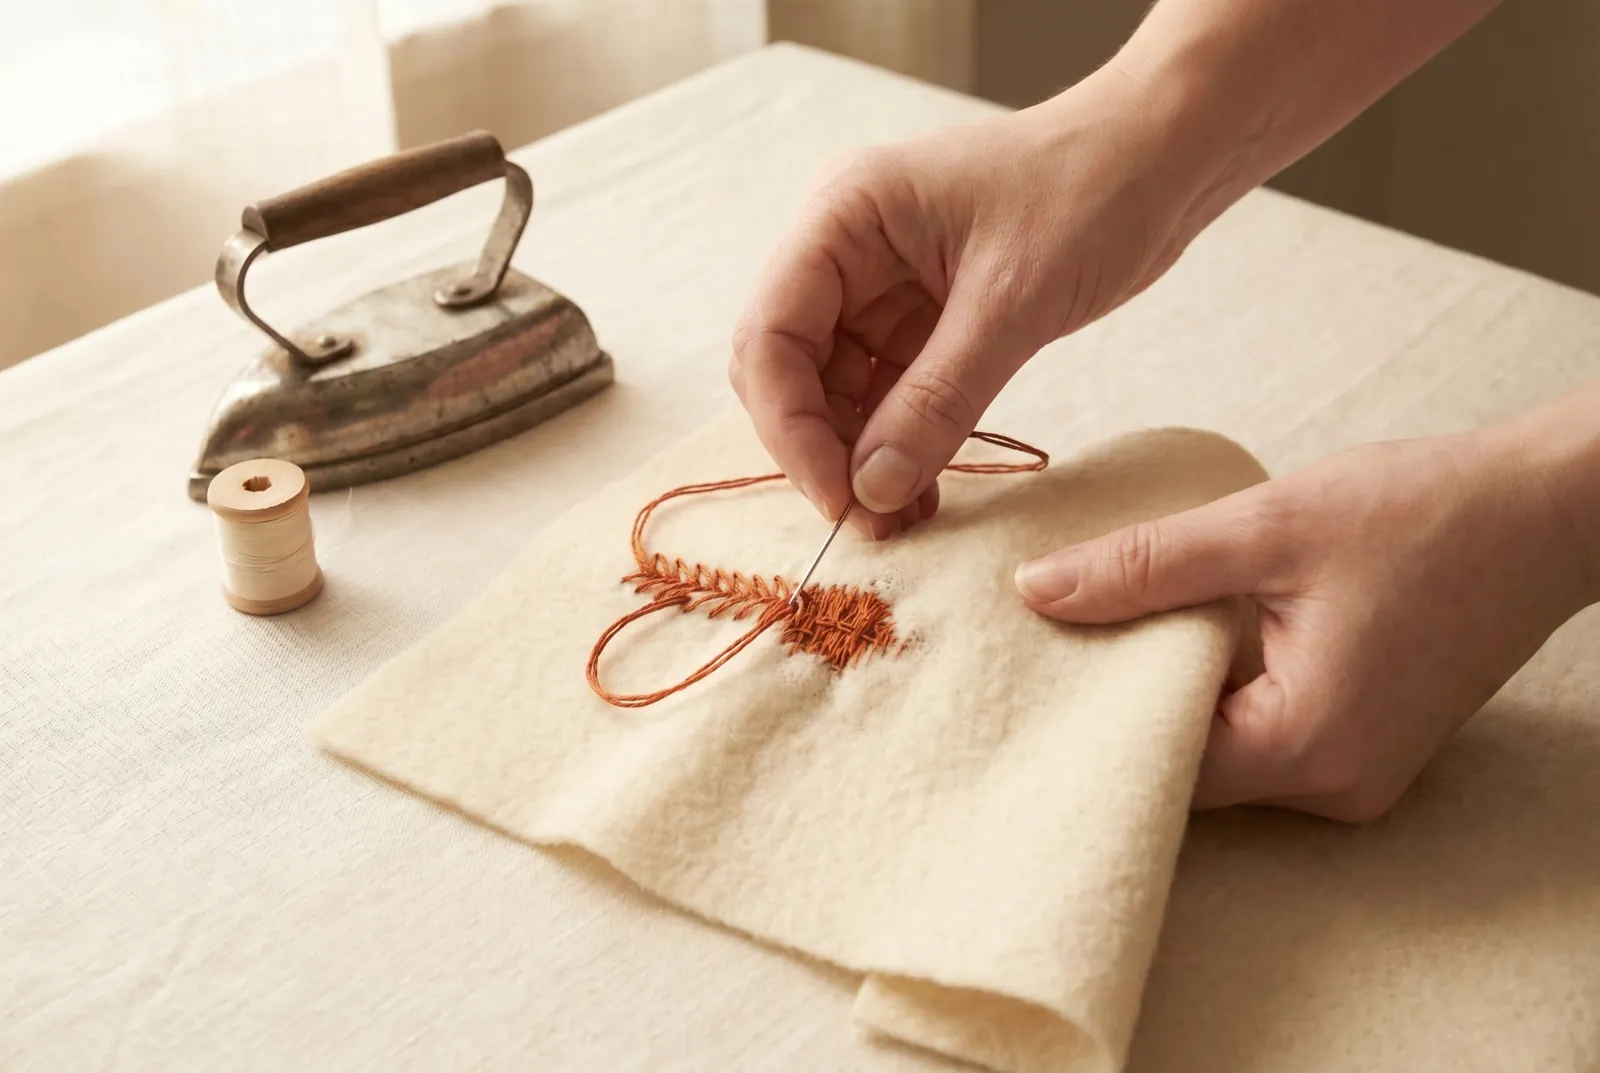
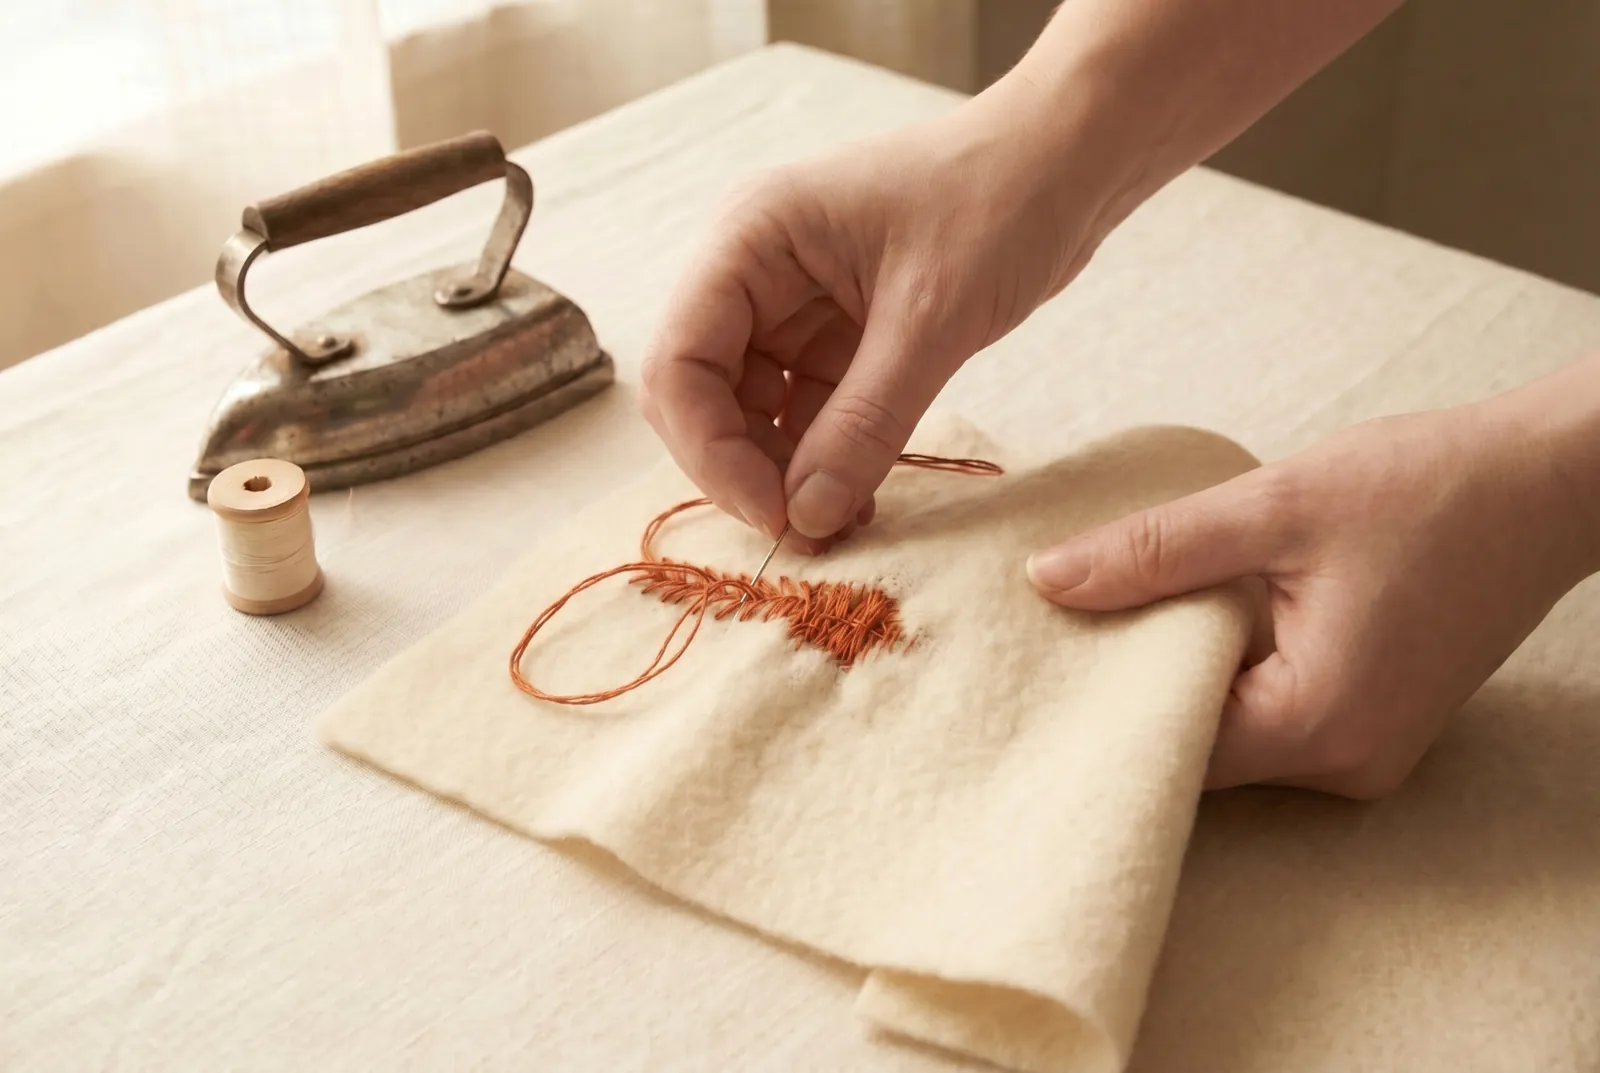
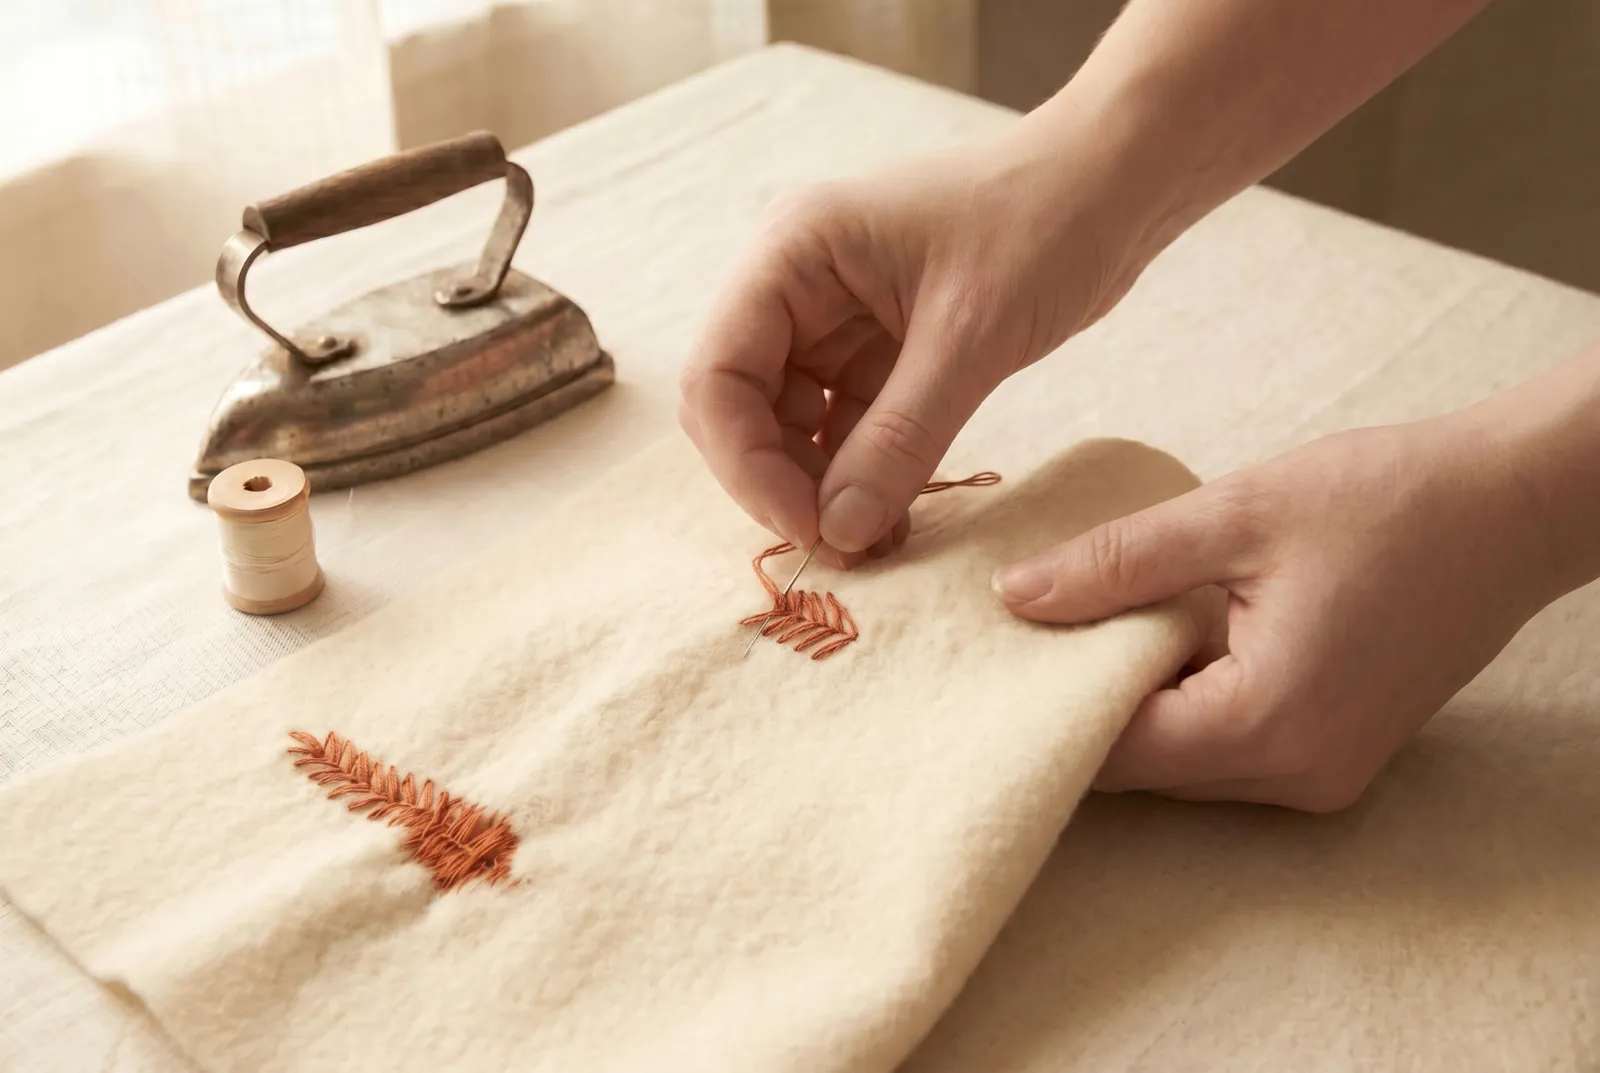
STEP 6/9Work an embroidered figure, such as a spray, a bar, or a small flower, over and a little beyond the darn, so the stitches take hold of the sound cloth around the weakened part. For the worked lines use feather (coral) stitch: work toward yourself along an imagined center line, taking one slanting loop stitch to the right of the line, the next to the left, and always passing the thread under the needle point before you pull it through.
Step 7
STEP 7/9Work the whole figure loosely so the cloth does not pucker, and when you turn at the end of a row leave a small loop instead of pulling the thread tight across the back. Begin and end within the layers, or with a small knot buried between them, so no knot shows on the face.
Step 8
STEP 8/9Set the same figure at the matching point of the garment, the other knee, the other elbow, or the mirror spot on the opposite side. A figure that repeats reads as intended trimming rather than a cover over damage.
Step 9
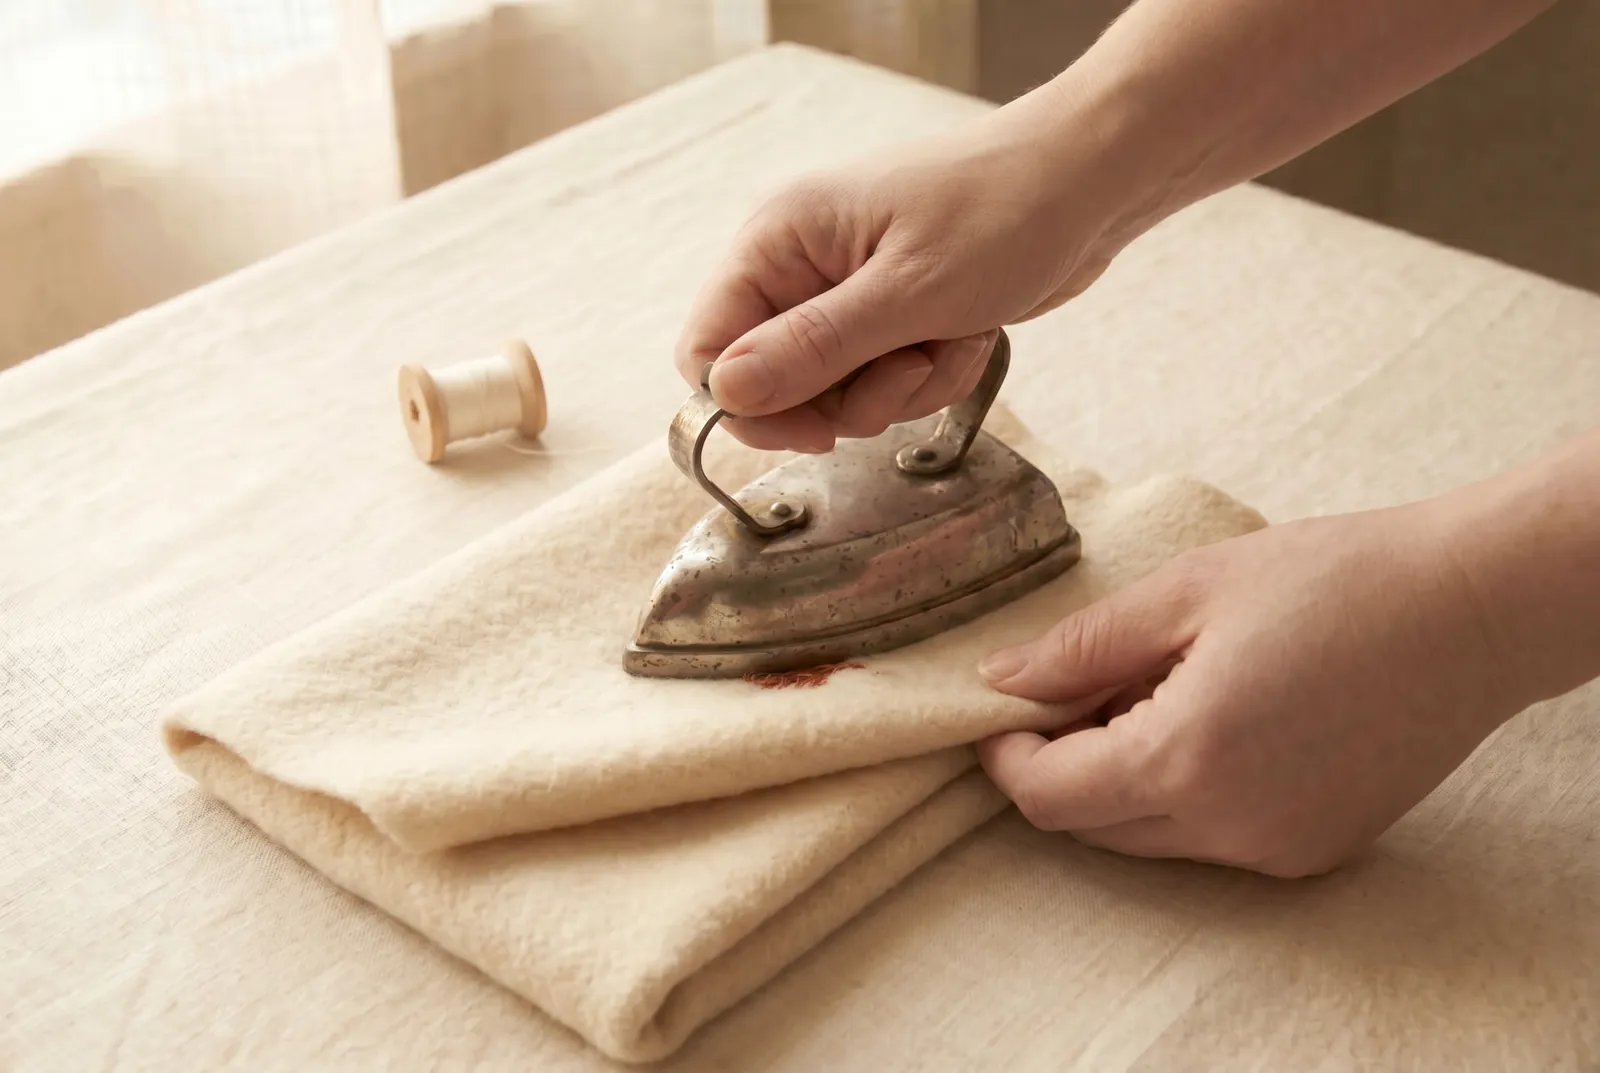
STEP 9/9Press the finished embroidery face down over the folded flannel, so the raised stitches sink into the soft pile rather than being flattened. Pressing face up on a hard board would crush the texture you worked for.