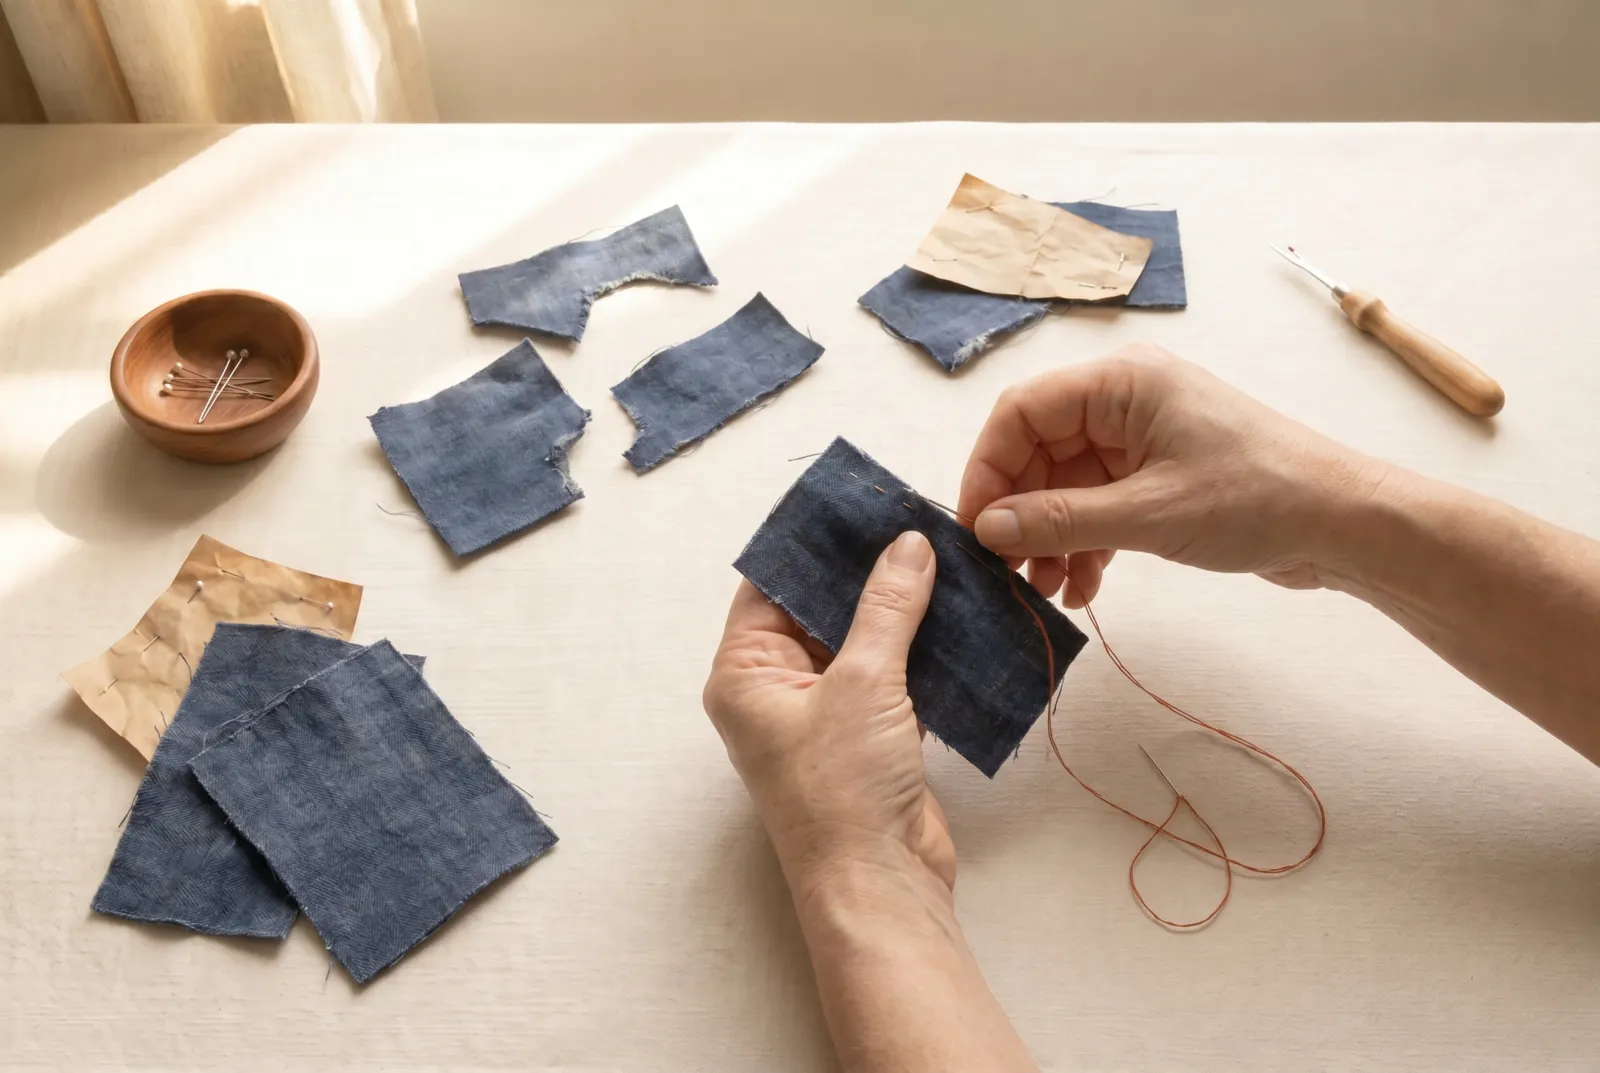
Upcycling & Thrift Flips · piece Nº 14 · 60 min
Harvest usable fabric from a worn-out garment
Take apart a garment that is past wearing and reclaim the sound cloth from it, so the good parts can serve as patches, facings, or pieces for a new project. You will learn to judge which areas are still strong, open the old seams without harming the cloth, and read the grain so the reclaimed pieces hang true.
The seam · 10 steps
Step 1
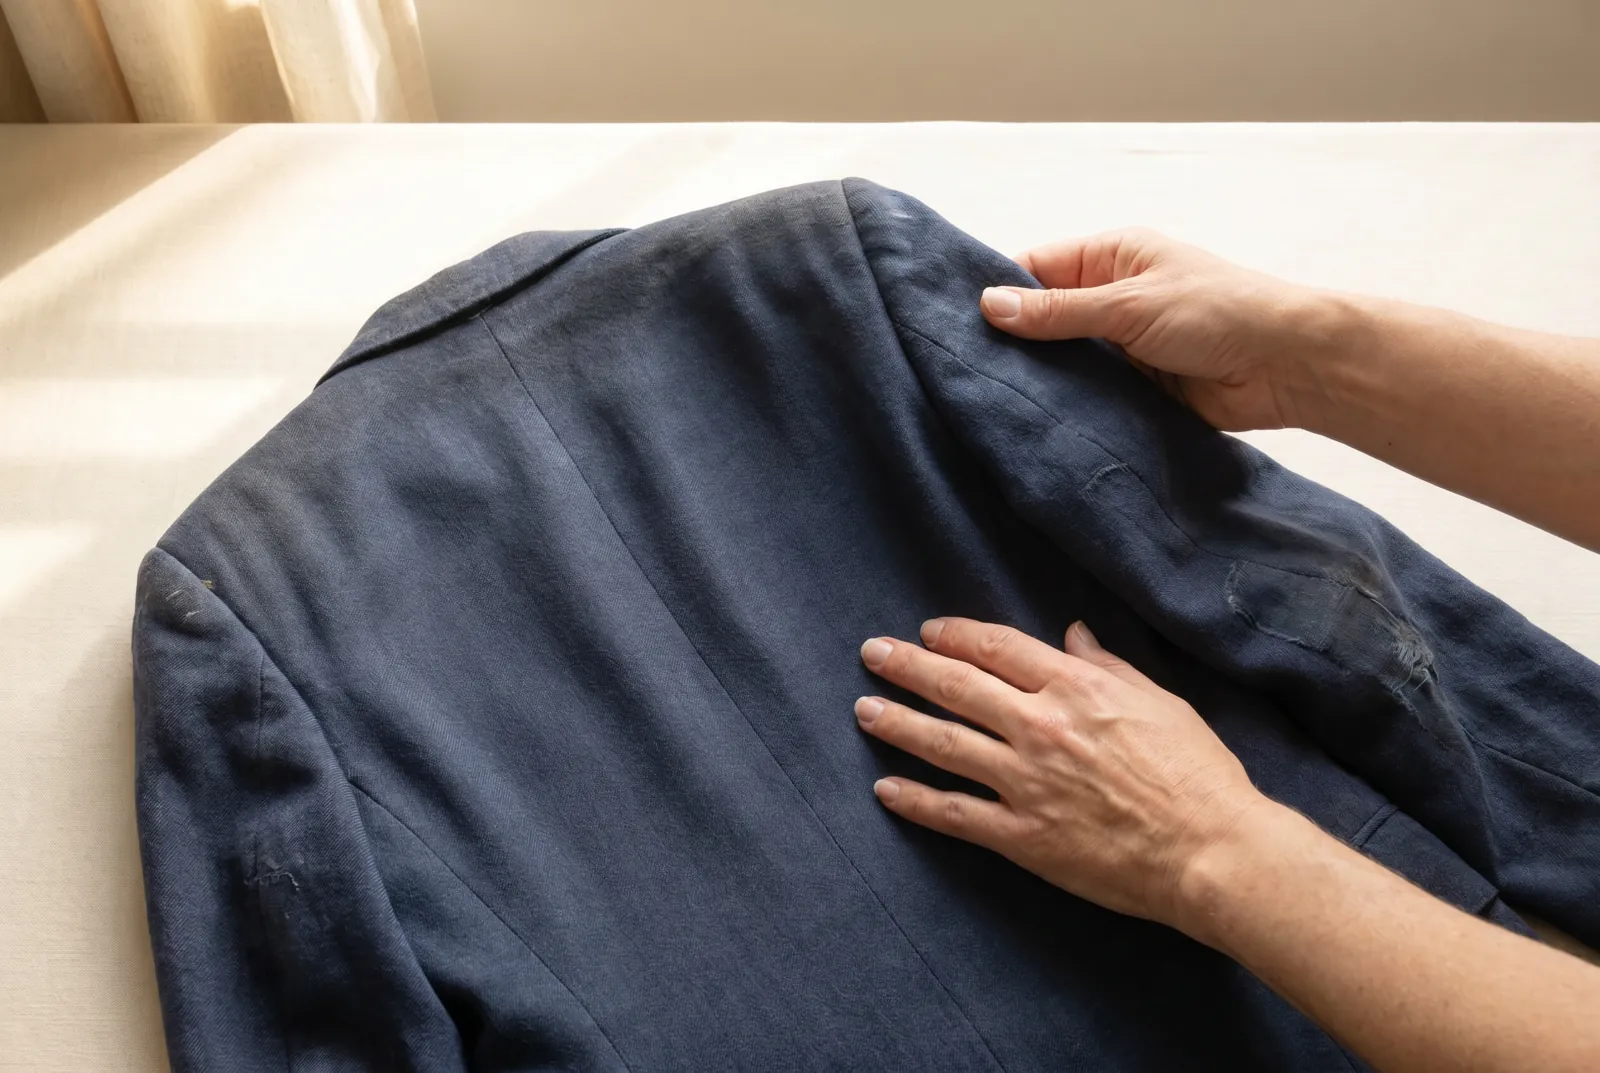
STEP 1/10Choose a garment with cloth worth saving. Look for wide, even, well-finished seams and large flat panels: the back and skirt panels wear least, so they hold the soundest cloth. Skimped, narrow seams and cloth worn shiny or thin at the seat, elbows, and other hard-worn spots give little to reclaim.
Step 2
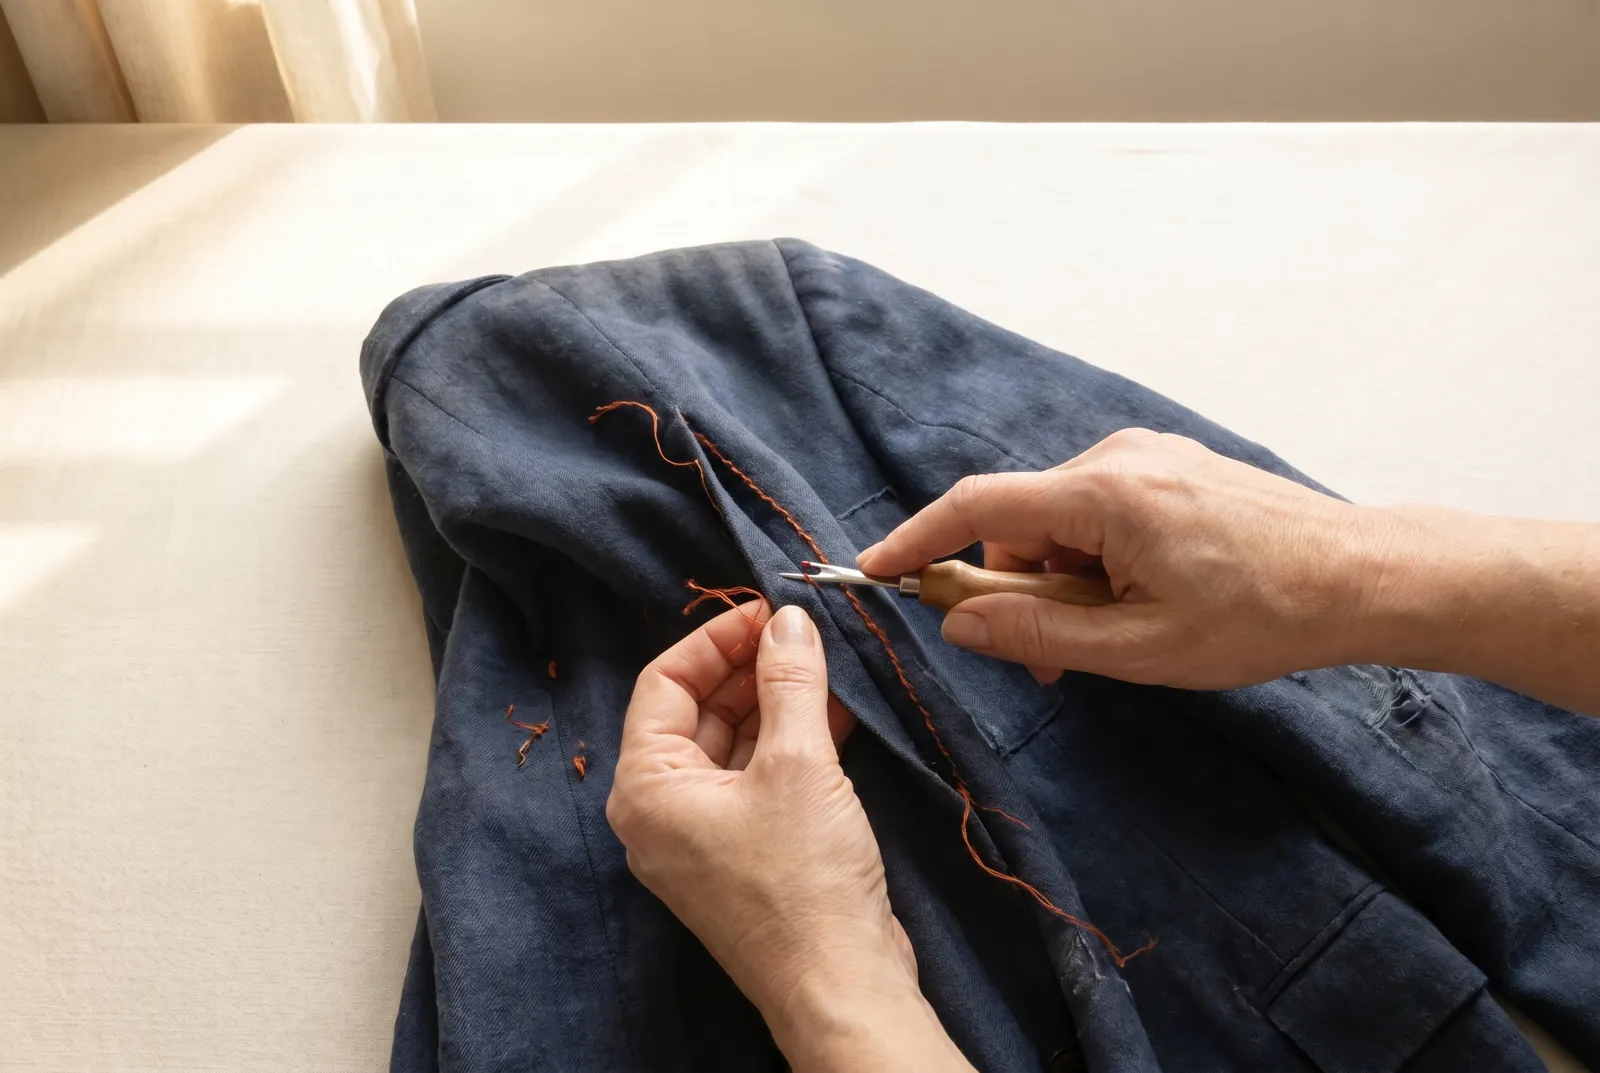
STEP 2/10Open the seams to free the panels. Rip the old stitching apart with a seam ripper or a small sharp blade, working the blade against the thread and never against the cloth, and pick out the loose bits of thread as you go.
Step 3
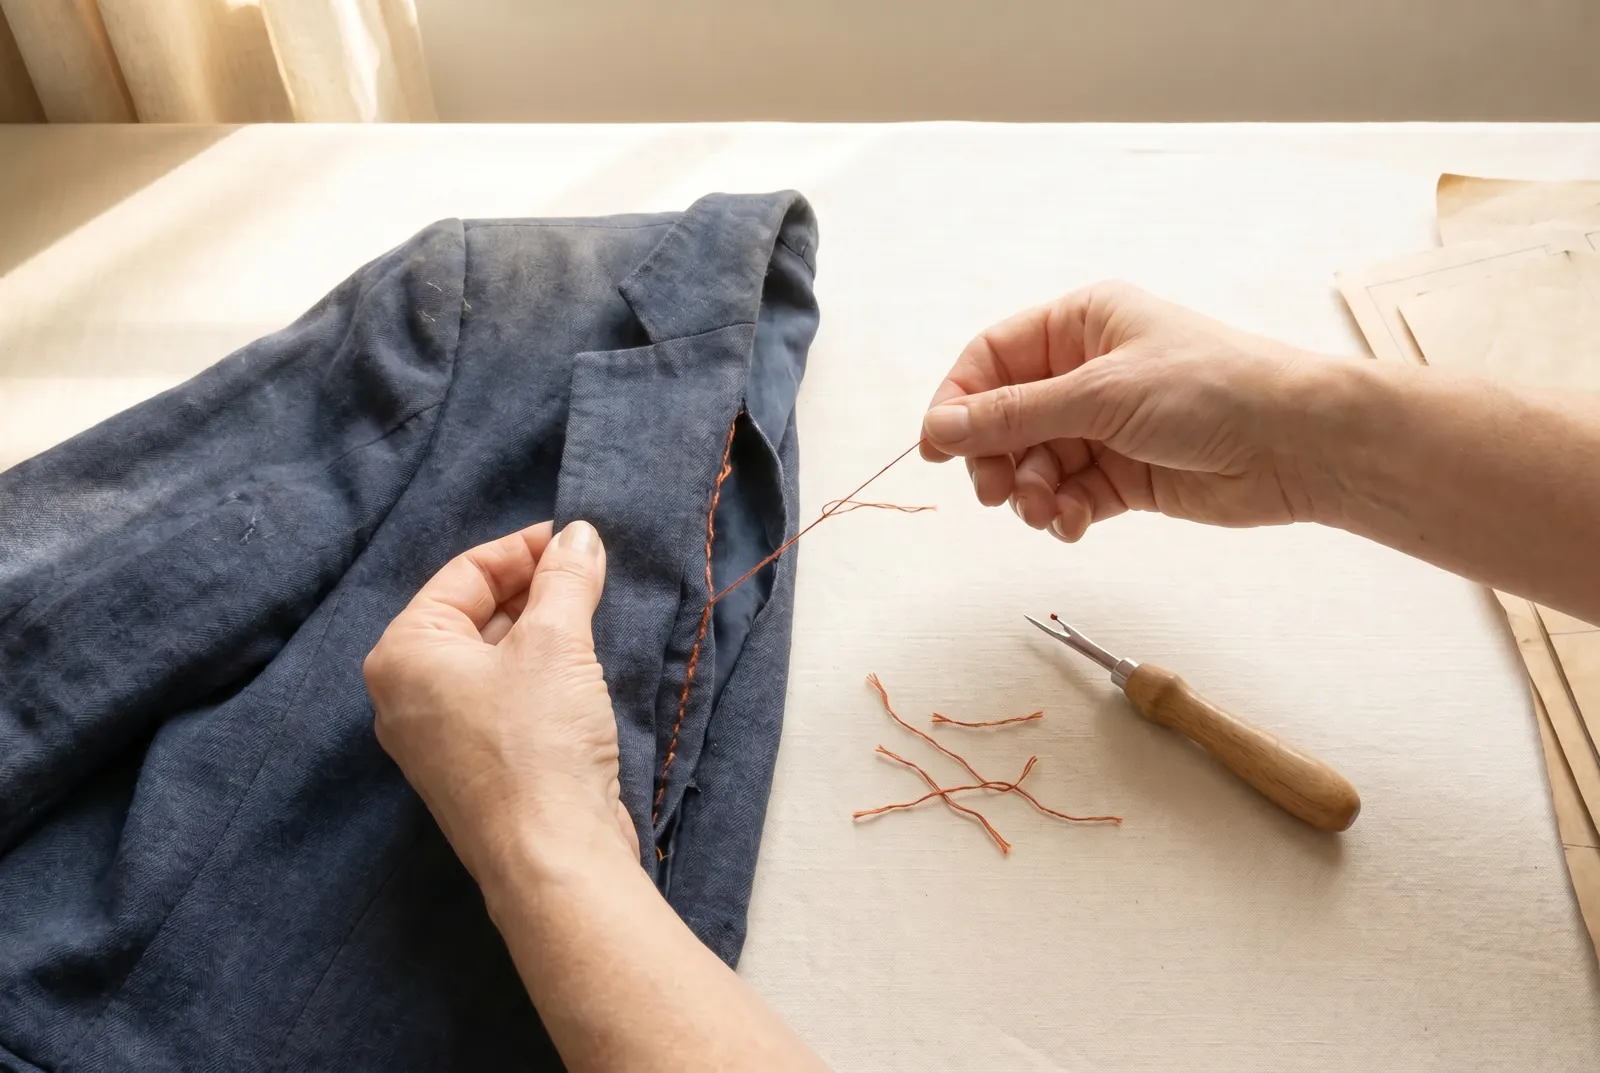
STEP 3/10Draw the loosened thread out in short lengths. As each seam opens, cut the freed thread every 5 to 8 cm (2 to 3 in) and pull out the short pieces; a long thread dragged from one end puckers the cloth.
Step 4
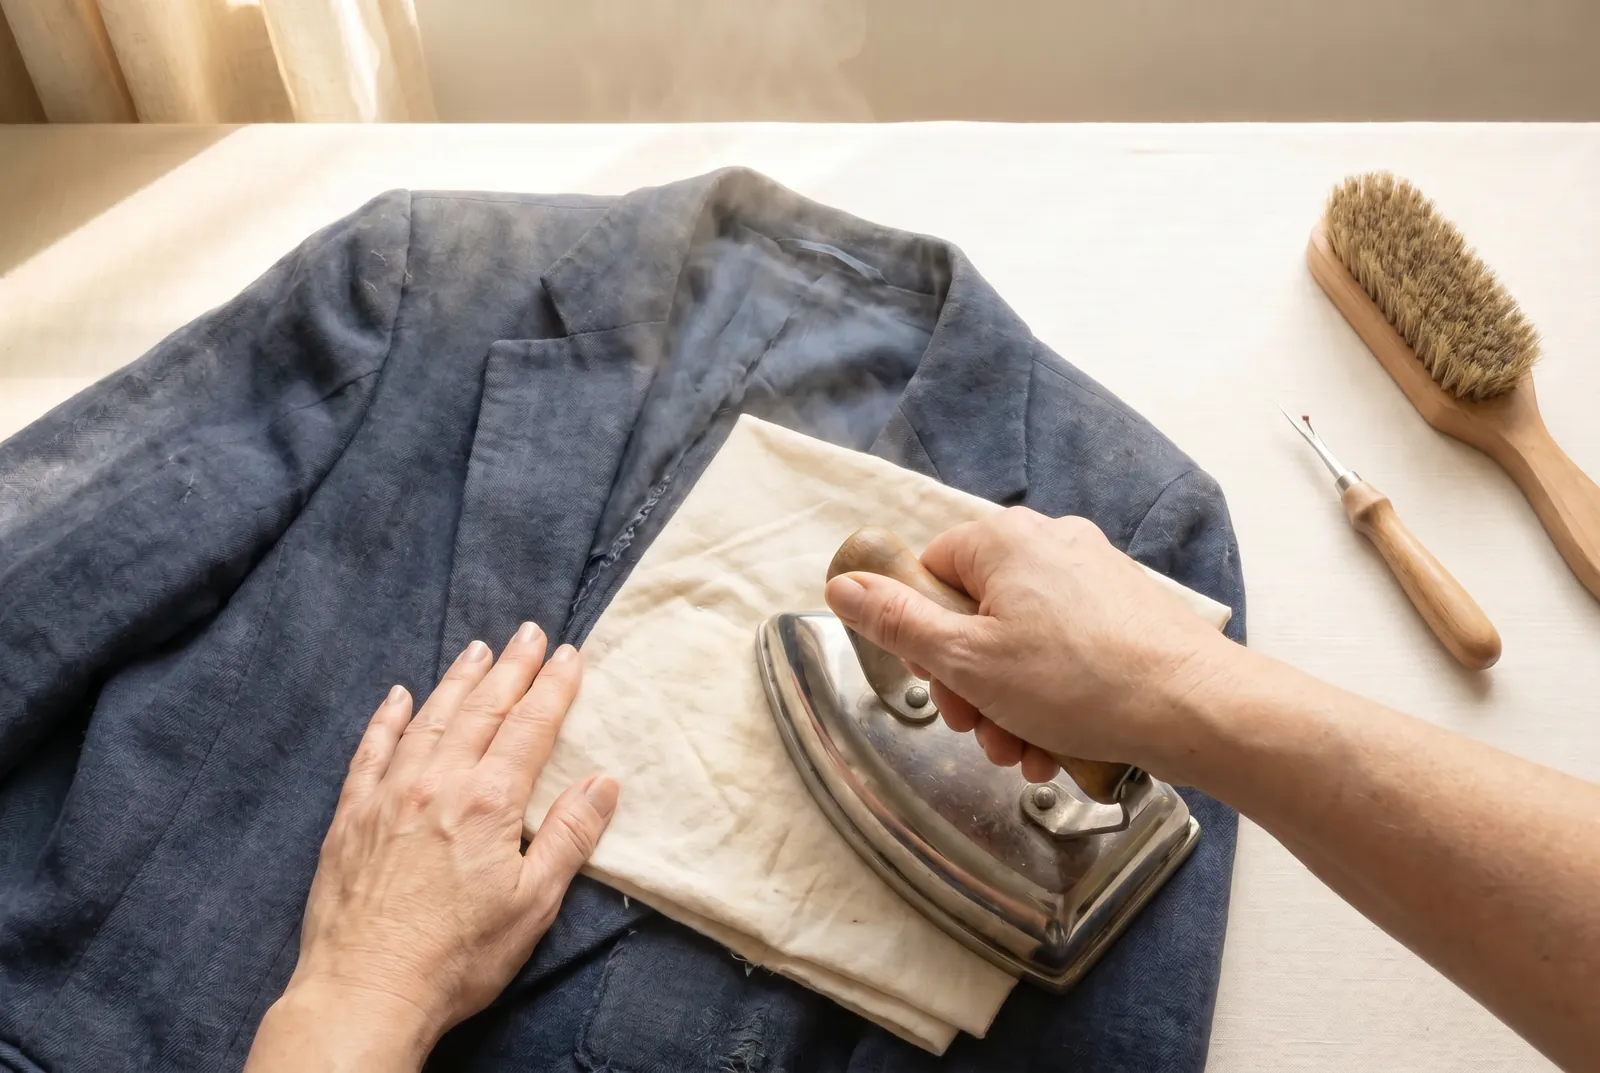
STEP 4/10Press out the old seam creases. Each opened seam leaves a crease, often a line of dust and sometimes a faded or needle-marked line. Brush it, sponge it with a damp cloth, and press it out on the wrong side.
Step 5
STEP 5/10Pick out the sound cloth and stay clear of the worn tracks. Keep every piece you plan to cut clear of the old seam lines, old buttonhole slits, and the shine of a worn seat or elbow, where the cloth is weakest.
Step 6
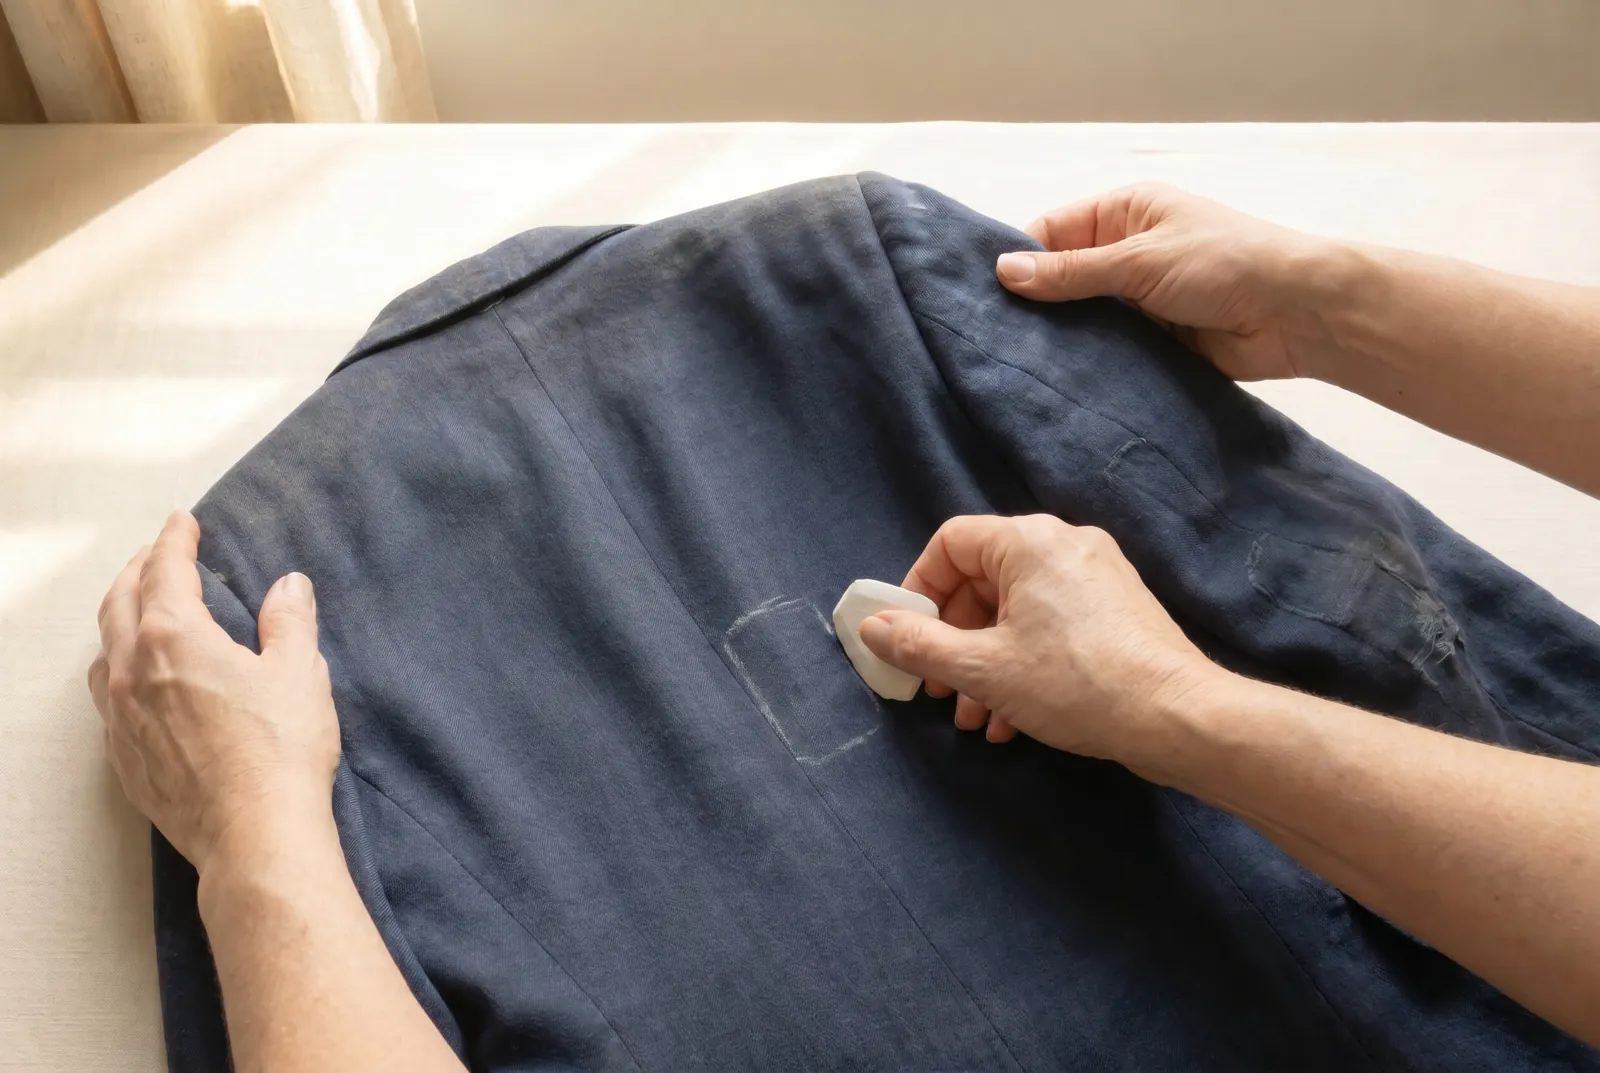
STEP 6/10Read the grain before you cut. The lengthwise grain runs along the warp — parallel to the old seams, in the direction with the least stretch — which the old seams and the weave mark for you; a piece cut off this line sags and twists no matter how sound the cloth. Line up the lengthwise line of each piece you cut along the warp.
Step 7
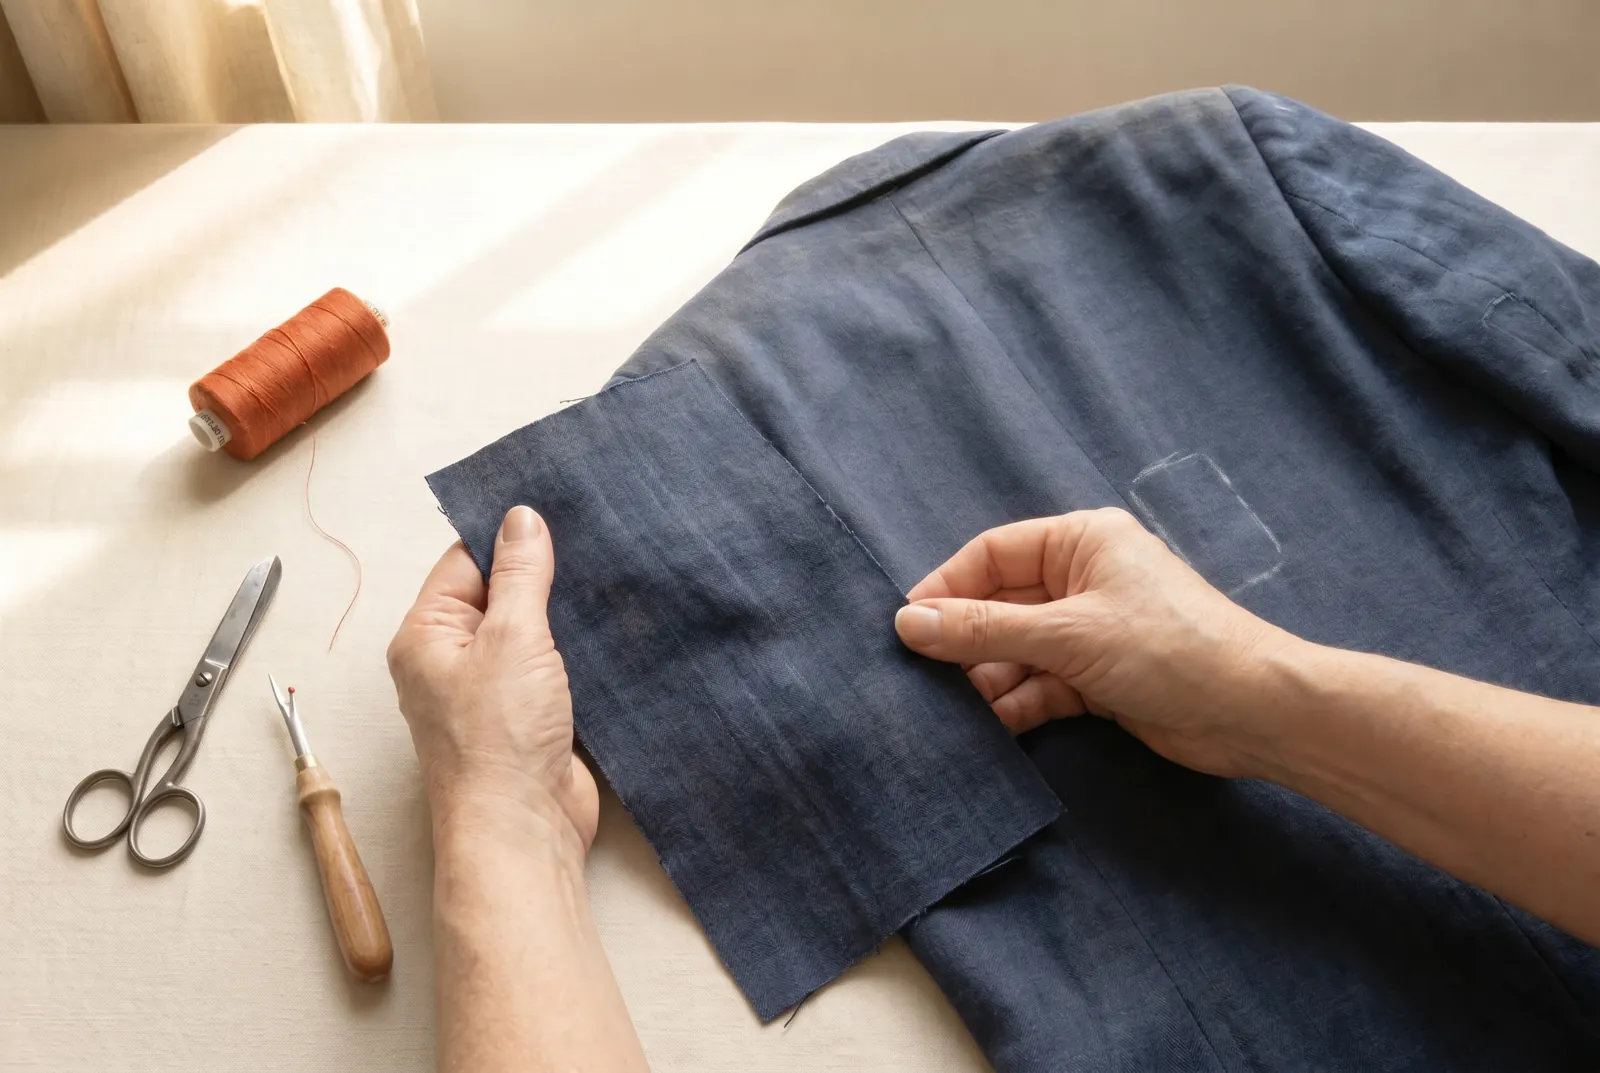
STEP 7/10If the face is faded, check the wrong side. Turn the cloth over: on most woolens the wrong side is still fresh, but on a twill weave it shows a reversed diagonal line rather than a fresh face. Use the wrong side out only where that reversed weave will not show, such as an inside piece or a child's coat.
Step 8
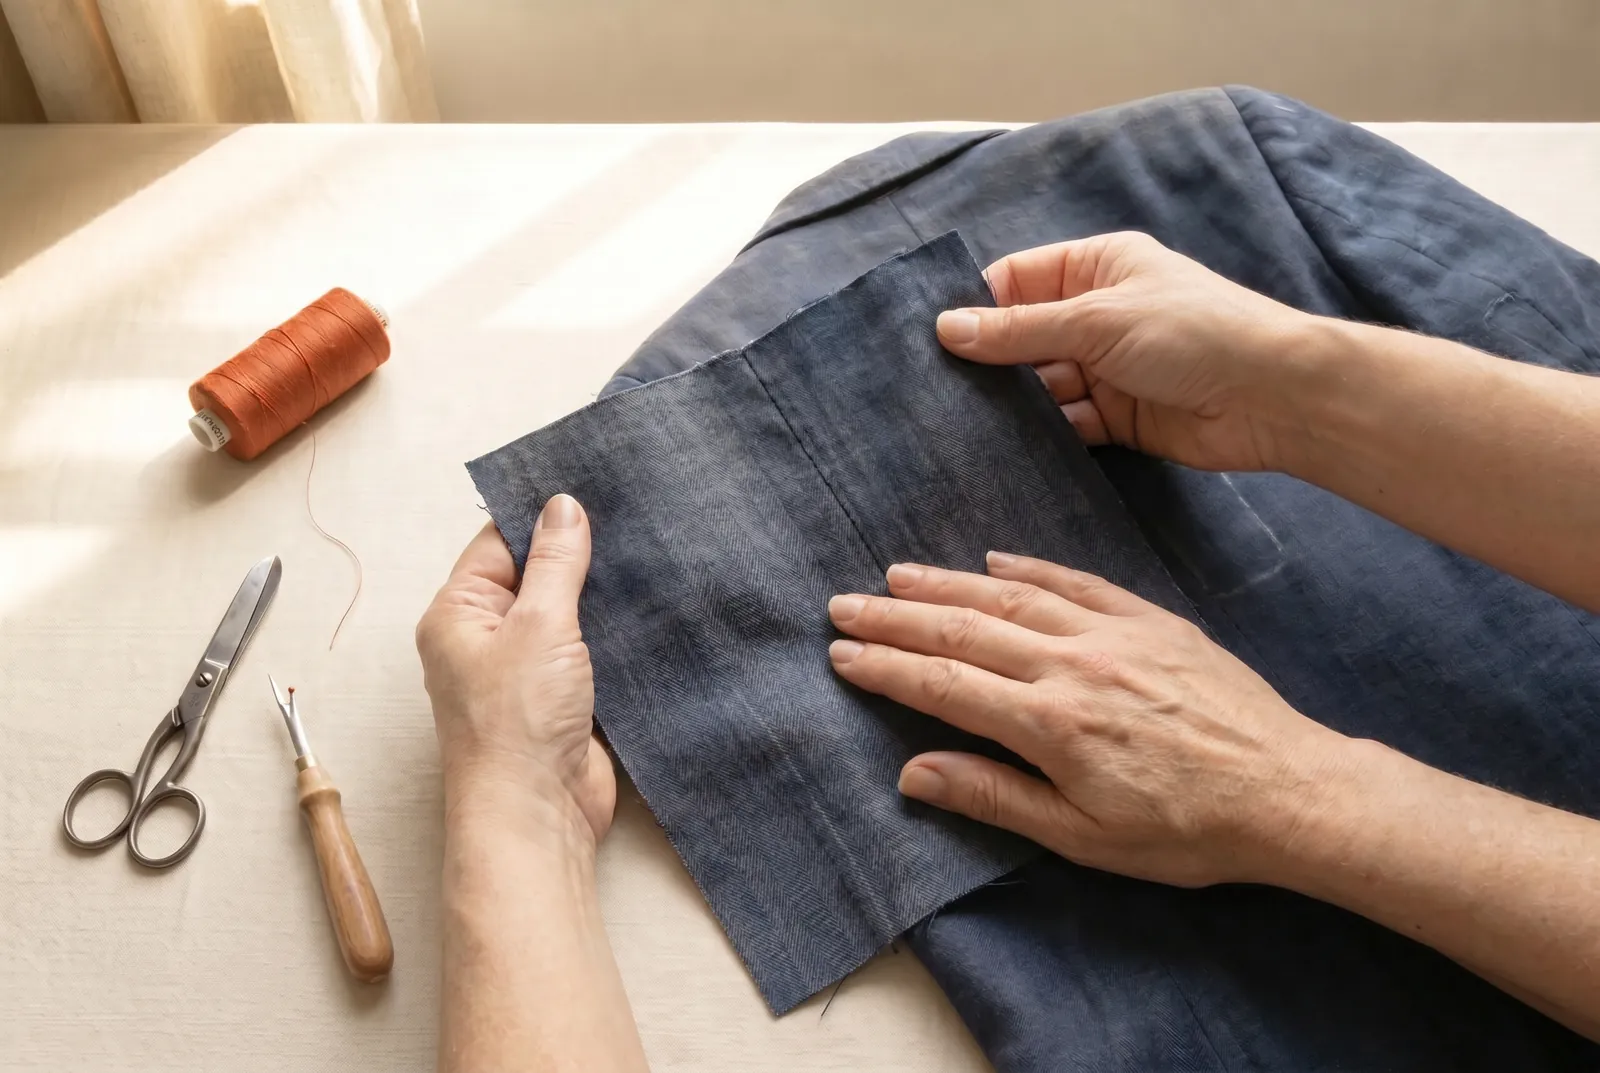
STEP 8/10Lay out and pin every piece before you cut anything. Place each piece with its lengthwise line along the warp, keep the largest pieces toward one end so the small ones fall in the spaces between, and pin them all down first — cloth once cut wrong cannot be cut over.
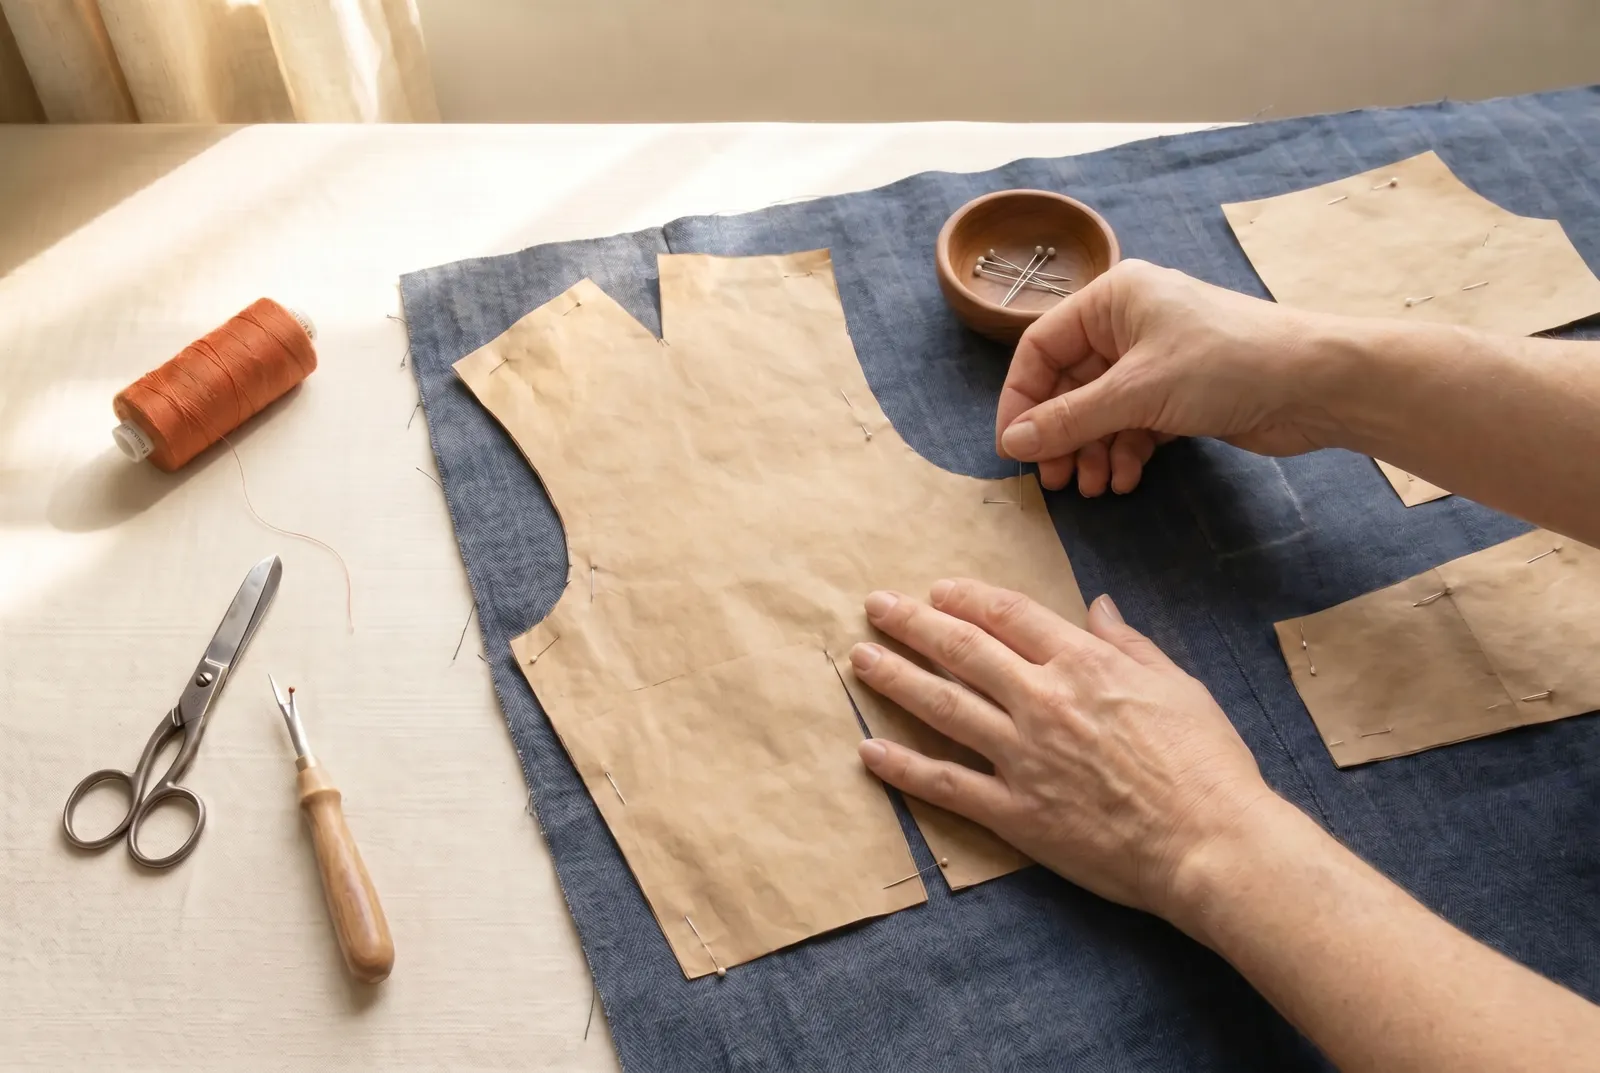
Step 9
STEP 9/10Cut the pieces only once everything is pinned. Cut the largest pieces first, from the soundest panels, then the smaller pieces from the spaces between.
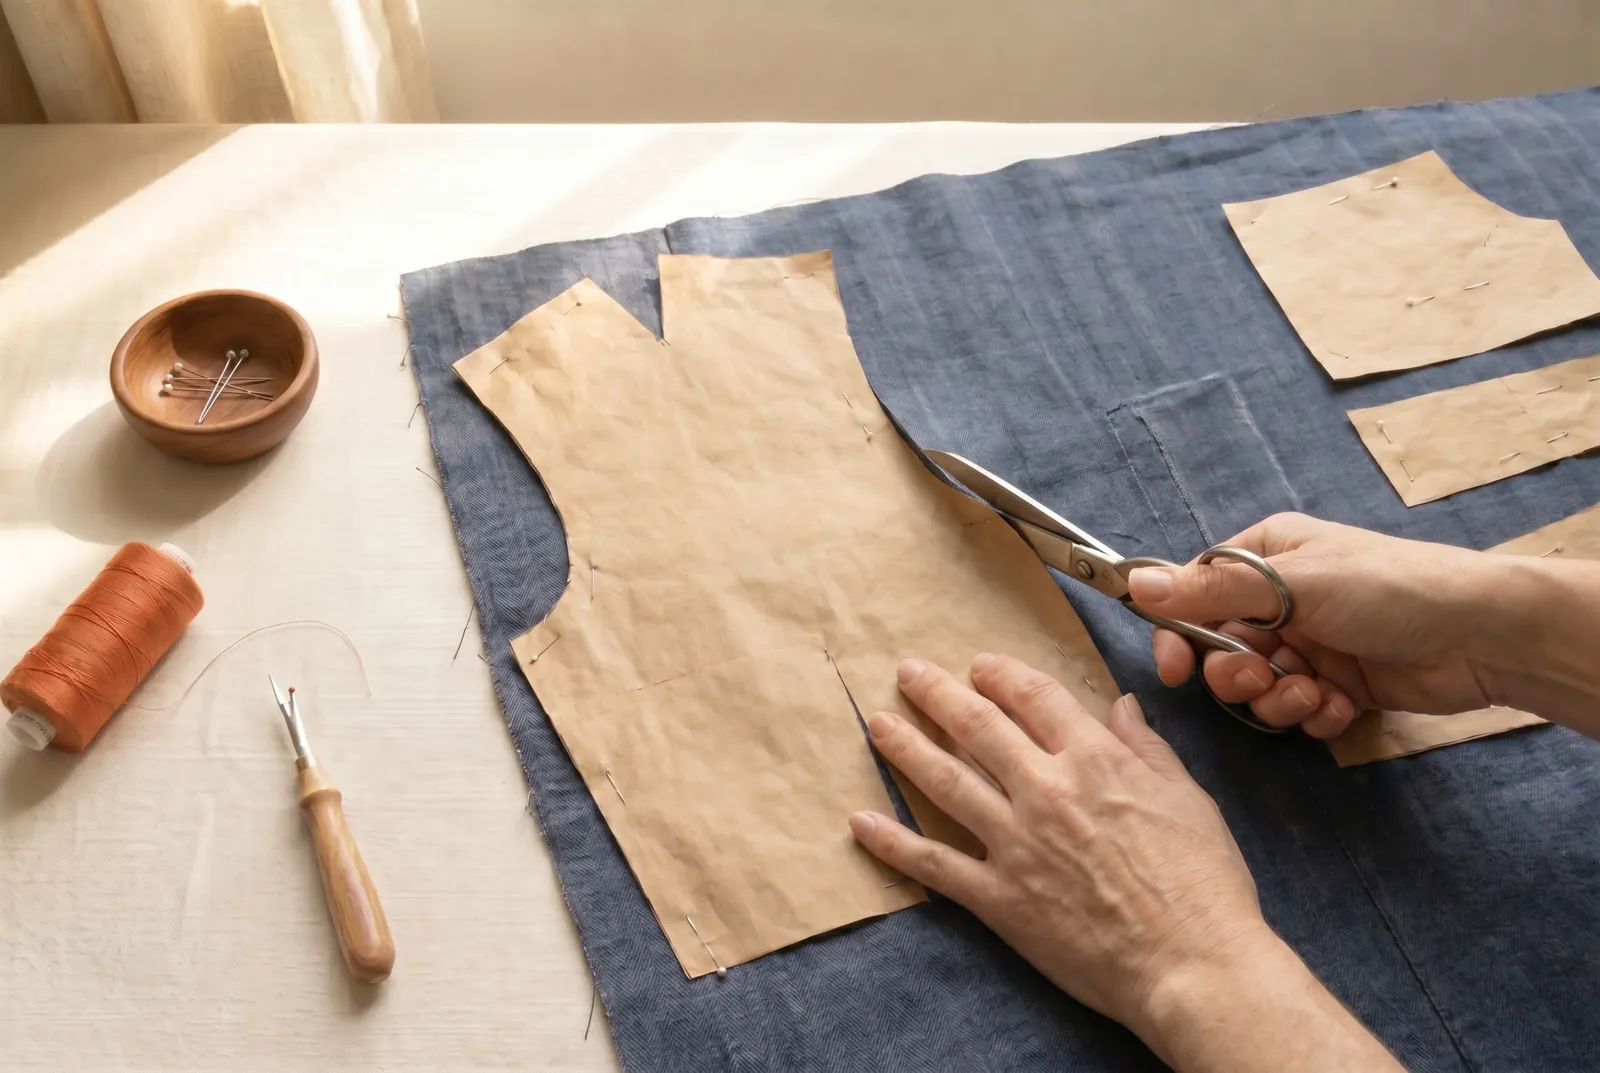
Step 10
STEP 10/10Save small and partly worn pieces for hidden work. Facings, collar linings, and patches come out of the sound scraps left over, and cloth too worn for a main piece will still face a hem or line a collar. Where you must join two pieces, seam two sound strips together where the join will be hidden rather than trusting one doubtful piece.