Sustainable Basics · piece Nº 19 · 60 min
Turn a cloth pouch into a drawstring produce bag
Add a drawstring casing and two pull-strings to a plain cloth pouch so it closes into a reusable produce bag. The two strings gather the mouth from both sides at once, which one string cannot do. This lesson covers the casing and the drawstrings; start from a plain cotton or linen pouch that is already seamed up both sides.
The seam · 10 steps
Step 1
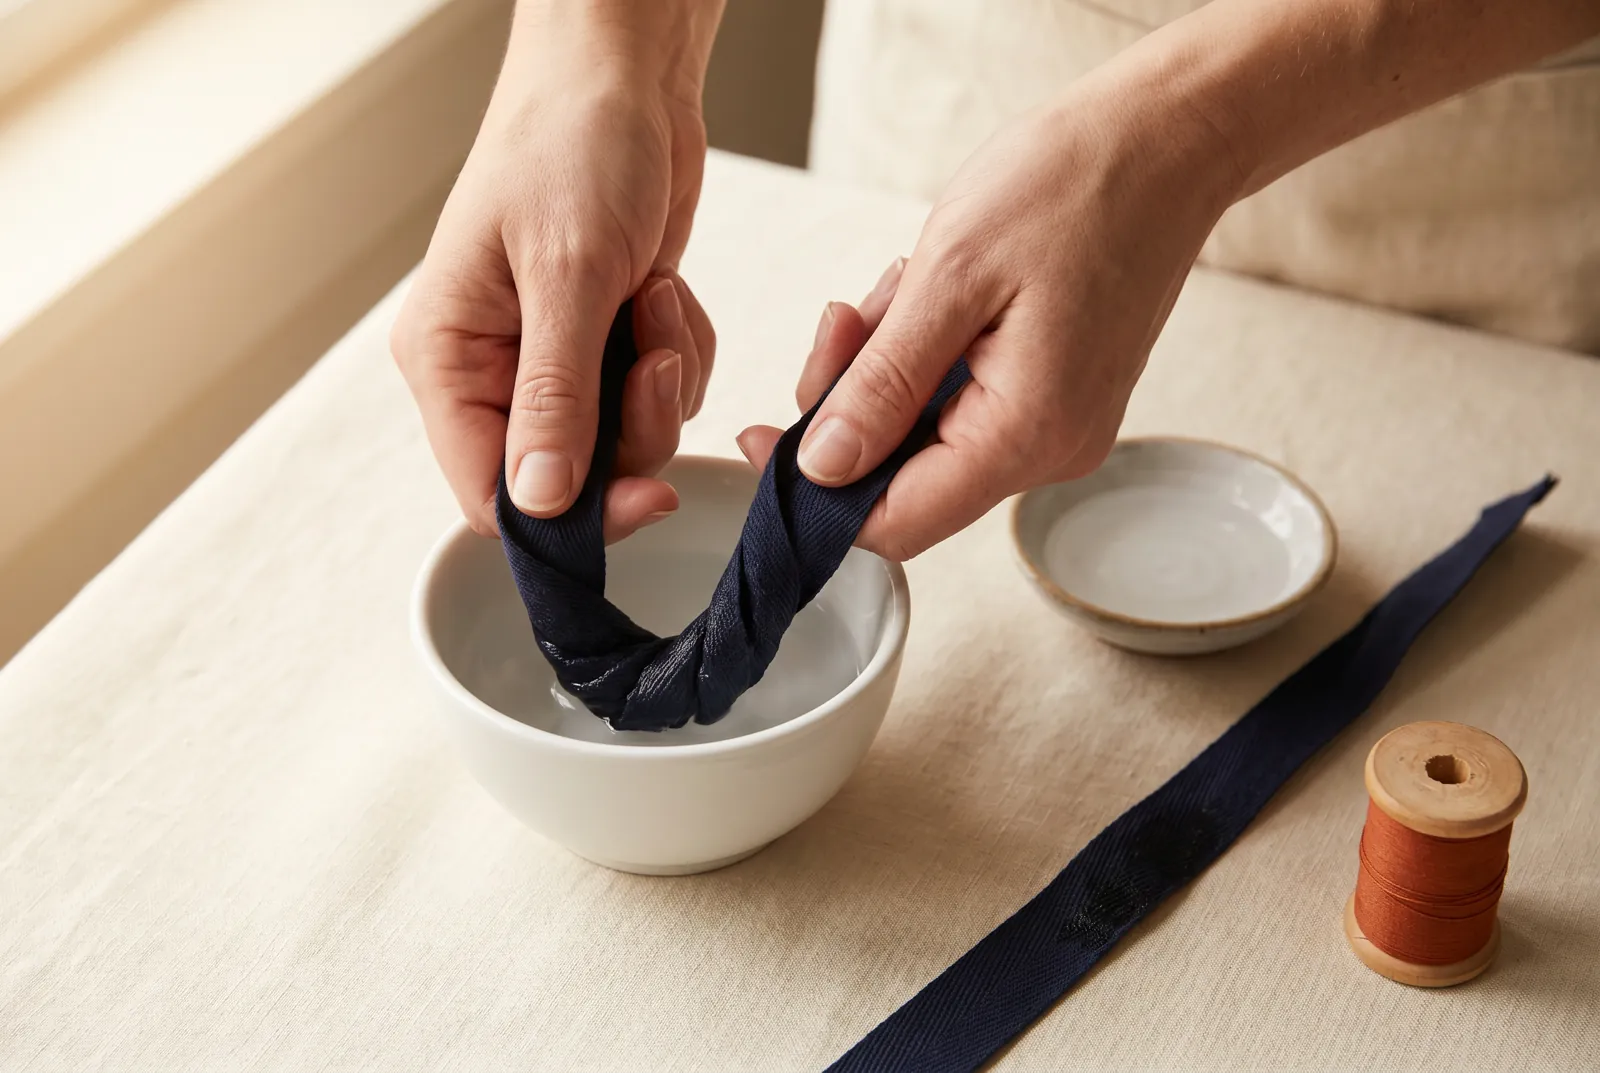
STEP 1/10Pre-shrink the two drawstrings: wet the tape, braid, or cord and let it dry fully before sewing, or a raw tape puckers the hem of a bag that will be washed. Sew with soft cotton thread (No. 40 to No. 70) rather than silk, since silk cuts wet cloth.
Step 2
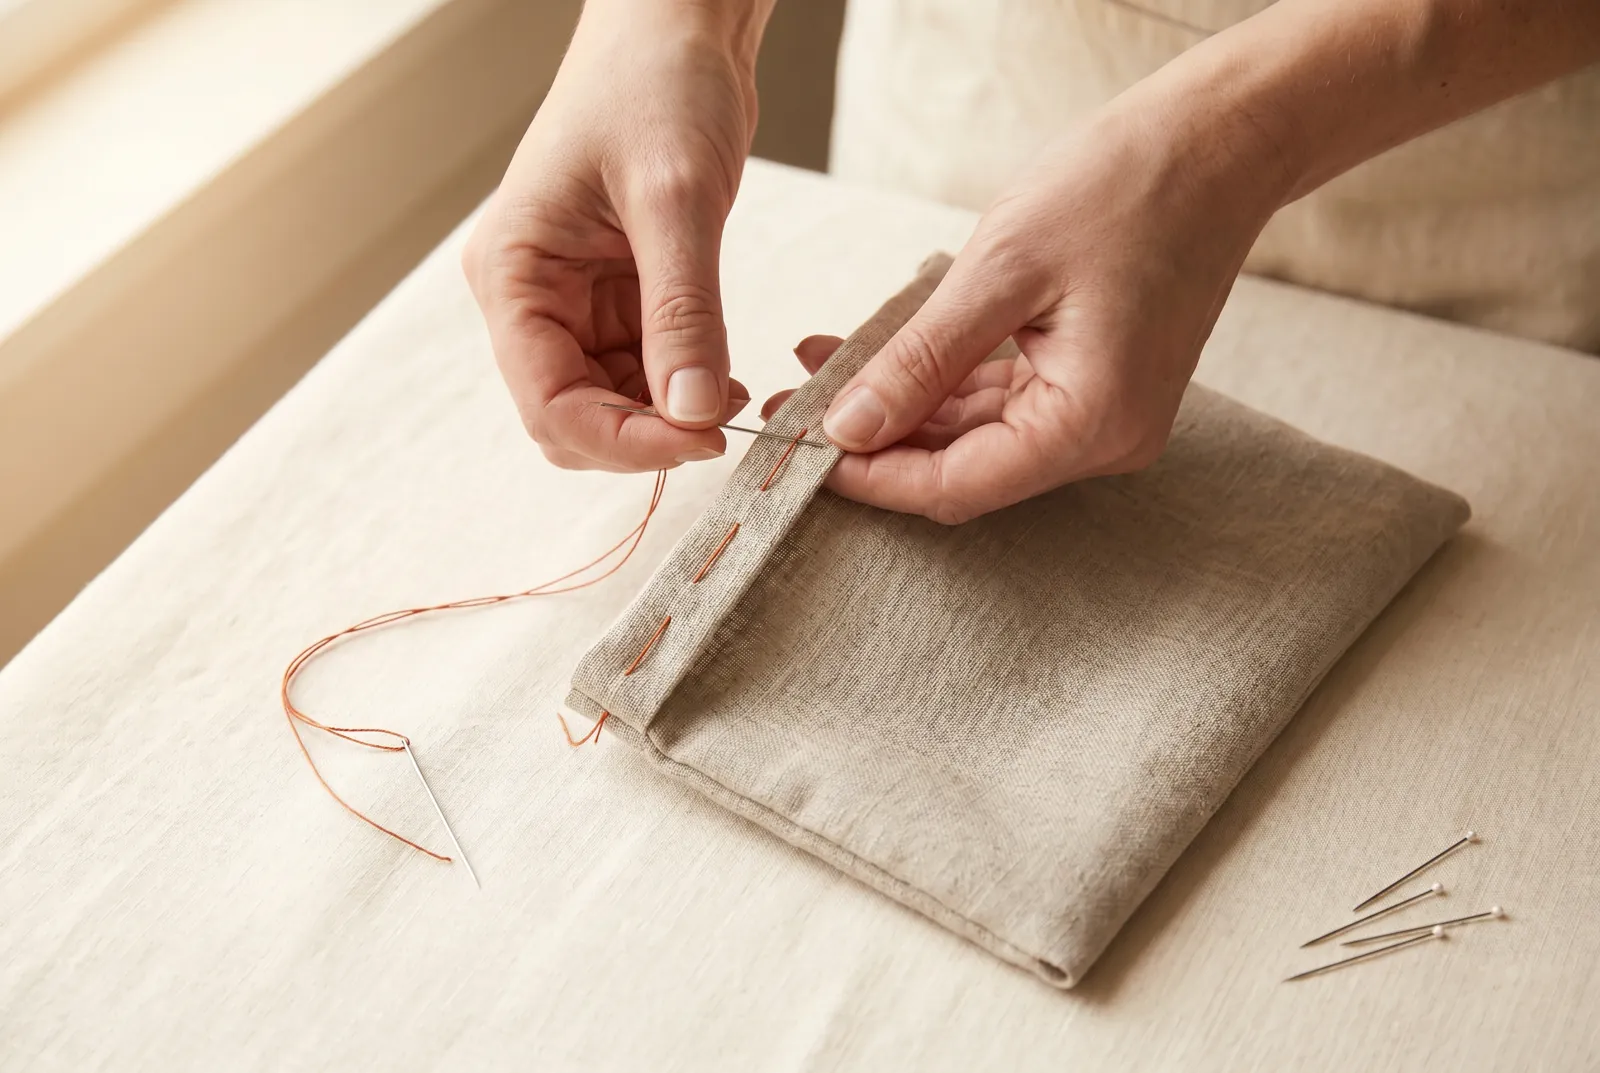
STEP 2/10Keep the bag right side out and turn its top edge to the wrong side (the inside) 0.6 cm (1/4 in), then fold it down again 3 cm (1 1/4 in). Baste this doubled fold all the way around so it holds while you stitch. Folding to the inside while the bag is right side out keeps the channel hidden and lets the top edge flare outward as a frill.
Step 3
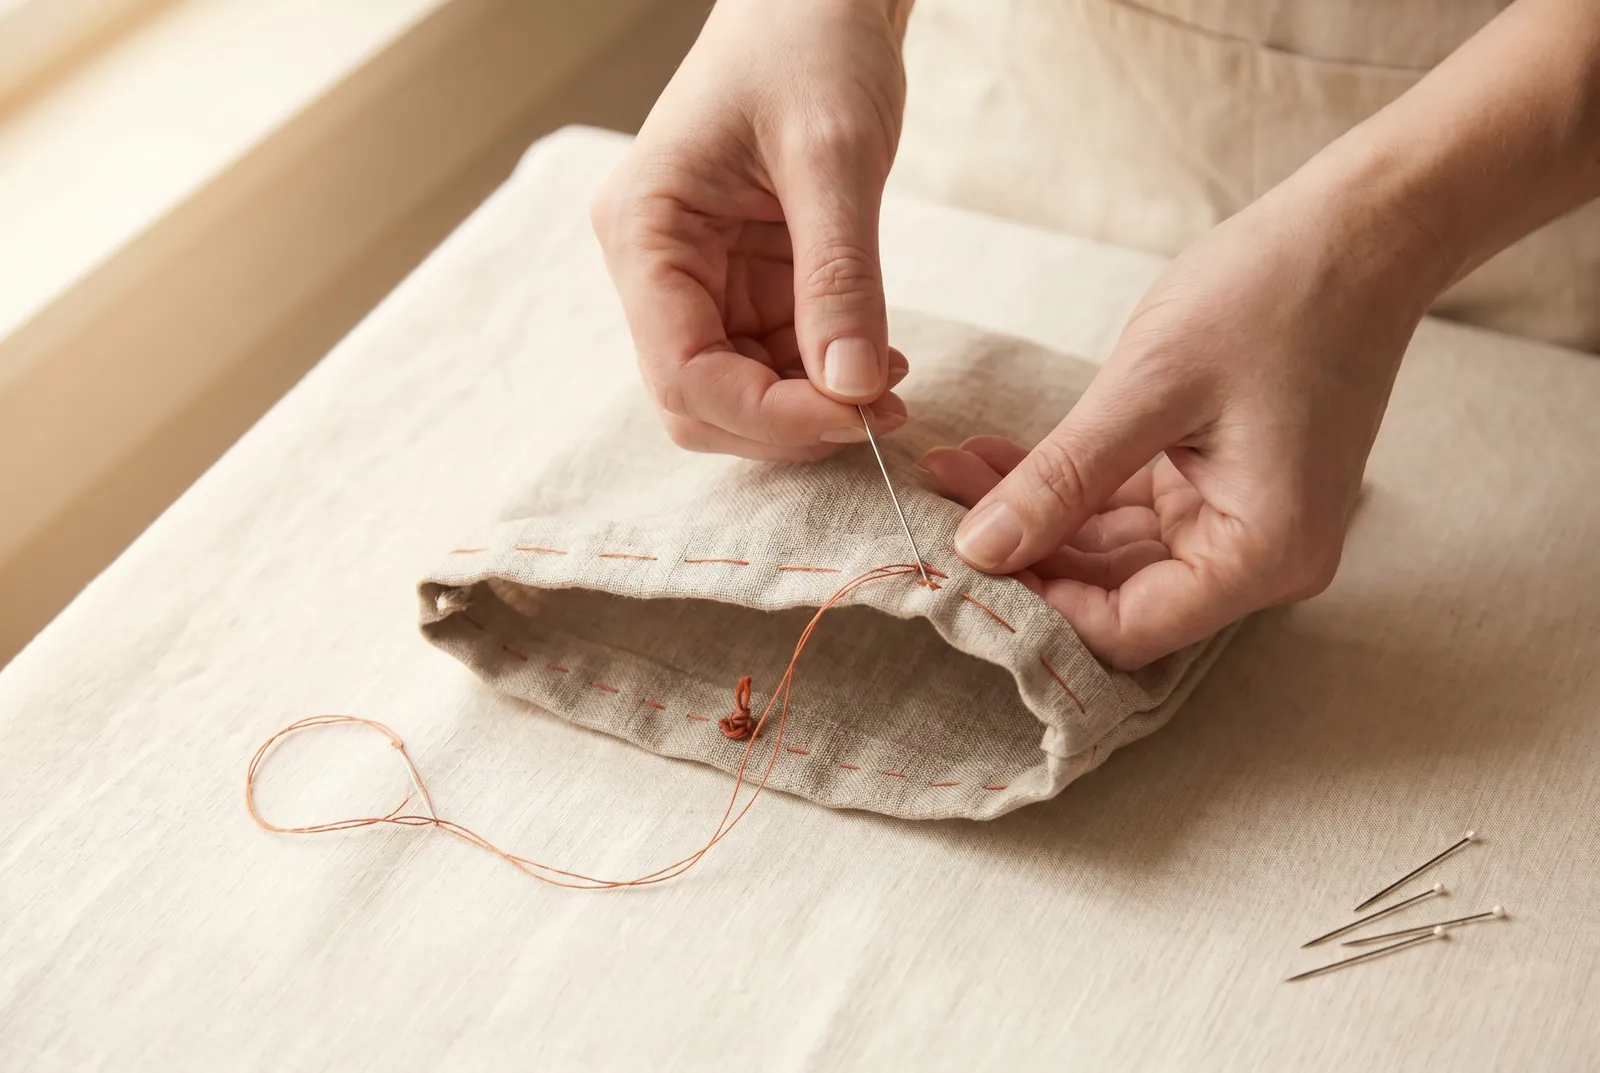
STEP 3/10Hem or machine-stitch the lower edge of the fold down, sewing all the way around the bag. By hand, knot the thread to start and fasten off with two or three small backstitches when the row is done. This first row of stitching is the bottom of the casing.
Step 4
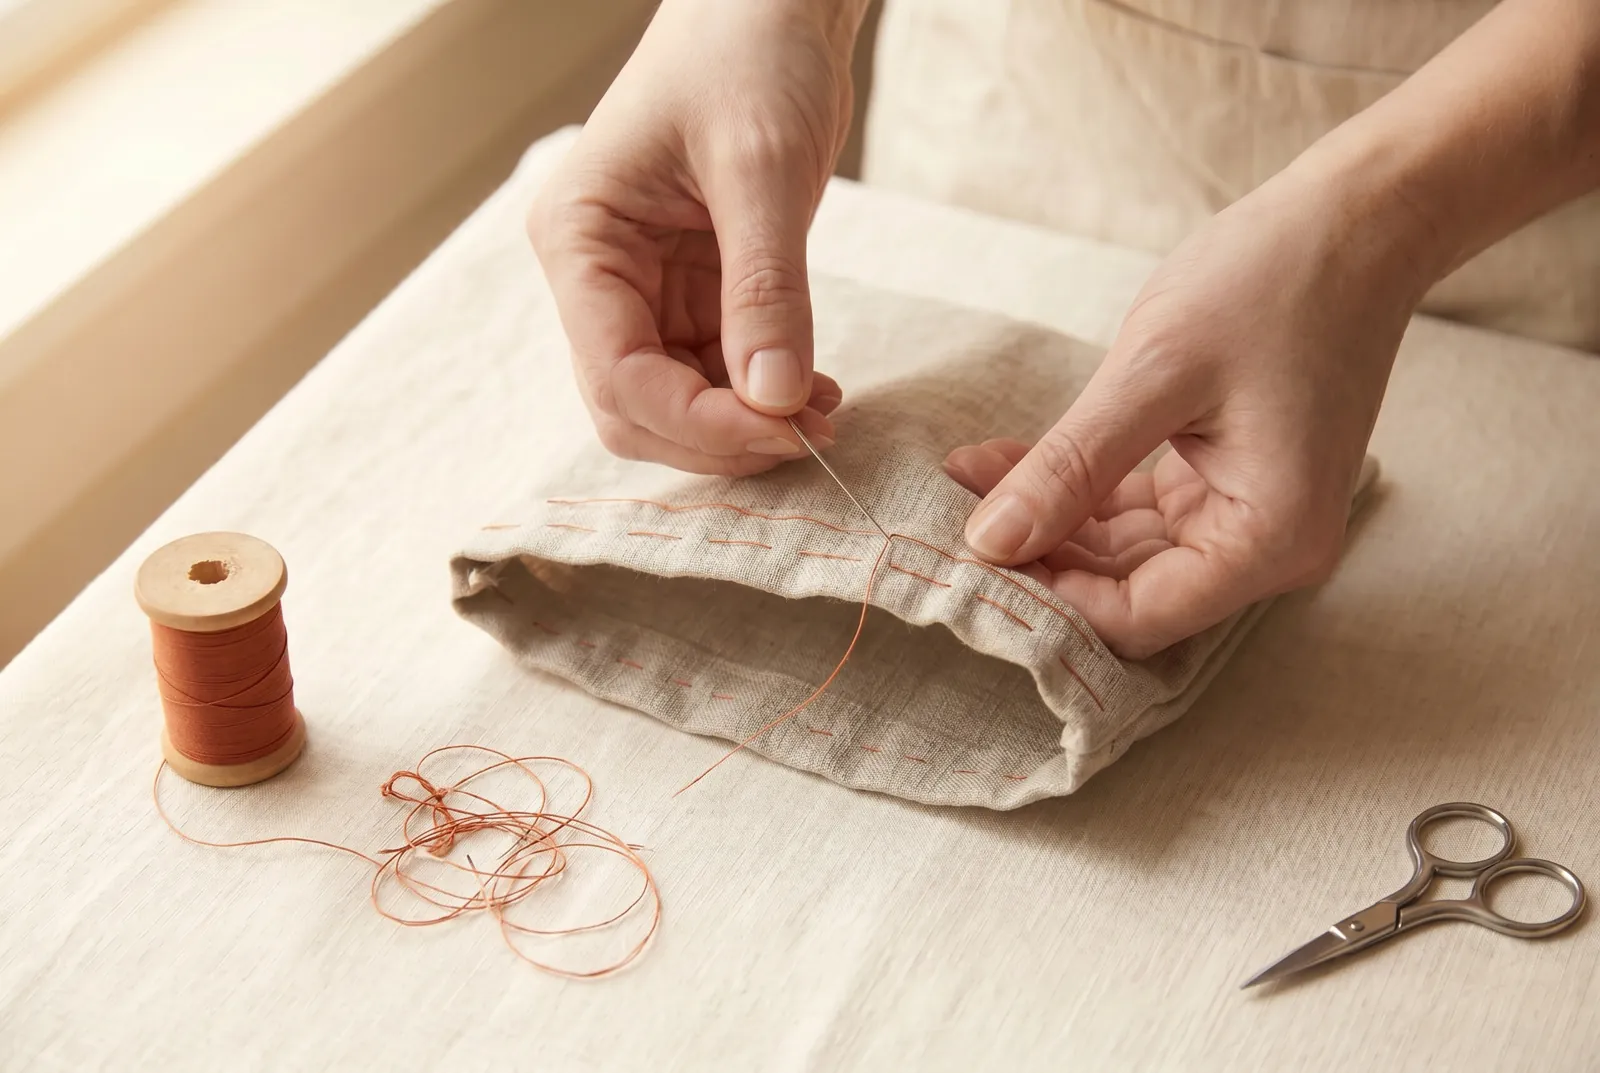
STEP 4/10Sew a second row 1.3 cm (1/2 in) above the first, again all the way around, secured at both ends the same way. Then pull out the basting from the folding step — the two stitched rows hold the fold now. The channel between the rows is the casing, and the band of cloth above it stands up as a frill when the bag is drawn shut.
Step 5
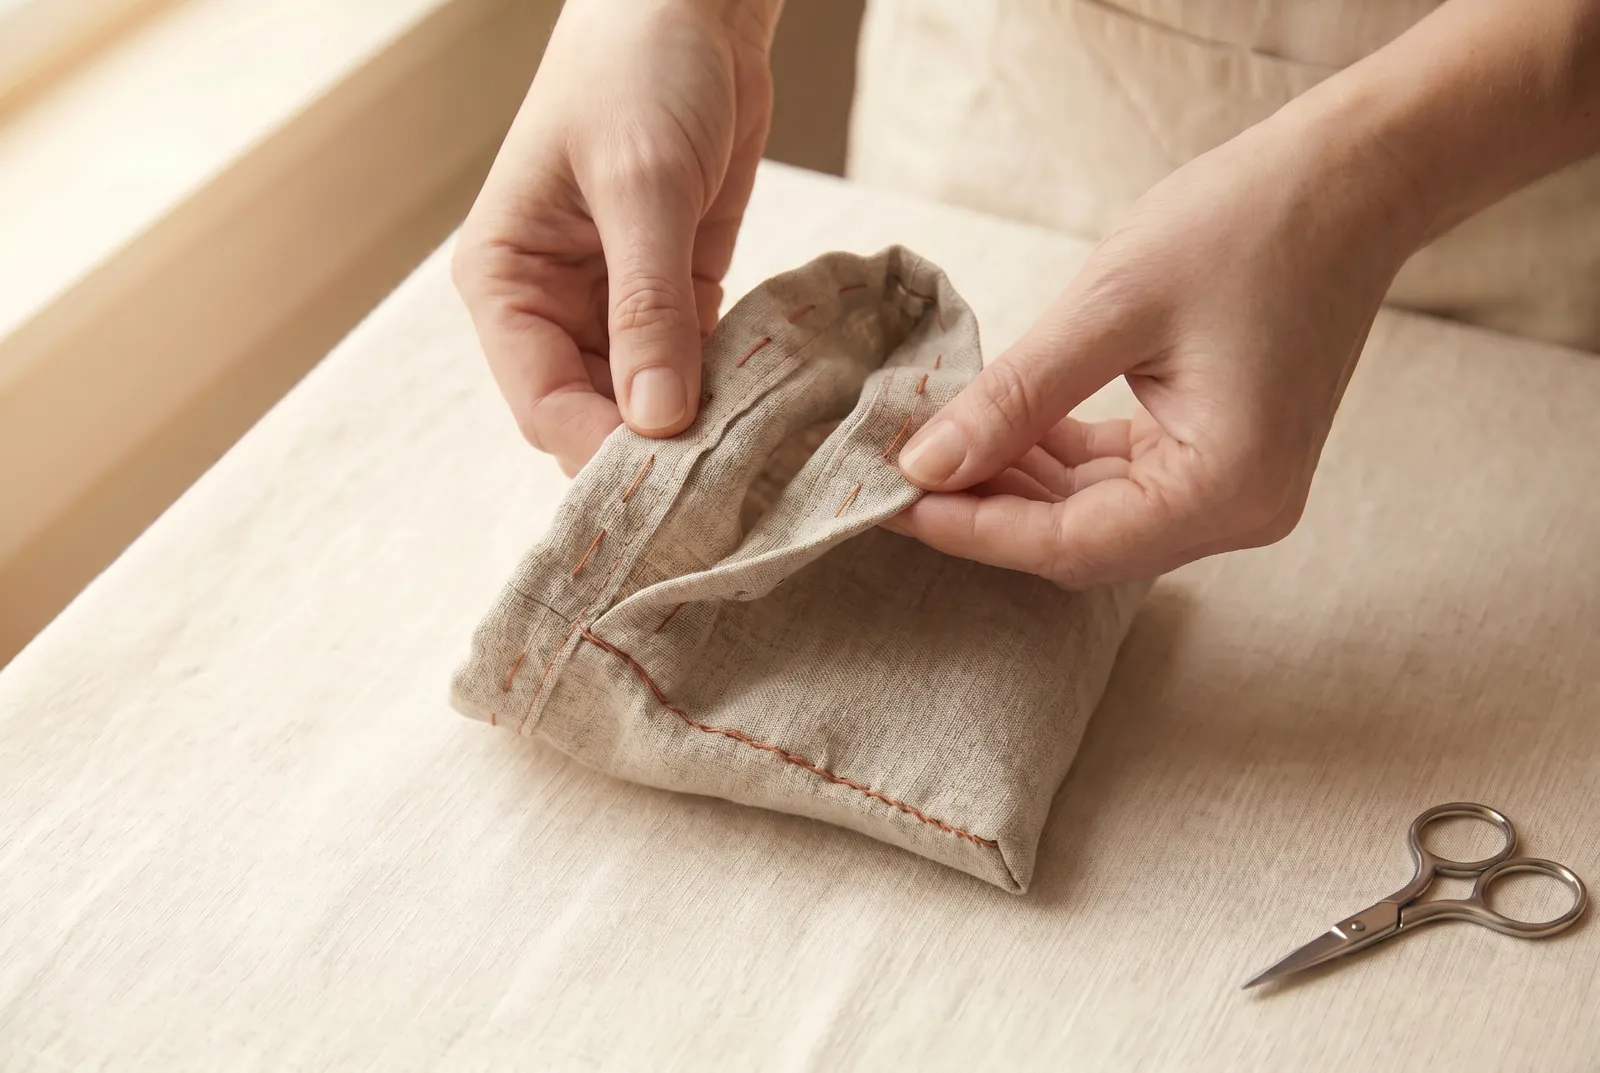
STEP 5/10Check that the top of each side seam is open across the casing, so each opening runs into the channel between the two rows of stitching. The two openings should sit on opposite sides of the bag; close the seam again anywhere it gapes below the casing, so no slit is left under the channel.
Step 6
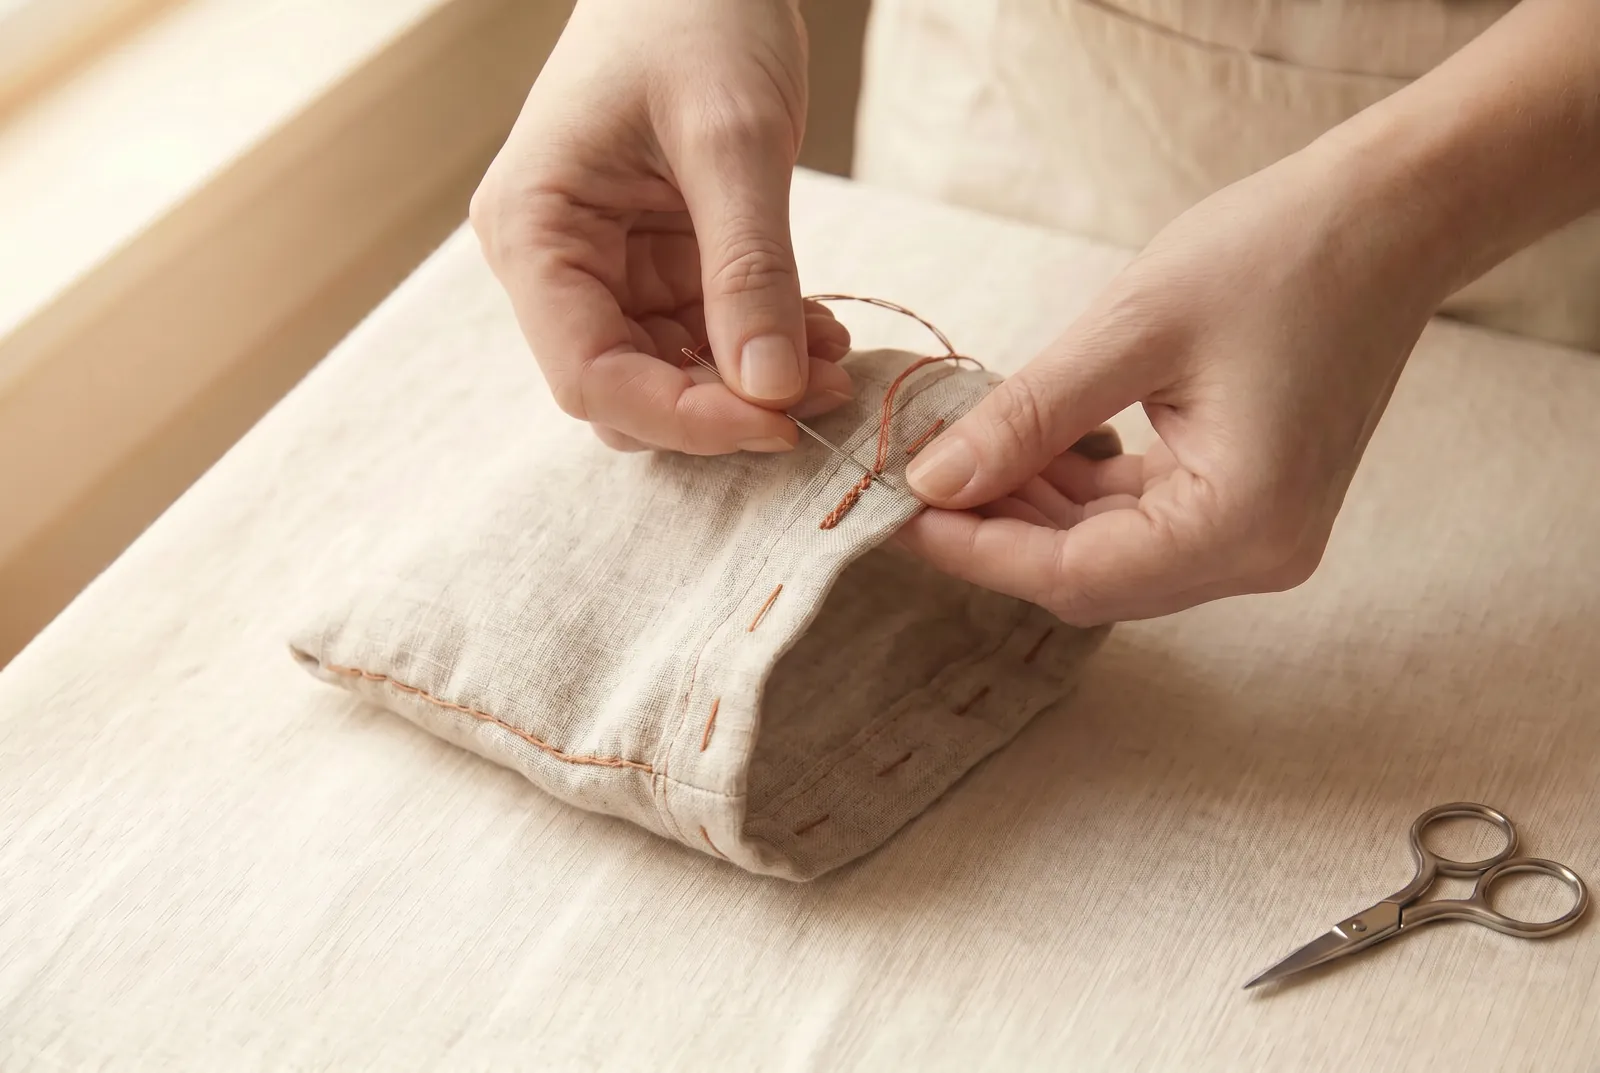
STEP 6/10Reinforce each opening where the drawstring will rub. Turn in a double thickness of cloth at the opening, or work a short bar of stitching back and forth across the seam end, fastening the thread off into the cloth when the bar is done, so the casing mouth does not tear in use.
Step 7
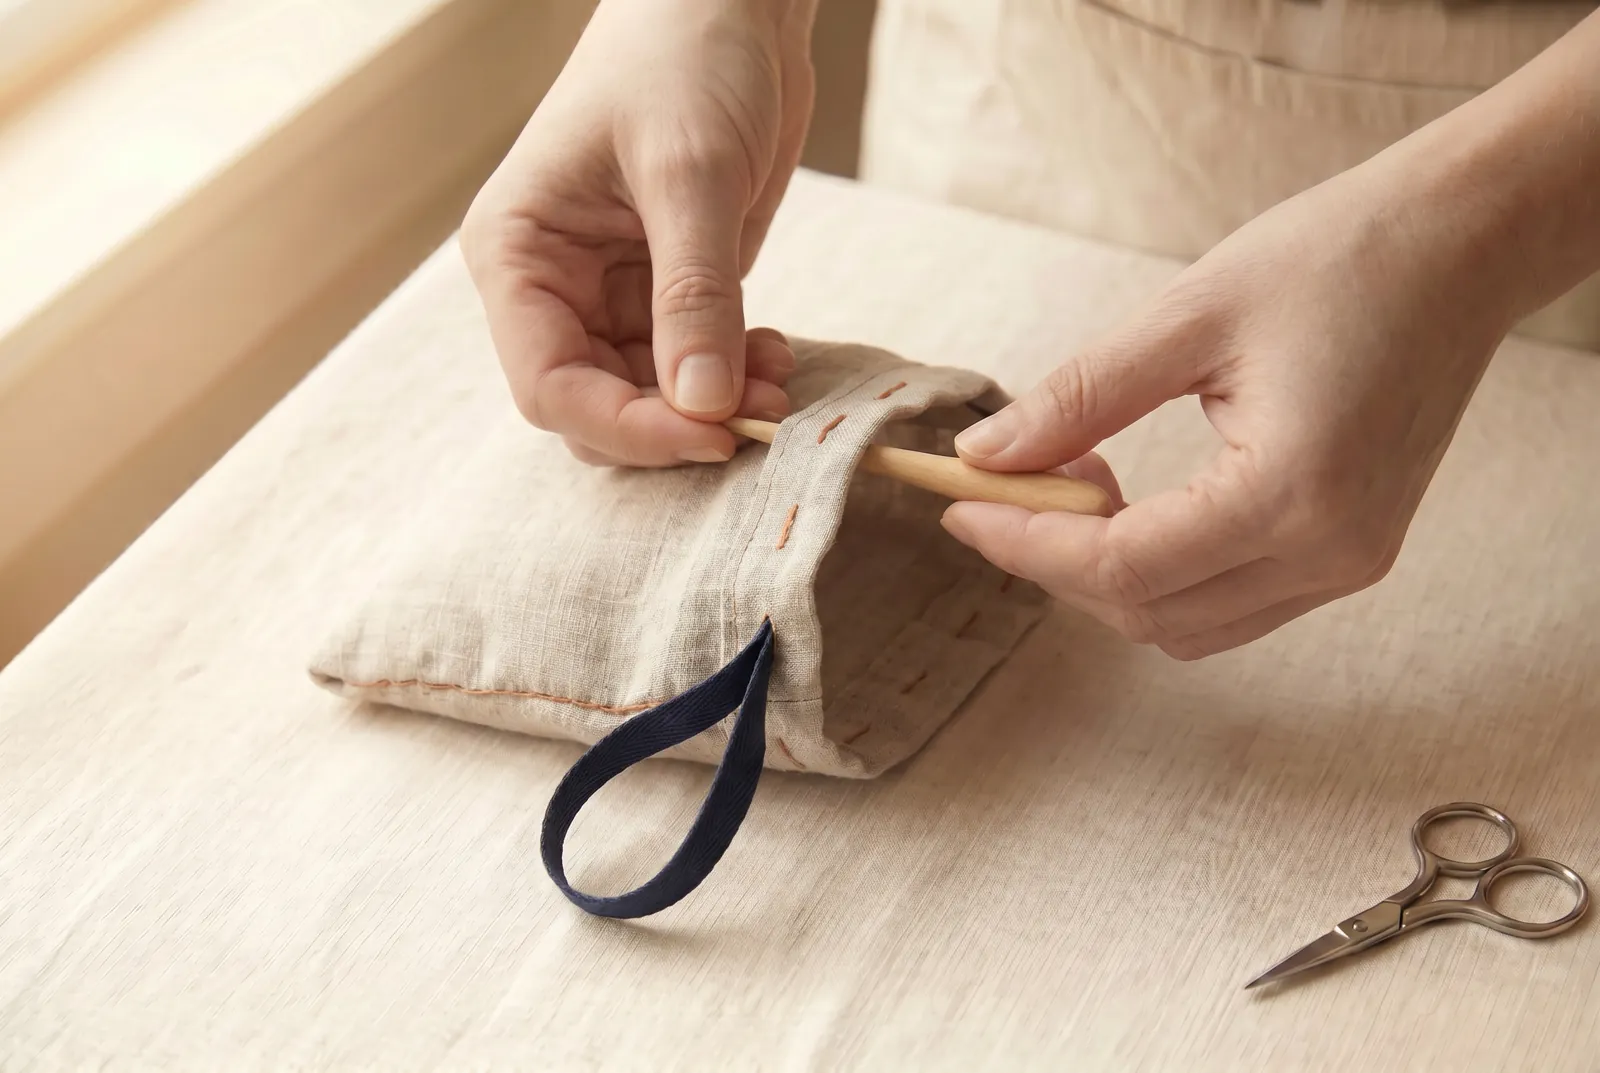
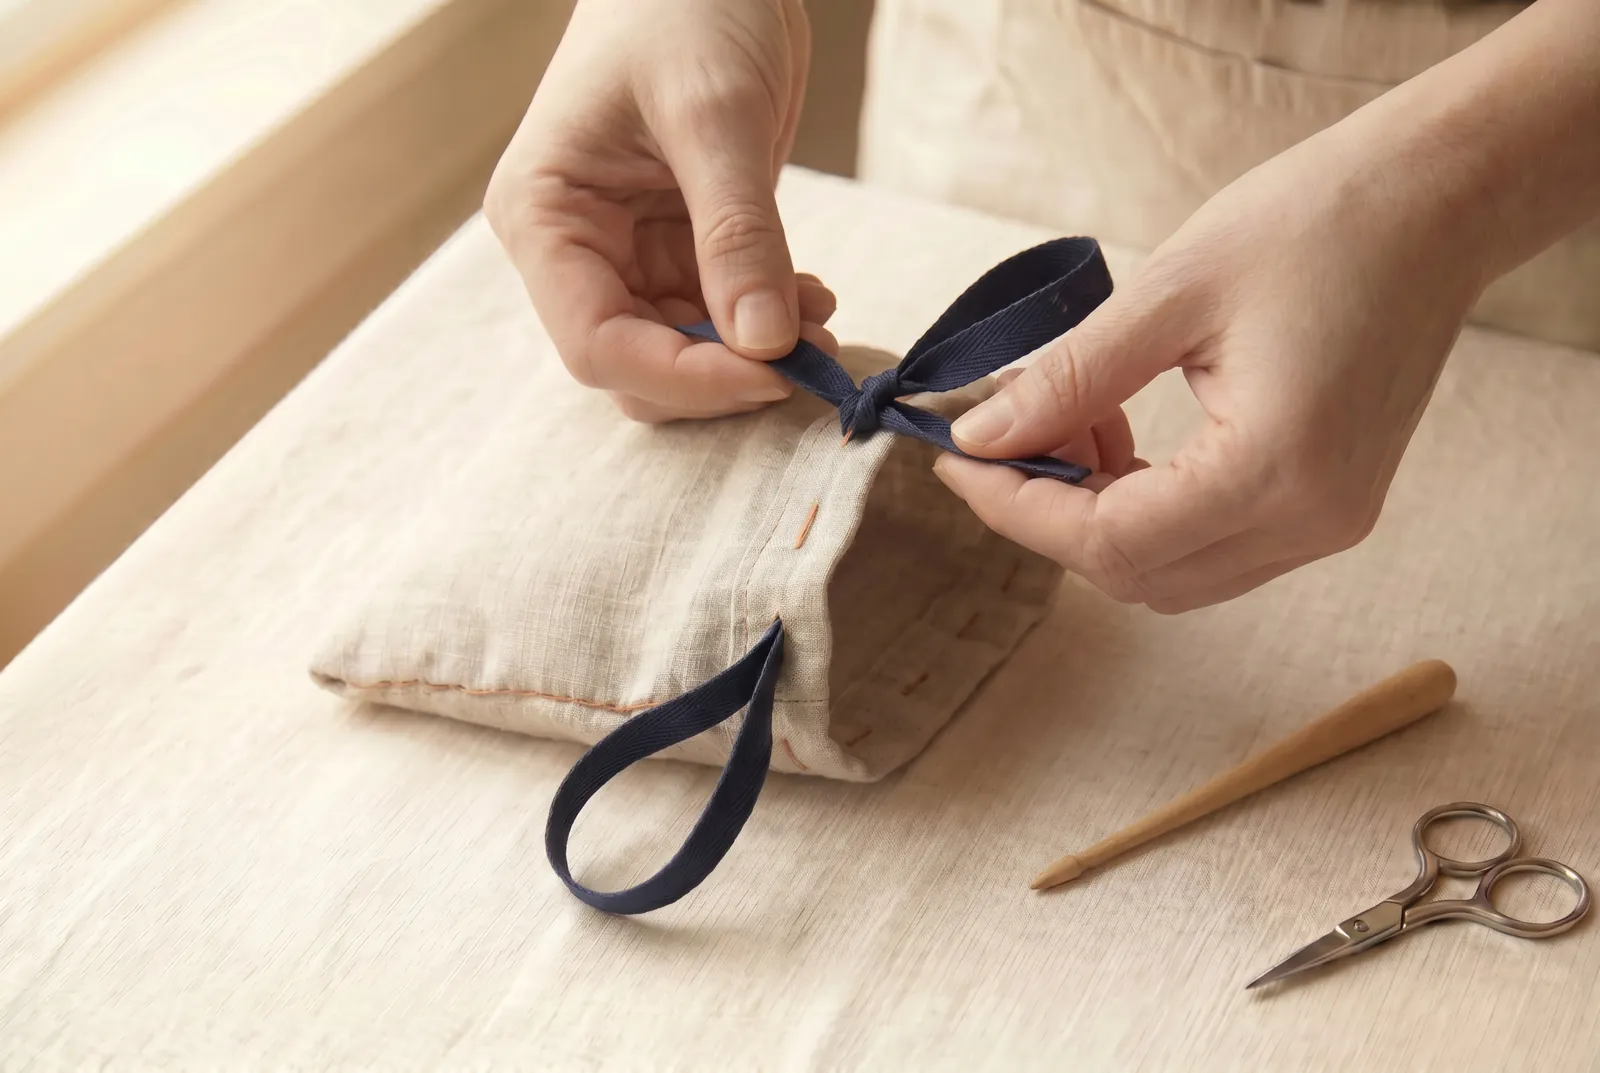
STEP 7/10Fasten a bodkin or small safety pin to one drawstring and run it in through one side opening, around the whole bag through the casing, and out the same opening it entered; knot or sew its two ends together. If the 60 cm string barely reaches around, the mouth is too wide — the string must circle the bag and still leave a loop to pull.
Step 8
STEP 8/10Run the second drawstring the same way, starting from the opening on the opposite side, and join its two ends. A loop now hangs at each side of the bag.
Step 9
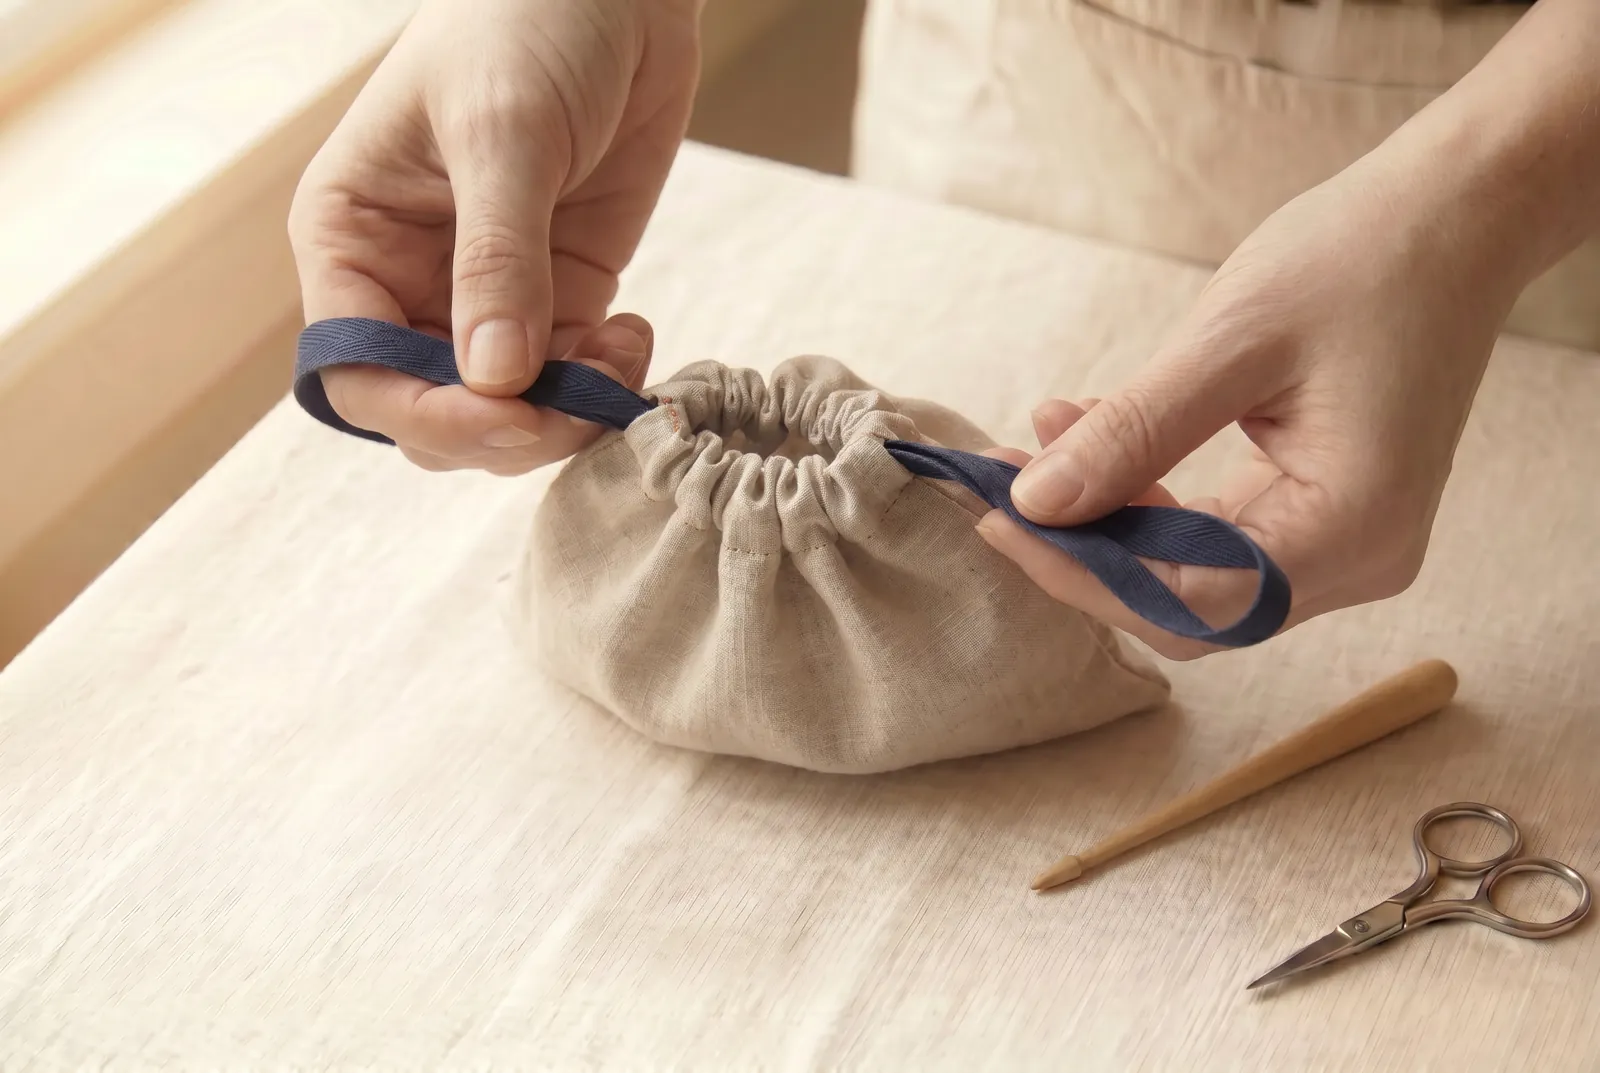
STEP 9/10Draw the two loops apart. The mouth gathers closed from both sides at once — a pull that one string alone cannot give. Even out the gathers so the frill sits evenly around the top.
Step 10
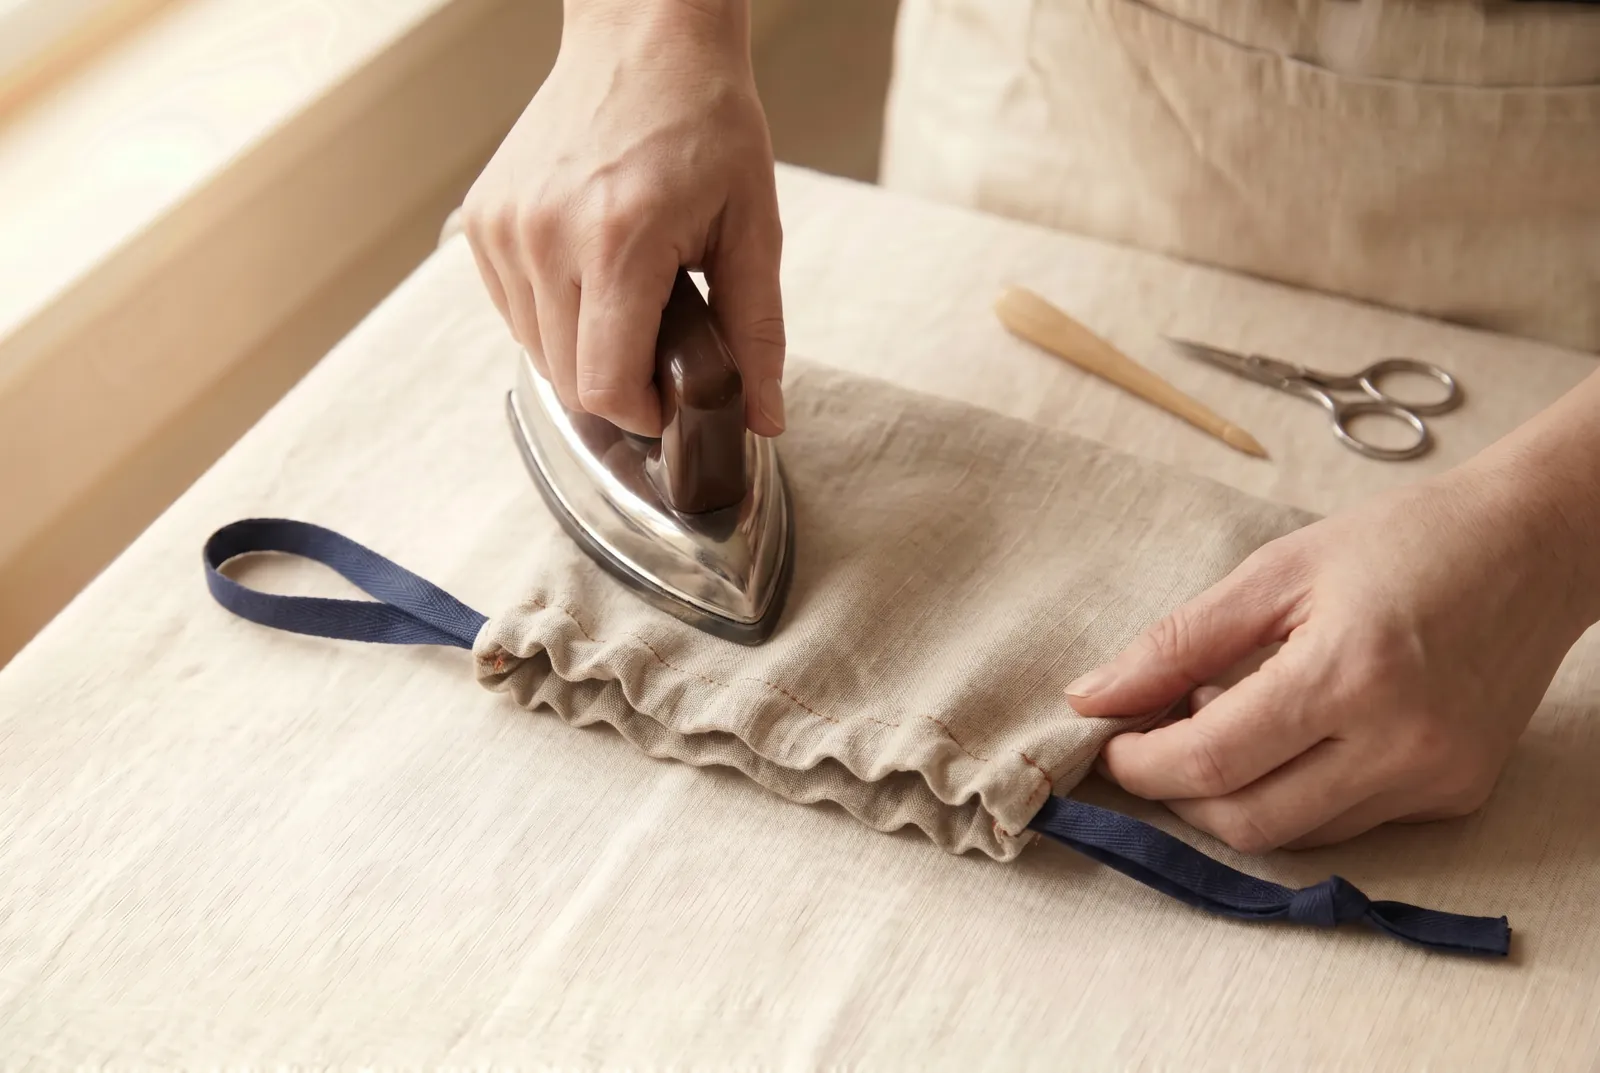
STEP 10/10Press the finished bag flat with the iron, casing and frill smoothed down. For a bag meant to carry heavier loads, start again with stouter cloth, a deeper hem, and firmer cord.