Sustainable Basics · piece Nº 20 · 54 min
Make a fabric scrunchie with a hidden French seam
Make a fabric scrunchie from a strip of light, washable fabric, ideally a piece salvaged from a worn-out garment. You join it into a tube with a French seam that shuts every raw edge inside, so it holds up to repeated washing without fraying, then thread it with elastic and close it into a ring.
The seam · 9 steps
Step 1
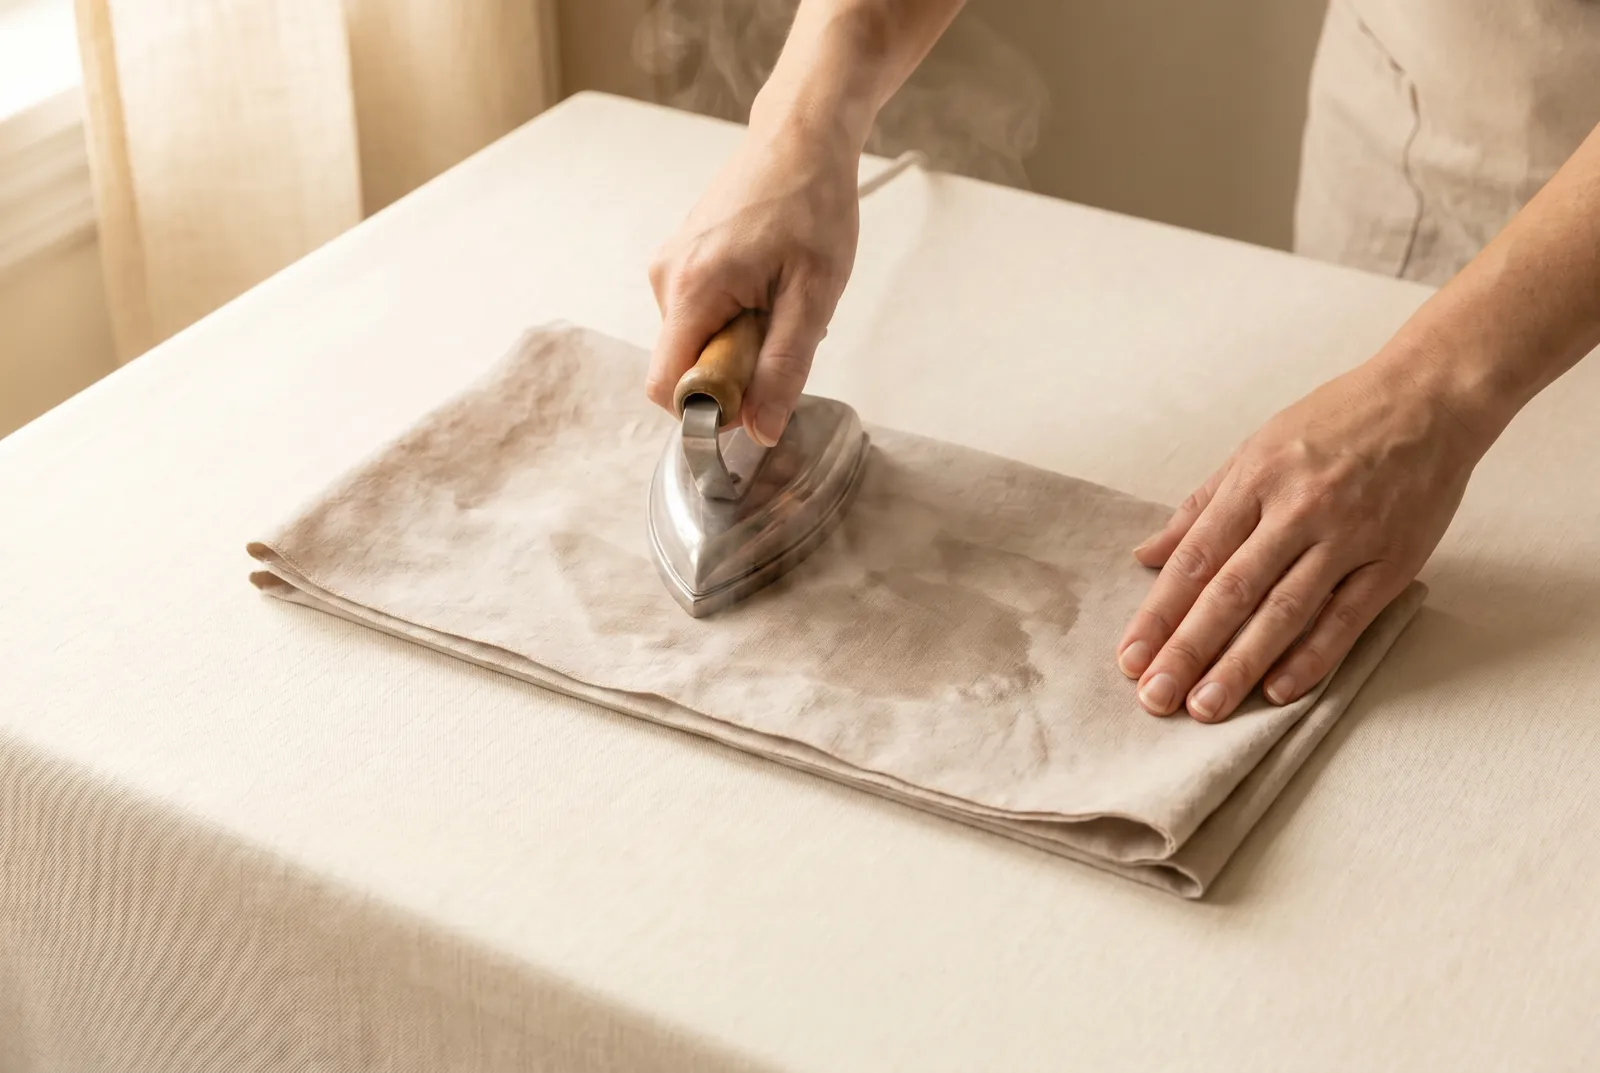
STEP 1/9Wash and dry your fabric before you cut anything, then press it flat. Anything that goes into a wash garment has to be shrunk first, or it will pucker later; cotton and linen take a hot iron and can be pressed damp.
Step 2
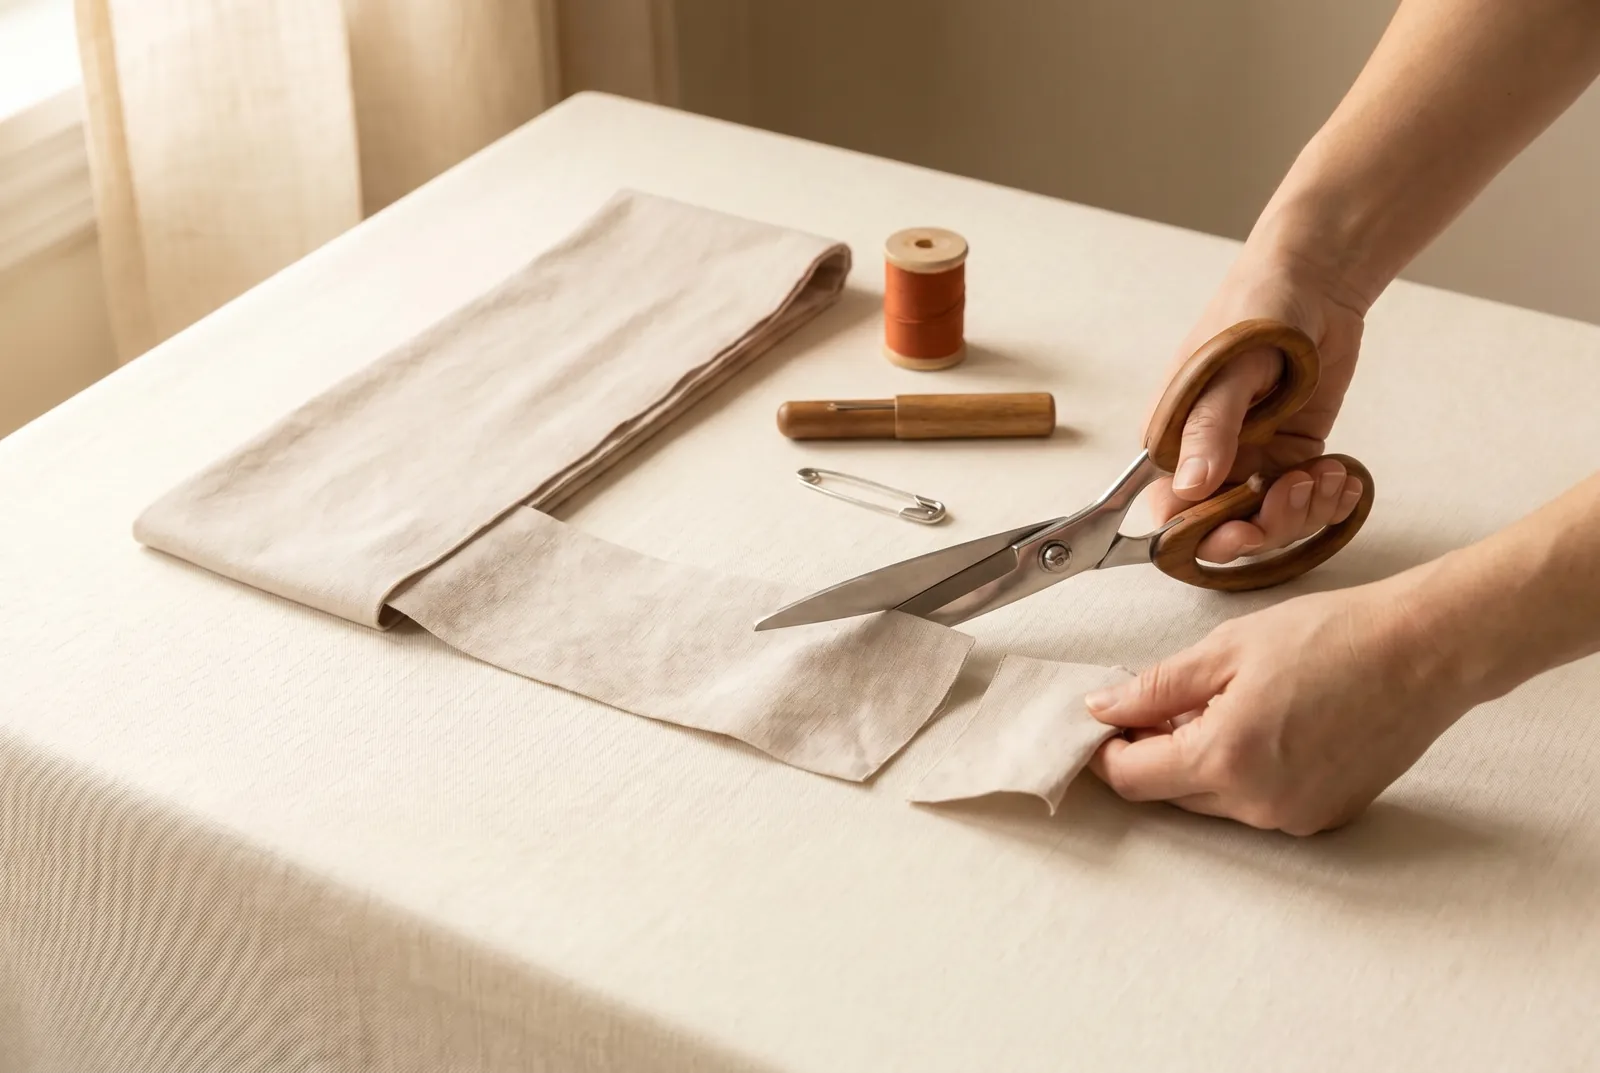
STEP 2/9Cut a strip about 55 cm long and 10 cm wide (22 x 4 in) from a light, washable fabric, since a French seam is too thick for heavy goods. Allow the same seam width you would for a plain seam. If a salvaged piece is not long enough, seam two sound strips together end to end to reach the length rather than settle for one doubtful piece.
Step 3
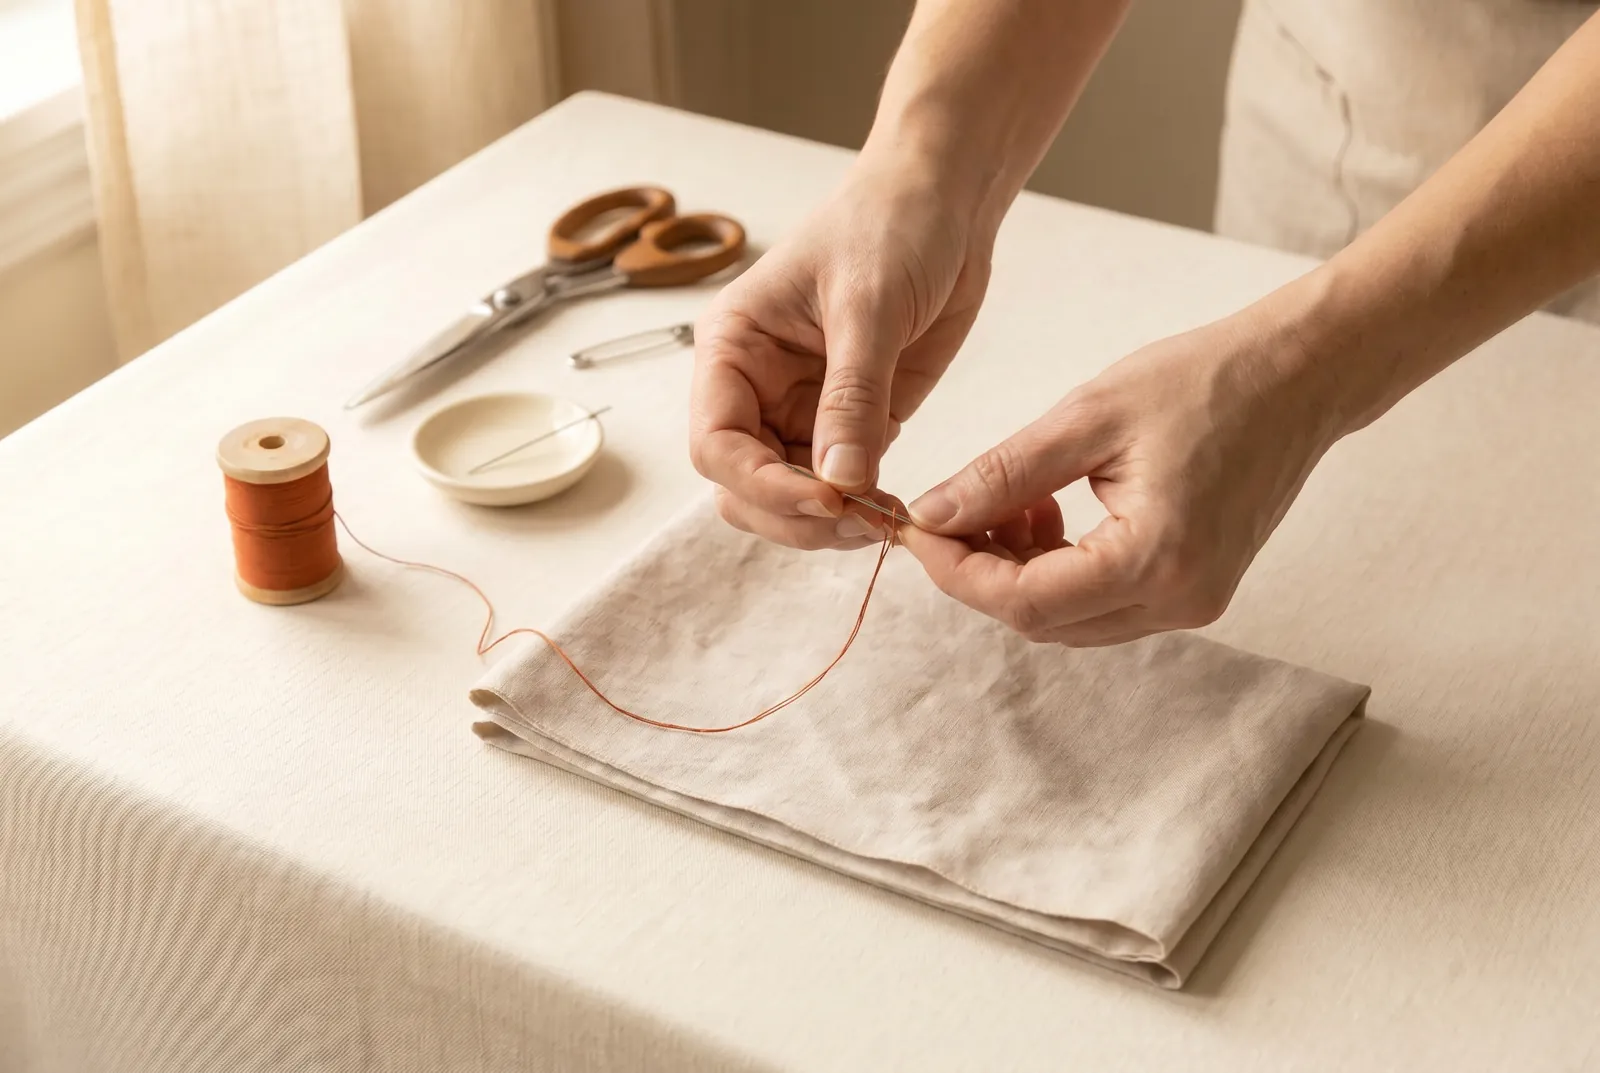
STEP 3/9Thread the needle with soft cotton thread rather than silk. A scrunchie is washed often, and silk cuts wet cloth where soft cotton holds.
Step 4
STEP 4/9Fold the strip in half along its length so the two long raw edges line up, and sew a first line of stitching about 3 mm (1/8 in) in from those edges; a straight seam like this is where a French seam works best. Keep it narrow, because a wide French seam is clumsy and marks a ridge under the iron. If the fabric is slippery, baste this line first so it does not shift.
Step 5
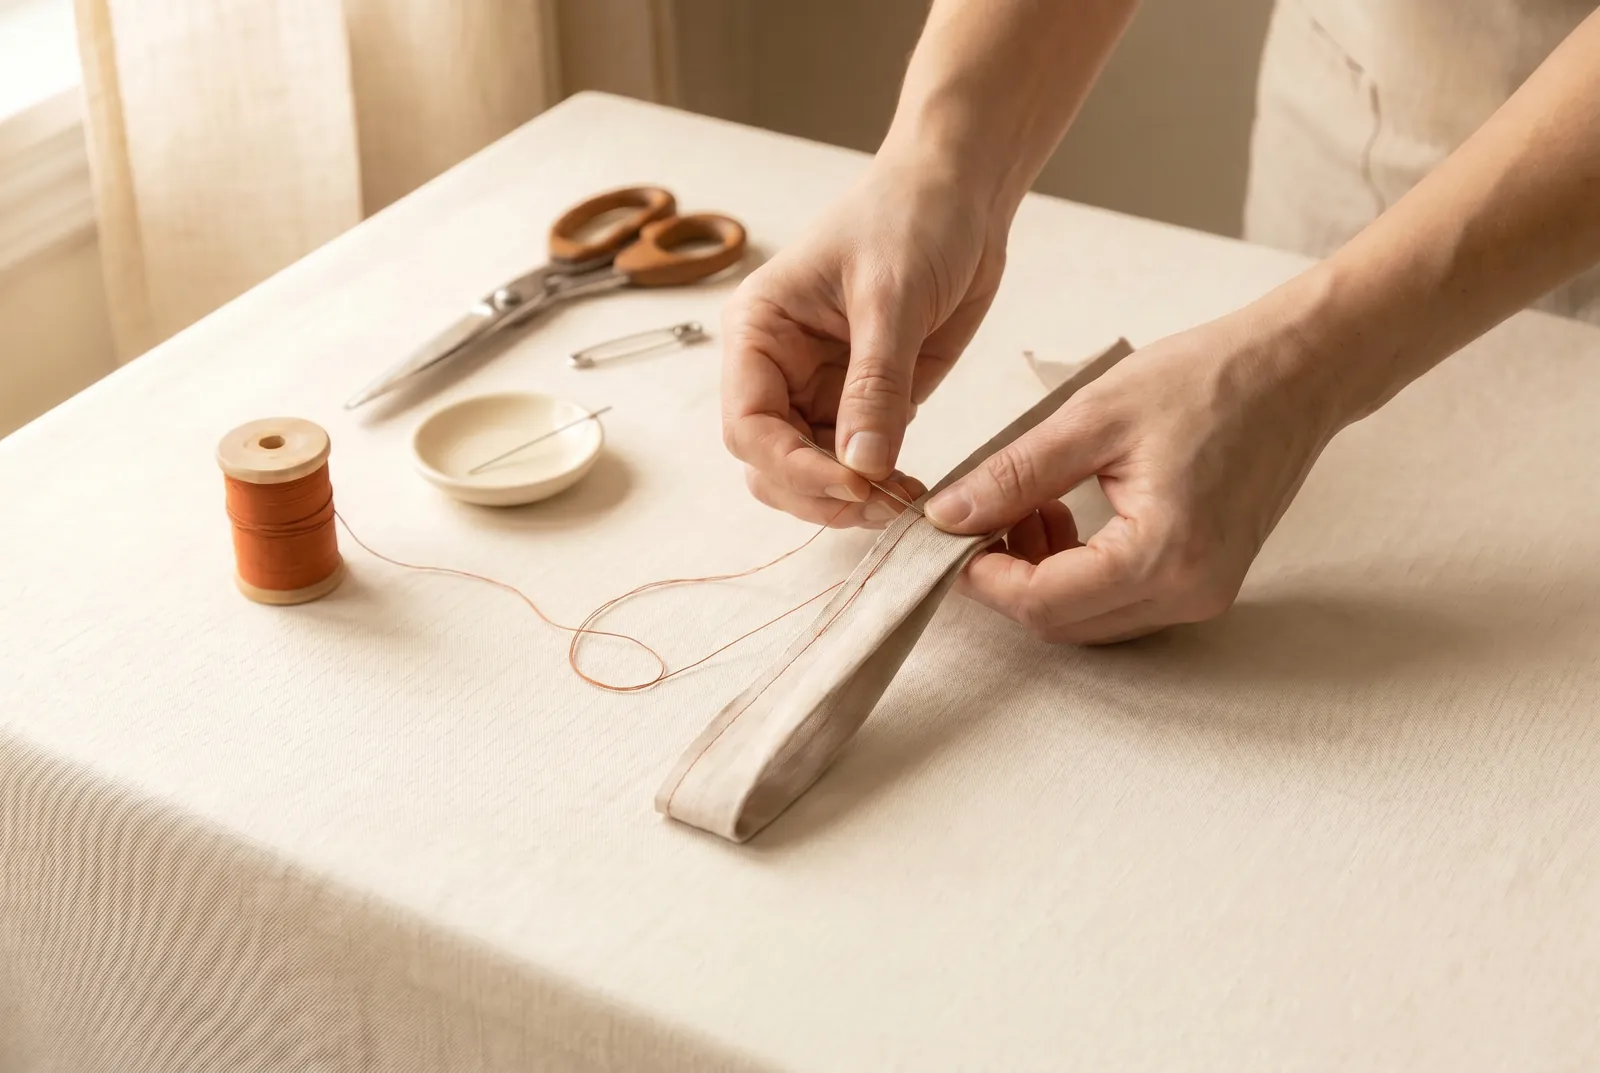
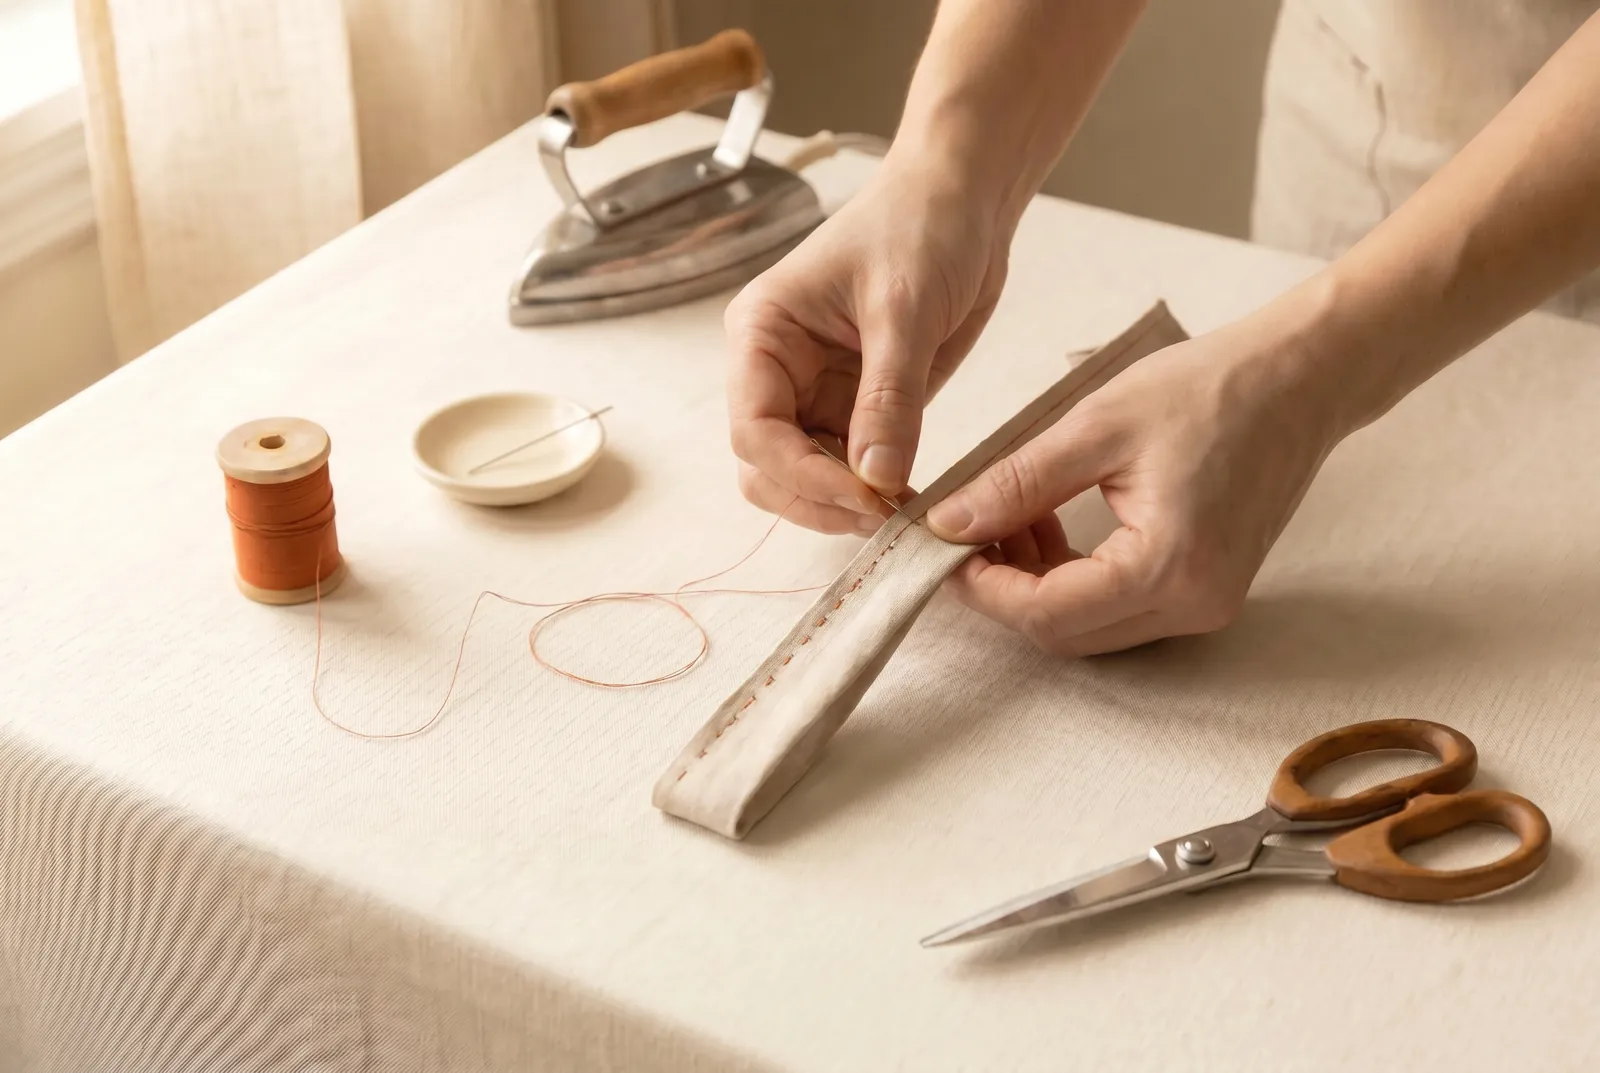
STEP 5/9Turn the work so that first line of stitching lies right on the fold, rolling the seam between your fingers until it does. Then sew a second seam 6 mm (1/4 in) from the fold, deep enough to shut in the raw edges entirely. The two lines of stitching together take up about 1 cm (3/8 in).
Step 6
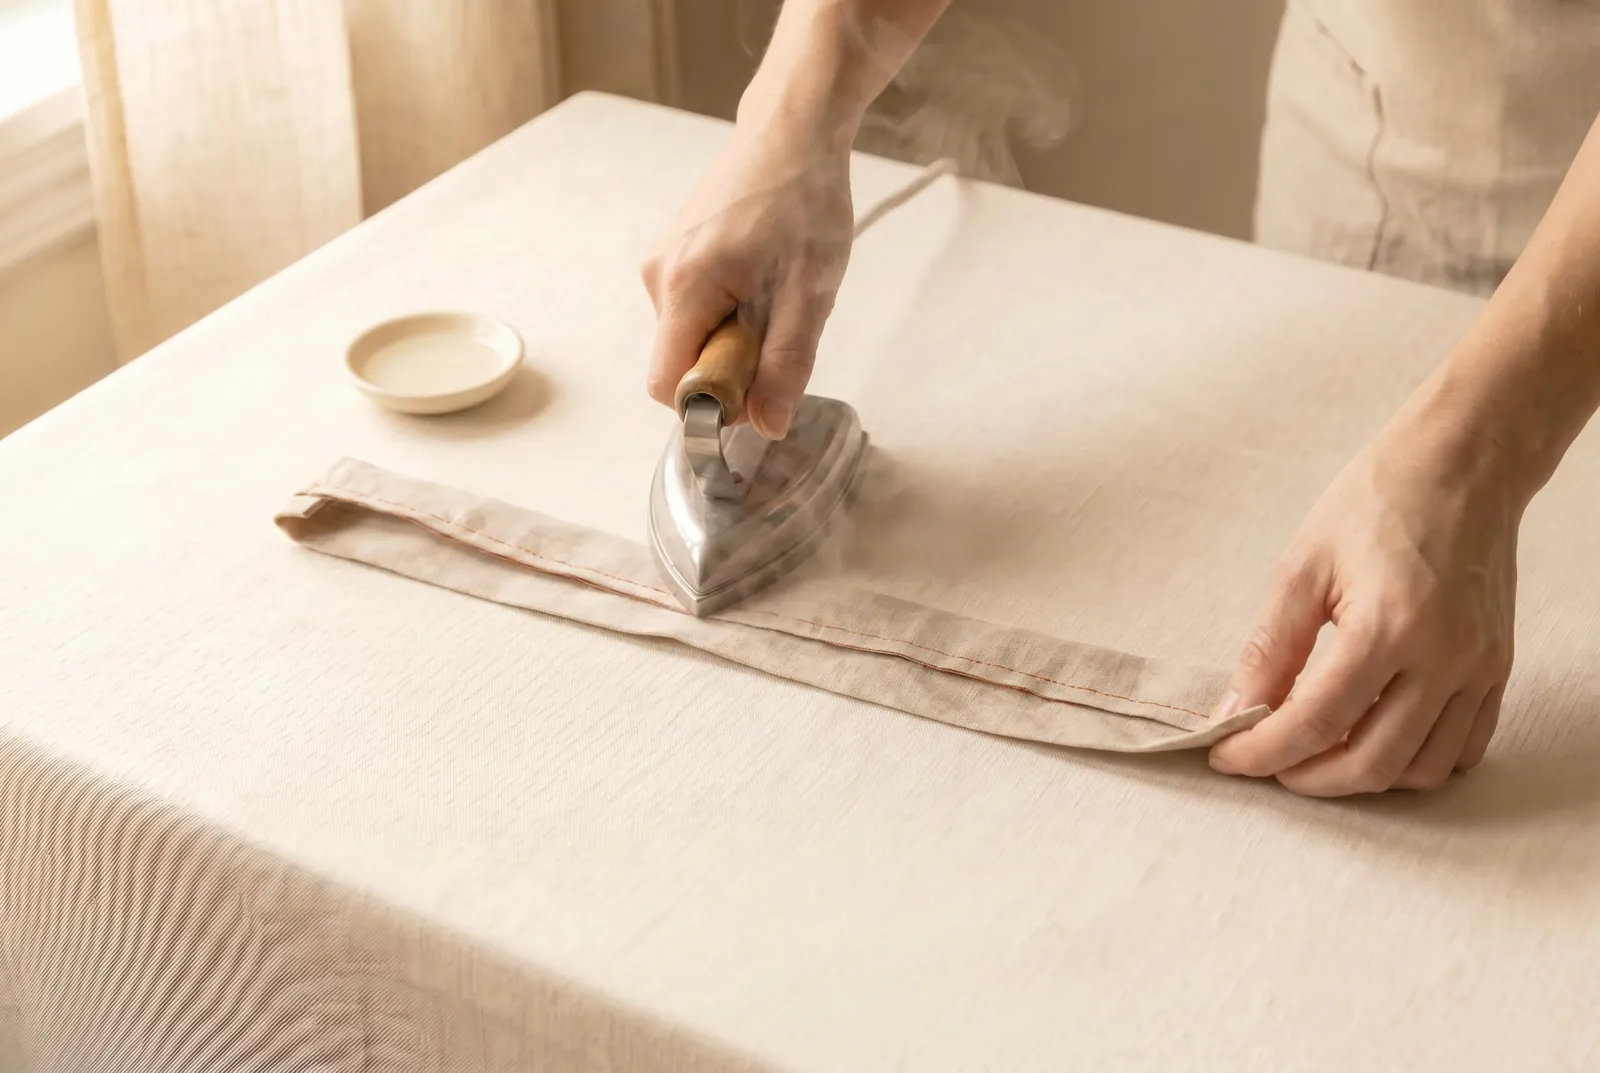
STEP 6/9Press this seam before you go any further, while the tube still opens flat; a seam pressed as soon as it is sewn takes a finish that later pressing cannot give. Lay the work wrong side up and press cotton or linen with a hot iron, damp if you like.
Step 7
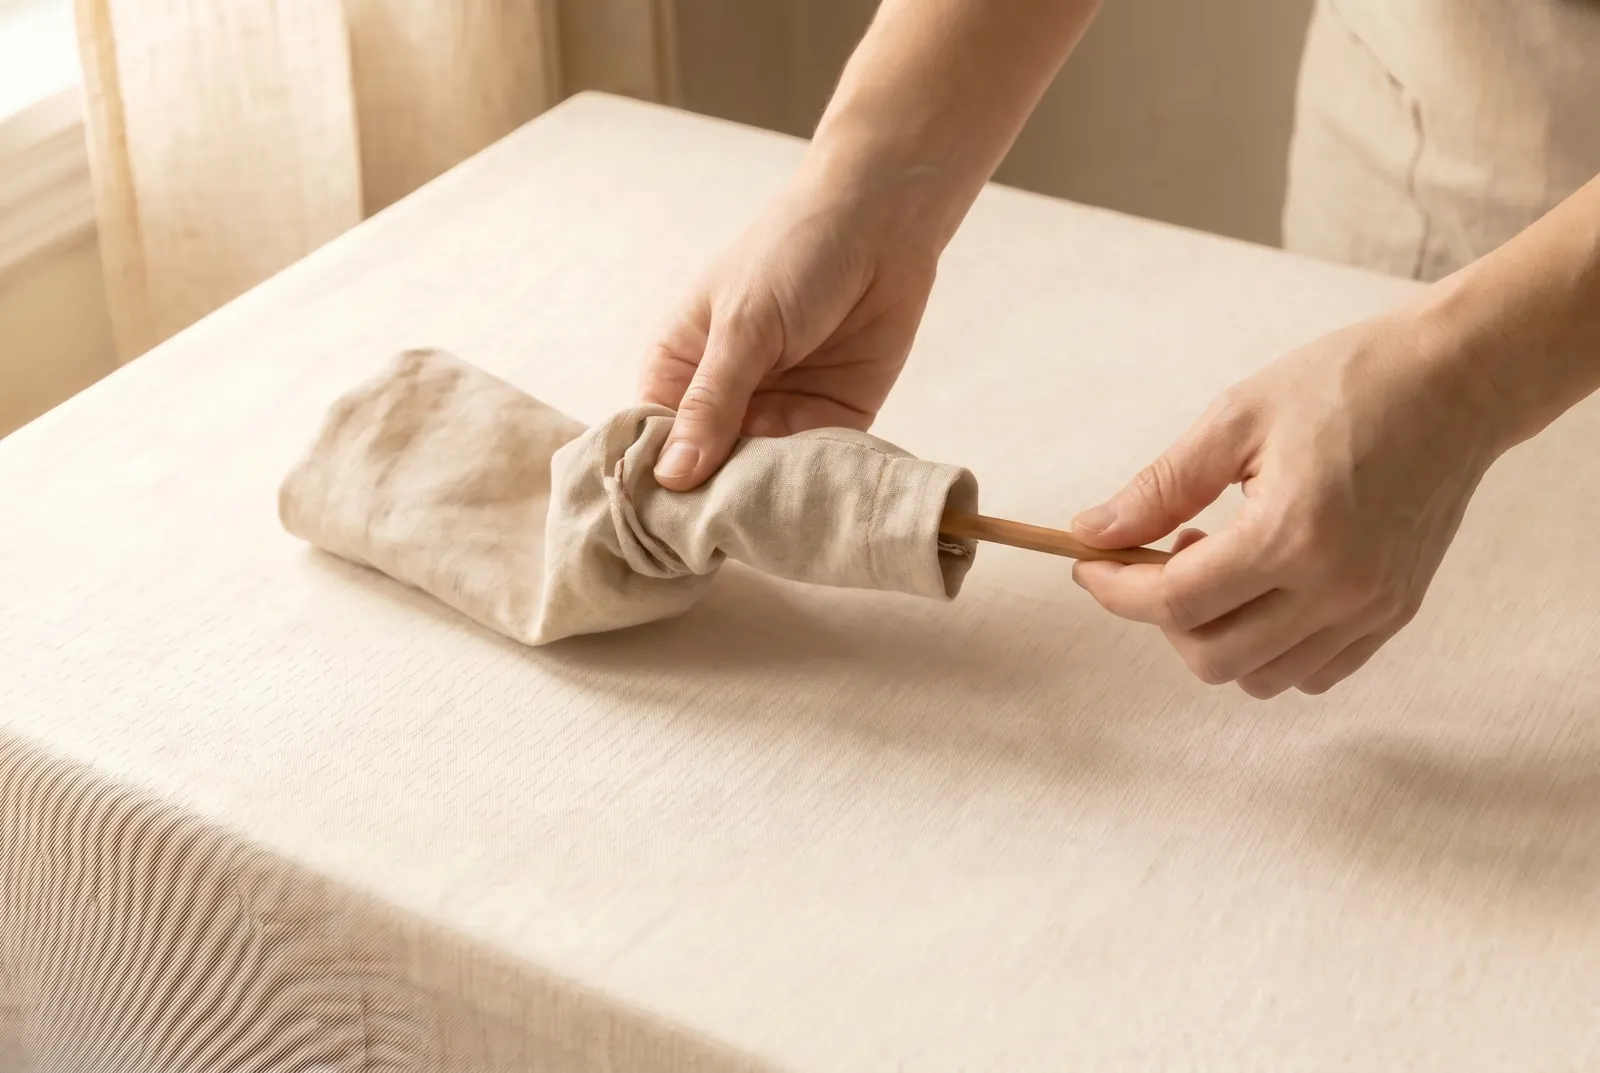
STEP 7/9Turn the tube right side out by working it back through itself, coaxing the fabric along with a knitting needle or the blunt end of a pencil. Take your time here, because a narrow tube turns slowly and the French seam adds a little bulk.
Step 8
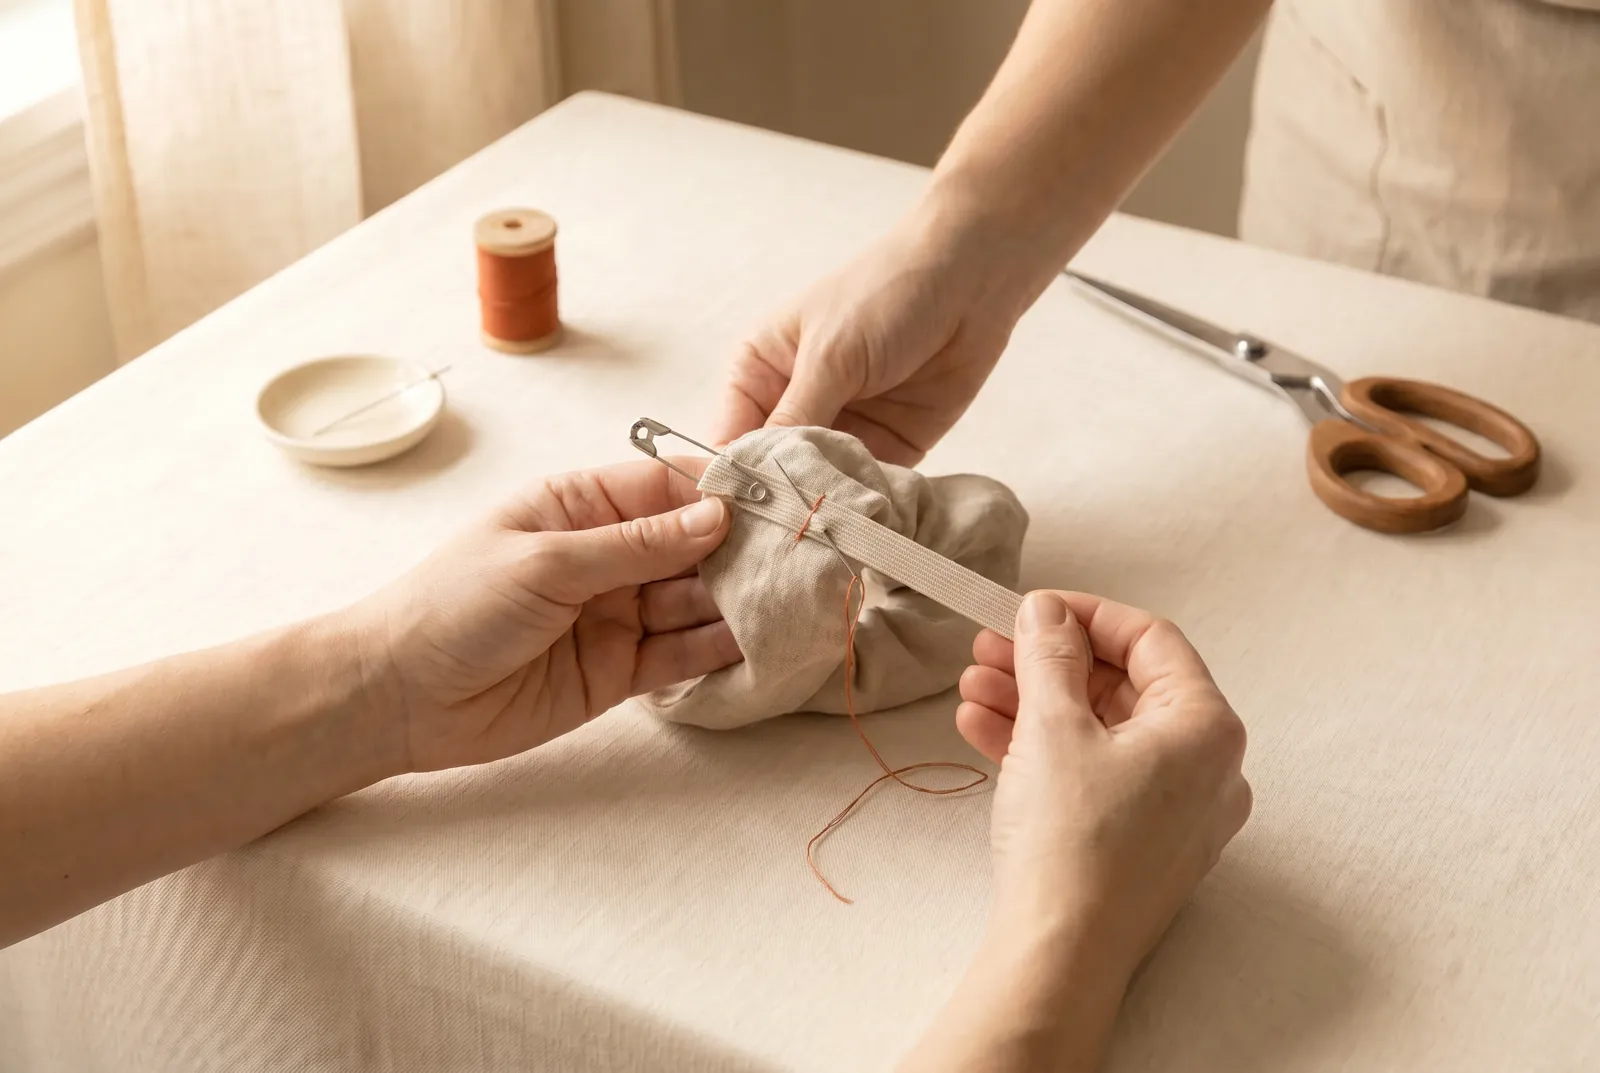
STEP 8/9Cut about 20 cm (8 in) of flat elastic 6 mm (1/4 in) wide. Pin a safety pin to one end, feed it all the way through the tube, then overlap the two ends by about 1.3 cm (1/2 in) and stitch back and forth across the overlap until it holds firmly.
Step 9
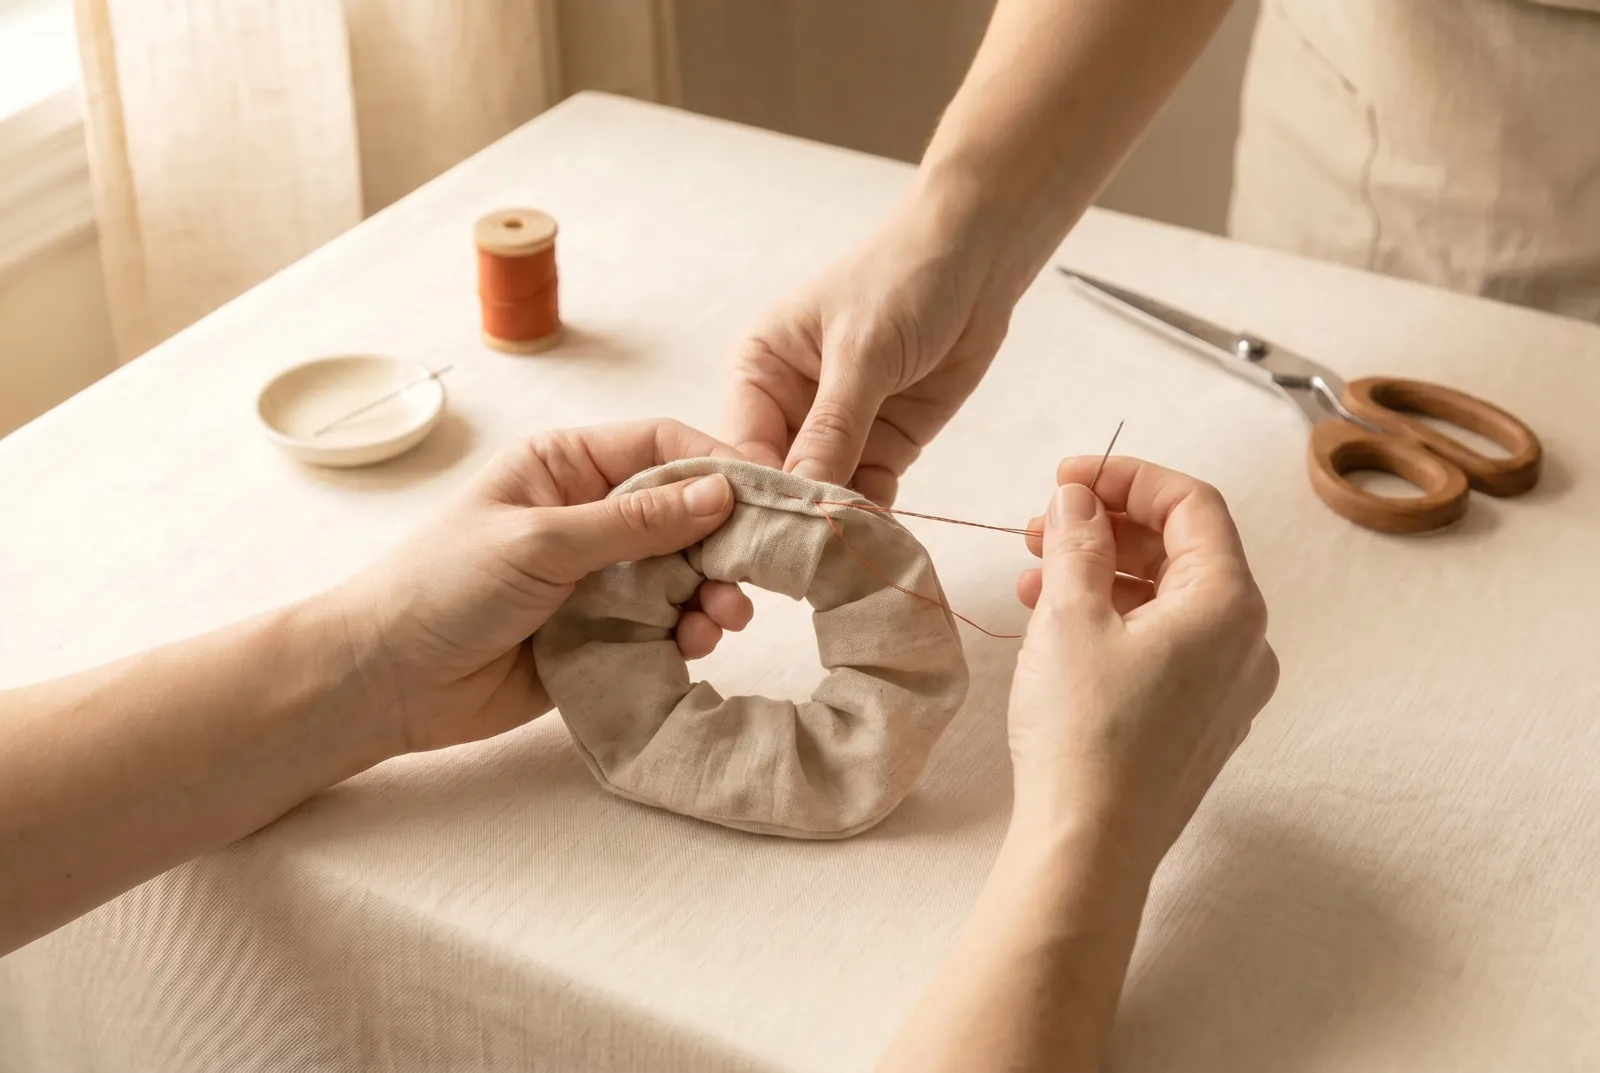
STEP 9/9Slip one raw end of the tube inside the other so the two openings meet. Turn the outer raw edge under about 3 mm (1/8 in) and stitch close to the folded edge, the clean-stitch finish used on unlined wash dresses, closing the tube into a ring and hiding the last raw edge.