Everyday Mending · piece Nº 25 · 54 min
Rejoin a ripped side seam by hand
Rejoin a ripped straight side seam so it holds under the same strain that tore it: clear the failed stitches, realign the two edges on the crease the old seam left, re-sew the line so it overlaps the sound stitching at each end, then press and finish the raw edges. The seam is closed with a secure, locking backstitch, so learn that stitch first if it is new to you.
The seam · 9 steps
Step 1
STEP 1/9Turn the garment wrong side out and lay the ripped seam flat so you work on the seam allowance, not the outside of the garment. A side seam runs in a straight or nearly straight line, so the whole rip sits on one line you can follow.
Step 2
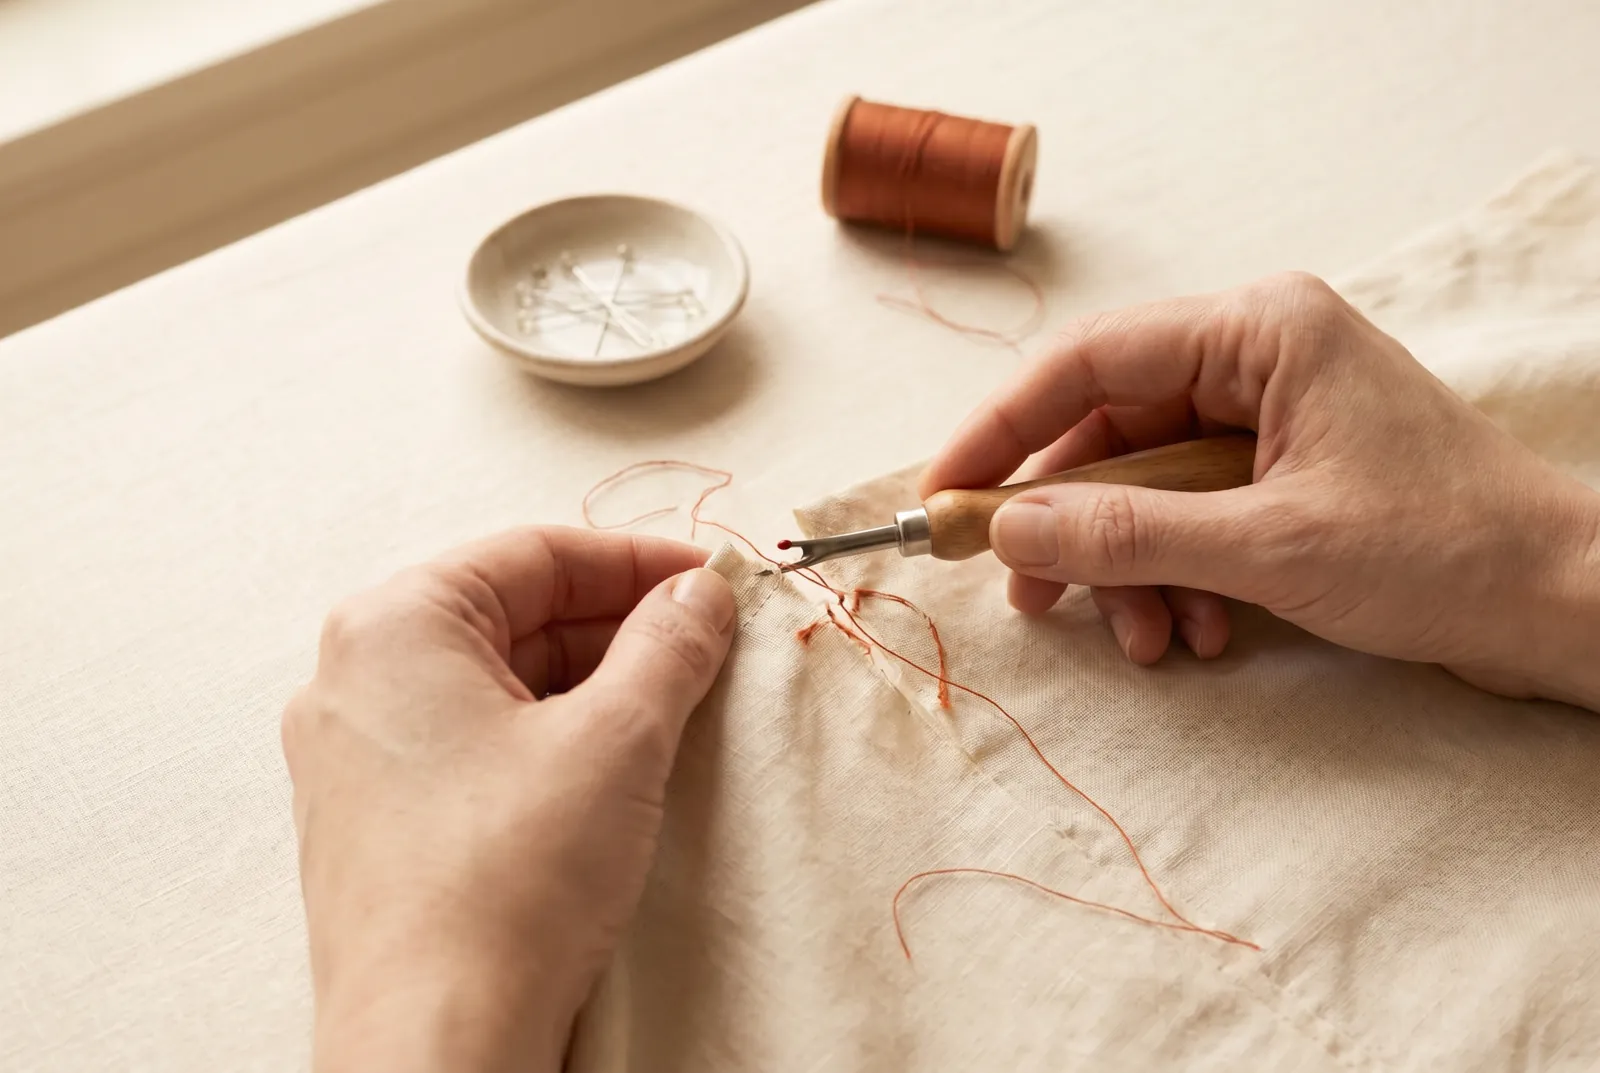
STEP 2/9Pick out the broken and loose stitches through the ripped section only, back to where the old stitching is still firmly anchored at each end — leave the sound stitching in place, because the new seam will overlap into it. Use a seam ripper or a sharp blade worked against the thread, not against the cloth, and pull out the loose thread bits. Working the blade toward the thread keeps it from slicing the fabric.
Step 3
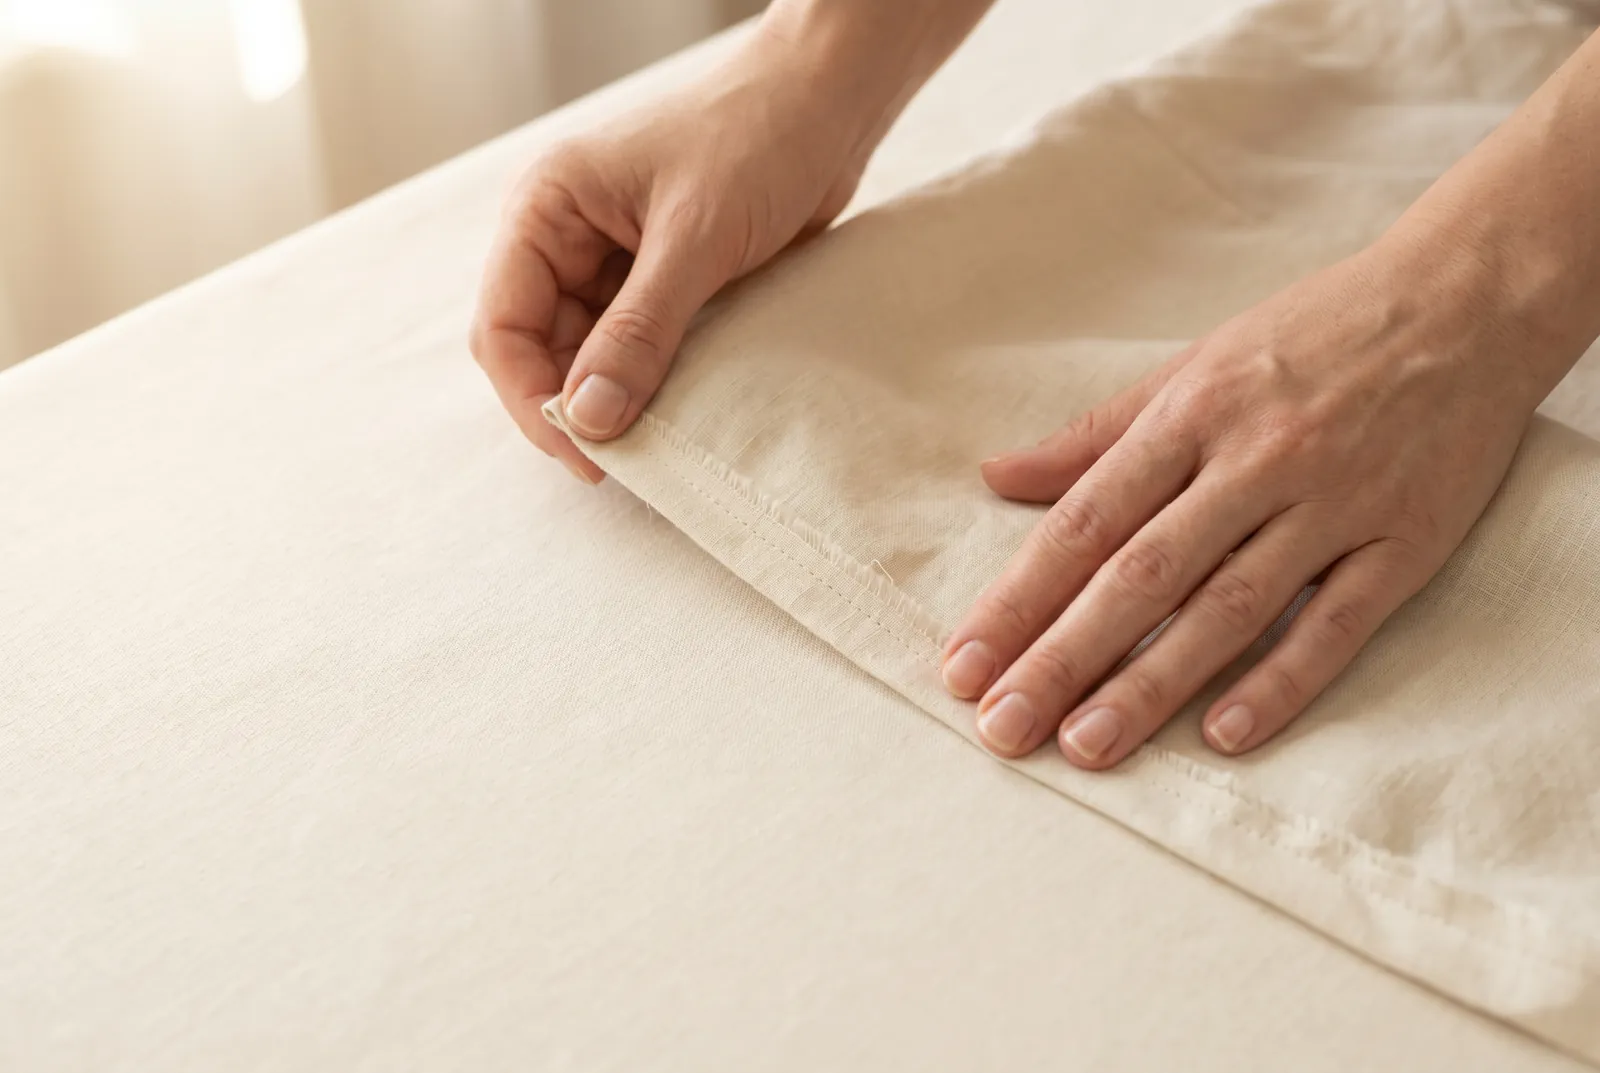
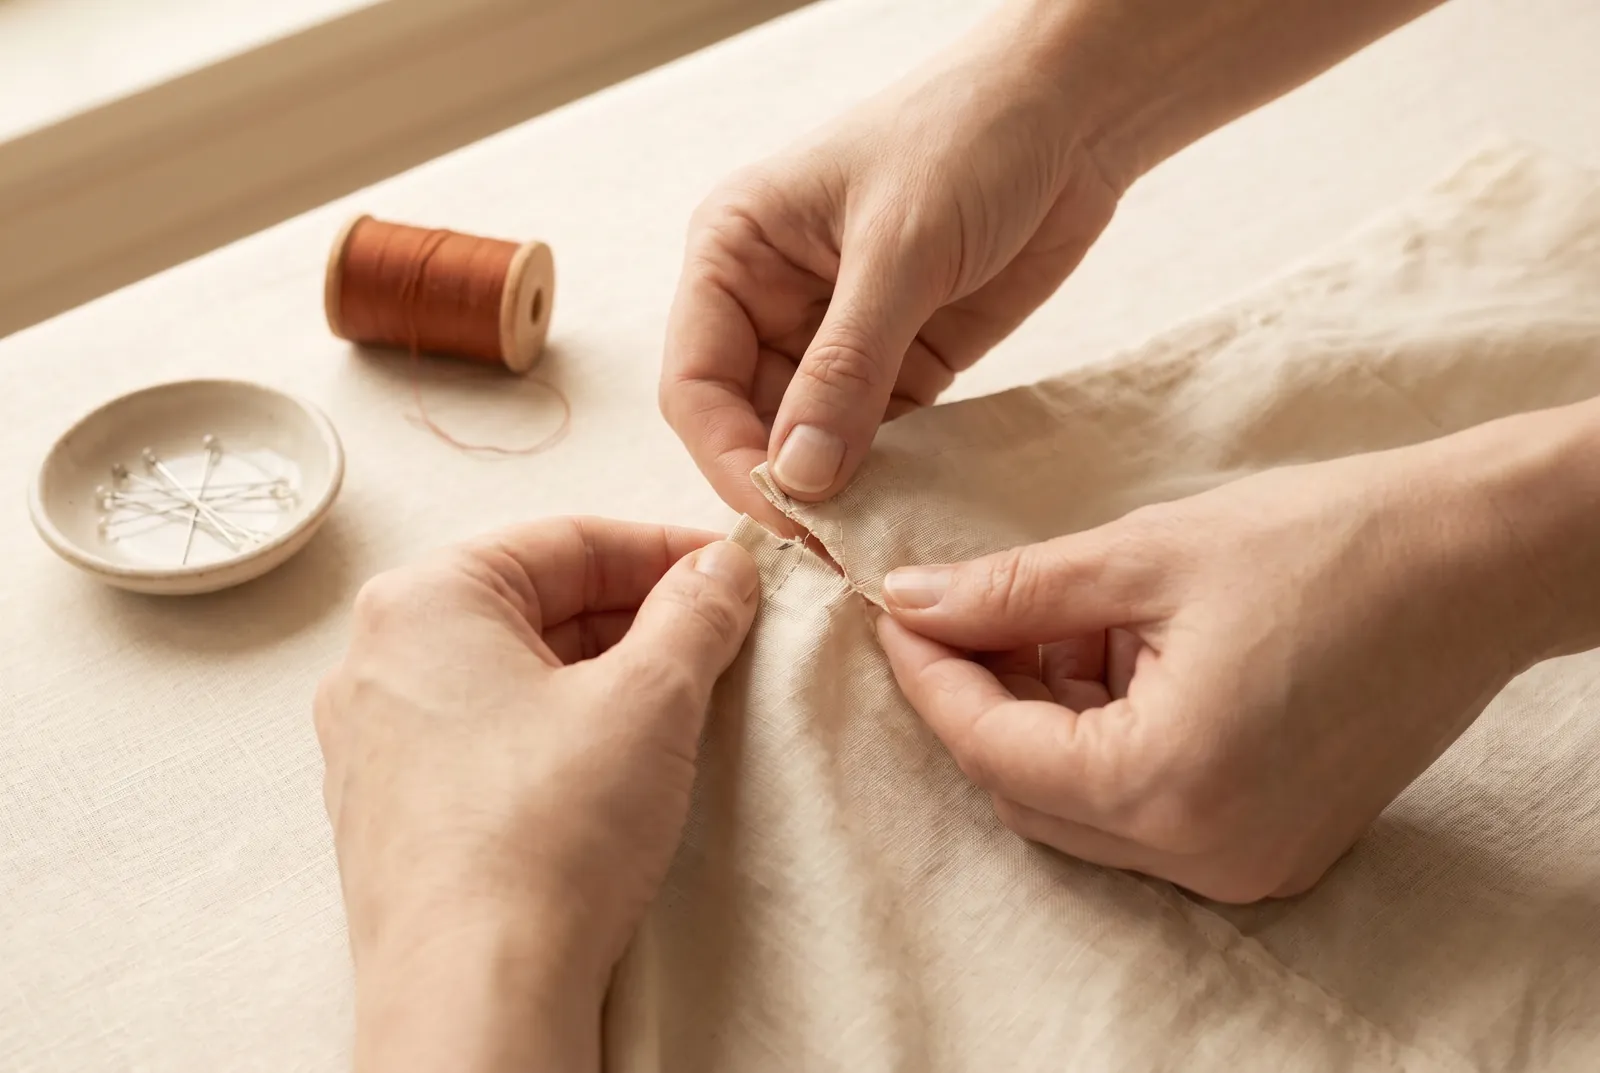
STEP 3/9Bring the two edges of the seam back together. The torn seam leaves a crease along each edge where the original stitching lay; match those creases so the repair falls on the garment's original seam line.
Step 4
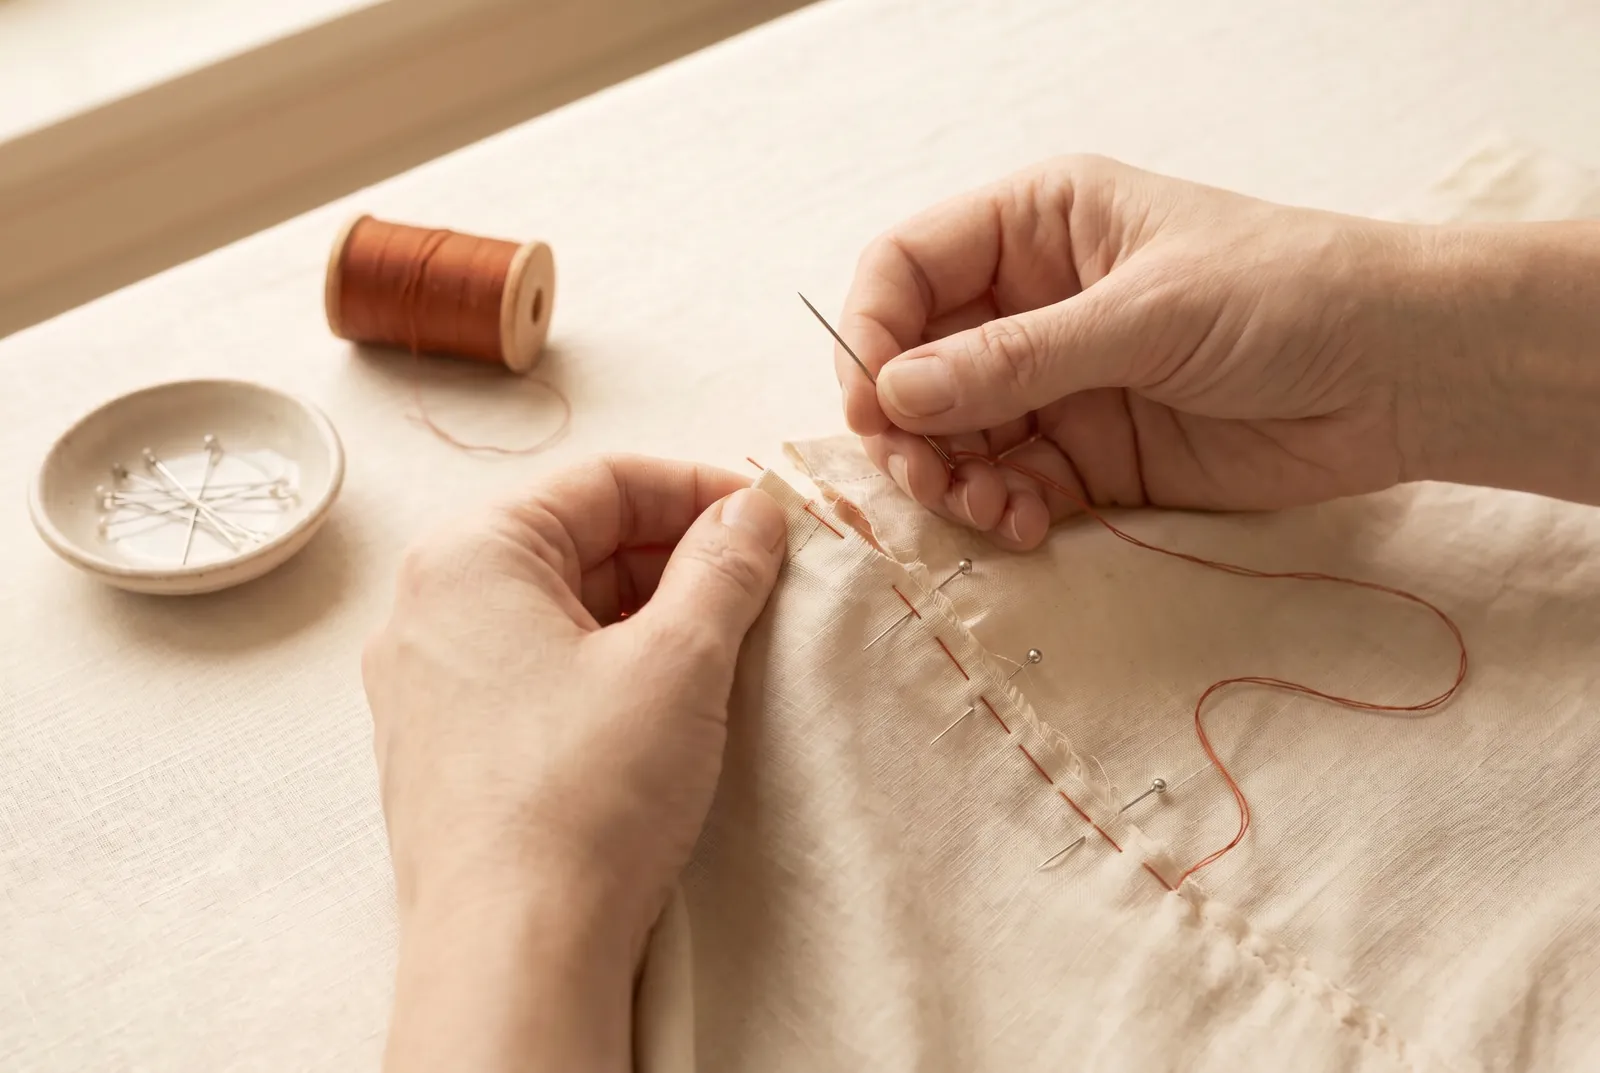
STEP 4/9Pin the two edges together along the crease. Baste them with a long running stitch if the fabric is slippery, so the edges do not shift while you sew.
Step 5
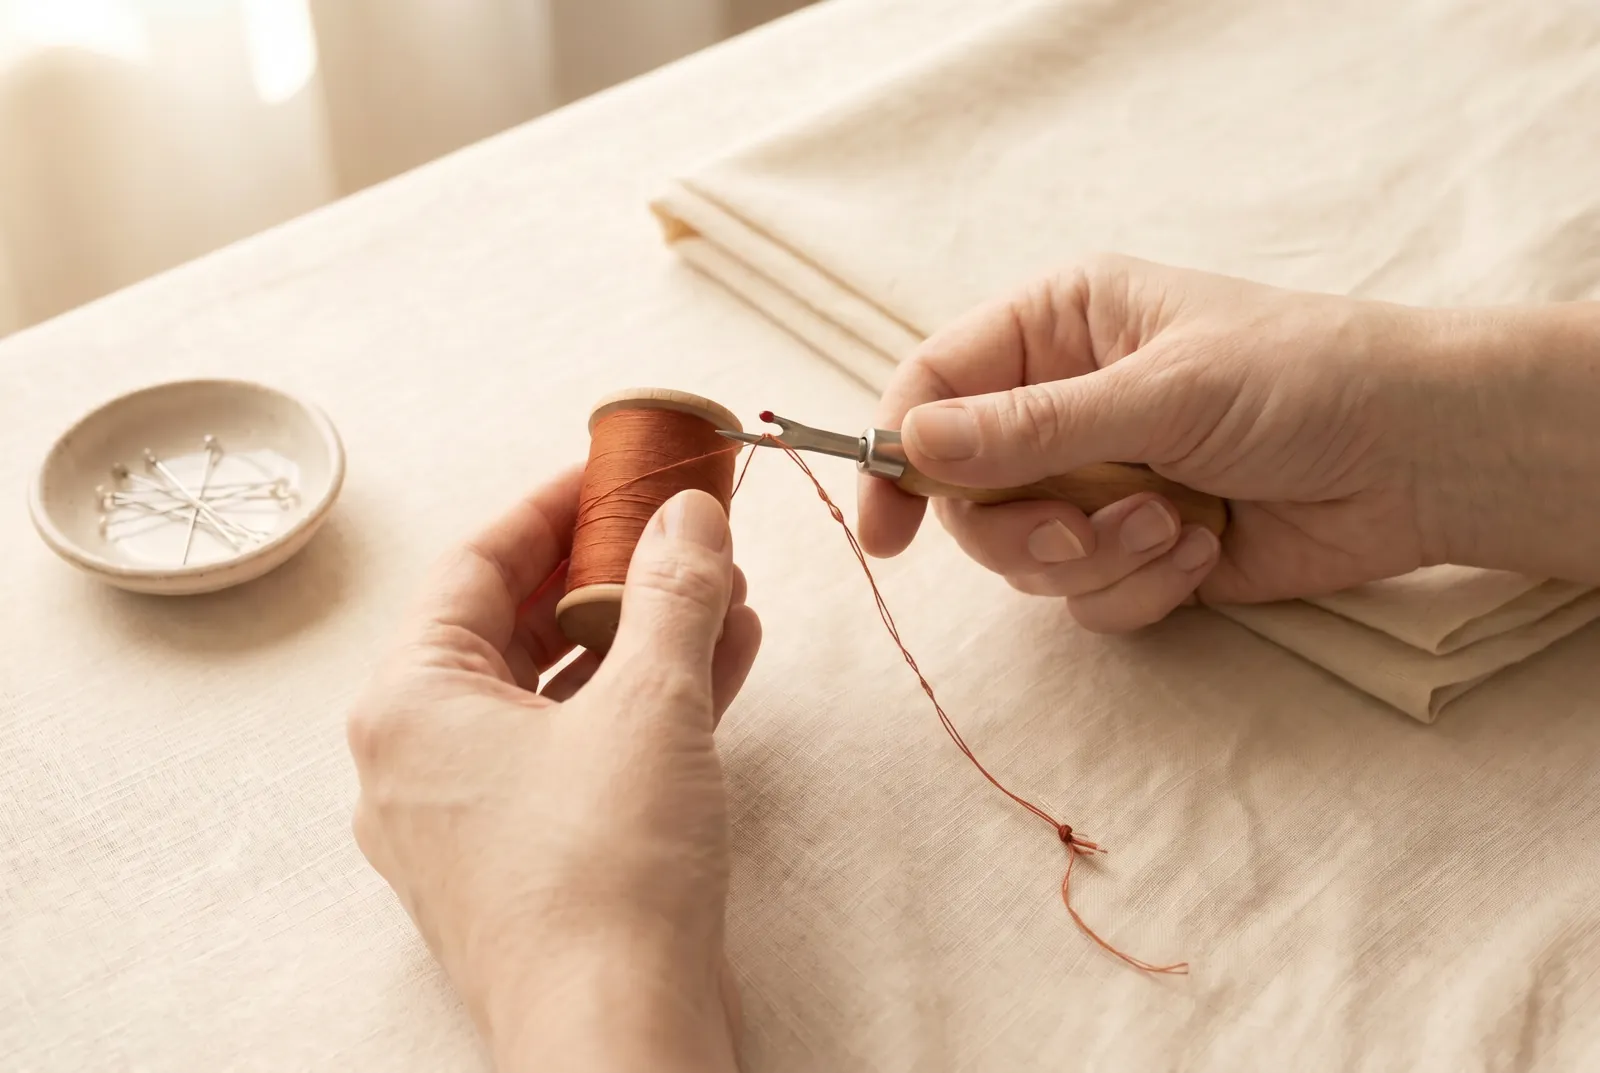
STEP 5/9Cut about 45 cm (18 in) of strong thread to match the garment and knot one end. A longer length tangles as you pull it through, and the knot anchors your first stitch so the repair cannot pull free at the start.
Step 6
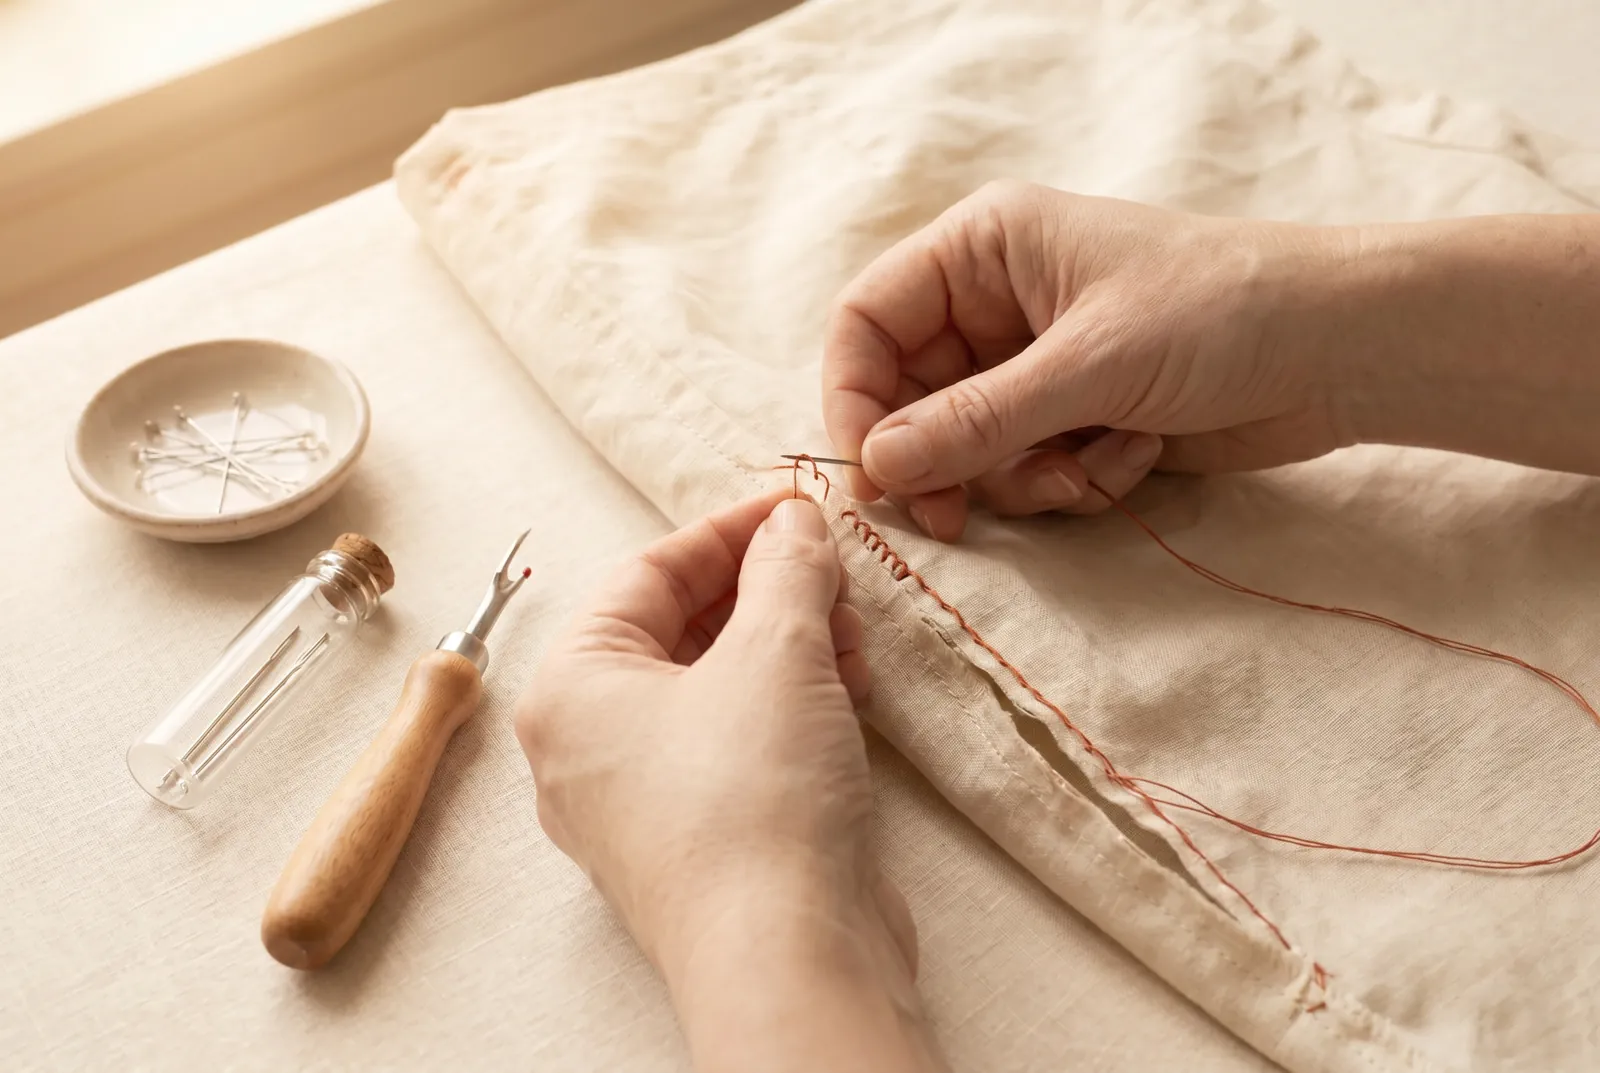
STEP 6/9Close the rip along the crease with a secure, locking backstitch, not a plain running stitch, which pulls open again under the strain that tore the seam. Begin 1.5 cm (5/8 in) inside the sound old stitching at one end, sewing directly over the intact old stitches, work the full length of the rip, and finish 1.5 cm (5/8 in) over the sound stitching at the far end; overlapping the old stitching at both ends keeps the join from reopening where new work meets old.
Step 7
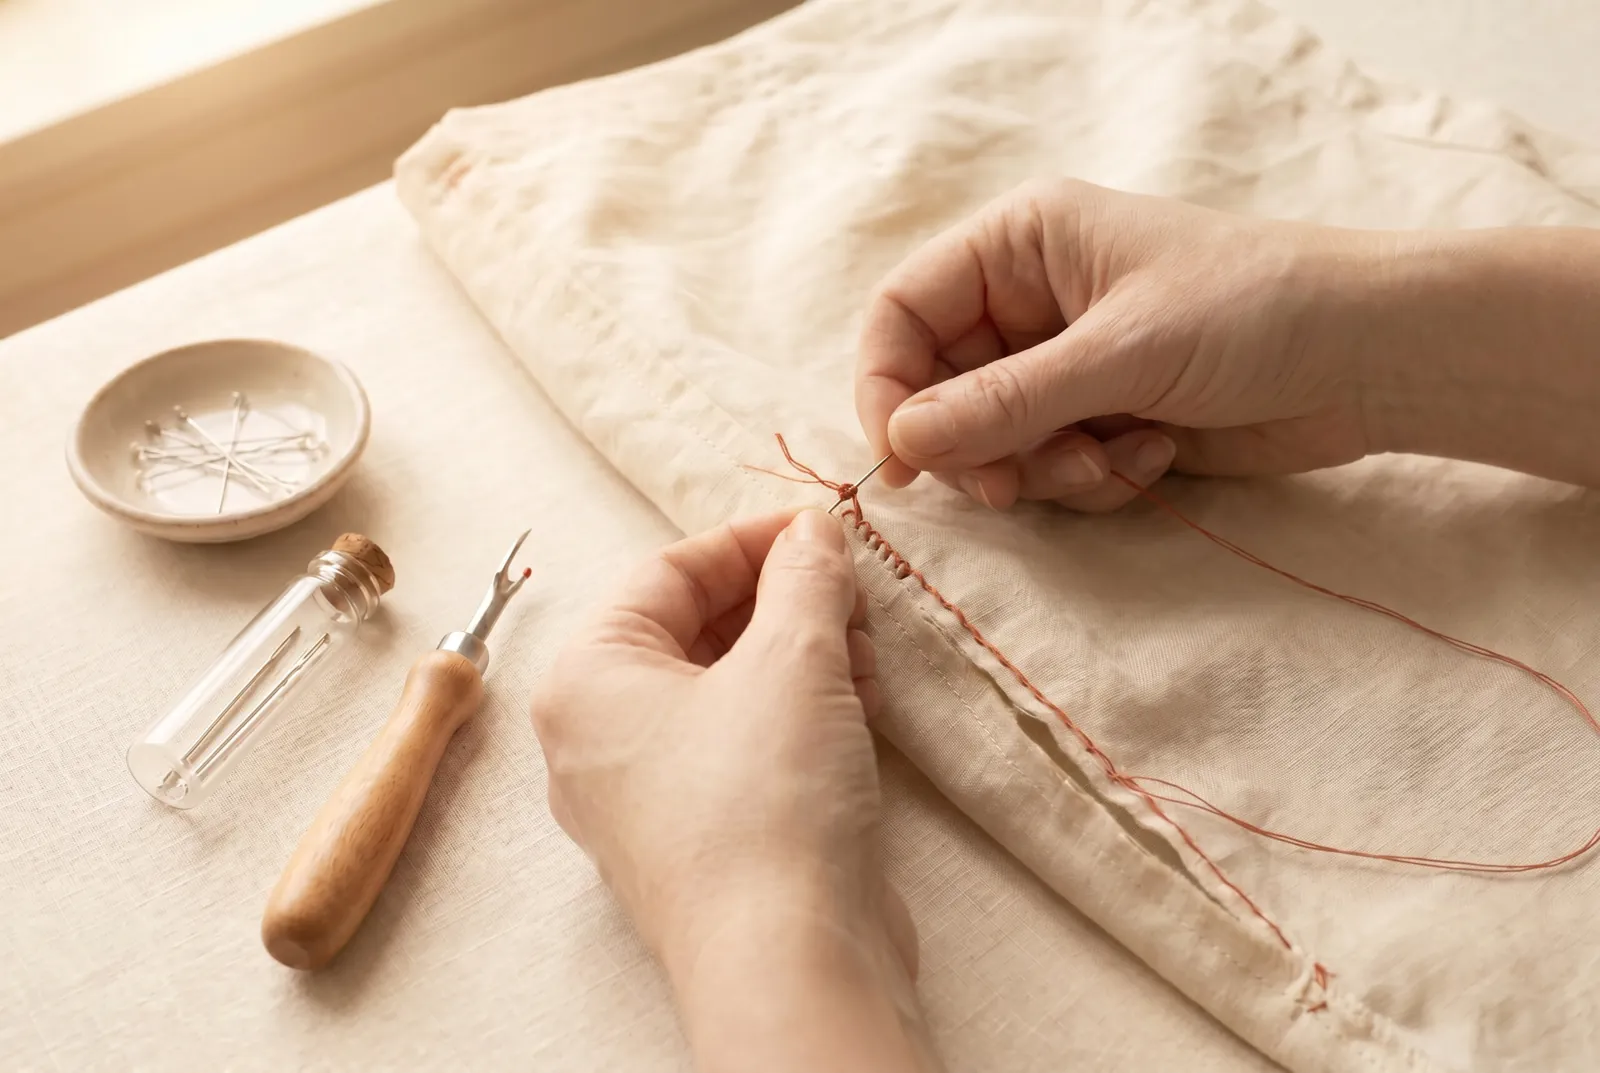
STEP 7/9Secure the finishing end: work three or four stitches back over your last few, then knot the thread against the fabric and clip the tail short. An unsecured end works loose and the repair unravels from that point.
Step 8
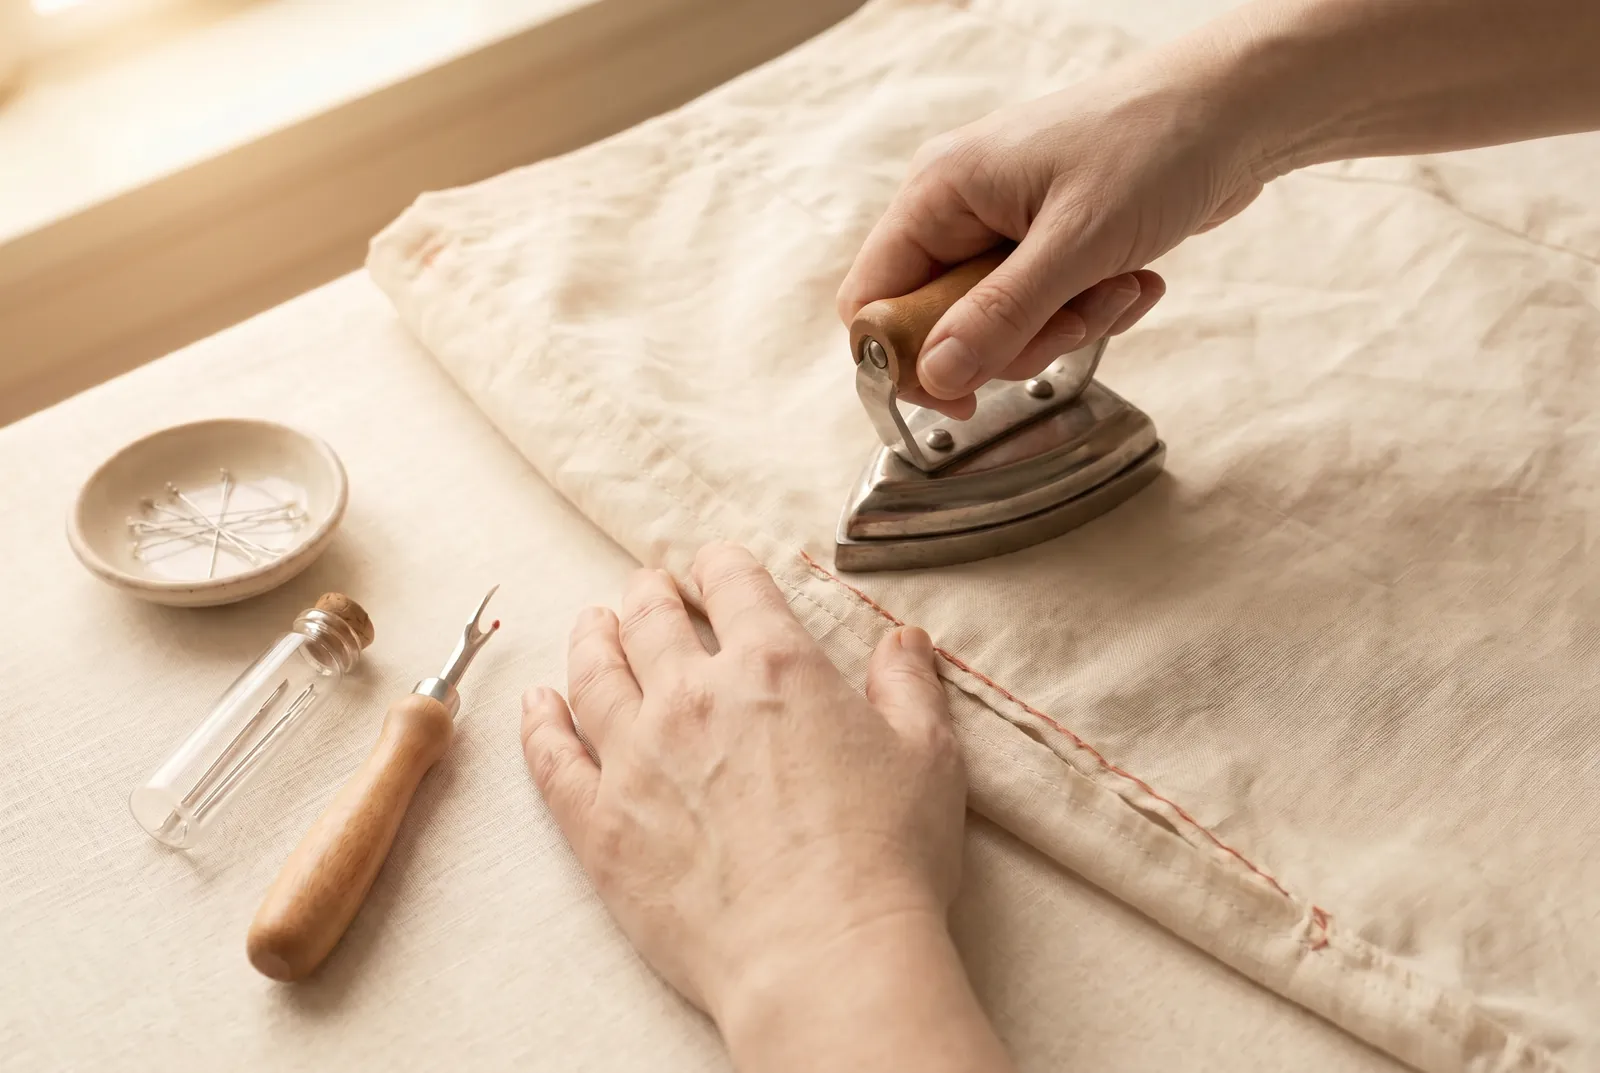
STEP 8/9Press the closed seam. Turn the work wrong side up, open the seam with your fingers or the point of the iron, and press along the line, matching the iron to the fabric: a hot iron on damp cotton or linen, a moderate dry iron under a dry cloth for silk, and for wool a damp press cloth with the iron set down and lifted rather than slid, pressed only once the wool is dry.
Step 9
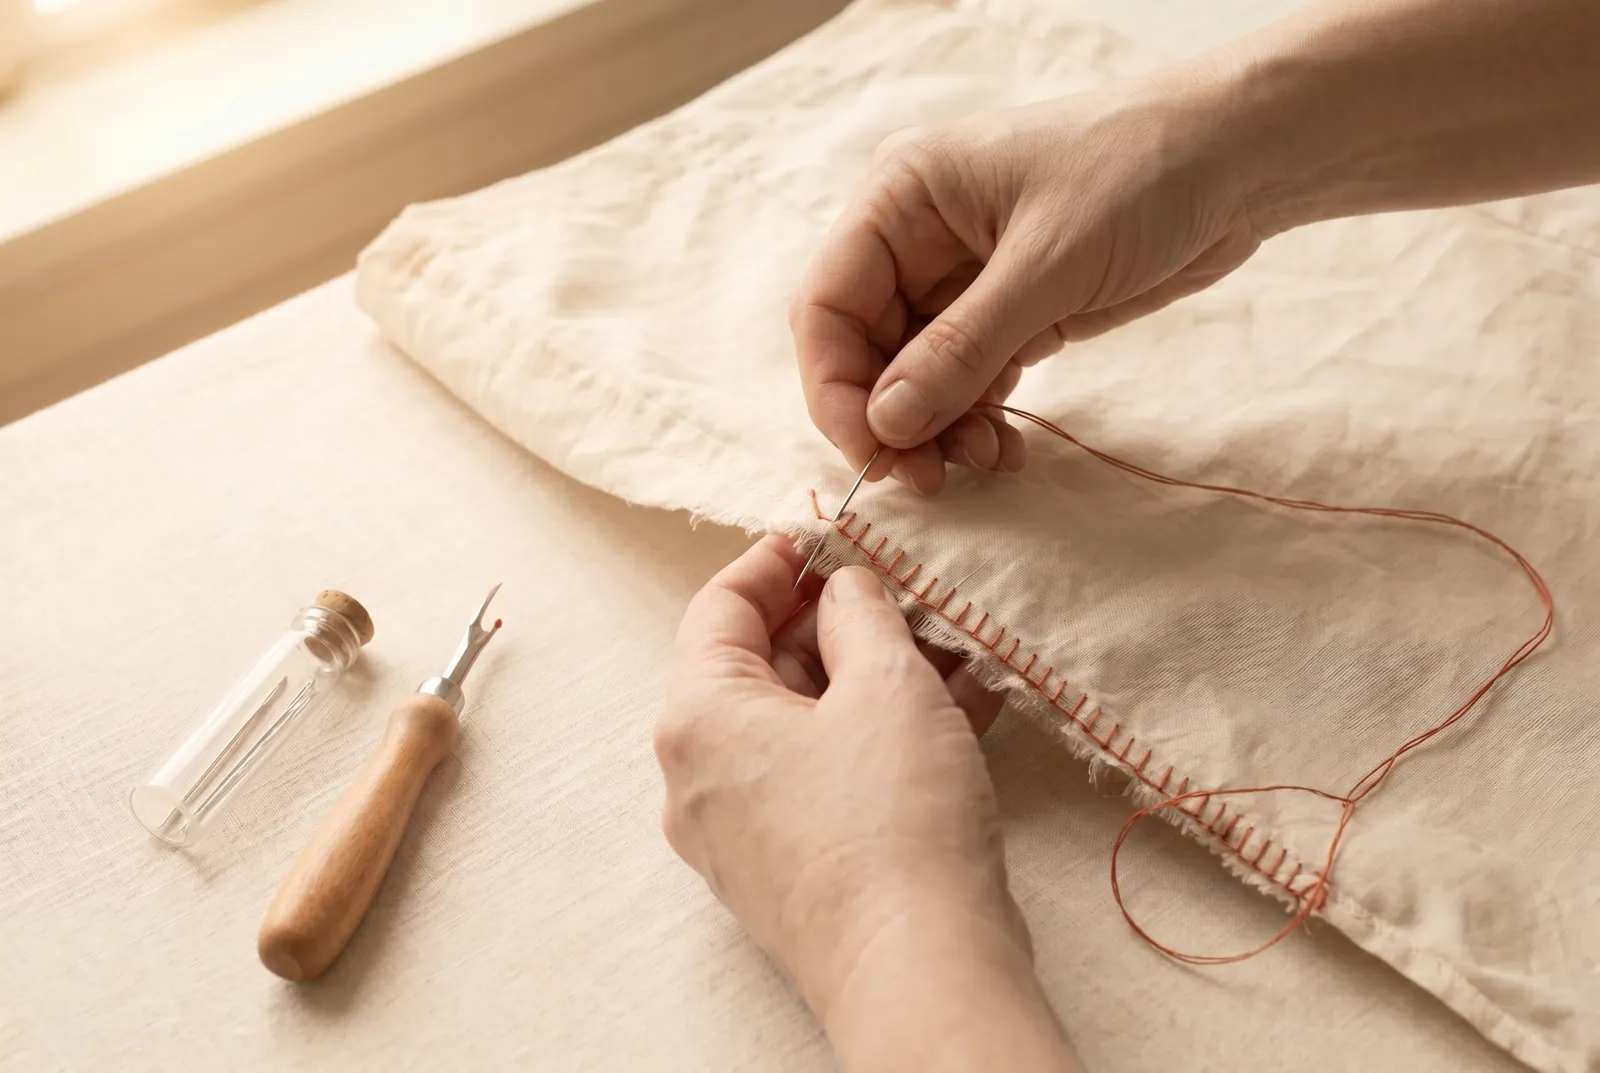
STEP 9/9If the tear left frayed raw edges in the seam allowance, finish them so they do not ravel again: overcast each edge separately — slanting stitches carried over each raw edge — so the pressed-open seam stays open and flat, or turn each raw edge under 3 mm (1/8 in) and stitch close to the fold.