Visible & Decorative Mending · piece Nº 28 · 60 min
Sashiko-style reinforcement stitching on worn jeans
Back a thinning or worn spot on your jeans with a cloth stay and work rows of running stitches through both layers, so the worn cloth stops fraying and the strain spreads into sound denim. The visible rows of stitching become part of the garment rather than a hidden repair.
The seam · 10 steps
Step 1
STEP 1/10Turn the jeans wrong side out and look at the worn spot. Work it now, while the denim is only thin and not yet torn through — a thin place caught early takes a flat backing and a few rows of stitching, while a hole must first be drawn together.

Step 2
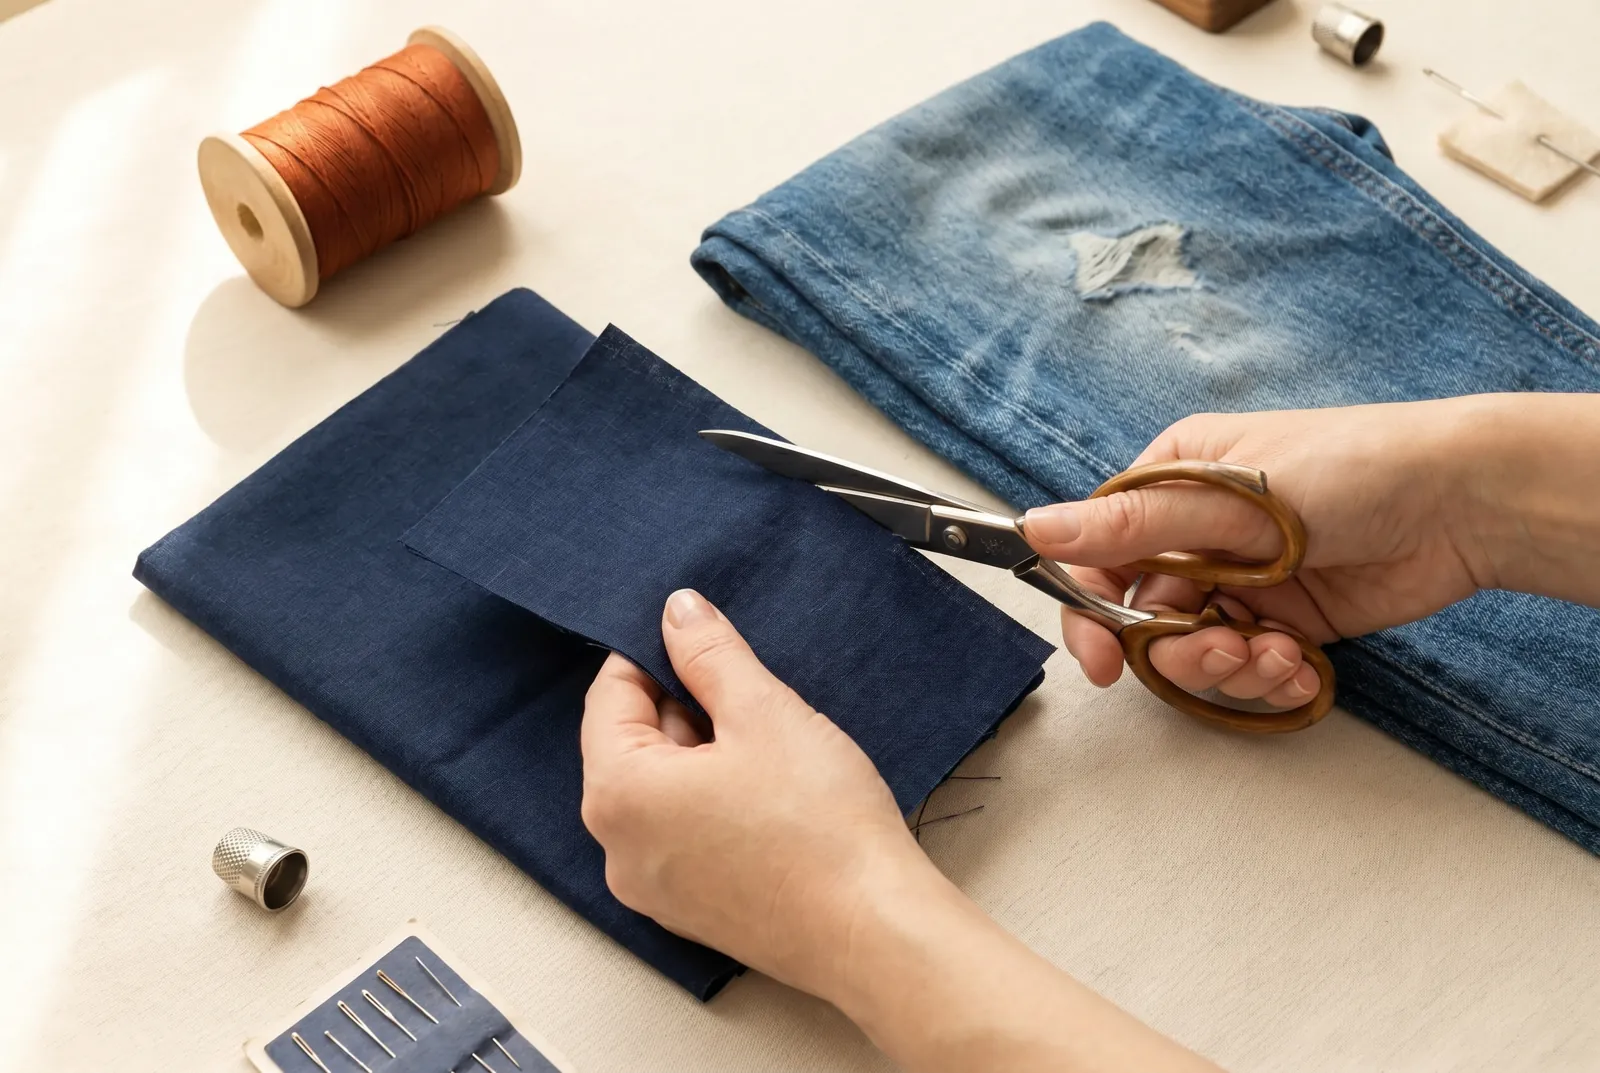
STEP 2/10Cut the backing stay from firm cotton or denim, on the straight grain, at least 3 cm (1.2 in) larger than the worn area on all sides. Keep it clear of any old worn tracks — old seam lines or the shine of an old spot — because cloth cut off grain or laid over an old weak line sags and twists.
Step 3
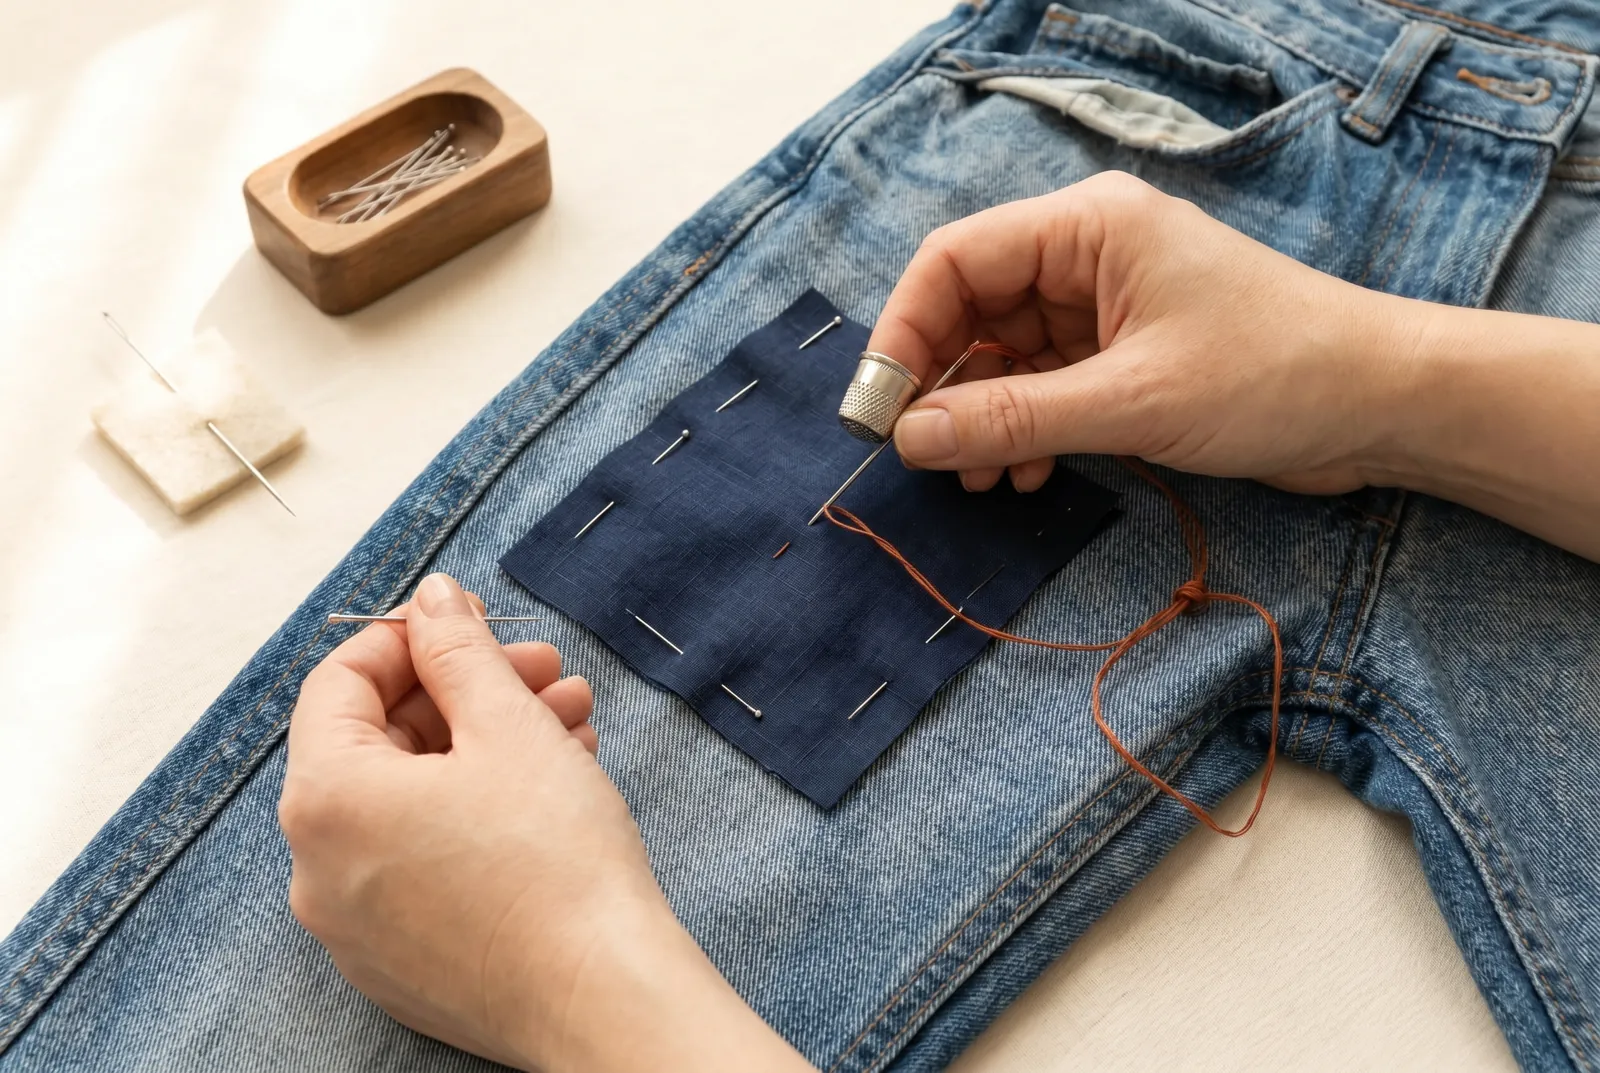
STEP 3/10Lay the stay on the wrong side, centered behind the worn spot, and pin it flat. Baste all around through both layers with the contrasting thread, keeping the knot on the right side where you can reach it later, and draw the pins as the basting passes them — pins fall out, a basted line does not.
Step 4
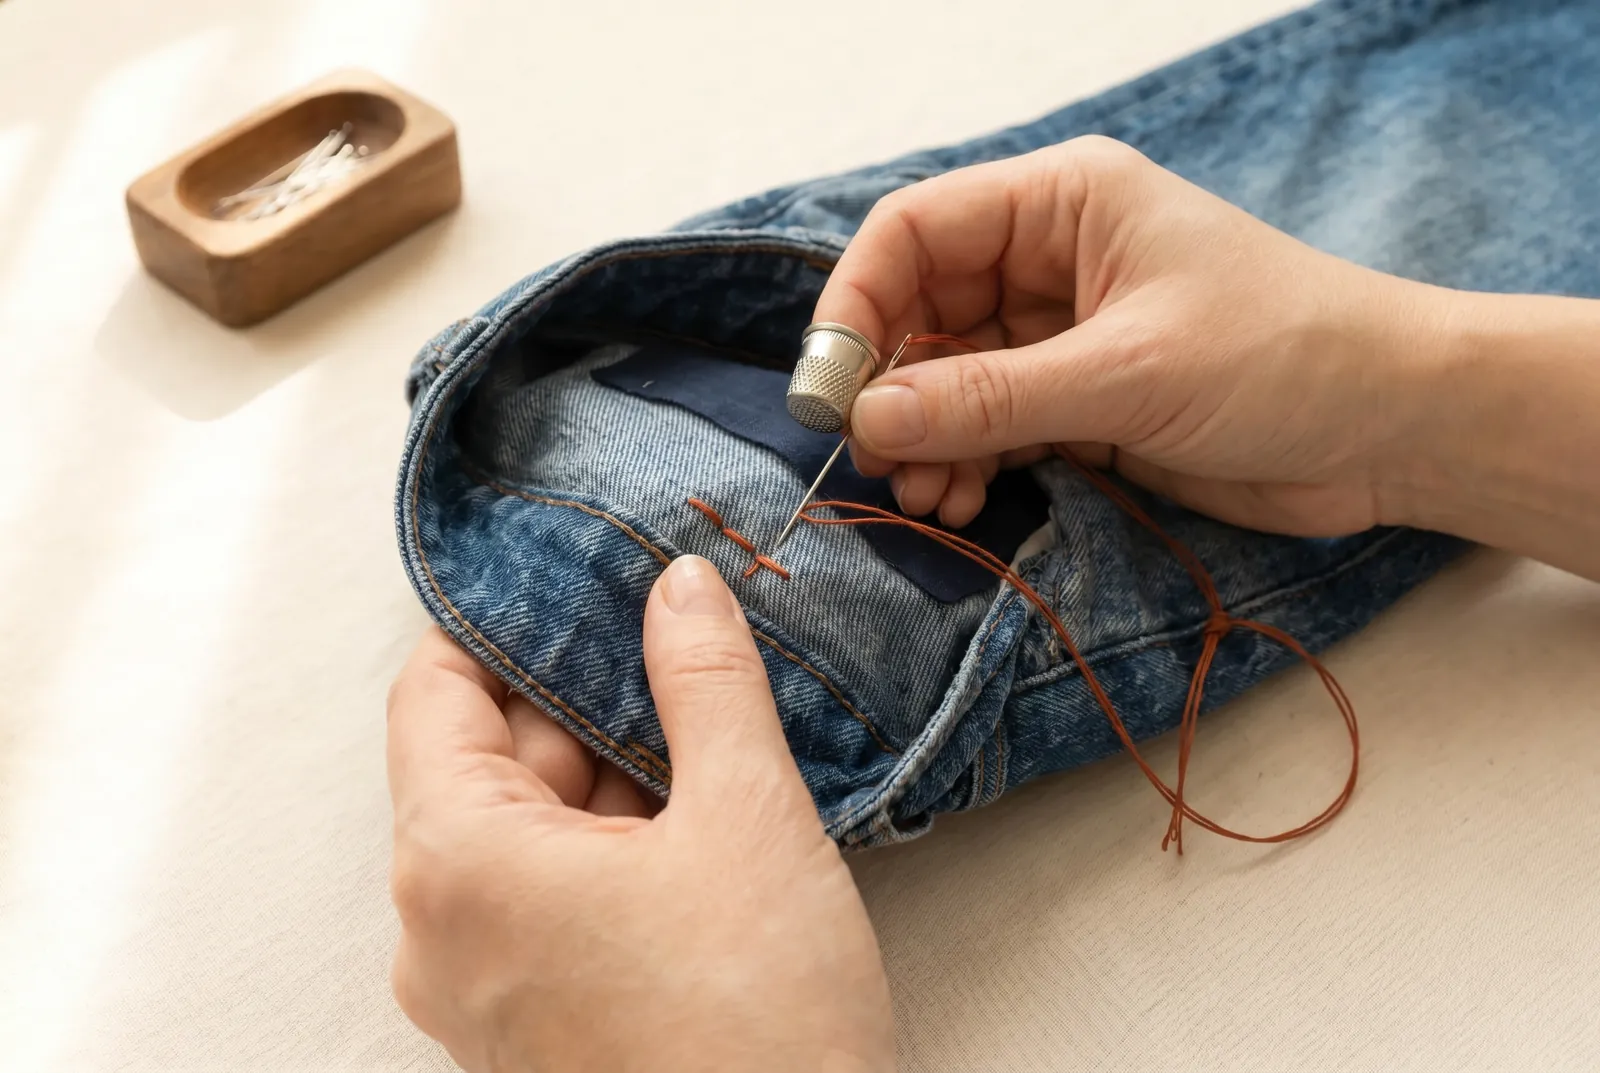
STEP 4/10Turn the jeans right side out to stitch. Thread the needle with a single length of heavy cotton and anchor it with two or three small stitches worked in place within the layers rather than a knot — a knot on flat work wears through, shows under the iron, and works loose in the wash.
Step 5
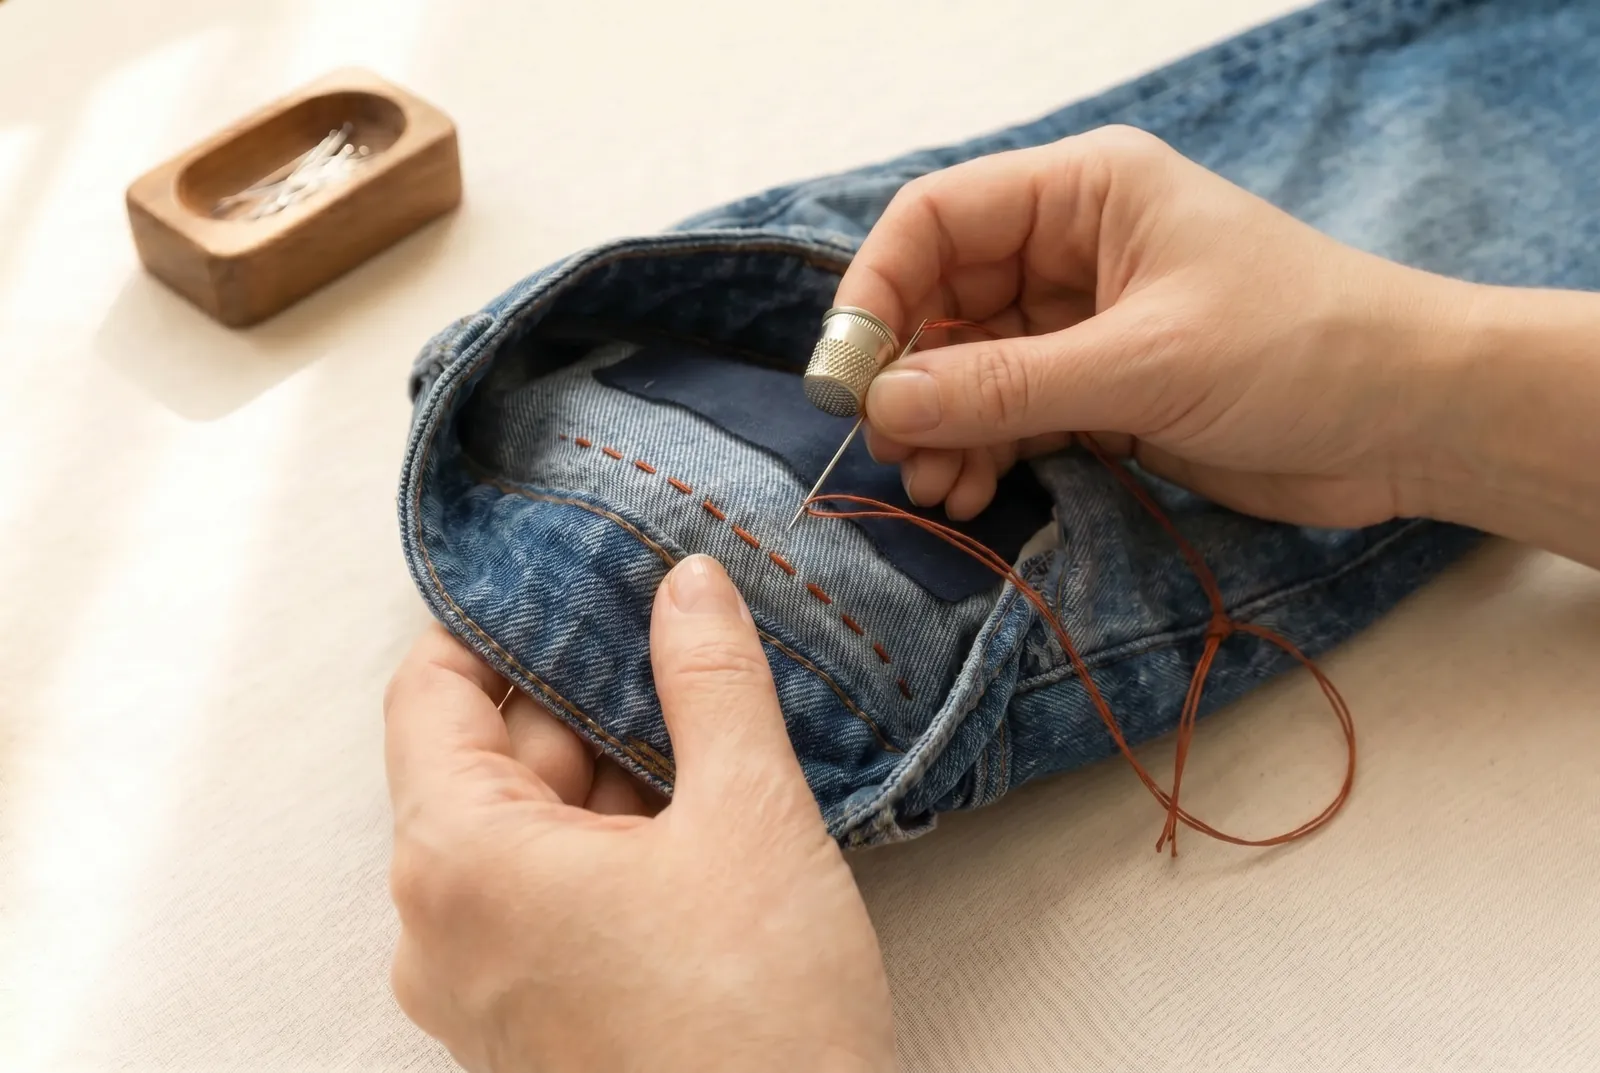
STEP 5/10Work the first row straight across the mend as a line of running stitches, passing the needle down and up through all layers and keeping the stitches small and even. Run each row about 1.3 cm (1/2 in) past the worn area into sound denim at both ends, so the mend is locked to strong cloth and not to the weak part alone.
Step 6
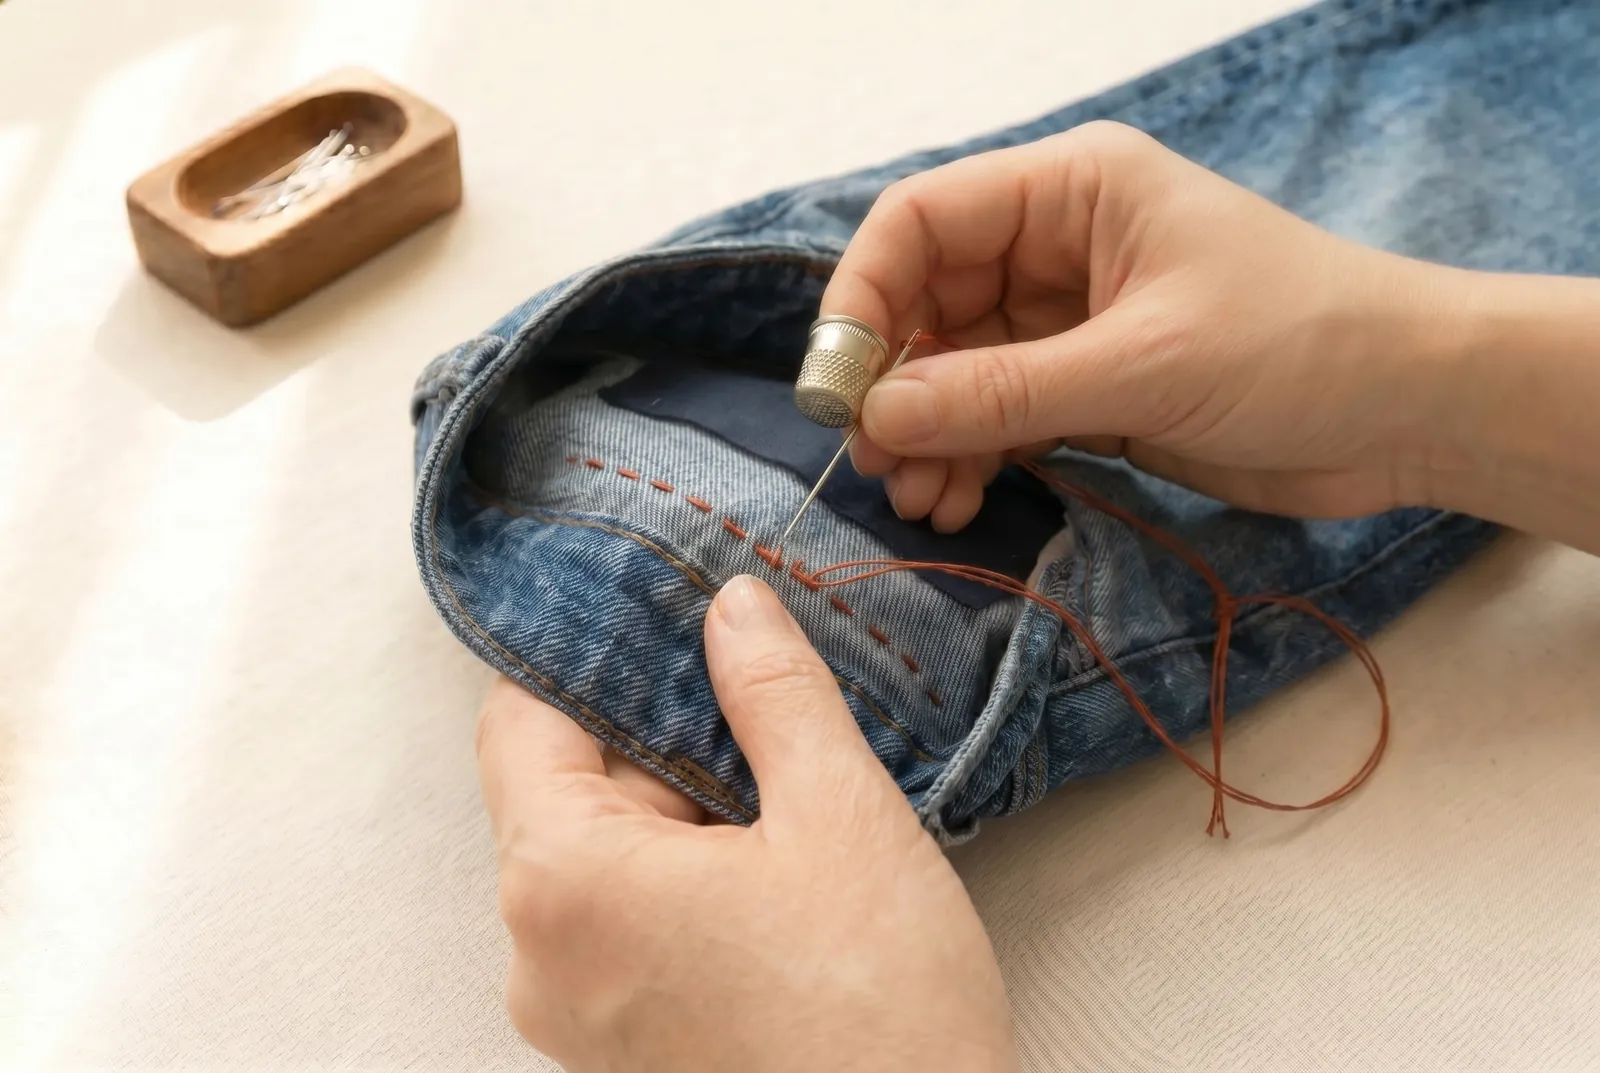
STEP 6/10Stitch the next row parallel to the first, a needle's width away, and keep filling the area row by row with the same small, even stitches. Close-set rows wear far better than a few large stitches, and it is the mass of stitching — not any single line — that carries the strain.
Step 7
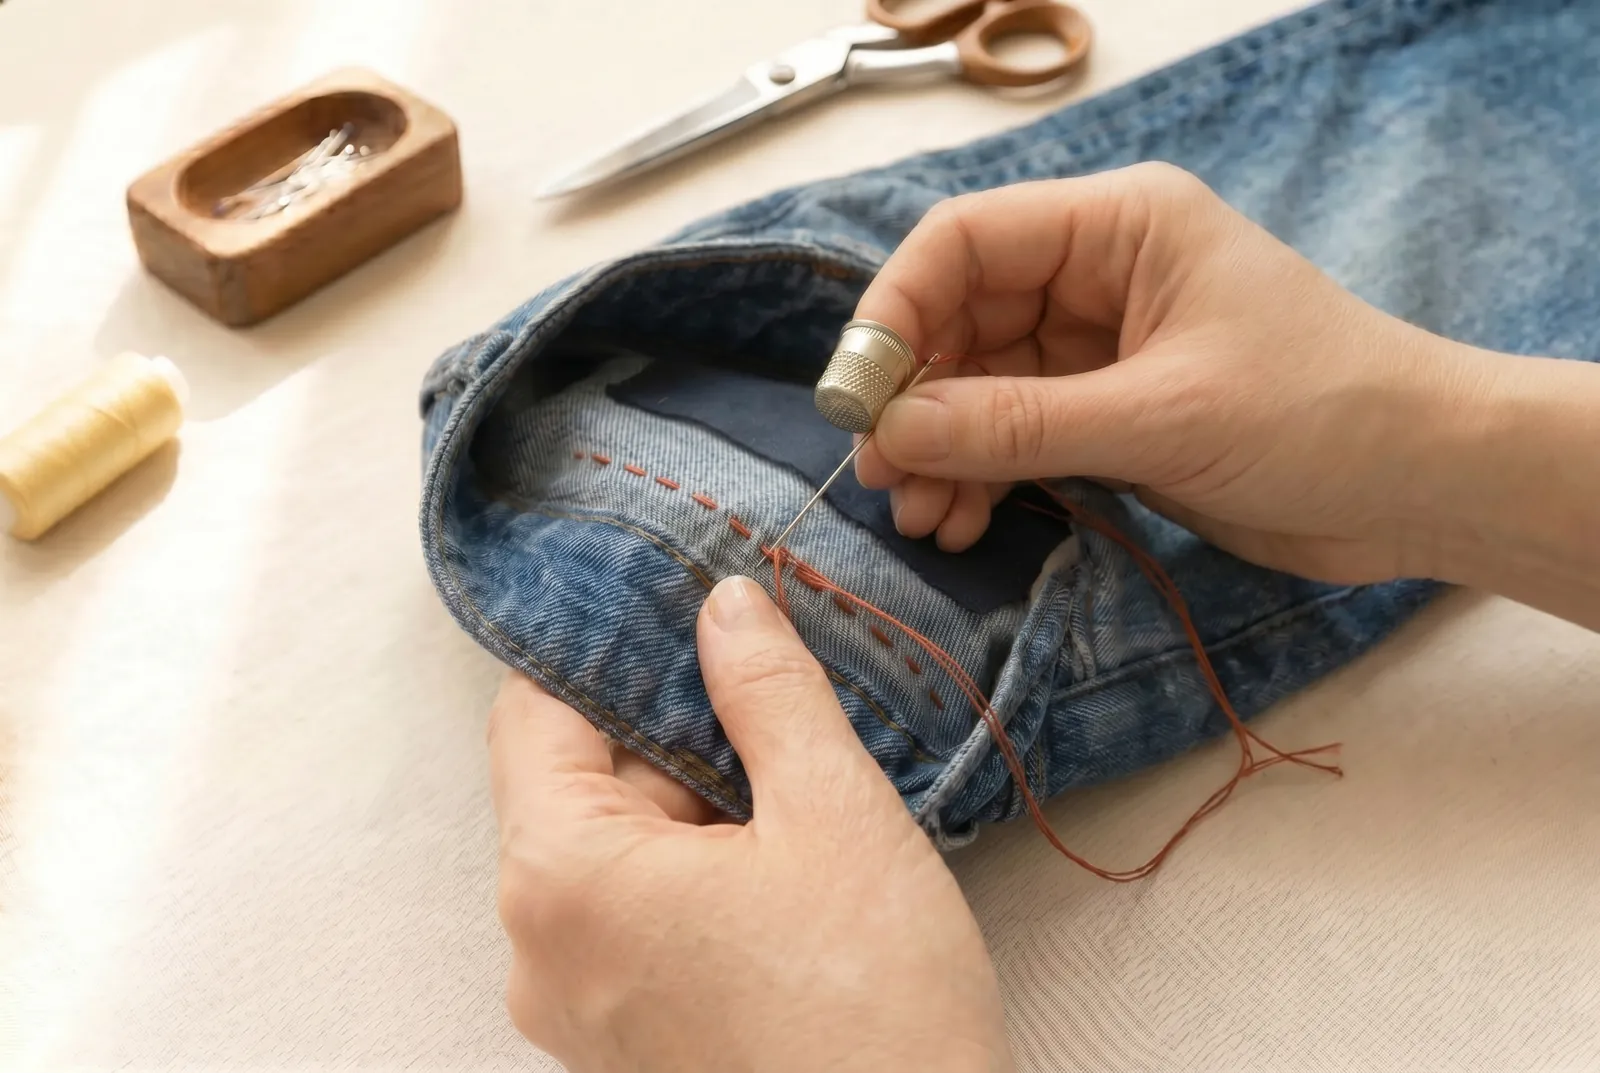
STEP 7/10When a thread runs short, start the new one over the last two or three stitches of the old, so the two overlap and no weak place is left in the line.
Step 8
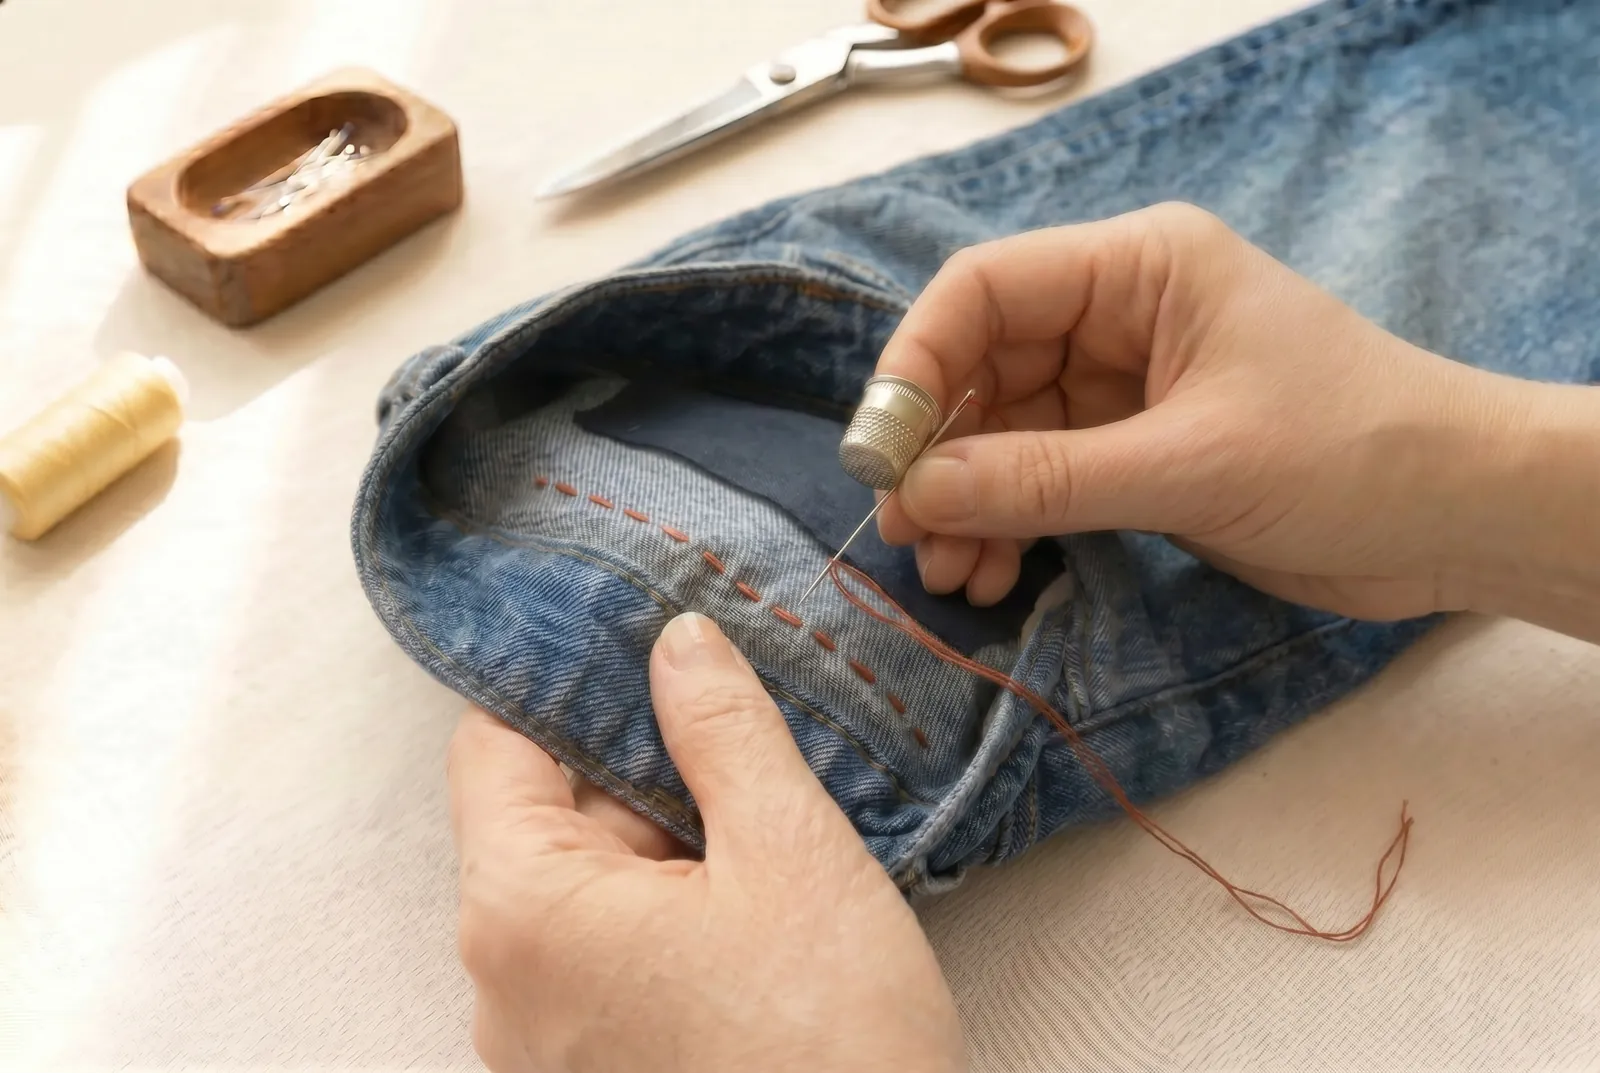
STEP 8/10Finish the last row the way you began: fasten off within the layers without a knot, running the needle between the cloth for about 2.5 cm (1 in) before you cut the thread close.
Step 9
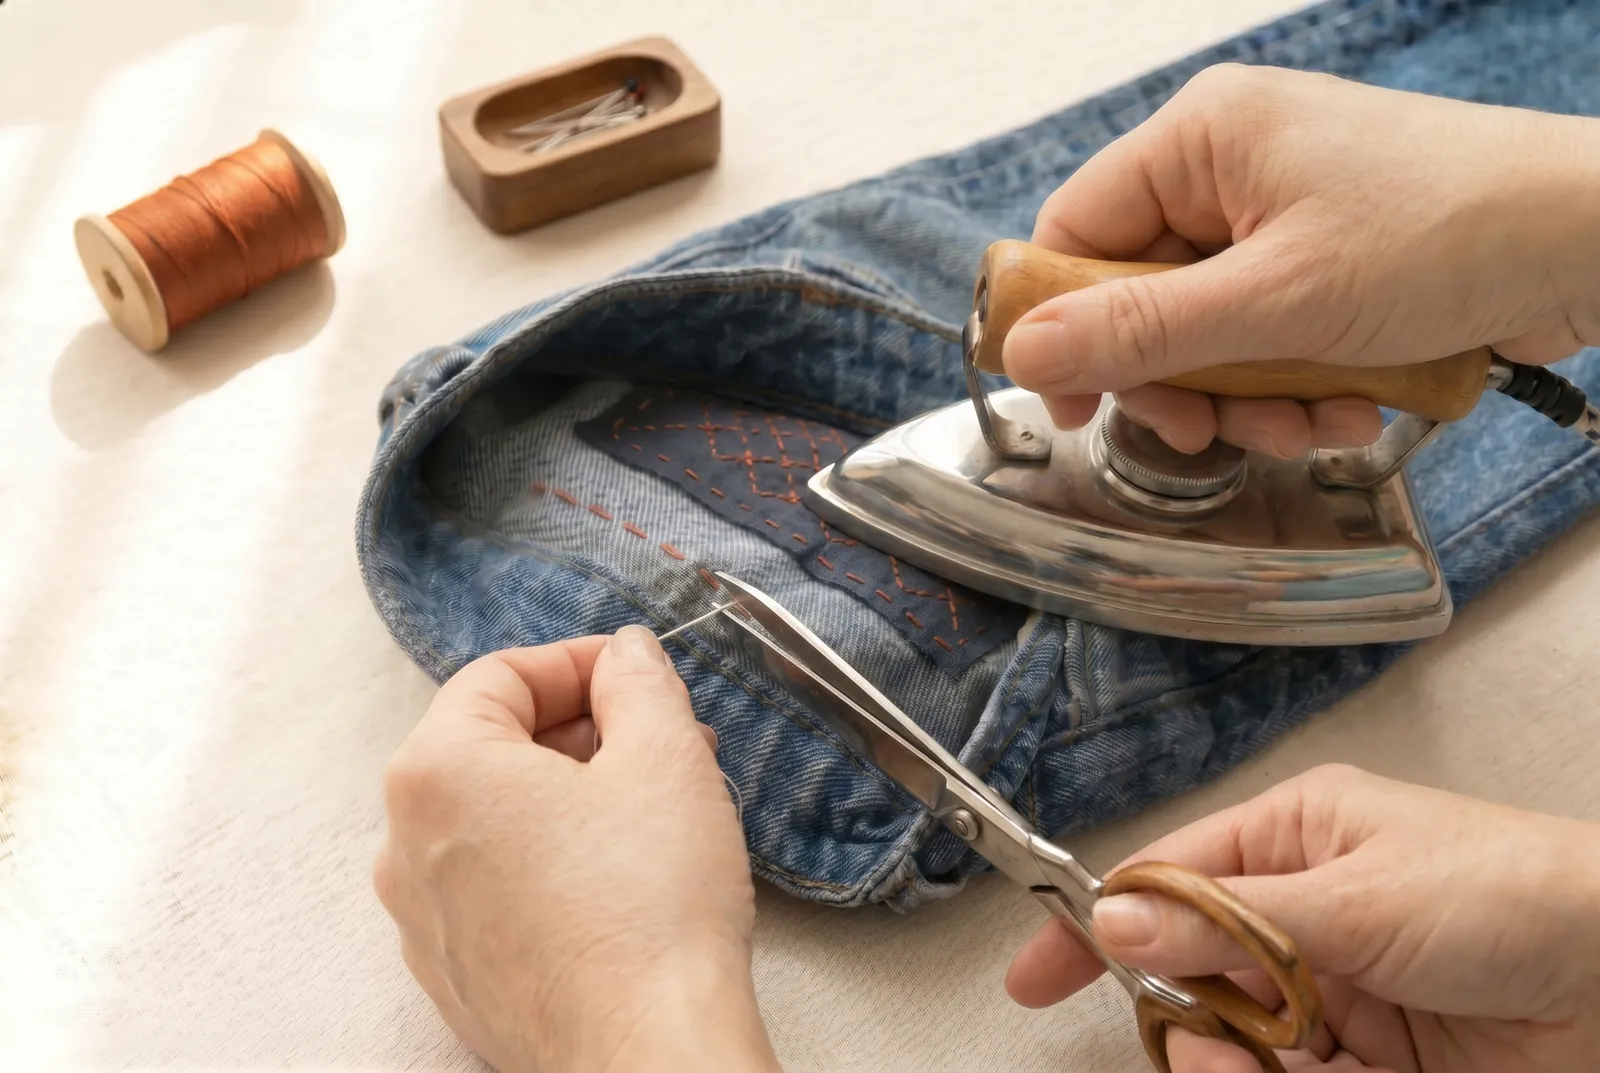
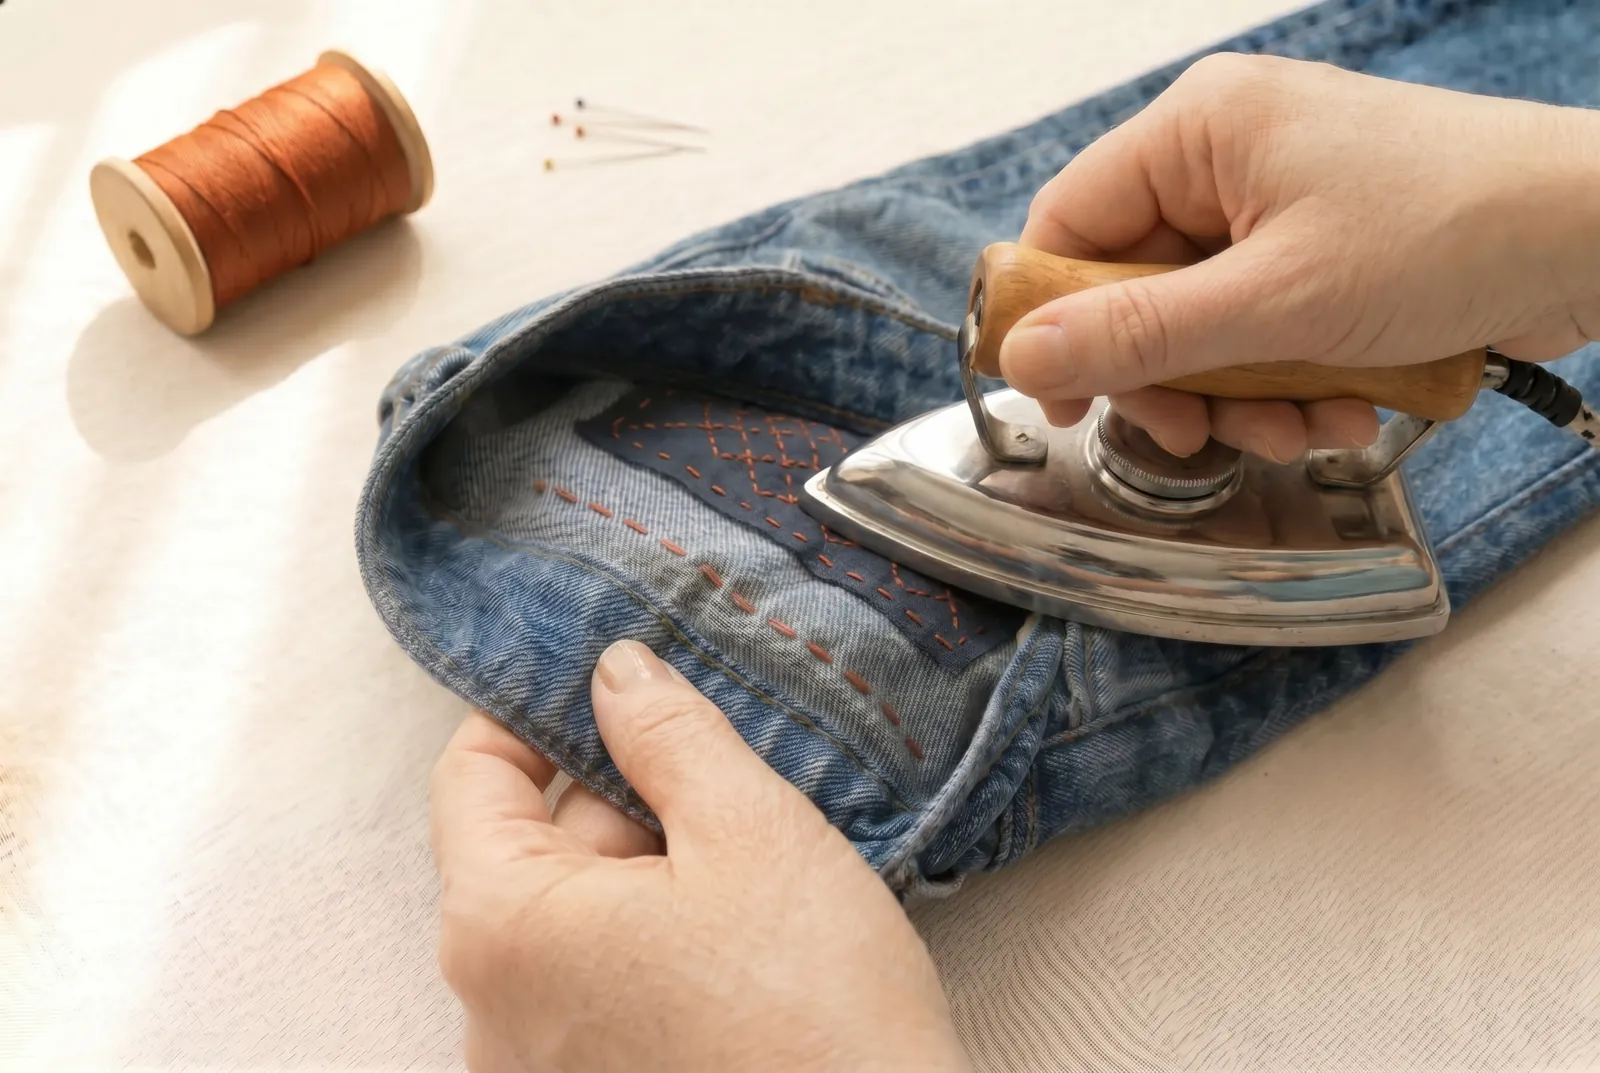
STEP 9/10Press the finished mend on the wrong side while the basting is still in place, laying the work face down so the rows of stitching are not flattened shiny.
Step 10
STEP 10/10Draw out the contrasting basting thread now that the rows hold the stay in place, then press the mend once more. Removing the basting only after this first pressing keeps the stay from shifting while the mend sets.