Hand-Sewing Fundamentals · piece Nº 32 · 54 min
Sew a French seam: enclose raw edges in two passes
A French seam wraps both raw edges inside the seam itself, so nothing frays on the inside of a light, sheer, or often-washed piece. You sew it in two passes — a narrow row on the outside, then a second row on the inside that shuts the raw edges away — and it works on straight seams like the sides of a skirt, a pillowcase, or a drawstring bag.
The seam · 9 steps
Step 1
STEP 1/9Pick a straight or nearly straight seam on light fabric — the side seam of a skirt, a pillowcase, or a drawstring bag in cotton or linen. A French seam sets badly on a sharp curve like an armhole and is too thick for heavy cloth, so keep it to flat, straight runs.
Step 2
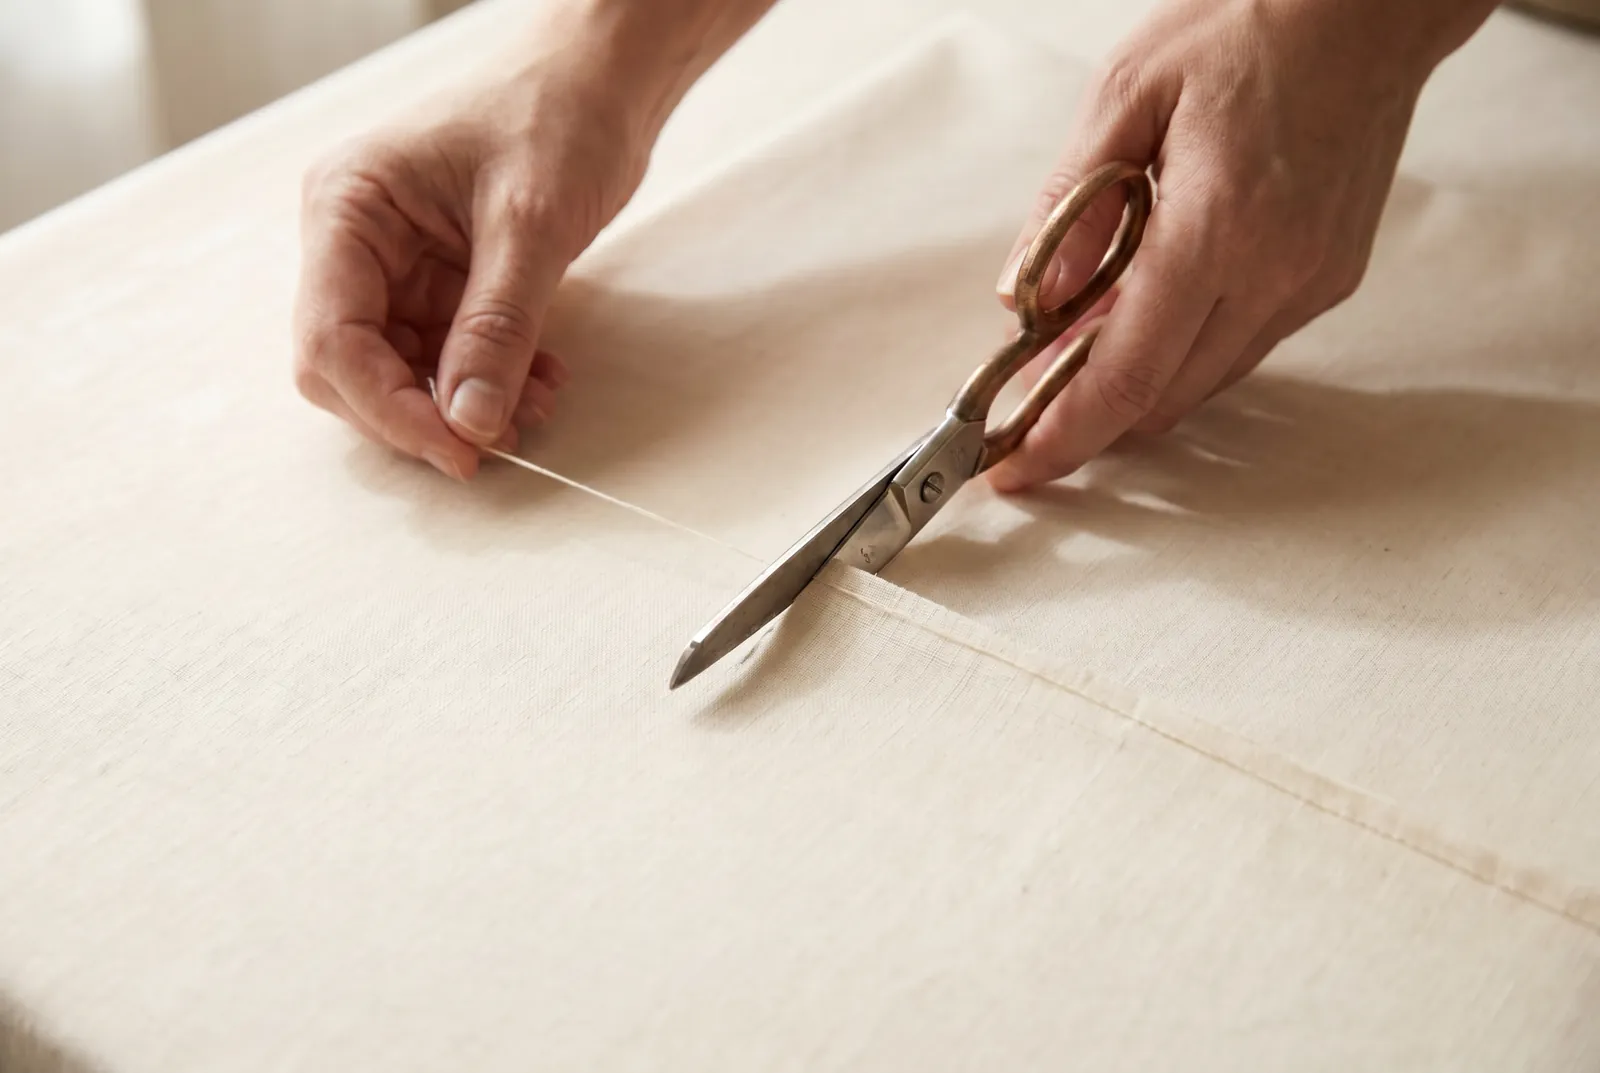
STEP 2/9Straighten the cut edge before you sew: pick up one crosswise thread near the end, draw it until it leaves a line across the cloth, and cut on that line. Keep the selvage out of the seam, and allow the same seam width as for a plain seam — the two rows of a French seam together take up about 1 cm (3/8 in).
Step 3
STEP 3/9Lay the two pieces with their wrong sides together, so the right sides face out and the raw edges line up. This feels backward — most seams start right sides together — but the first row of a French seam is sewn on the outside of the work.
Step 4
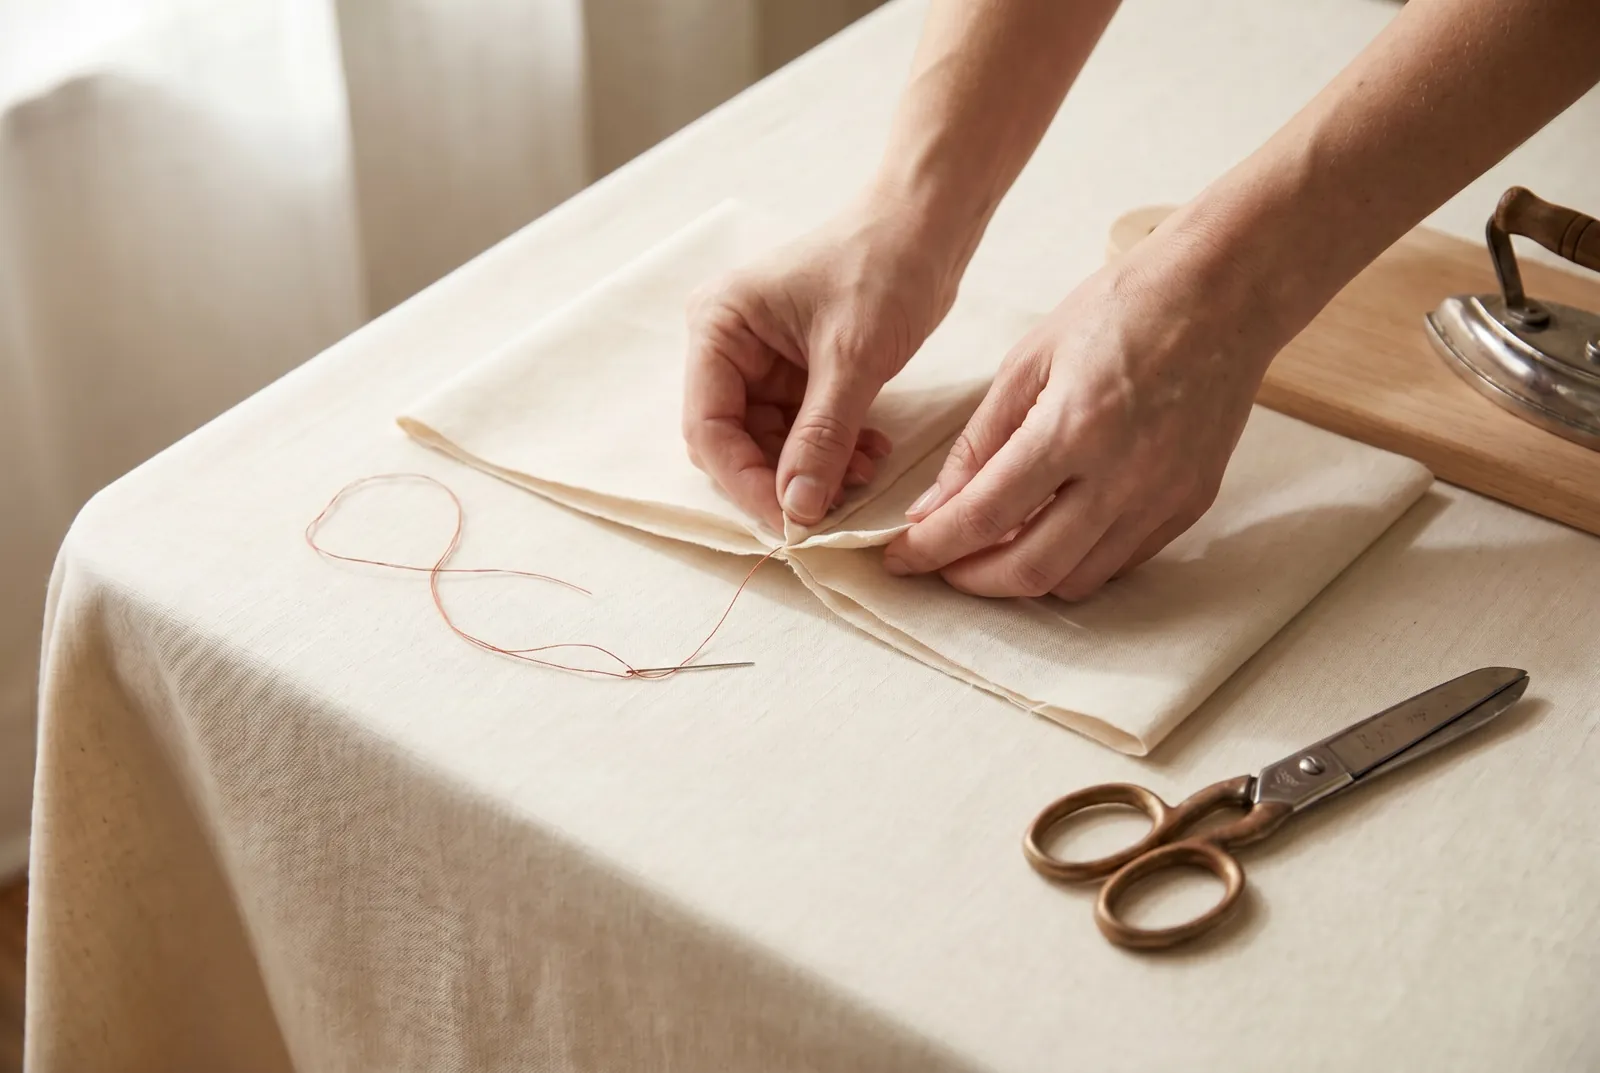
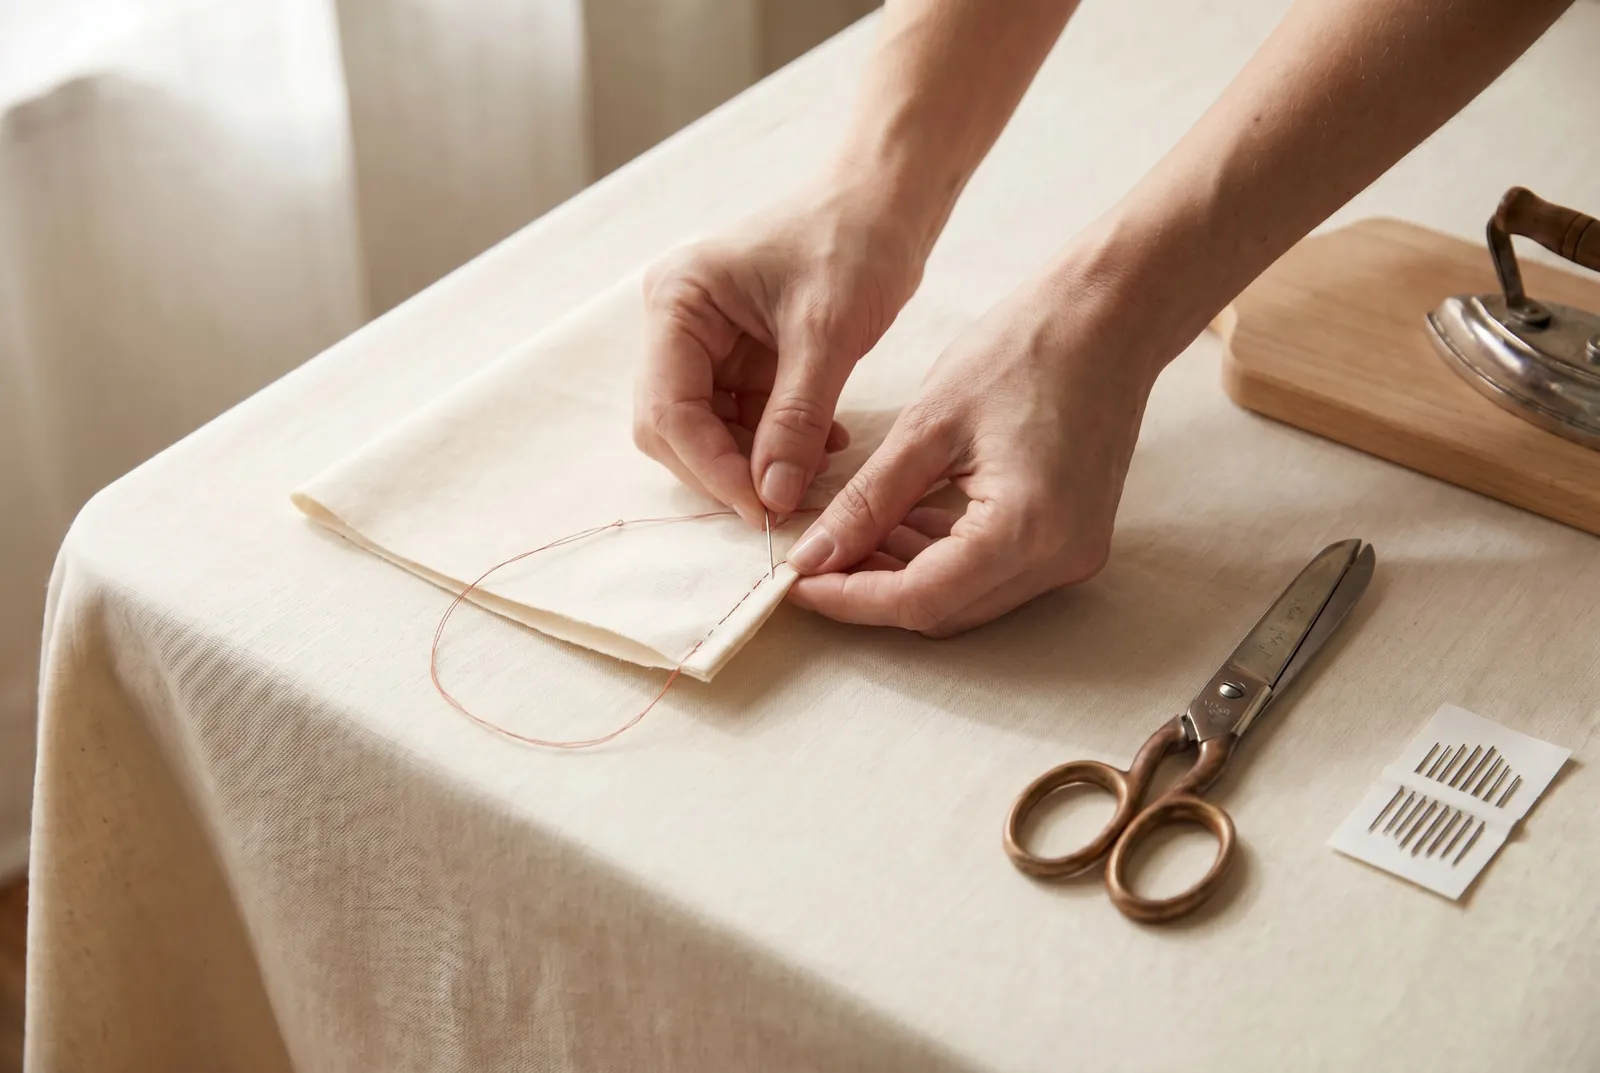
STEP 4/9Stitch the first seam 3 mm (1/8 in) from the raw edge, running it by hand or stitching it by machine. Keep this row narrow and even; if it wanders wide, raw edges will reach past the second seam and poke through the finished side.
Step 5
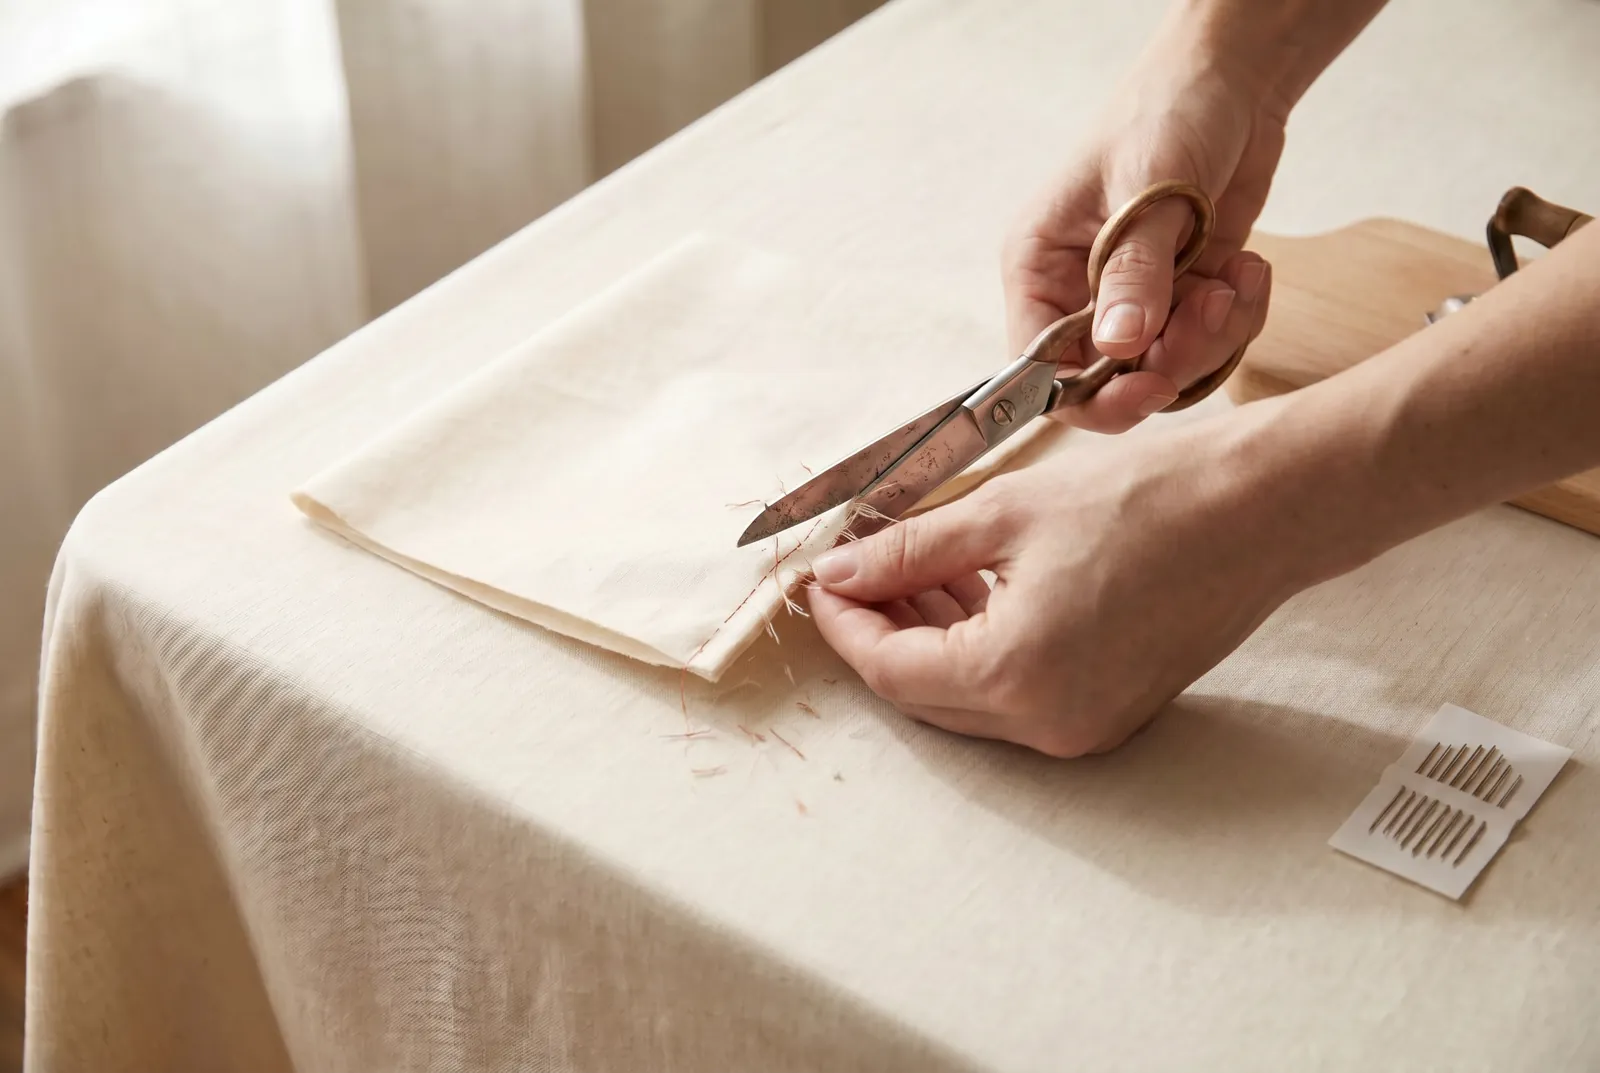
STEP 5/9Trim off the ravelings close to the stitching, cutting away loose threads and any frayed edge. Threads left long will show through the finished seam or stop the raw edges from closing away fully in the next passes.
Step 6
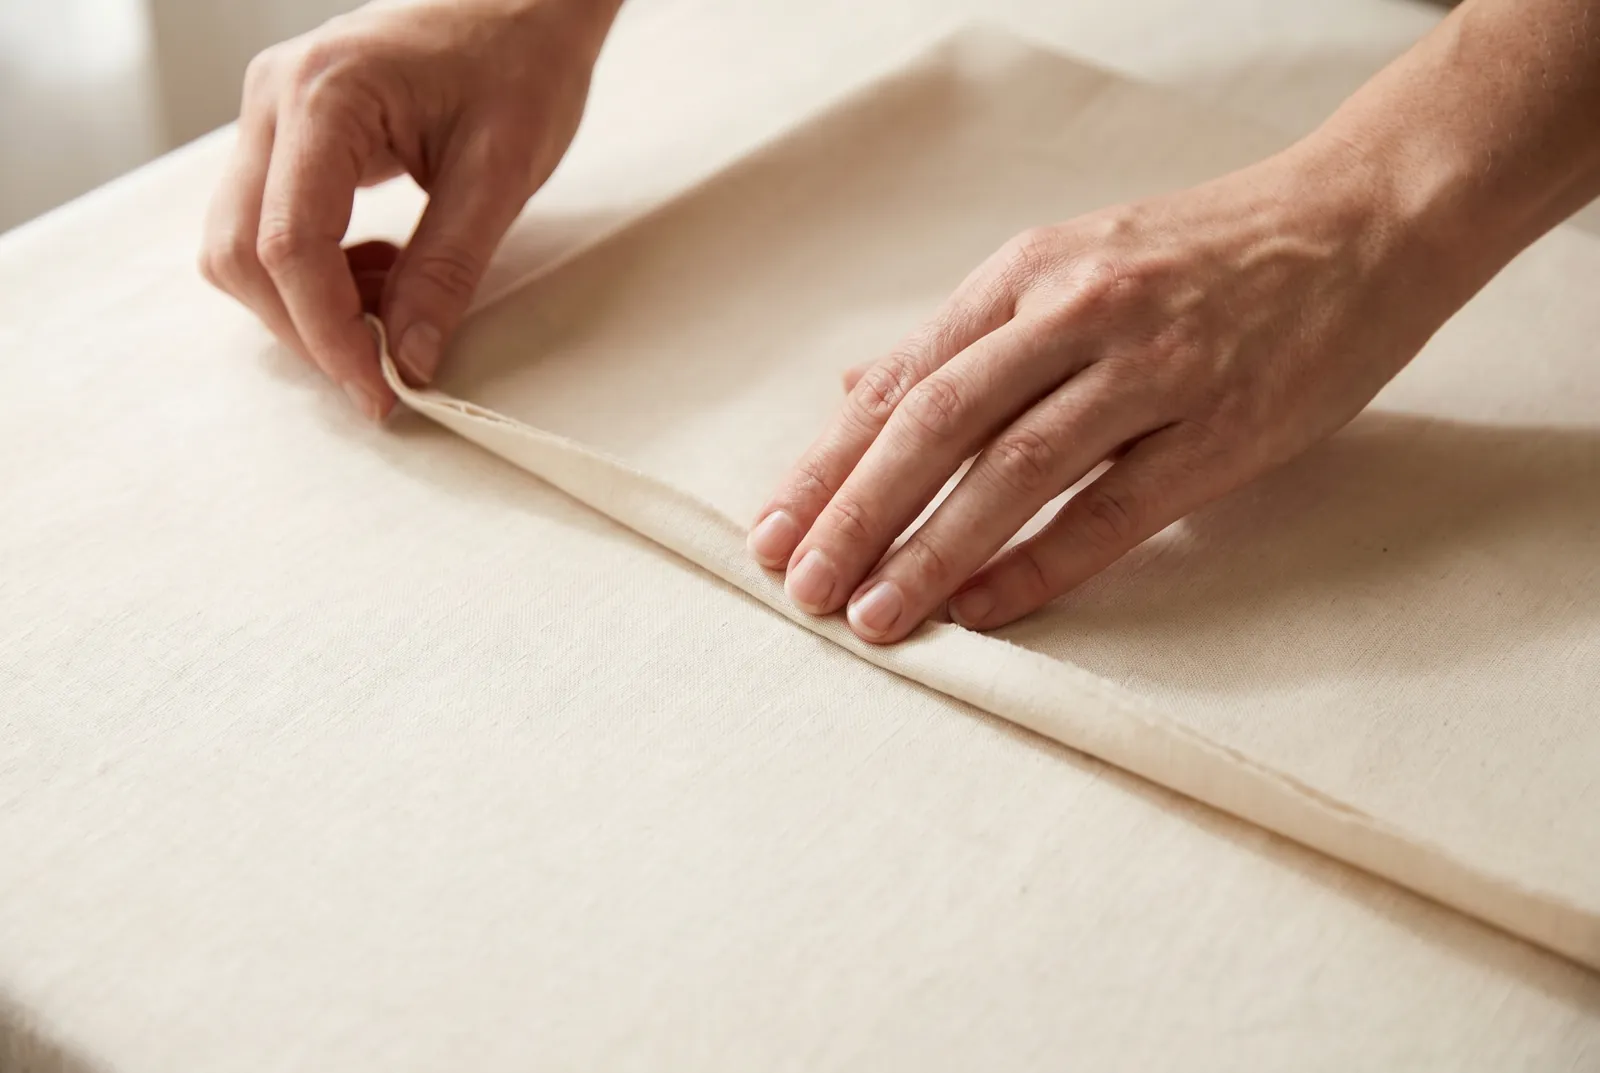
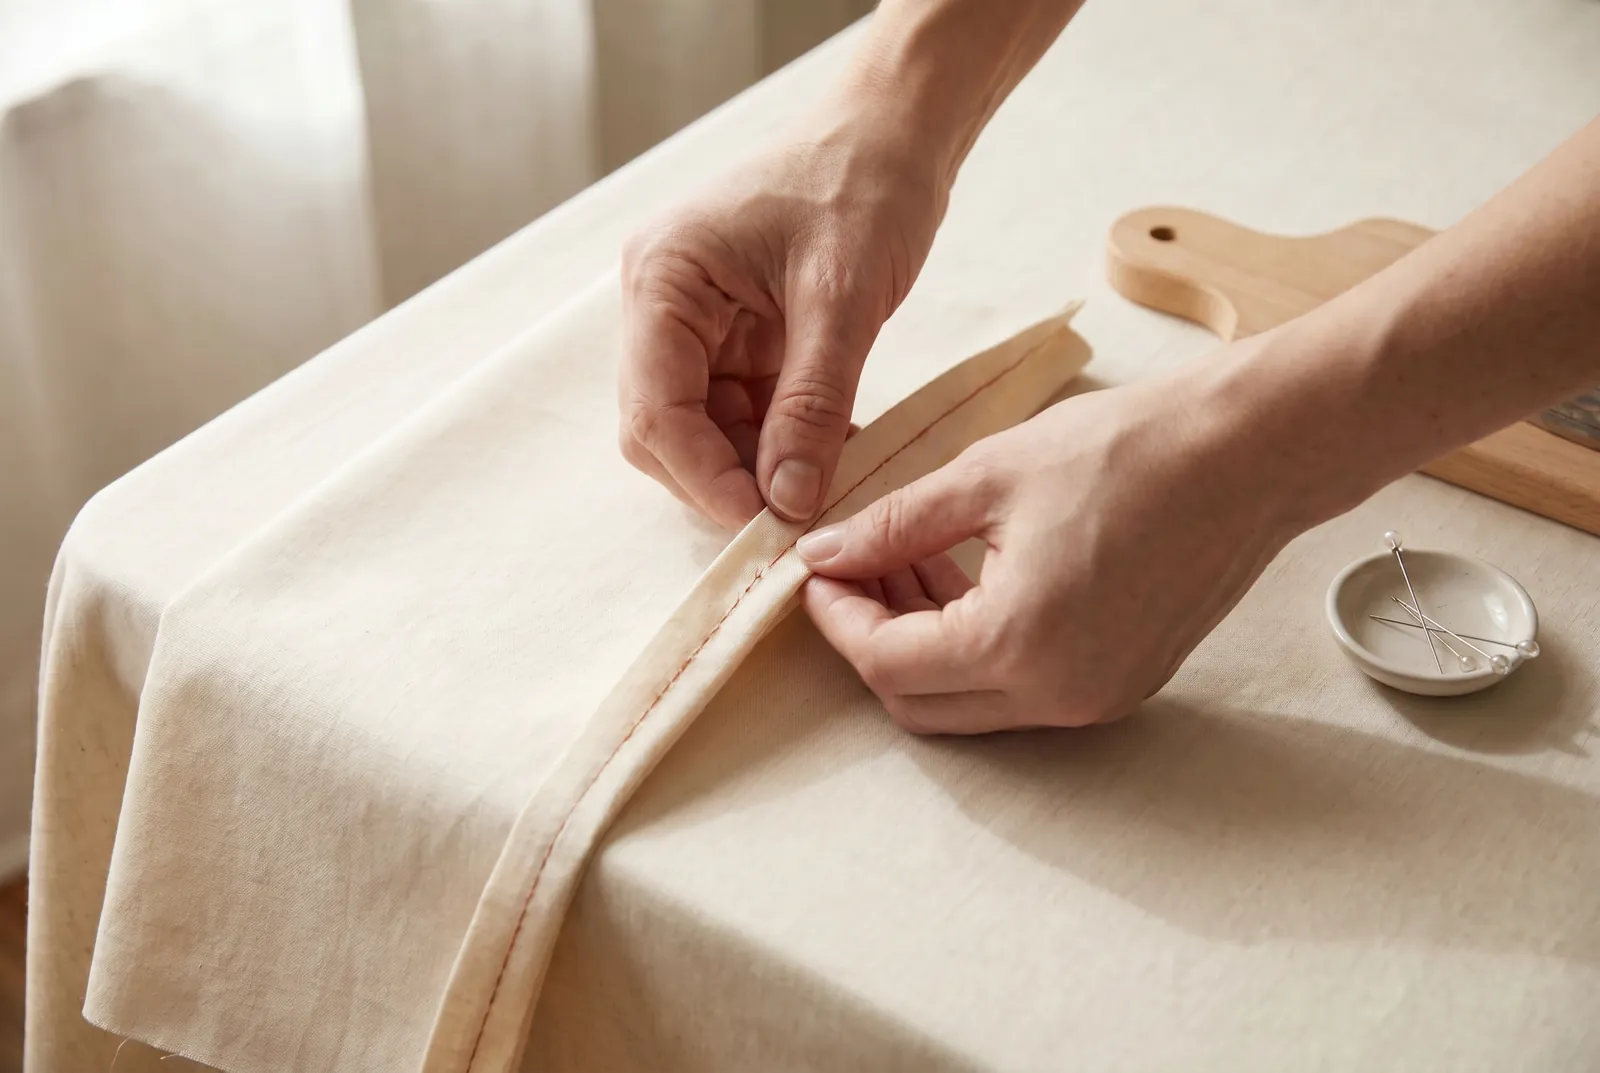
STEP 6/9Turn the work so the right sides now come together, and roll the seam between your fingers until the first stitching lies exactly on the fold. Crease it there; if the fabric is slippery, baste the fold before you stitch so it cannot shift.
Step 7
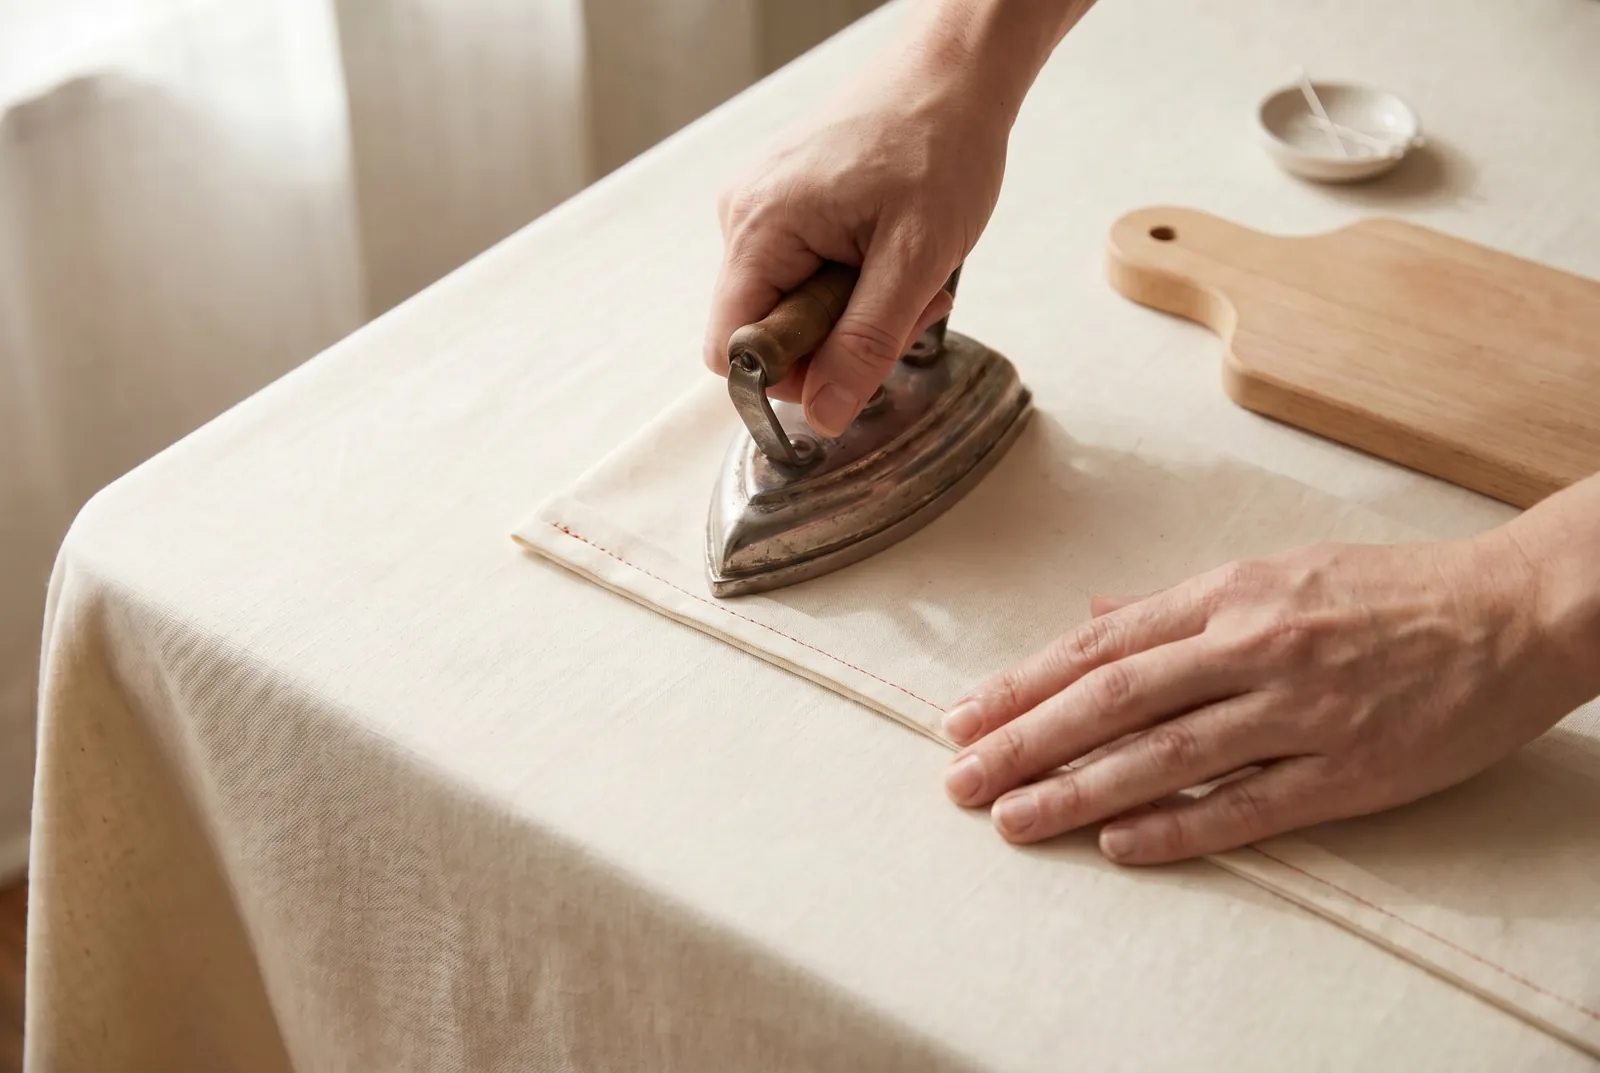
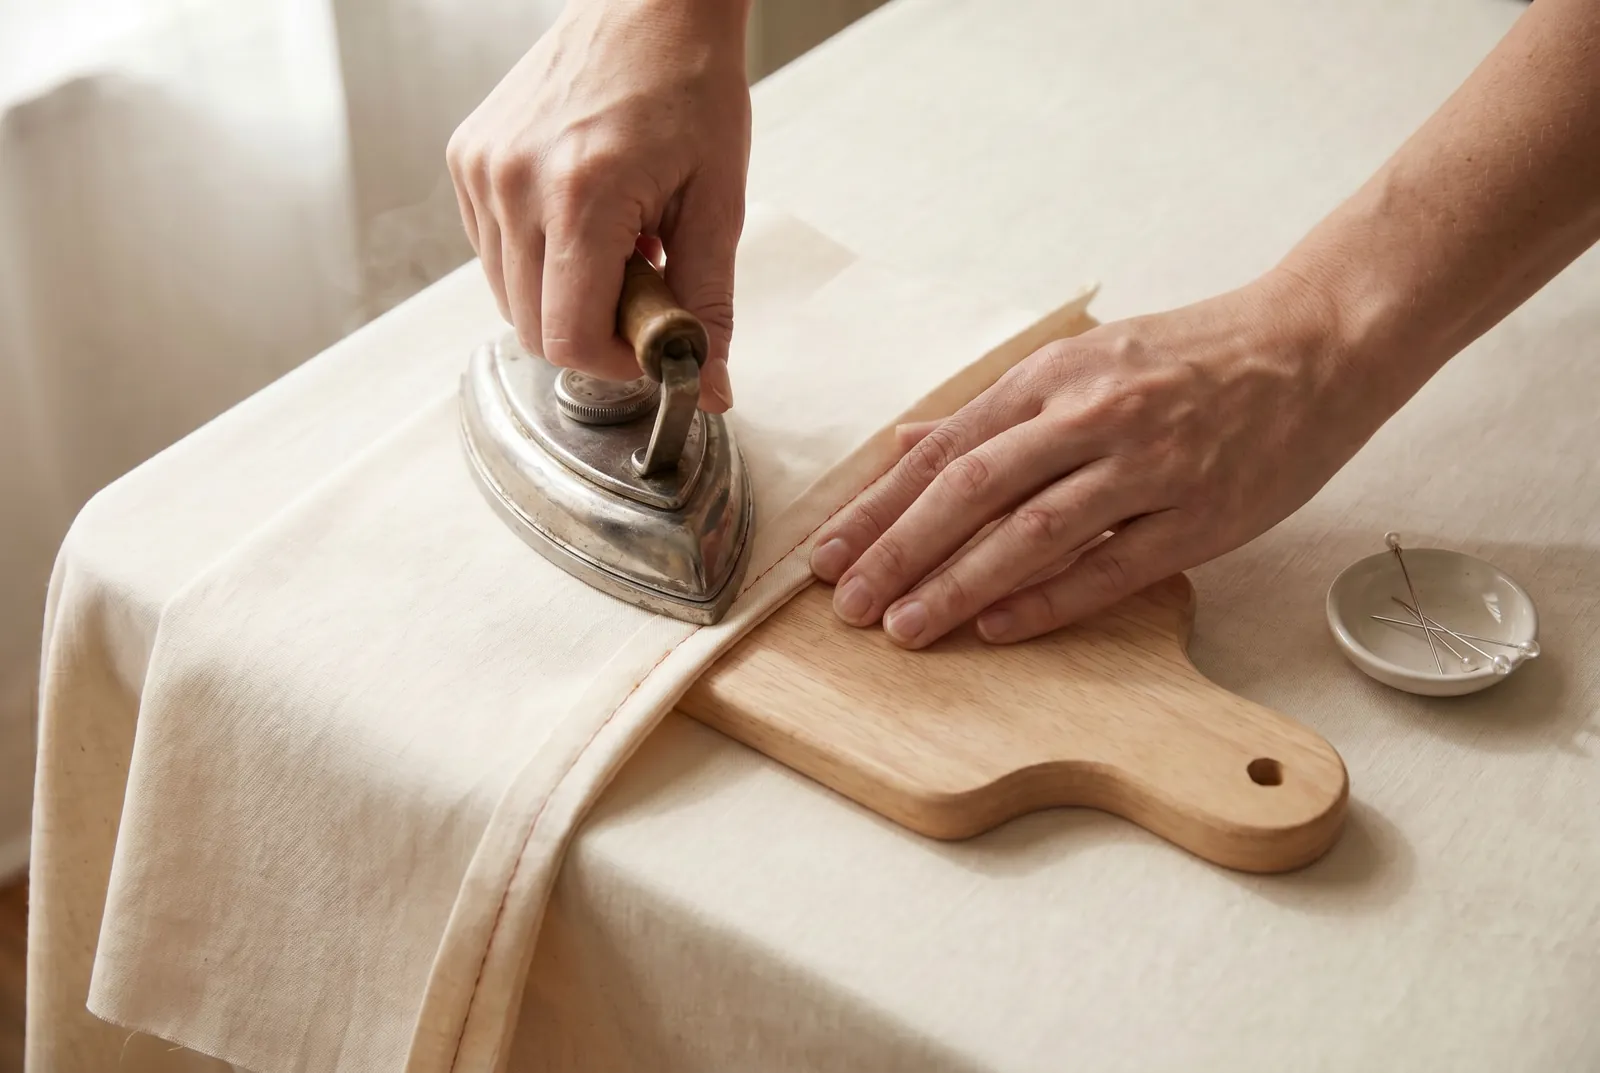
STEP 7/9Press the fold flat along the stitching line before the second row crosses it — a seam once crossed can never afterward be pressed flat. Cotton and linen take a hot iron and may be pressed damp, directly on the cloth.
Step 8
STEP 8/9Stitch the second seam 6 mm (1/4 in) from the fold, deep enough to shut the raw edges entirely inside. Keep it narrow — a wide French seam is clumsy, wastes cloth, and marks a ridge under the iron.
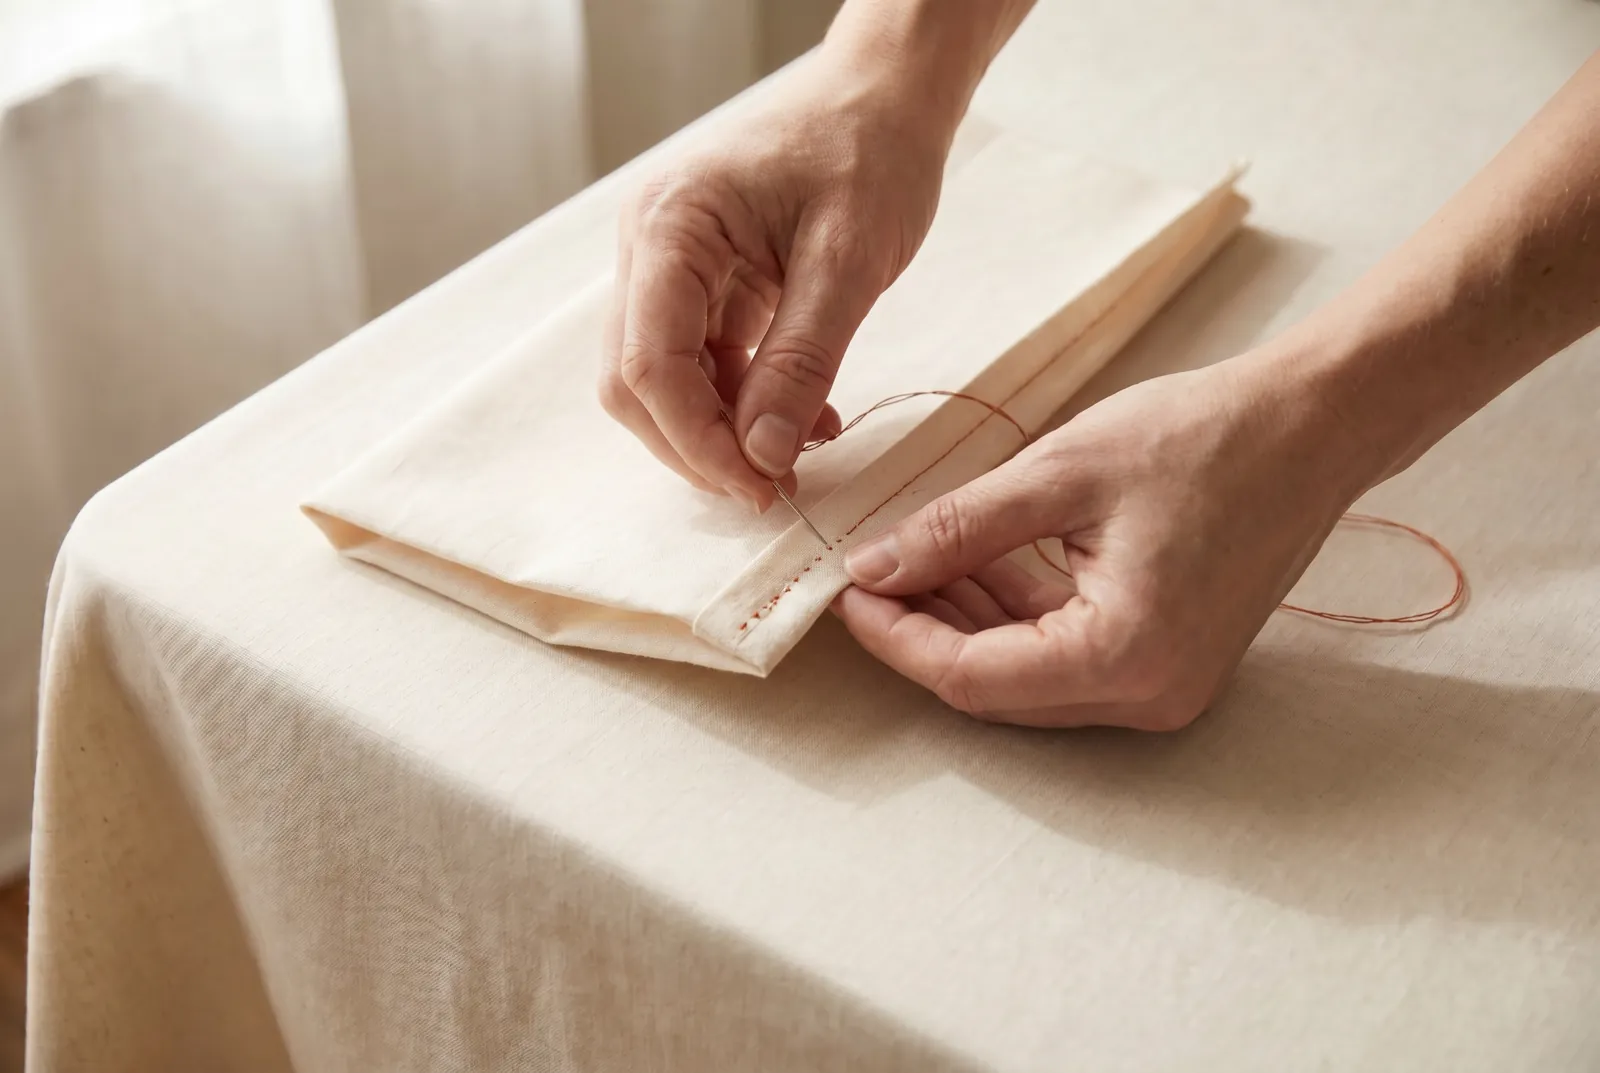
Step 9
STEP 9/9Press the finished seam flat. On the right side you should see a plain closed seam and nothing else; on the wrong side, a narrow, neat fold with every raw edge shut away inside it.