Sustainable Basics · piece Nº 33 · 48 min
Hem and Gather a Half-Apron Body, Ready for Its Band
Turn one straight width of firm cotton into the gathered body of a half-apron: hem the two sides and the bottom, then draw the top into even gathers at your waist width, ready to have a band set on. You will also shrink the band the next stage needs. Setting that band and making the ties belongs to a separate lesson and is not covered here.
The seam · 8 steps
Step 1
STEP 1/8Cut the apron body from firm cotton such as gingham or percale, using one full width of the fabric. Straighten both cut ends by pulling a single crosswise thread and trimming along the line it leaves. Cut it about a yard (91 cm) long for an adult and less for a child, allowing a little extra, since the hems and the seam at the band take up some of the length.
Step 2
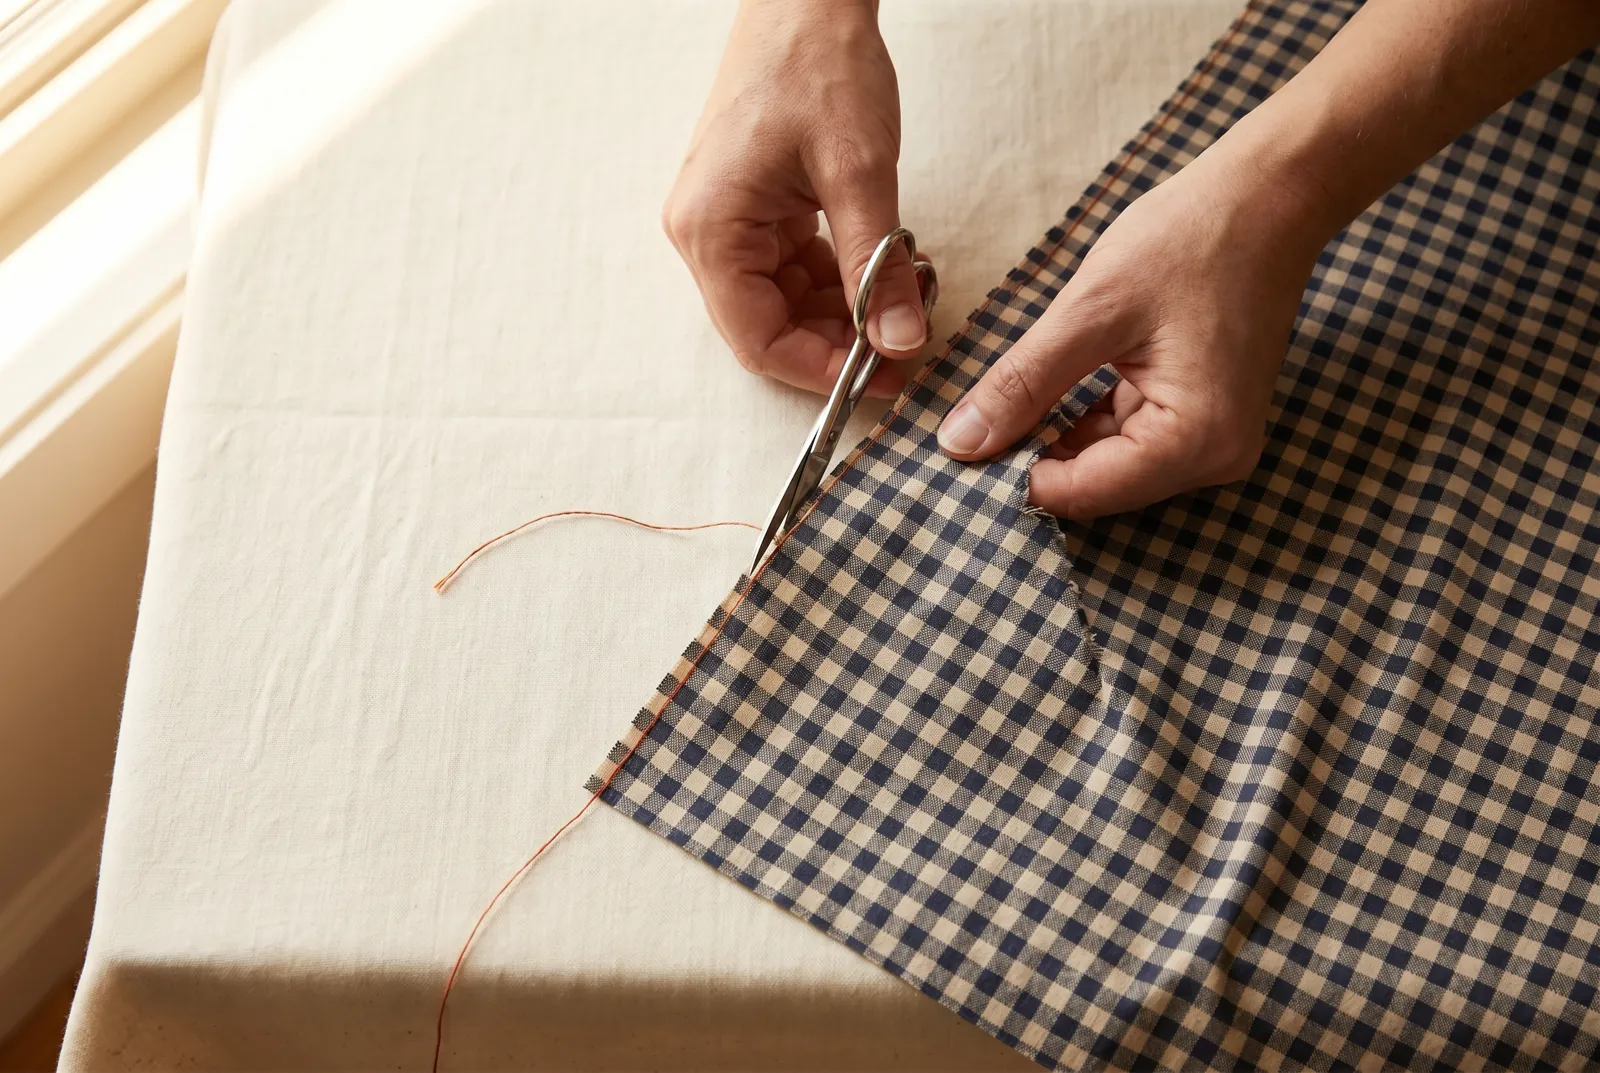
STEP 2/8Along each long side, fold the raw edge a quarter inch (6 mm) to the wrong side, then fold it the same amount again so the raw edge is tucked inside a narrow double hem. Baste each folded hem down with long running stitches; basting first keeps the fold from shifting and rippling while you sew the finishing stitches.
Step 3
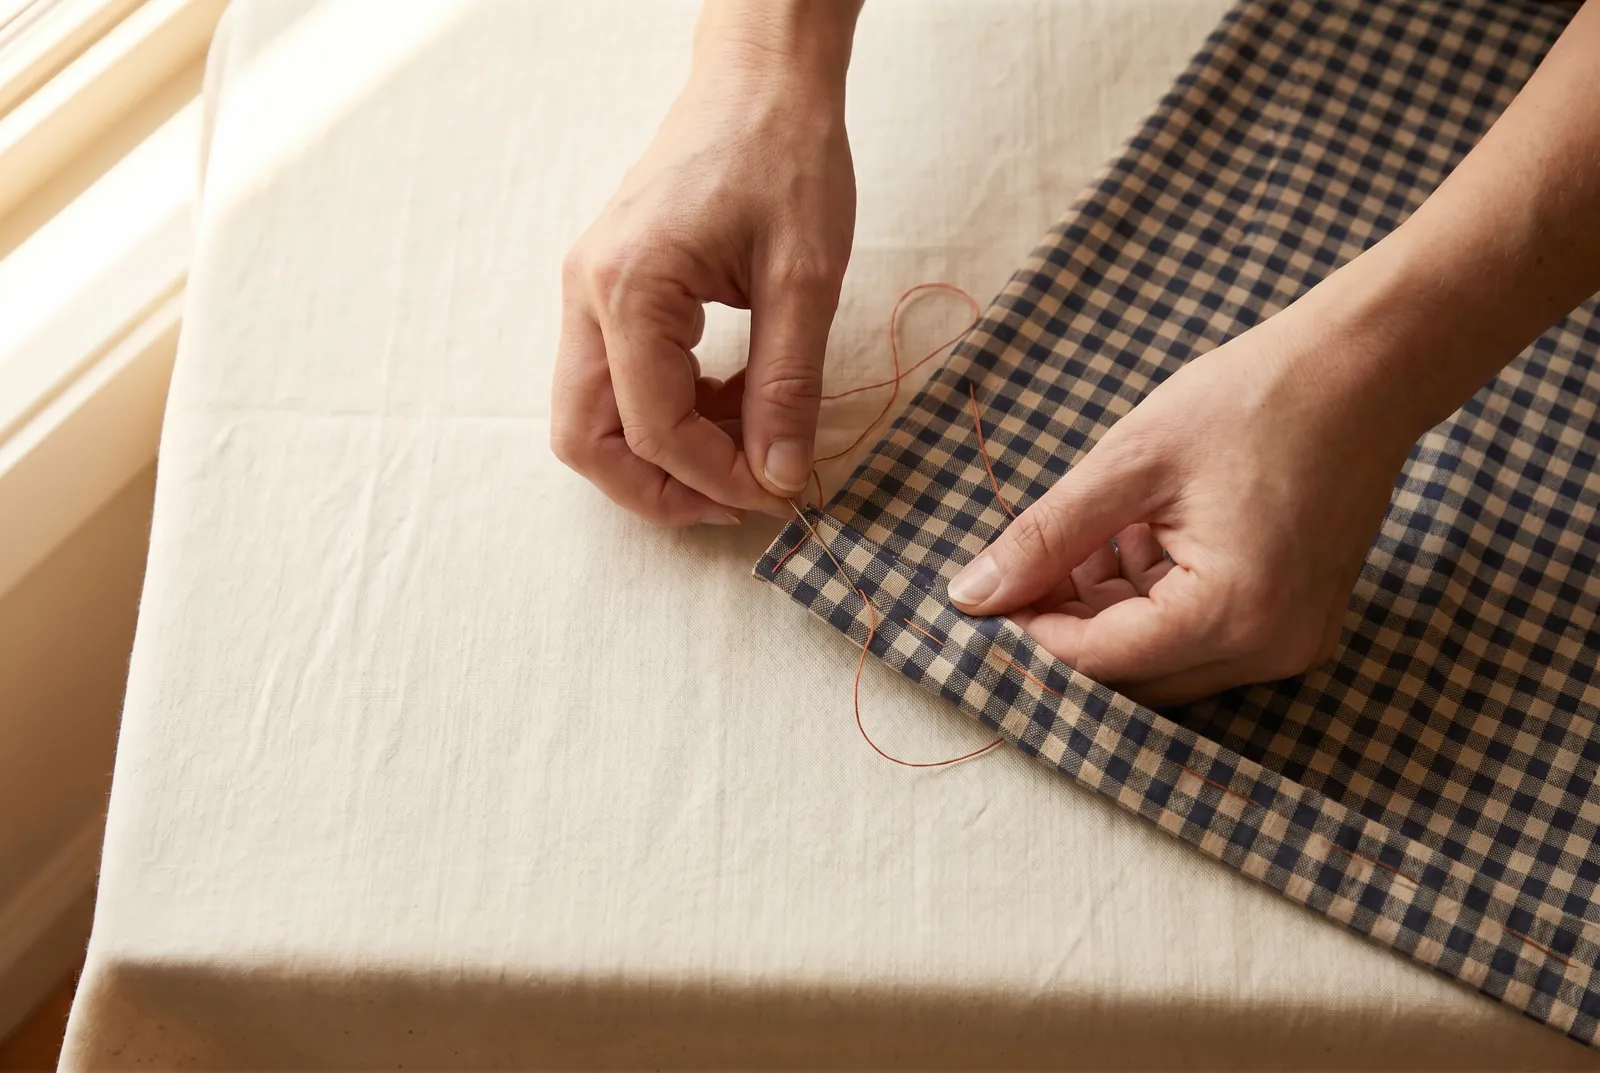
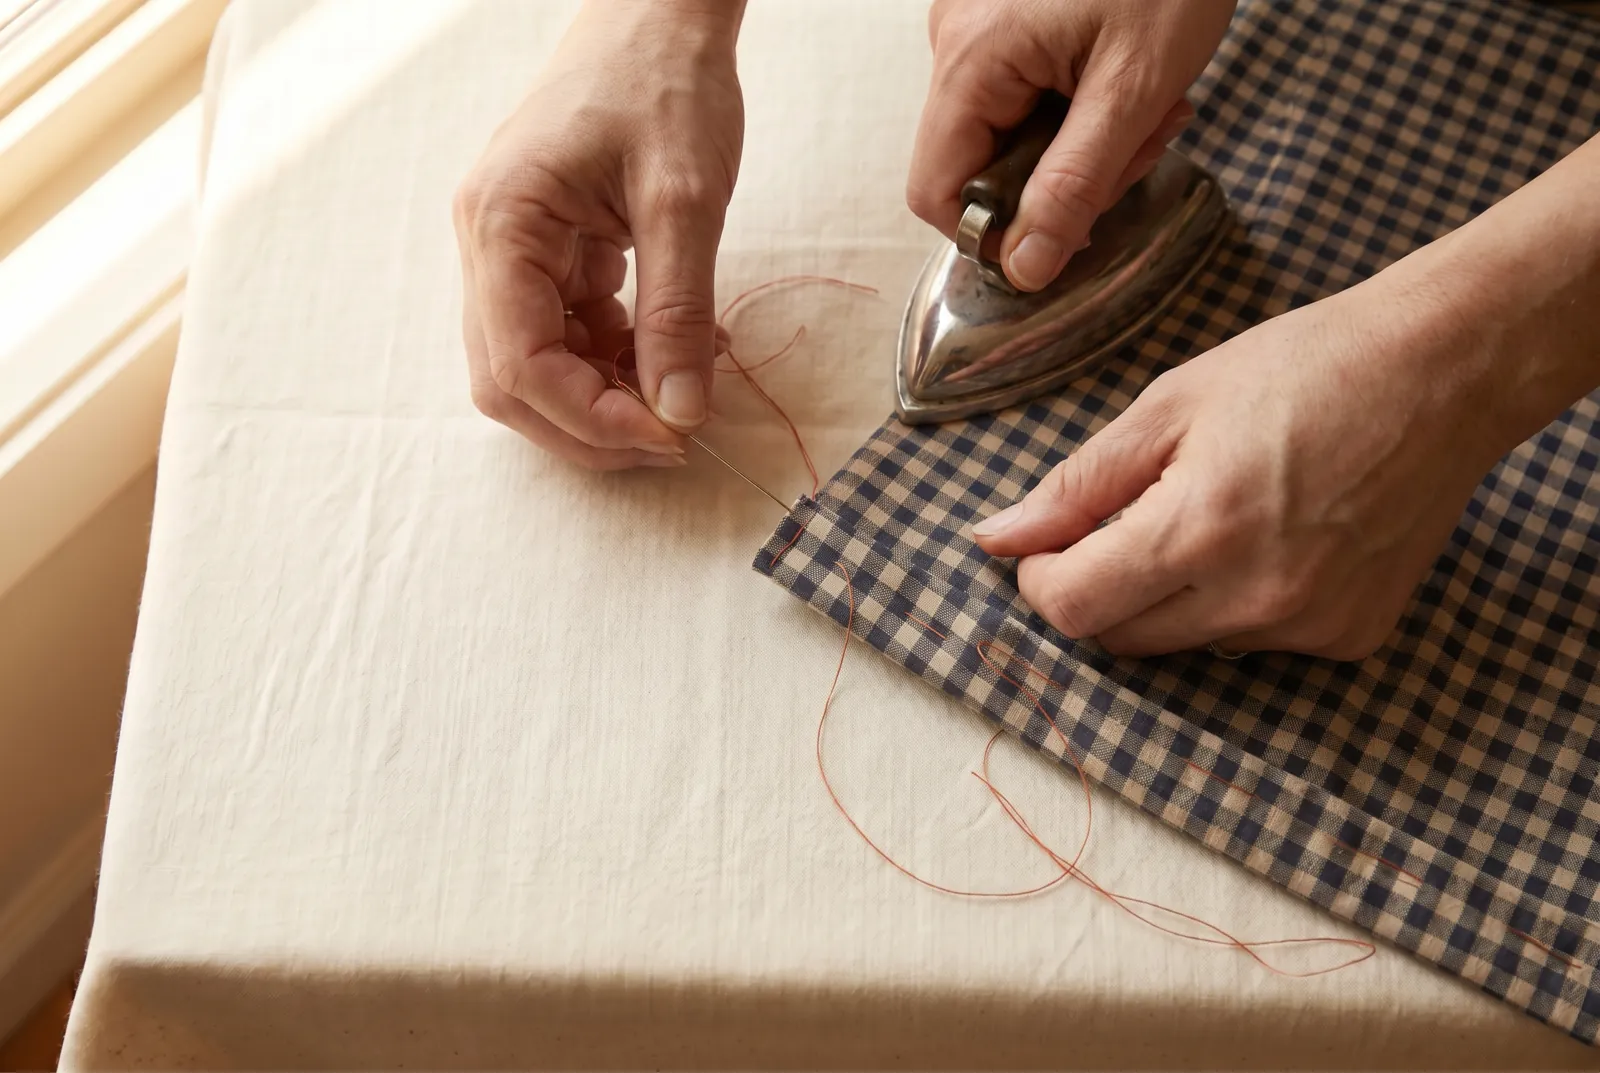
STEP 3/8Hem each side by hand with small slanting stitches that catch only a thread or two of the outer cloth, so the stitches barely show, or stitch close to the fold with a machine. Press each finished side hem on the wrong side before you draw out the basting, then pull out the basting and press the hem again so it lies flat.
Step 4
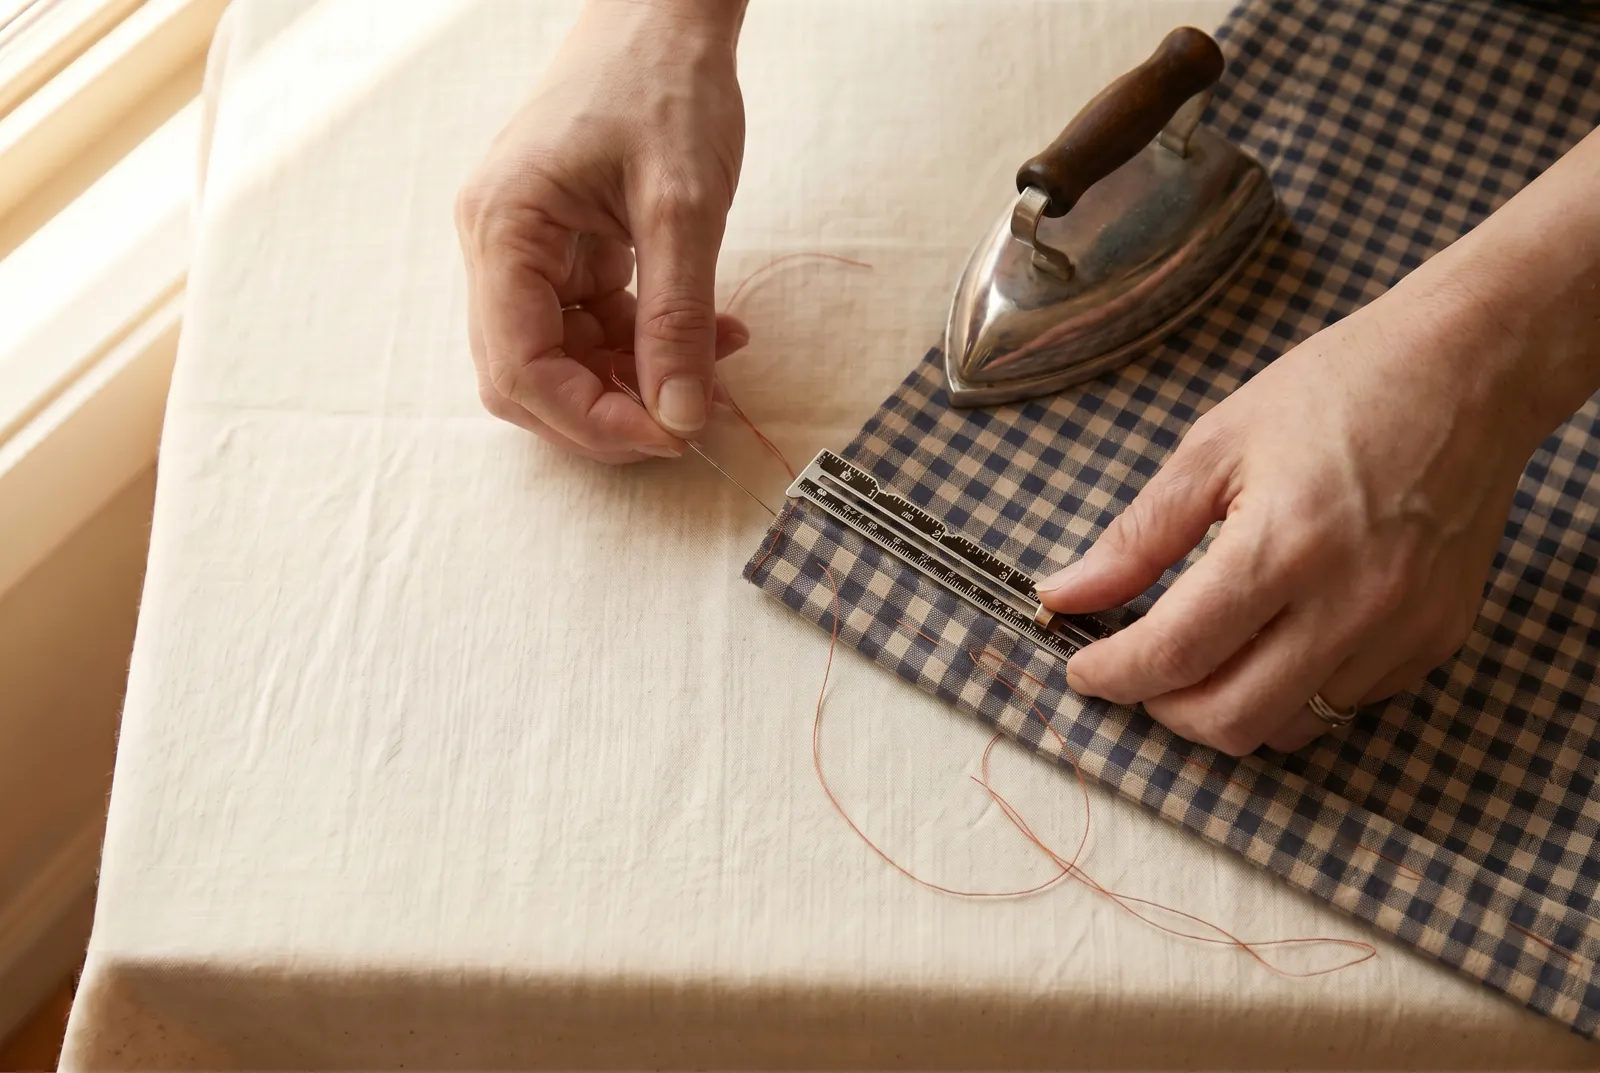
STEP 4/8Turn the bottom hem two inches (5 cm) deep, making a quarter-inch (6 mm) first fold measured with a gauge so the depth stays even the whole way across, and baste the hem down. Hem or stitch it as you did the sides; a deep bottom hem hangs well and leaves cloth to let the apron down later. Press it on the wrong side, draw out the basting, and press once more.
Step 5
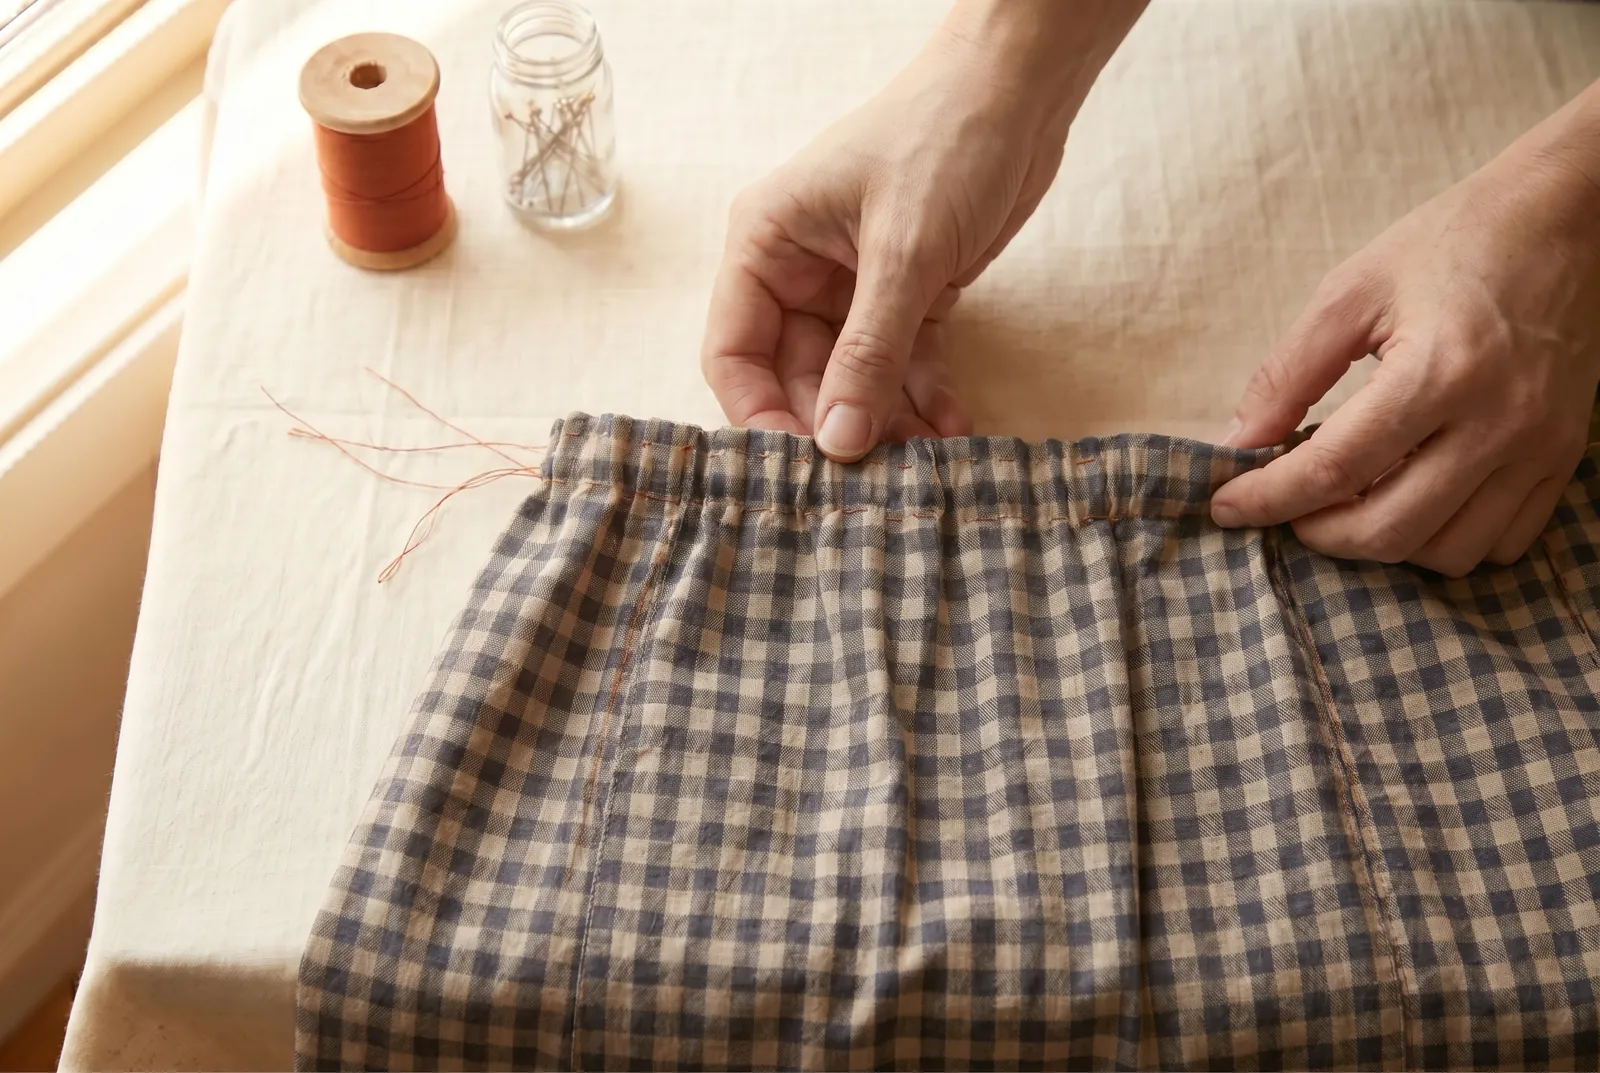
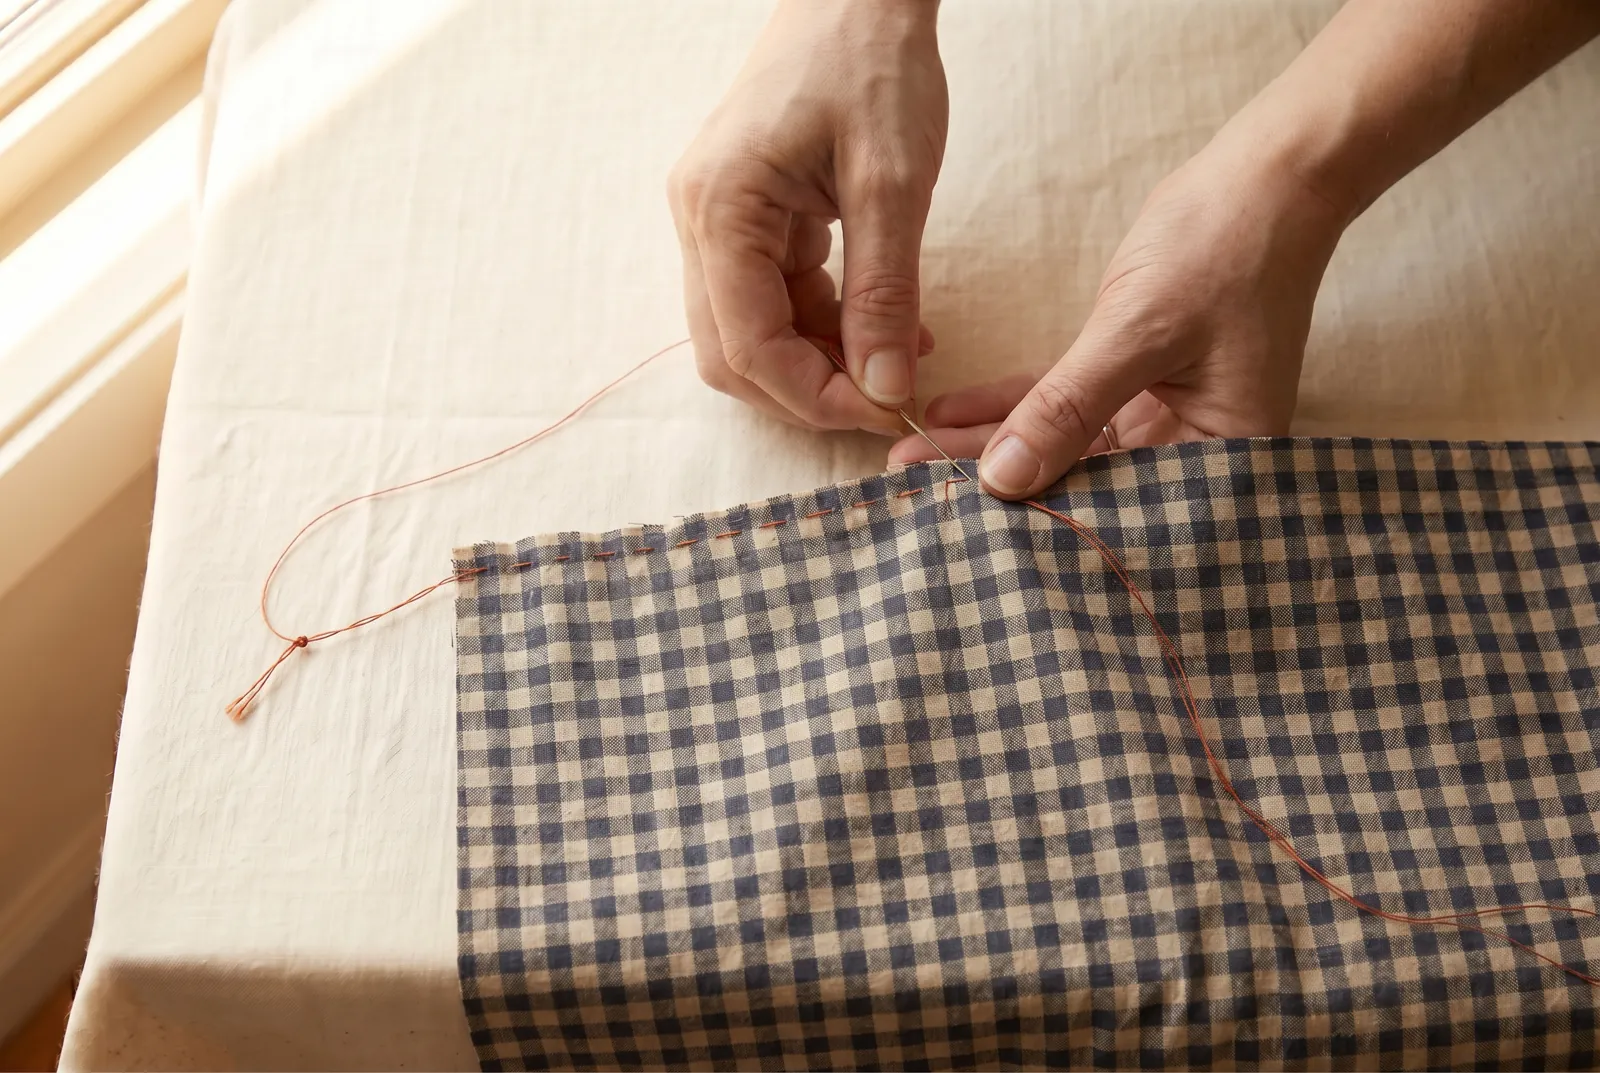
STEP 5/8Gather the top edge. Thread a single strand, knot the end, and bring the needle up at one side on the right side of the fabric, an eighth of an inch (3 mm) inside where the band's seam line will fall. Run small, even running stitches straight across the top, picking up less cloth than you skip so the edge can draw up, and at the far side leave a long tail hanging loose without knotting it. The knot at the start holds the row, so pulling the loose far end draws the cloth into gathers instead of pulling the thread out.
Step 6
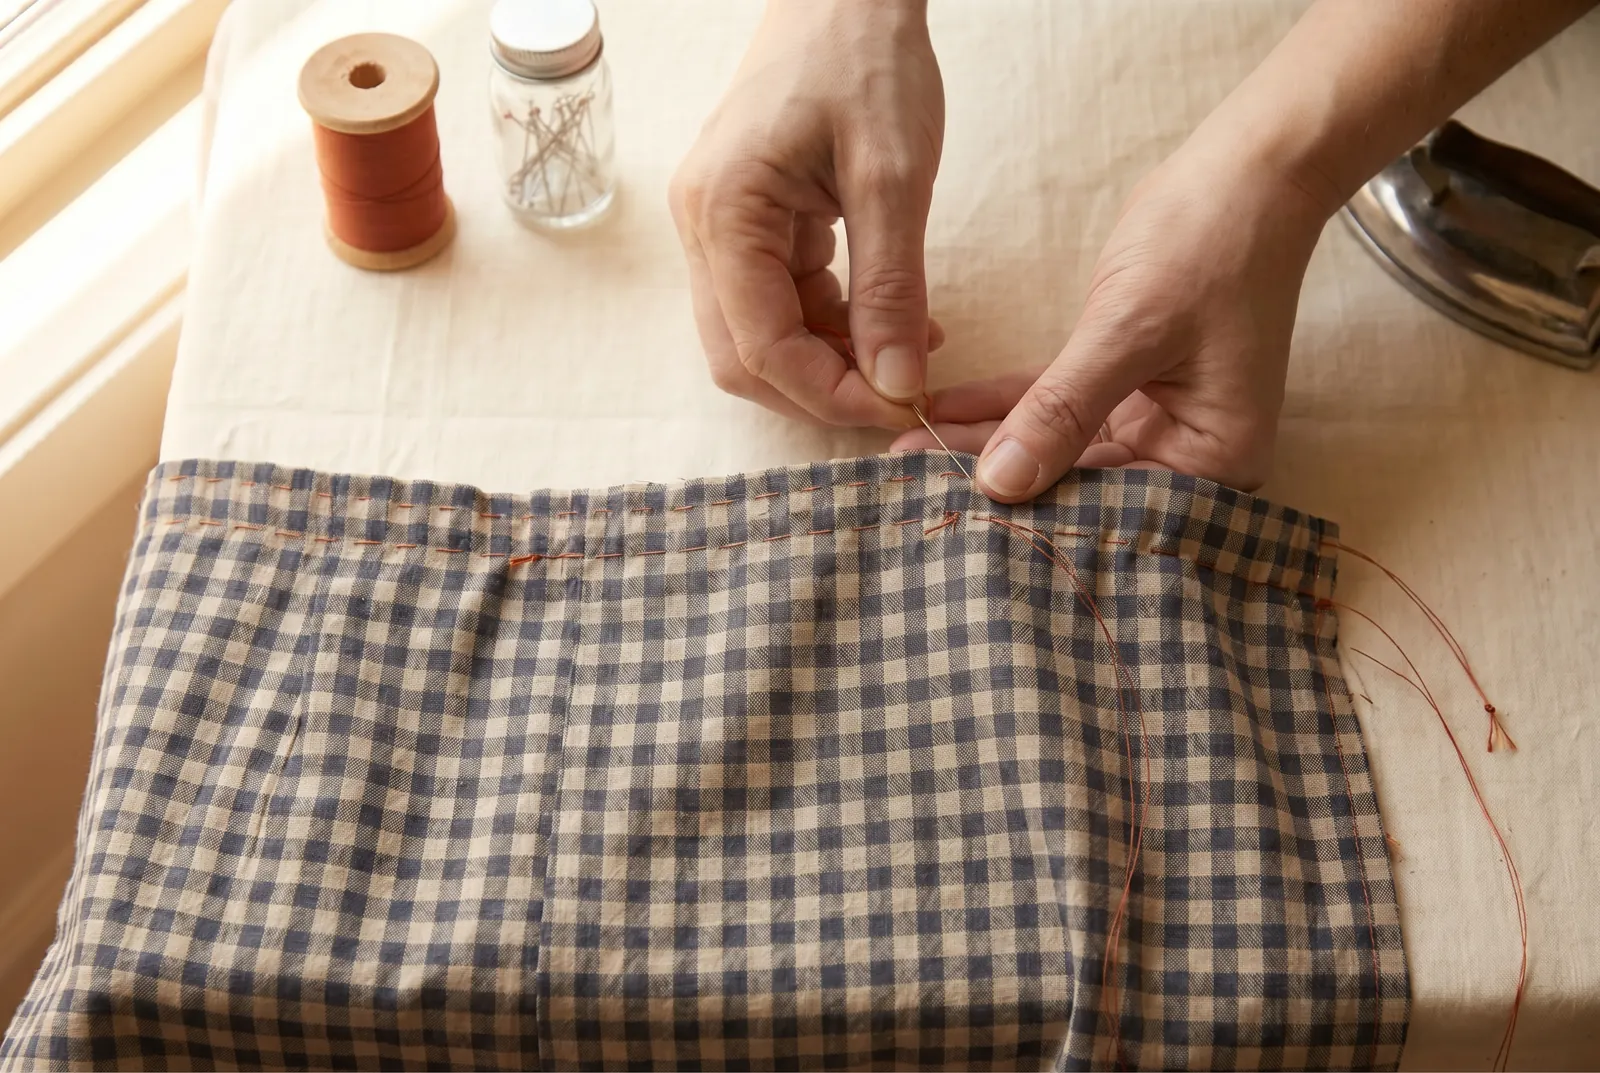
STEP 6/8Run a second gathering row a quarter inch (6 mm) below the first, knotting its start the same way and matching the first row stitch for stitch, so each row picks up the same threads and skips the same gaps. Leave this row's far end hanging loose as well. Two parallel rows draw the gathers up more evenly than one and keep the folds straight when a band is later set on.
Step 7
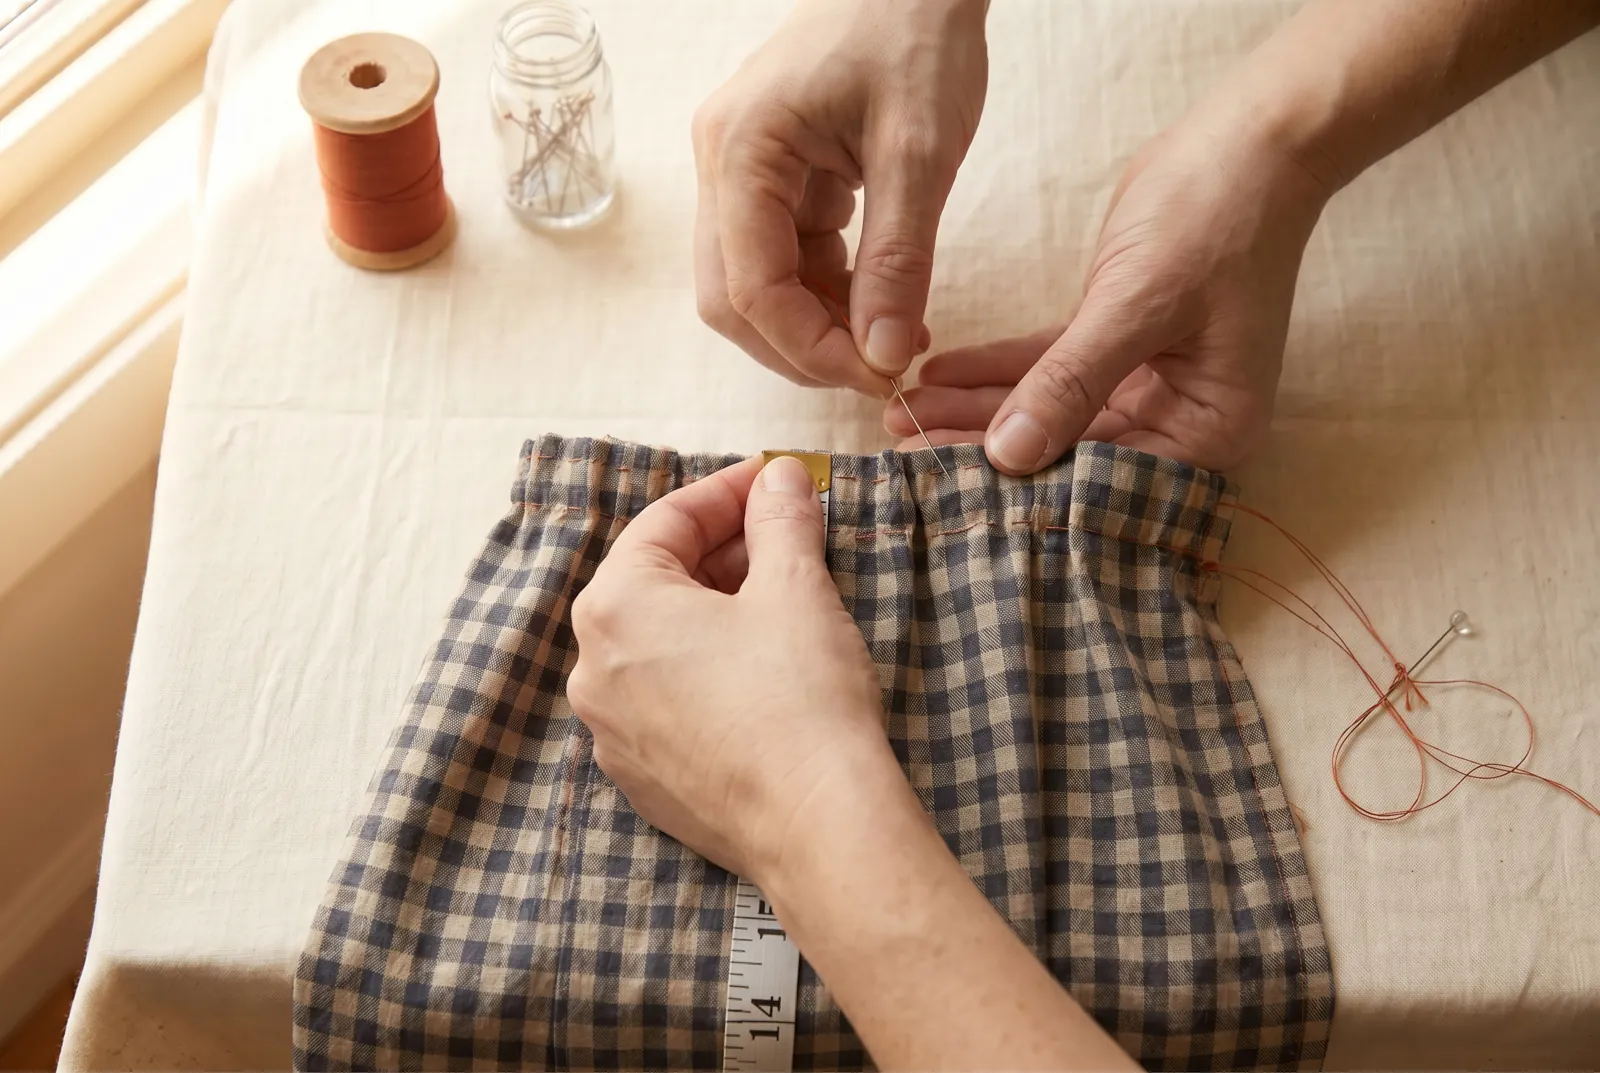
STEP 7/8Take your waist measure with a tape. Hold both loose thread tails at one side and slide the cloth along the threads, coaxing the gathers toward the knotted end until the gathered top measures half your waist measure or a little more. Wind each pair of thread ends in a figure eight around a pin to lock the gathers, then run a needle tip down the folds to space them evenly and stand them upright.
Step 8
STEP 8/8The gathered body is now ready to have a waistband set onto it, which is a separate lesson this one does not cover. Before that band or seam tape ever meets the apron, shrink it by wetting it and letting it dry, because a raw, unshrunk tape sewn to a wash apron shrinks in its first laundering and puckers the whole edge it was meant to hold.