Hand-Sewing Fundamentals · piece Nº 34 · 54 min
Sew a plain seam and press it open
Build a plain seam — the join that underlies most garments — and press it open so it lies flat. This lesson assumes you can already run a straight line of stitching by hand or machine; its focus is squaring the raw edges, setting the seam allowance, joining the pieces the right way, and pressing the seam open the way a finished garment needs.
The seam · 9 steps
Step 1
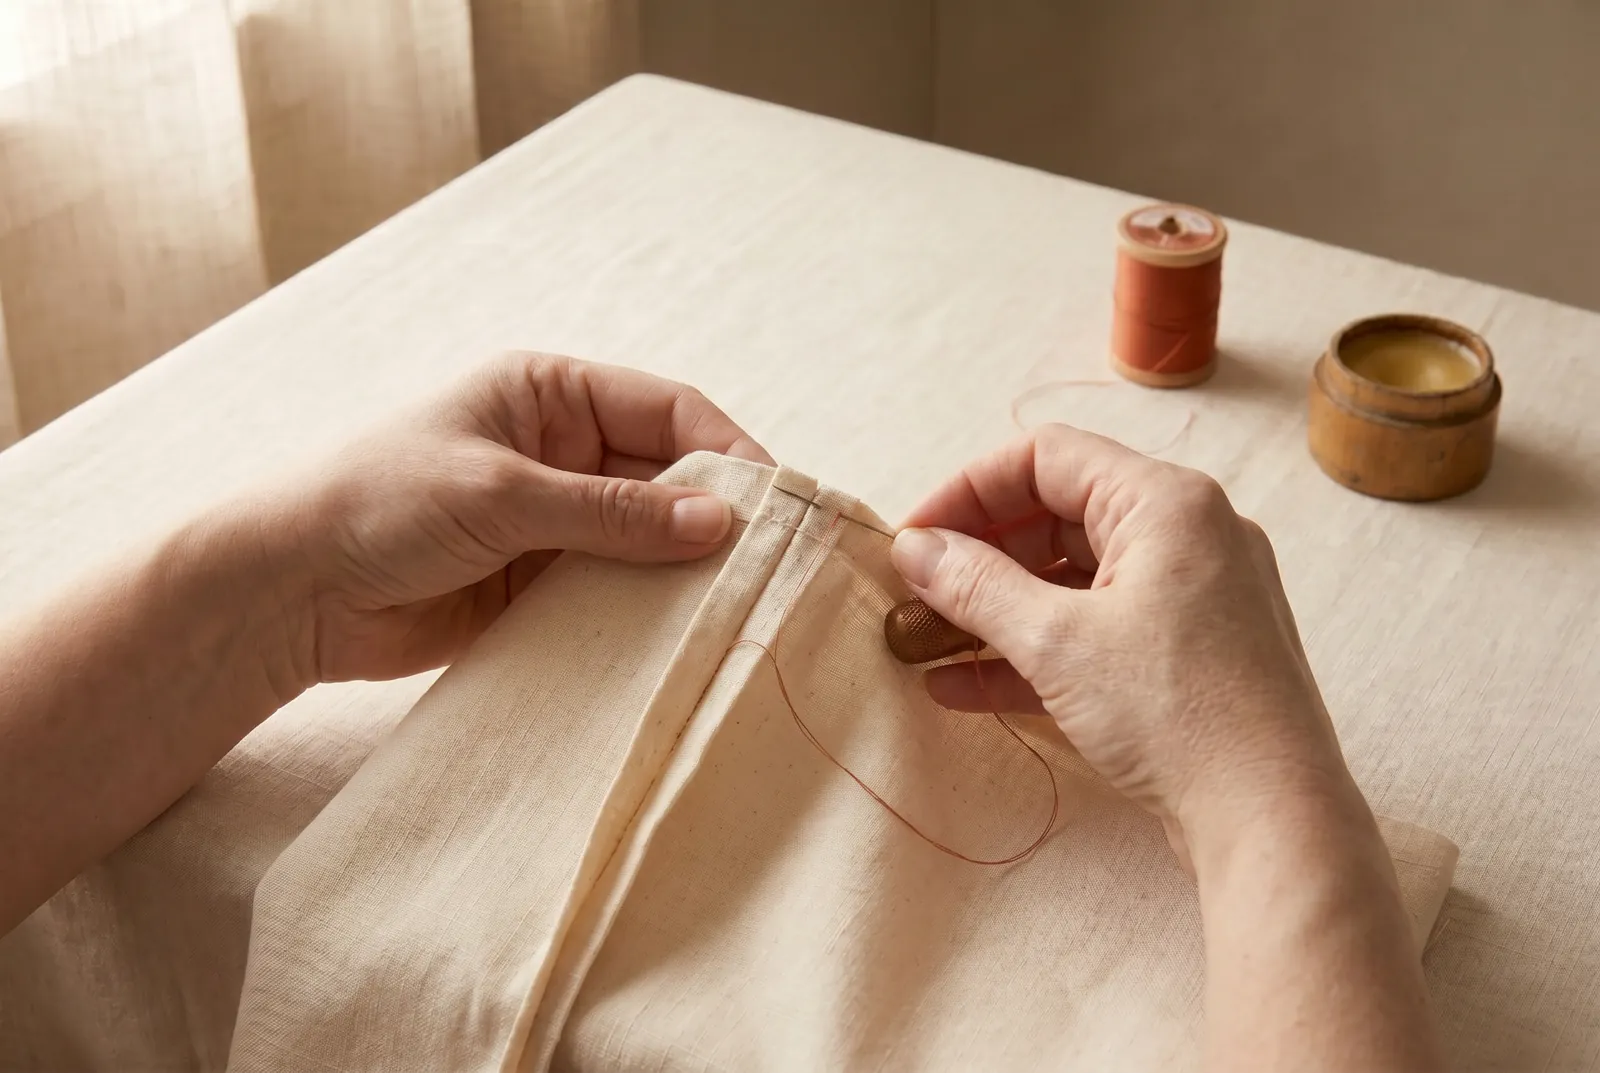
STEP 1/9Straighten each raw end before you sew. Pick up one crosswise thread near the end, draw it so the cloth gathers along it until it pulls free or leaves a clear drawn line across the width, and cut along that line. A shop-cut end is seldom on grain, and a crooked start throws the whole seam off.
Step 2
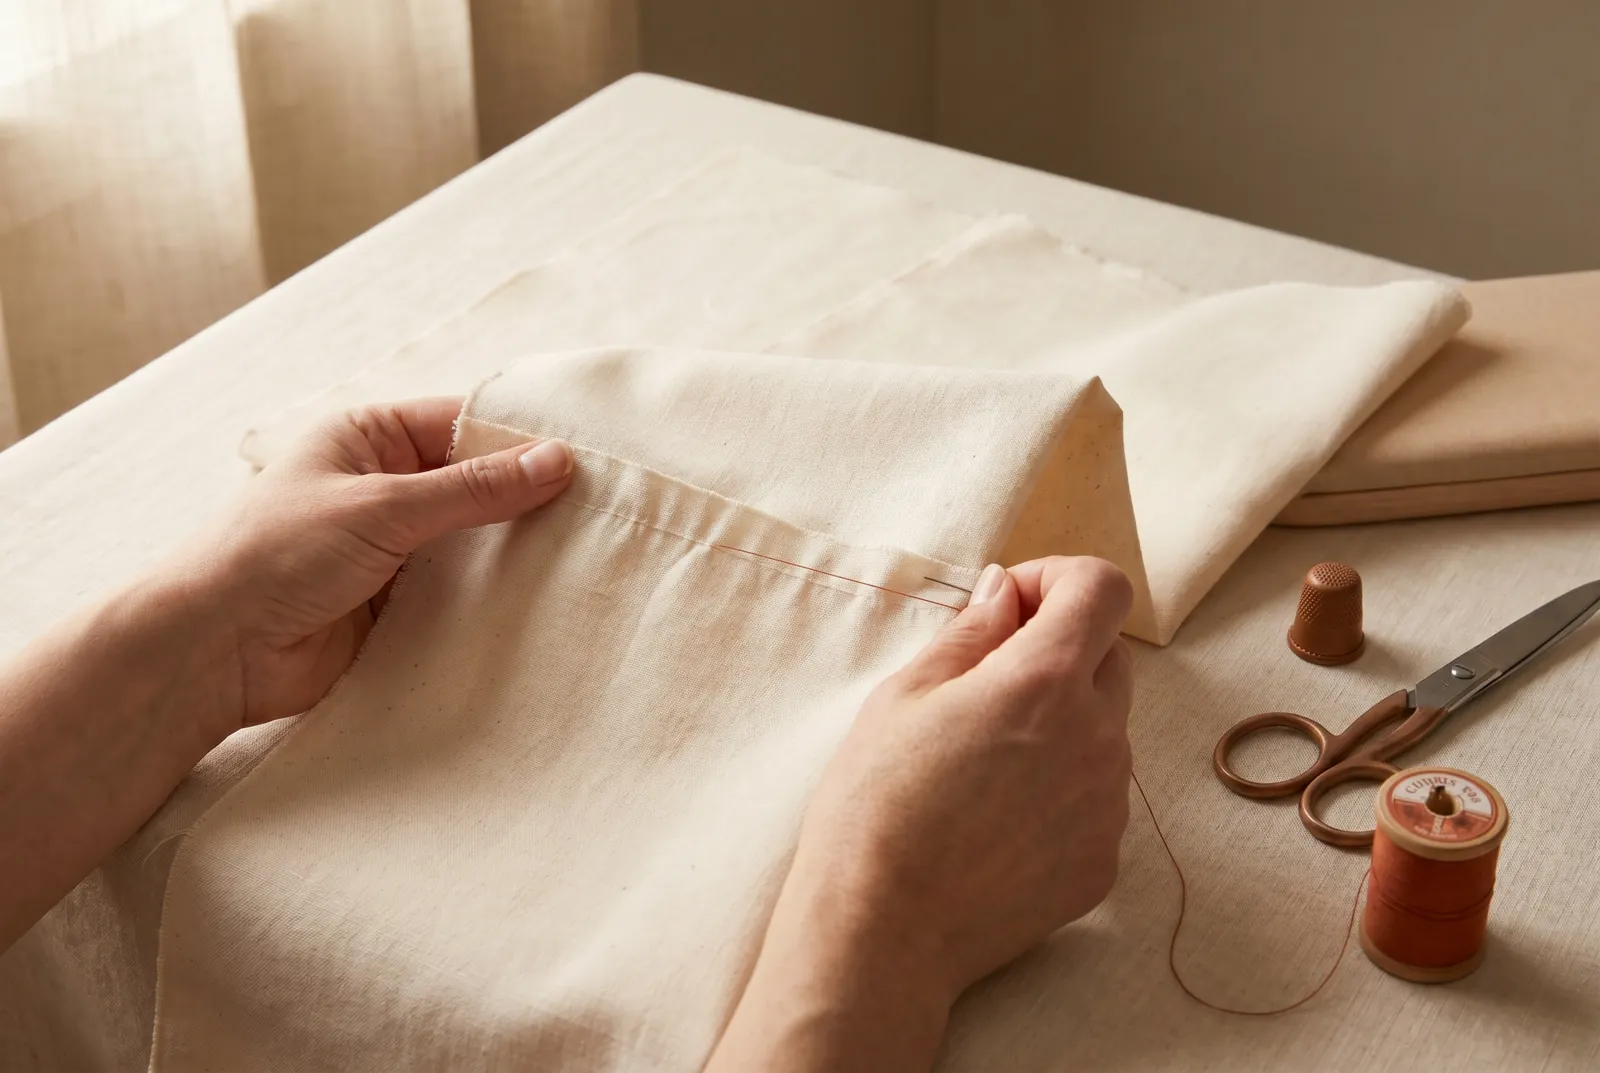
STEP 2/9Keep the selvage out of the seam. It is woven tighter than the rest of the cloth and draws up in washing, which puckers the seam. Trim the selvage away, or clip it at 2.5 cm (1 in) intervals so it can give.
Step 3
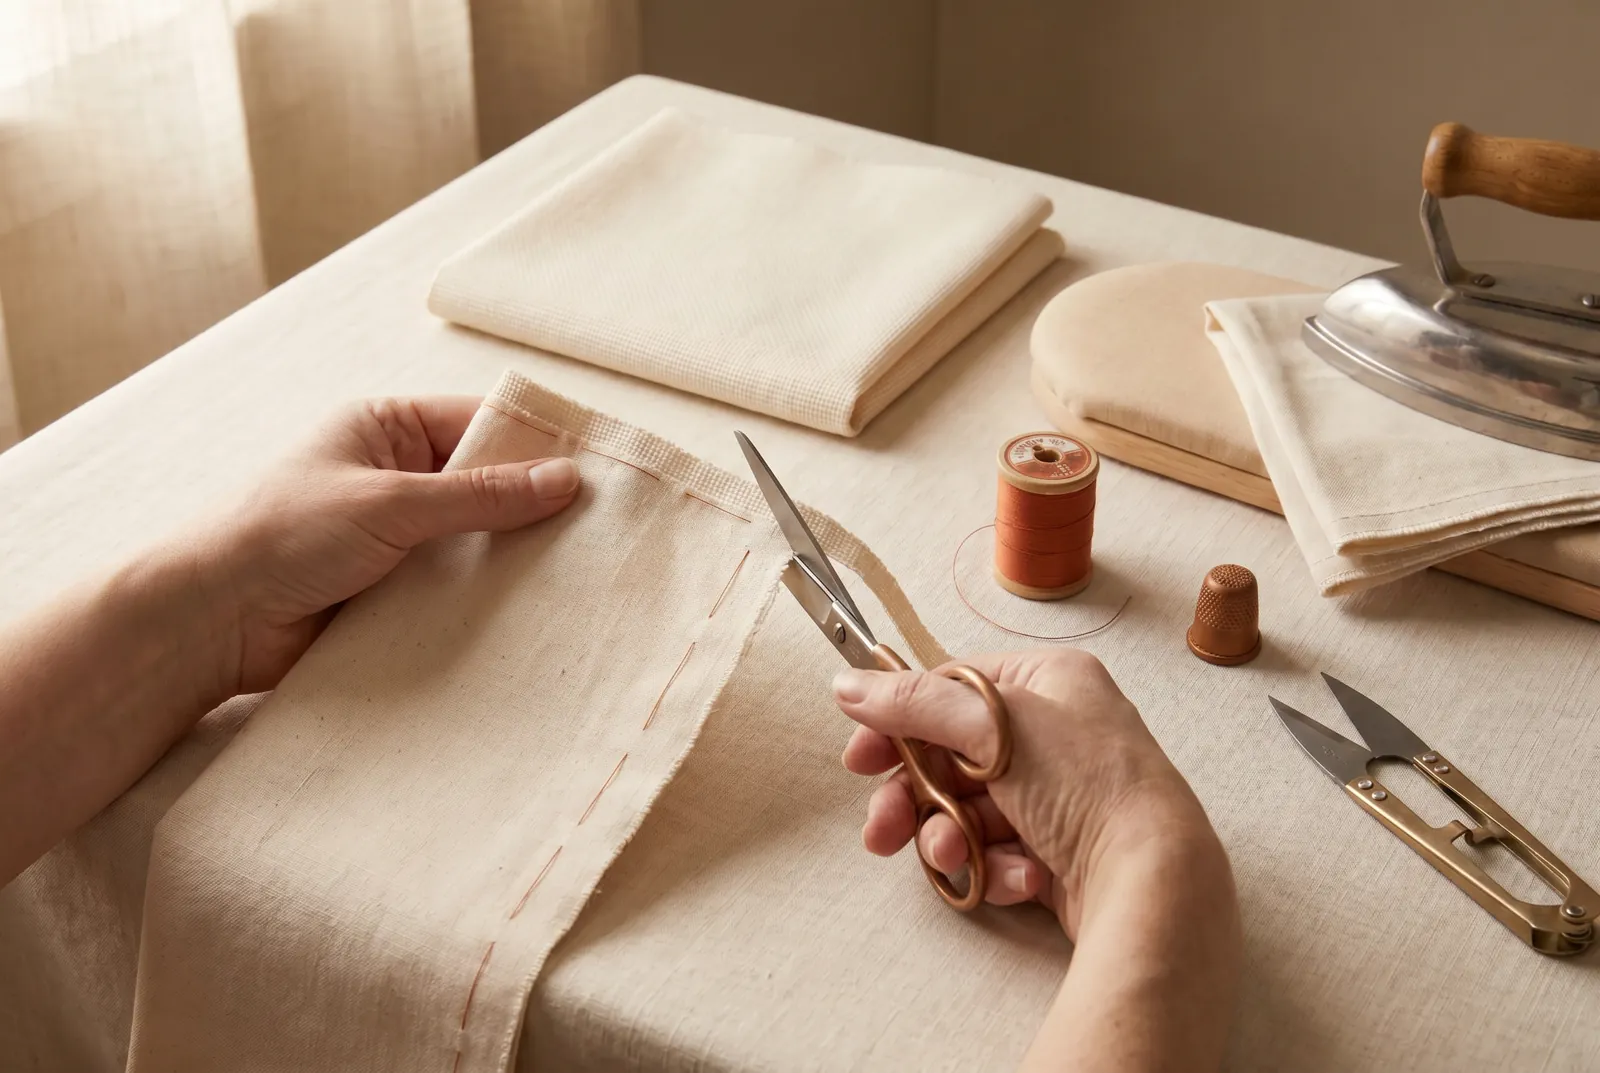
STEP 3/9Decide your seam allowance and mark it on the wrong side. On main seams, mark a line 2 to 2.5 cm (3/4 to 1 in) in from the raw edge and keep those edges whole, not trimmed — that width is cloth banked for letting the garment out later. A finished seam needs at least 1.3 cm (1/2 in).
Step 4
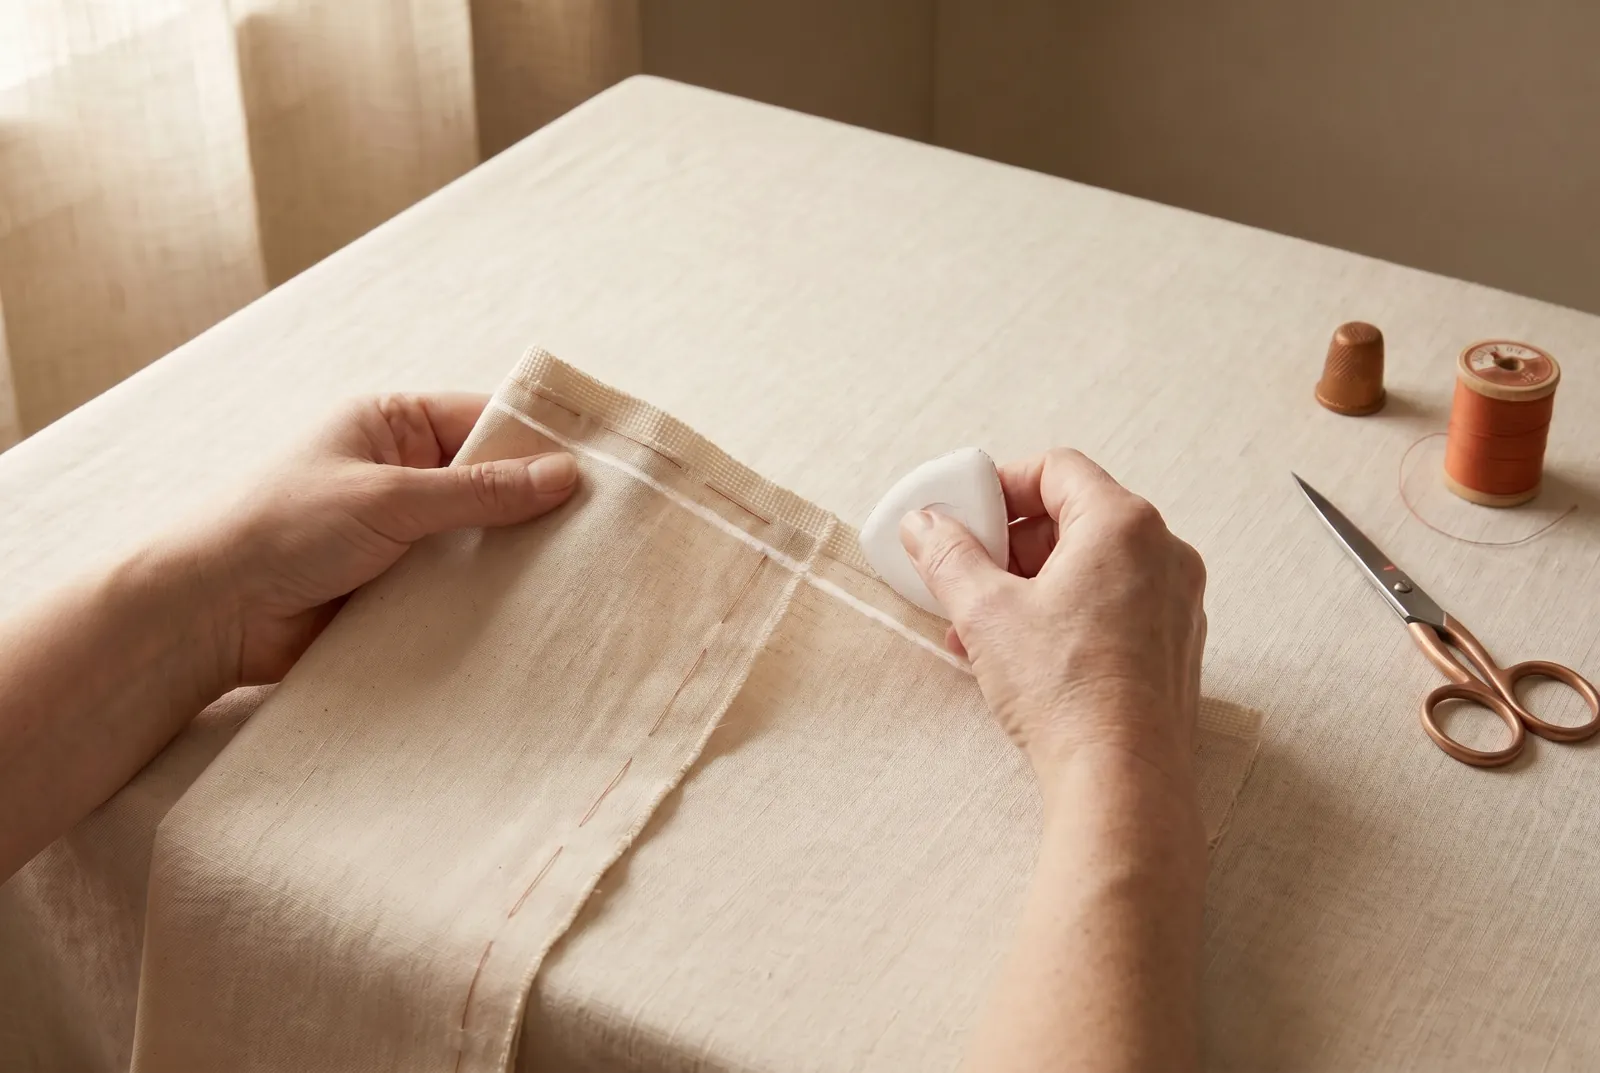
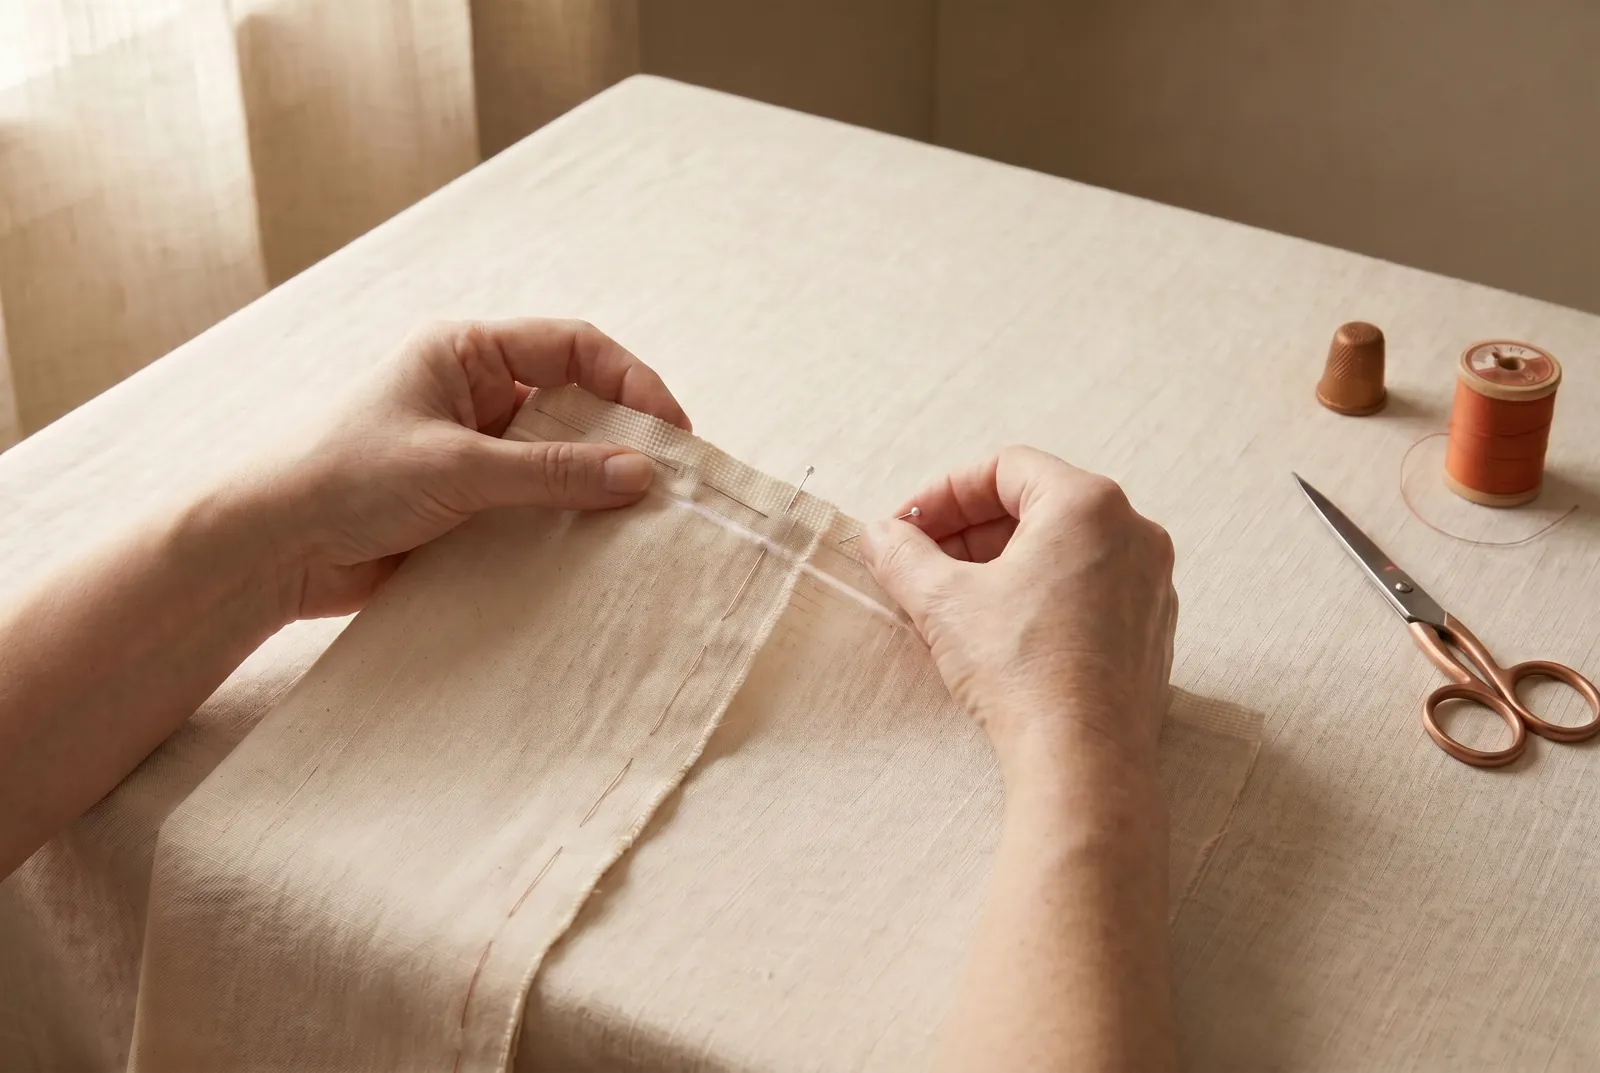
STEP 4/9Lay the two pieces right sides together with the squared raw edges even, and pin along your marked line. Facing the right sides inward puts both seam allowances on the wrong side, where you will open them apart and press them flat; sewn the other way, the allowances would fall on the side that shows.
Step 5
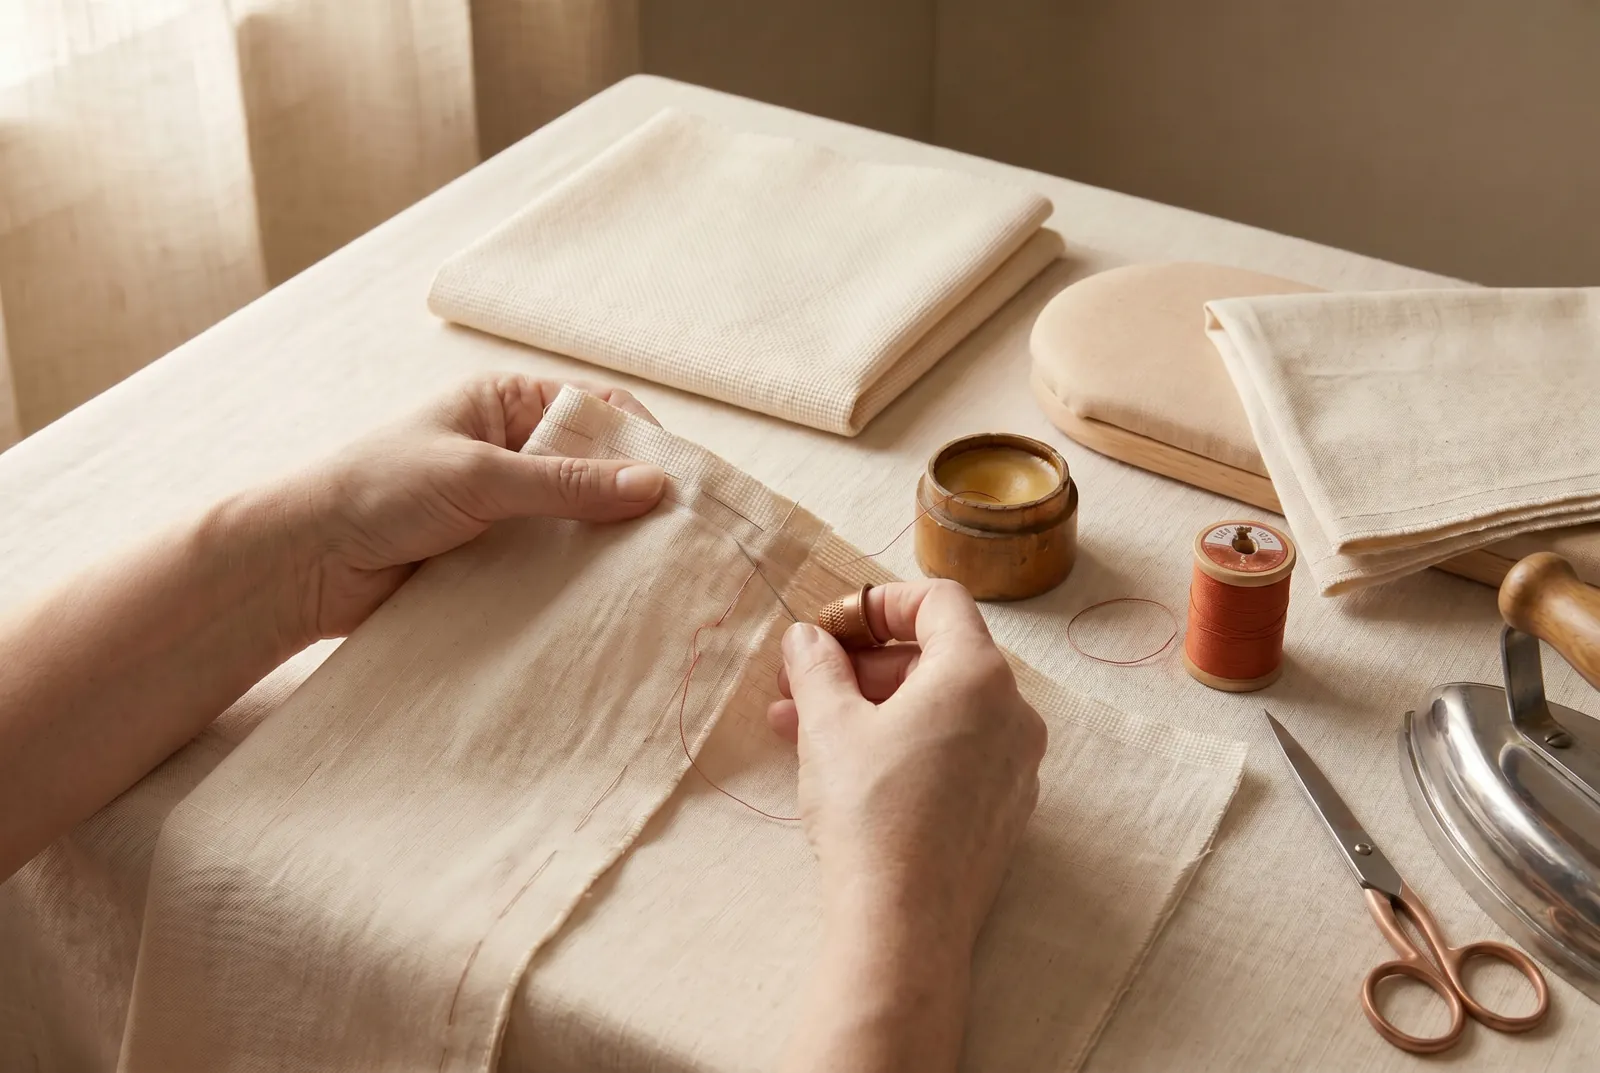
STEP 5/9Stitch the seam along the marked line, keeping it straight and even at the allowance you marked. Run it by hand or stitch it by machine; for a hand-run seam, draw the thread through beeswax first, which is kept for thread that must bear strain.
Step 6
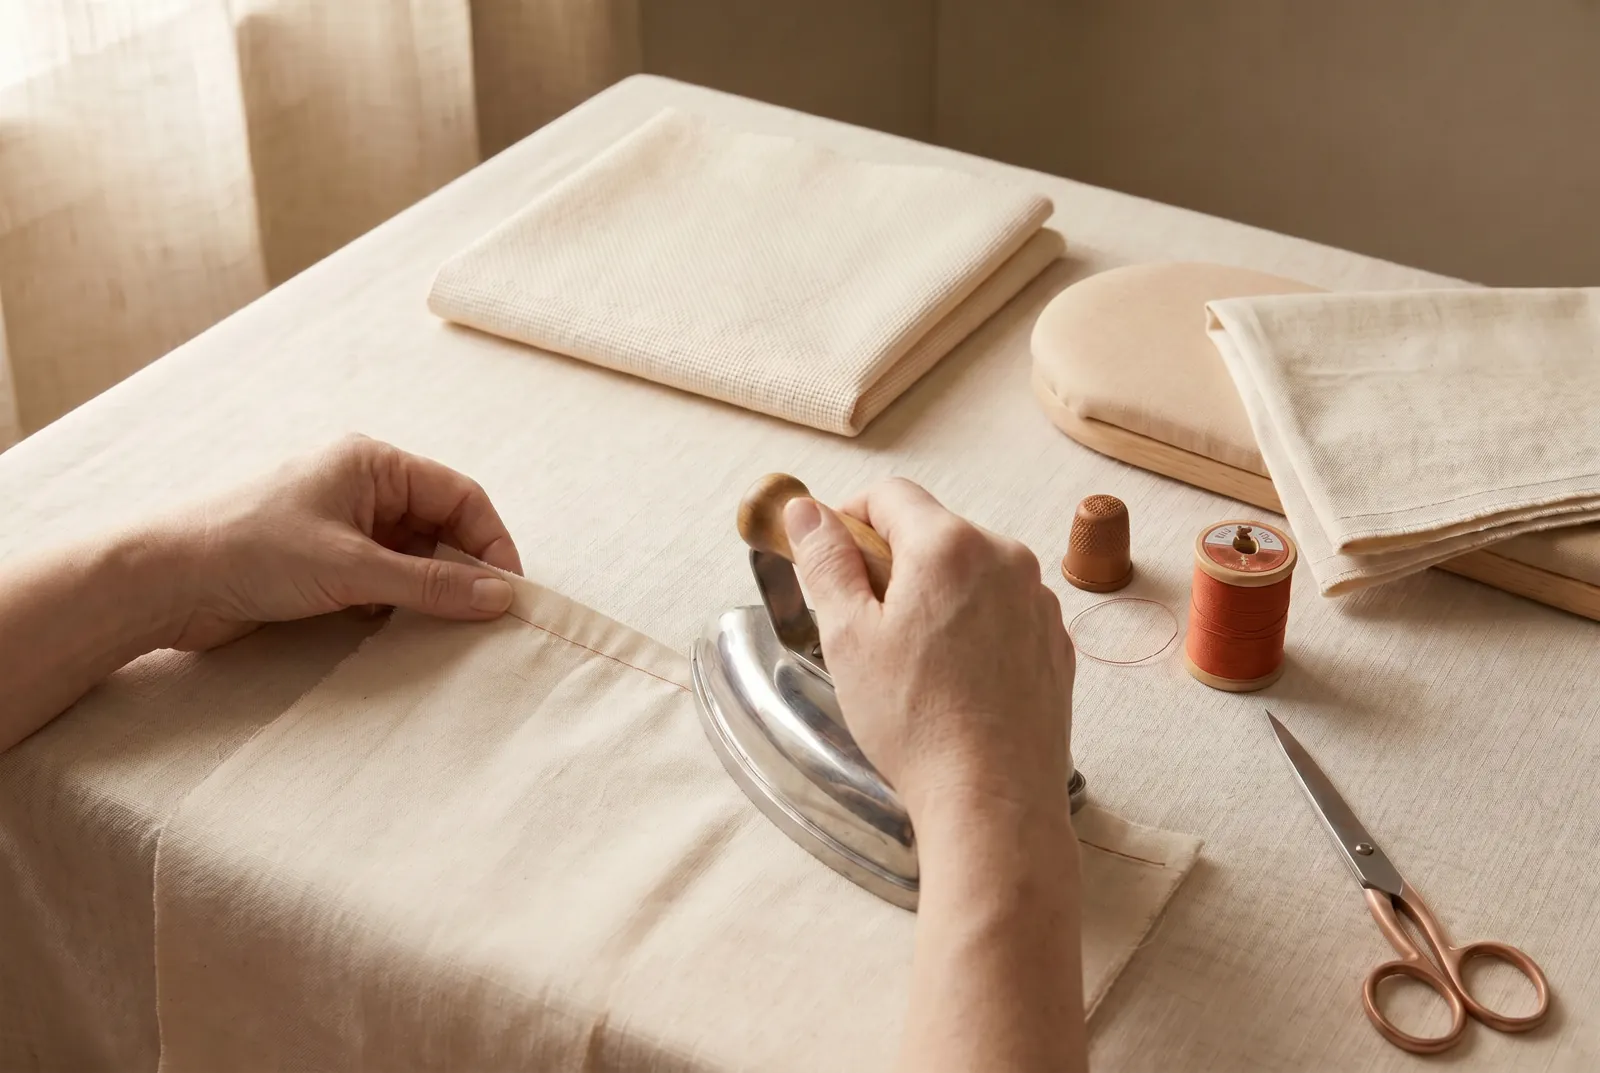
STEP 6/9Press the seam as soon as it is sewn, before any other seam crosses it. A seam once crossed by another can never afterward be pressed flat, and pressing each seam as you make it gives a finish that pressing the whole garment at the end cannot.
Step 7
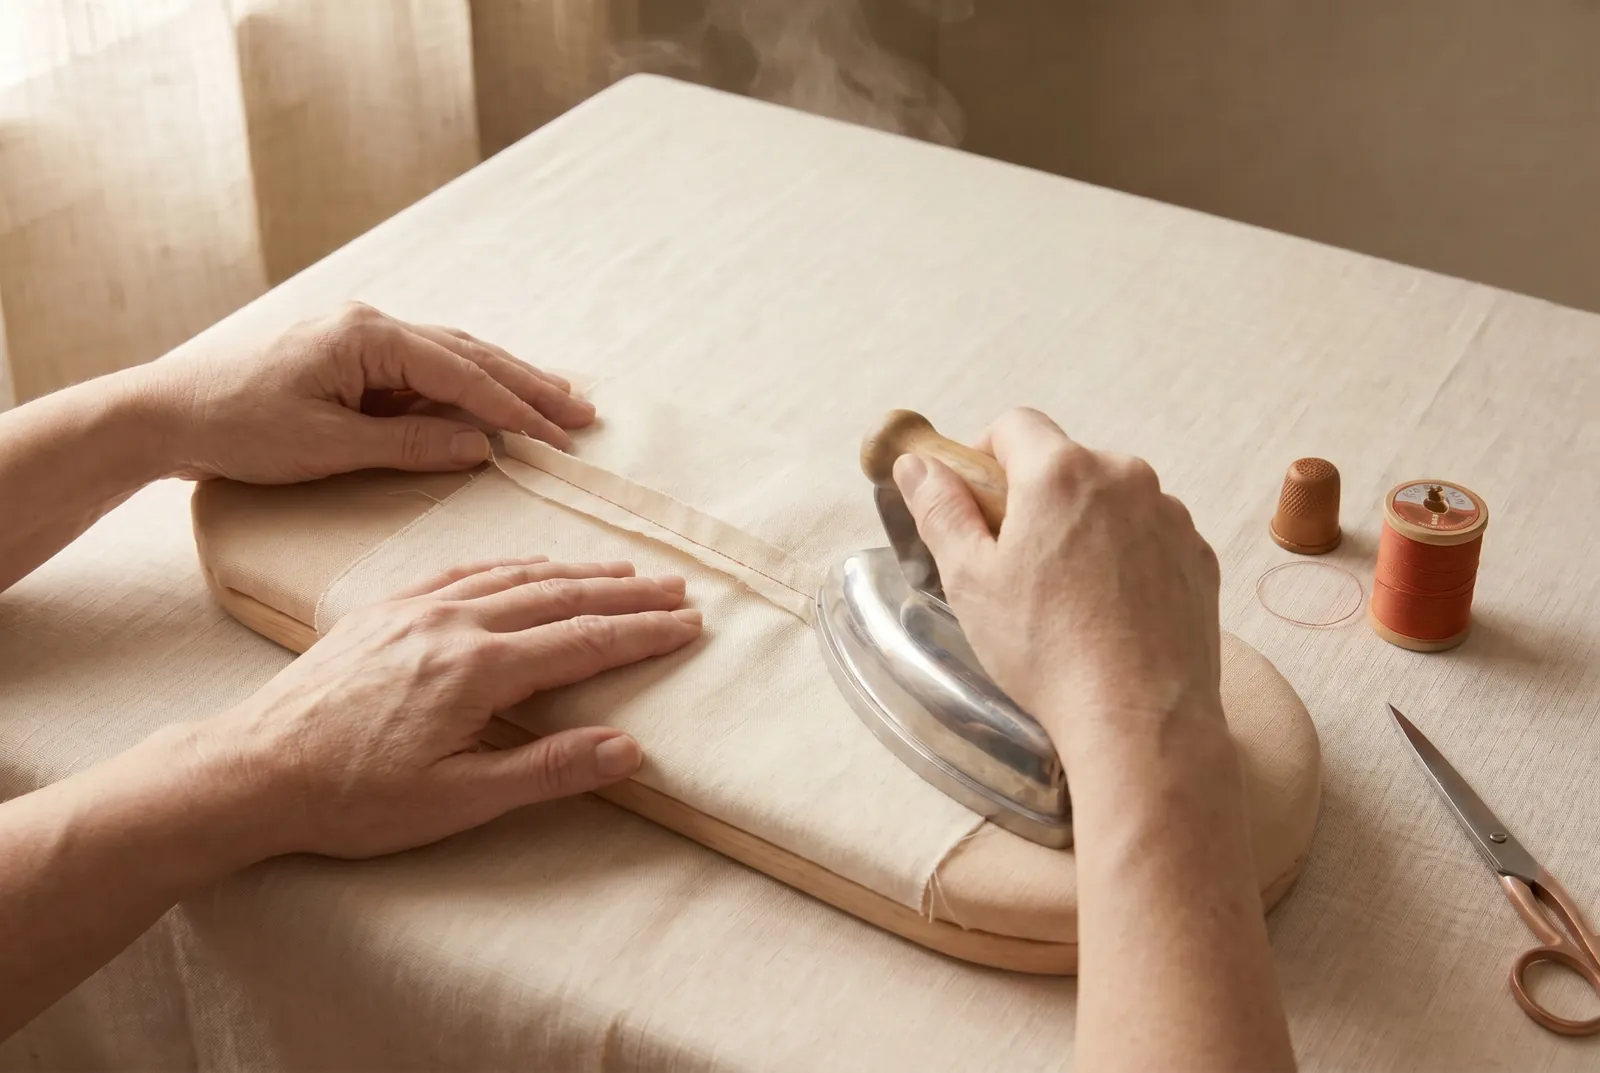
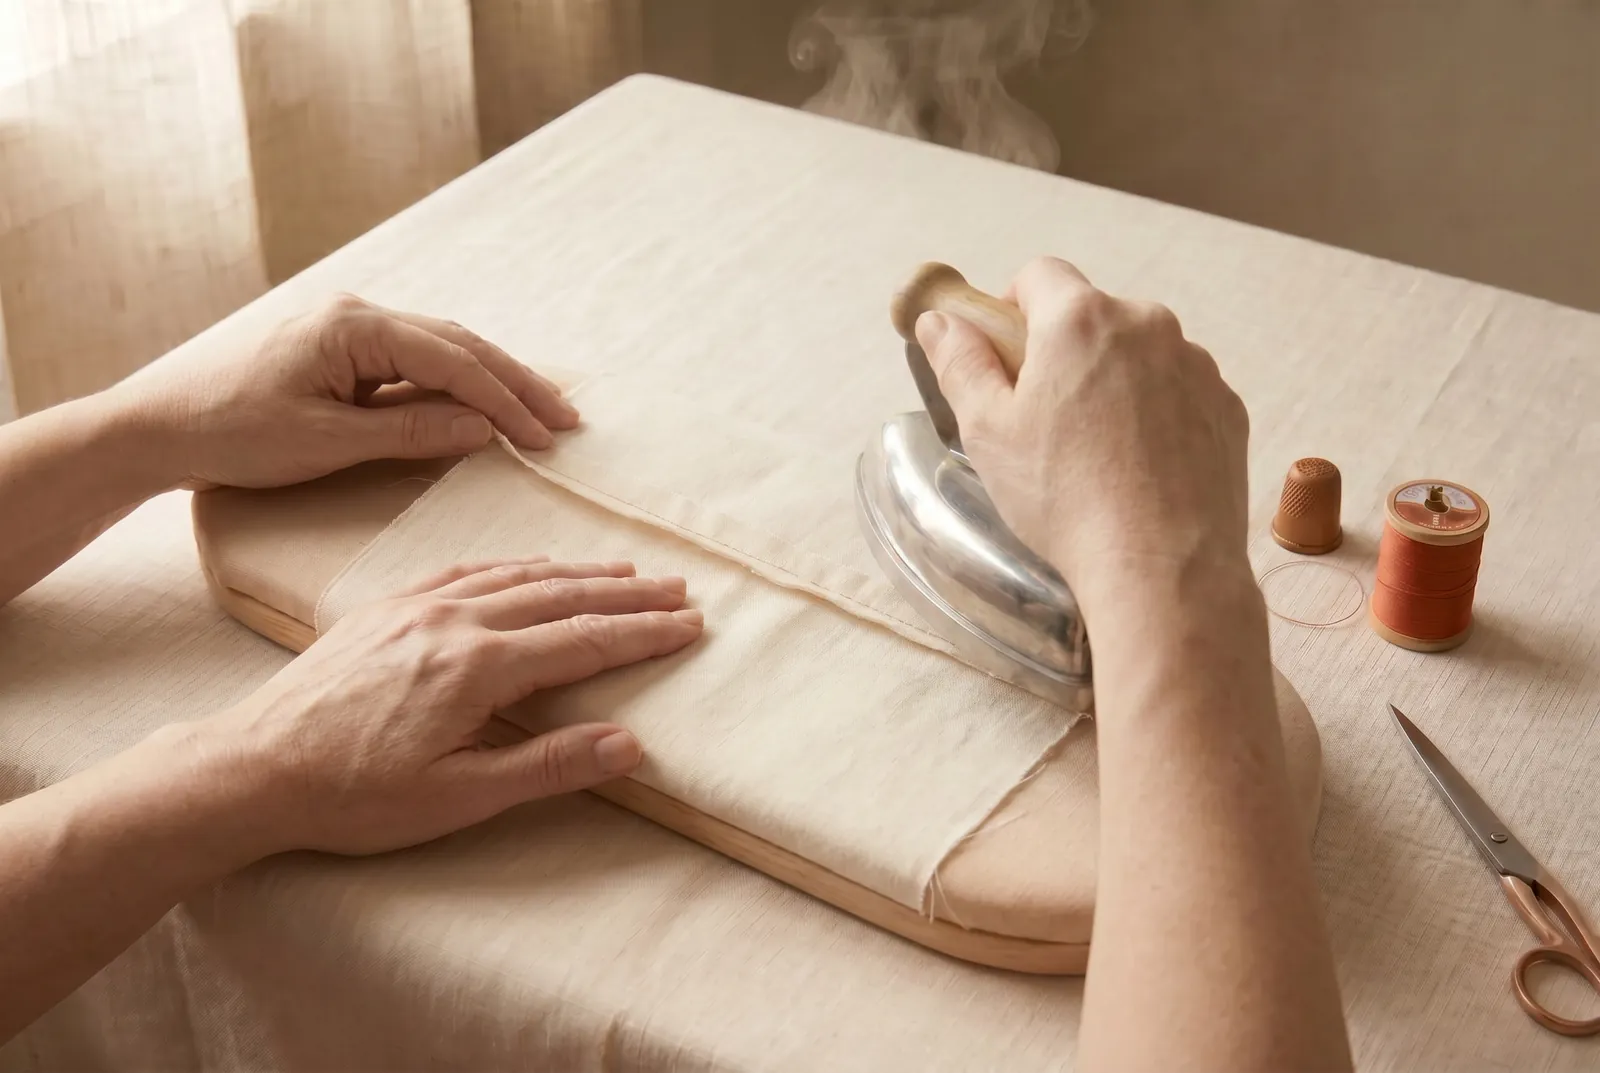
STEP 7/9Open the allowances and press along the line. Lay the work wrong side up on the board, open the two allowances apart with your fingers or the point of the iron, and press right along the seam line so each allowance lies flat to its own side.
Step 8
STEP 8/9Match the iron to the fiber. Cotton and linen take a hot iron and may be pressed damp, straight on the cloth. Wool scorches and shines under a bare hot iron, so press it under a dampened cloth of firm cotton, set the iron down and lift it rather than sliding it, work up and down with the grain, and never press it bone dry or it will shine. Silk water-spots, so press it dry under a dry cloth with a moderate iron.
Step 9
STEP 9/9Finish the raw edges so the seam does not fray with wear and washing. Overcast each allowance separately, or turn each edge under about 3 mm (1/8 in) and stitch it down. Allow at least 1.3 cm (1/2 in) of seam width for an overcast edge.