Everyday Mending · piece Nº 39 · 36 min
Reinforce, place, and finish a snap fastener so it holds through washing
Snap fasteners tear straight out of thin or worn cloth when the spot is not reinforced first. You will back each half with a small stay so it holds, choose thread that survives washing, mark where the fastener sits, and finish your thread so it will not work loose — the foundation that makes a sewn-on snap last.
The seam · 6 steps
Step 1
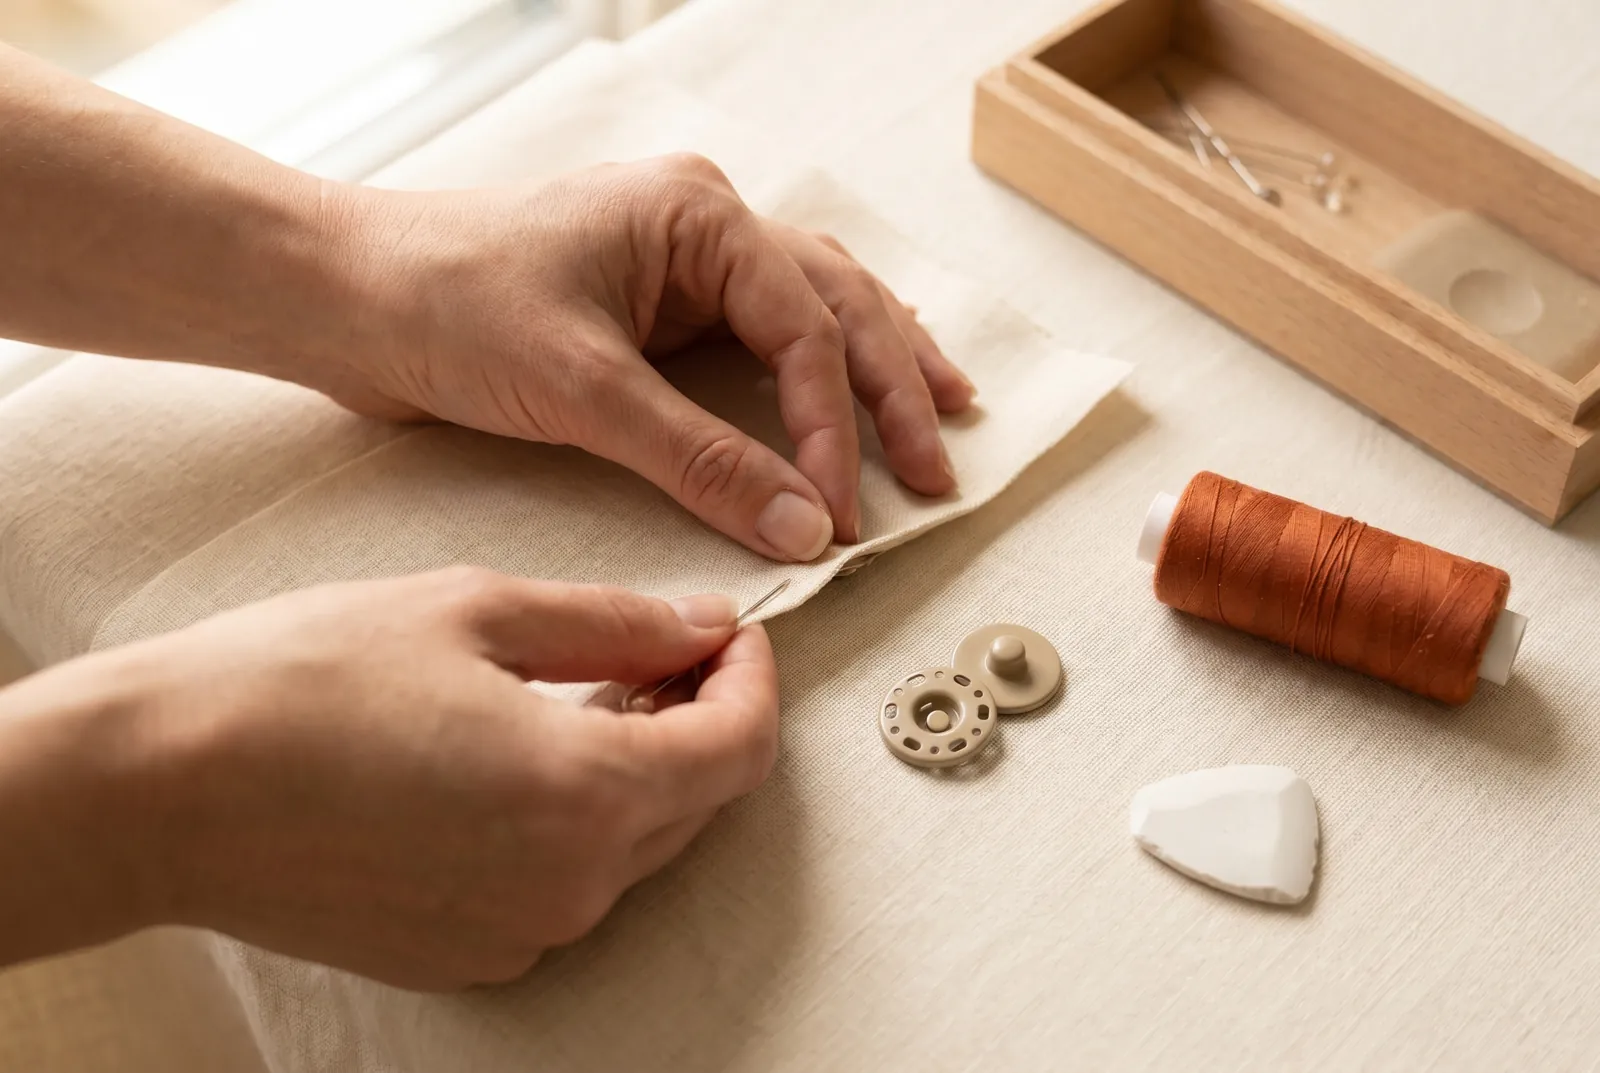
STEP 1/6Choose a sew-on snap — the flat two-part kind with small holes or rings around each half — and mark where it will sit on the garment. If you are setting several down one opening, mark the top and bottom positions first, then divide the distance between them evenly and mark each point with a pin or chalk before you stitch. Take care that the two marks line up with the opening held shut, or the closed snap will pull the garment askew.
Step 2
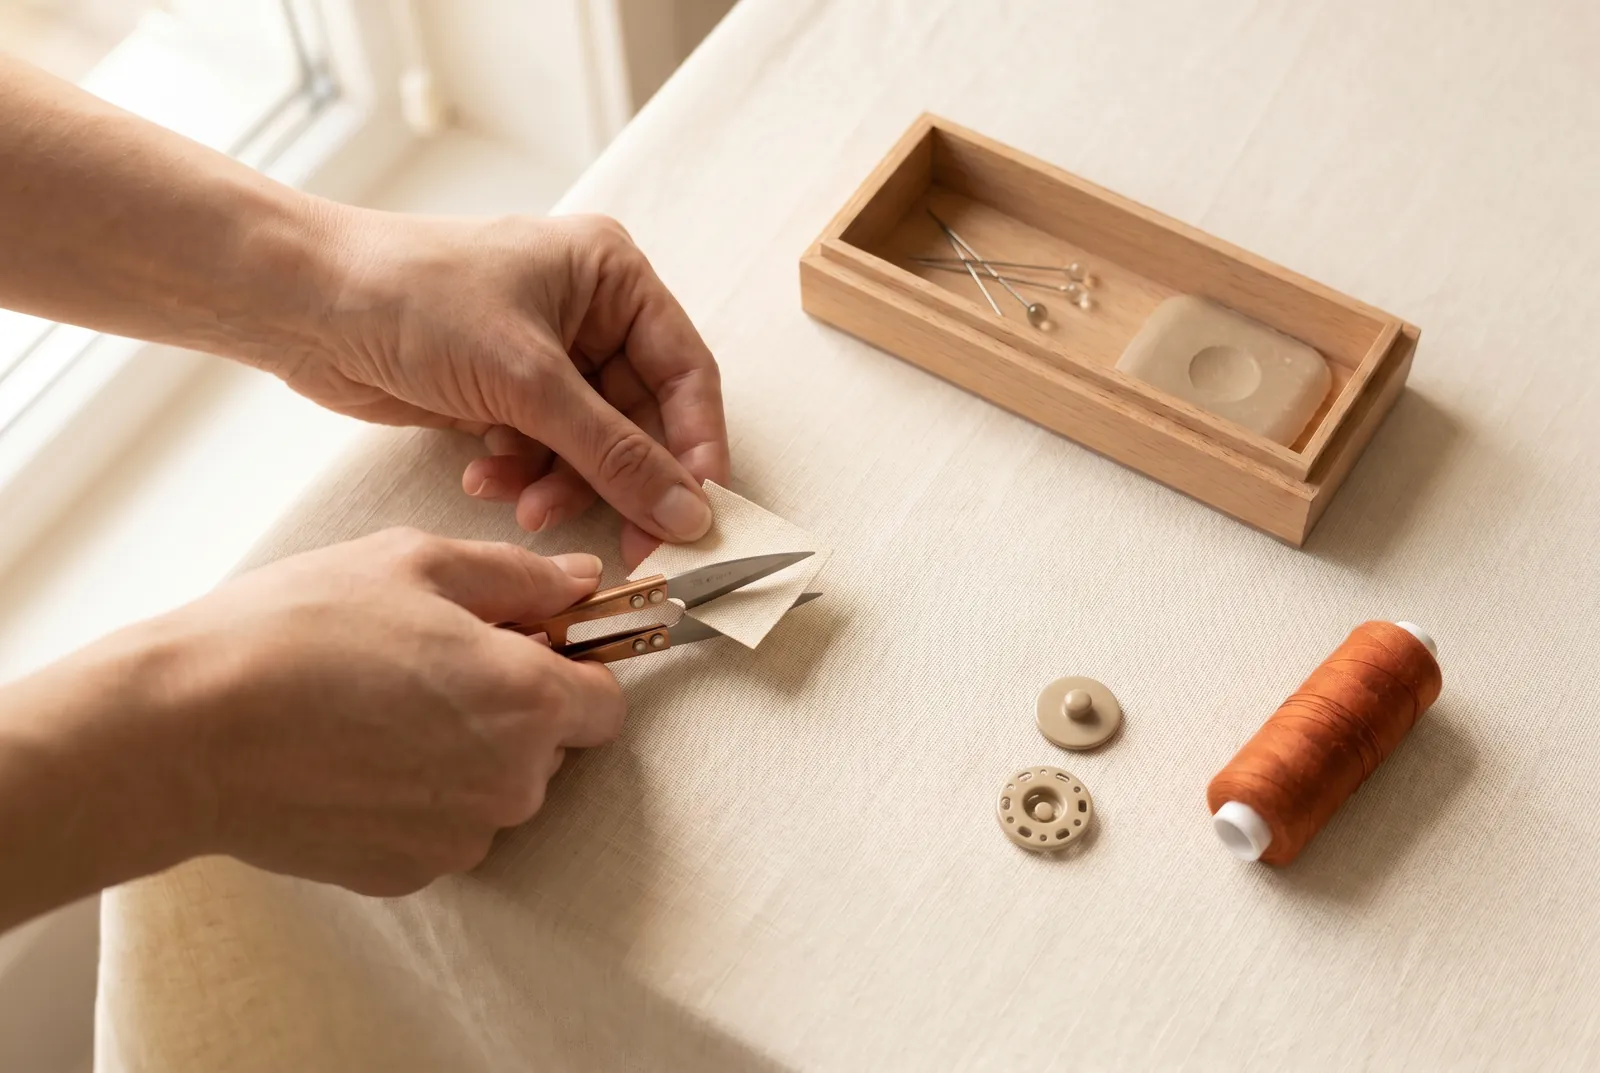
STEP 2/6Cut a stay to sit behind each fastener half: a square of firm tape or linen about 2 cm (3/4 in) across, a little larger than the snap. Thin or worn cloth will not hold a fastener against hard wear on its own, and the stay behind it spreads the strain.
Step 3
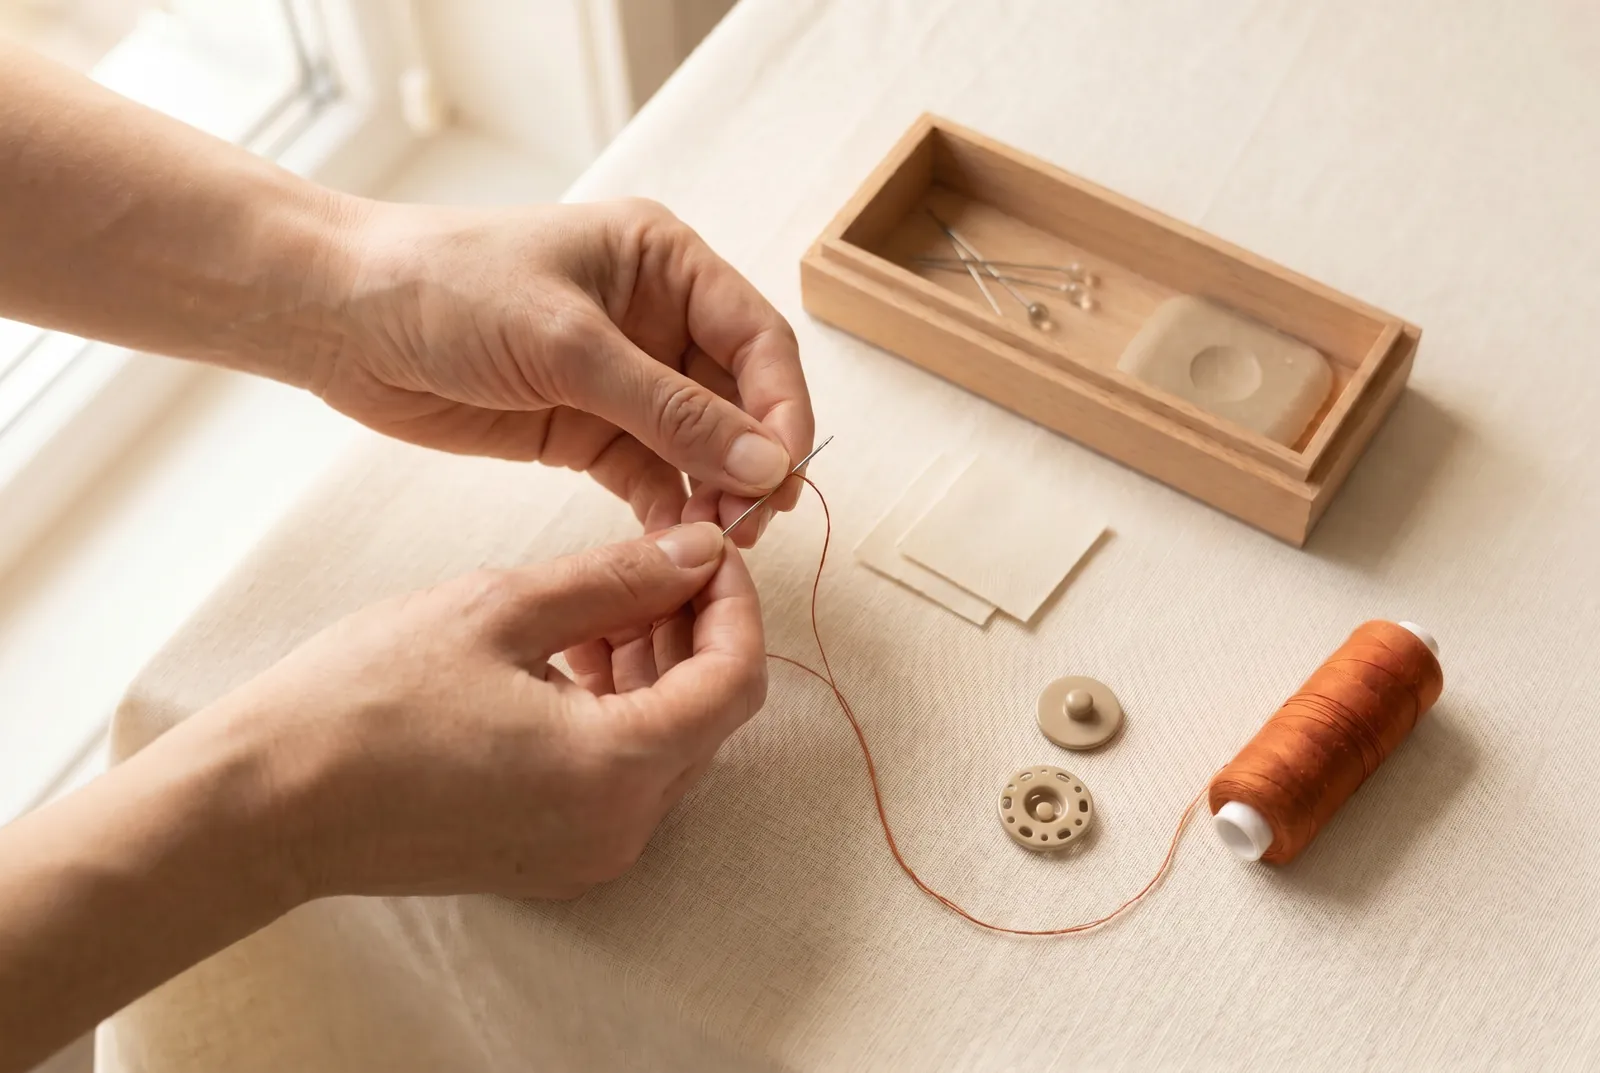
STEP 3/6Thread a fine needle — a sharps, size 8 or 9 — with soft cotton thread rather than silk. On anything that goes through the wash, silk cuts the wet cloth while cotton holds.
Step 4
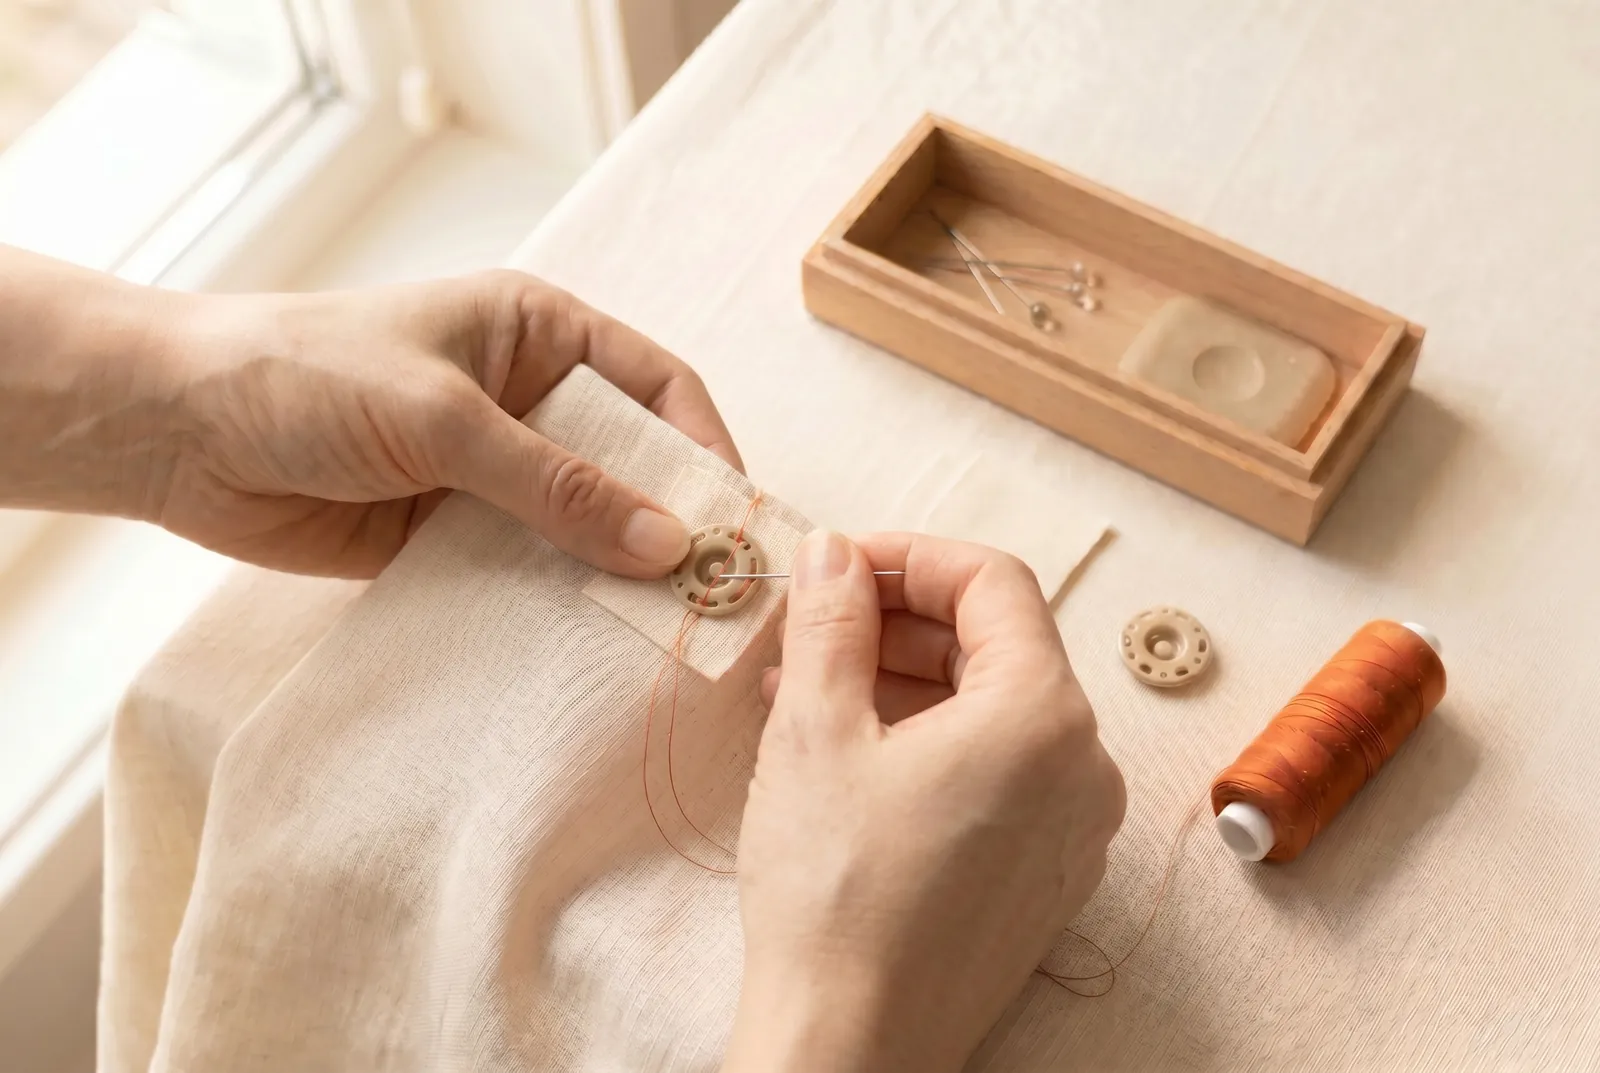
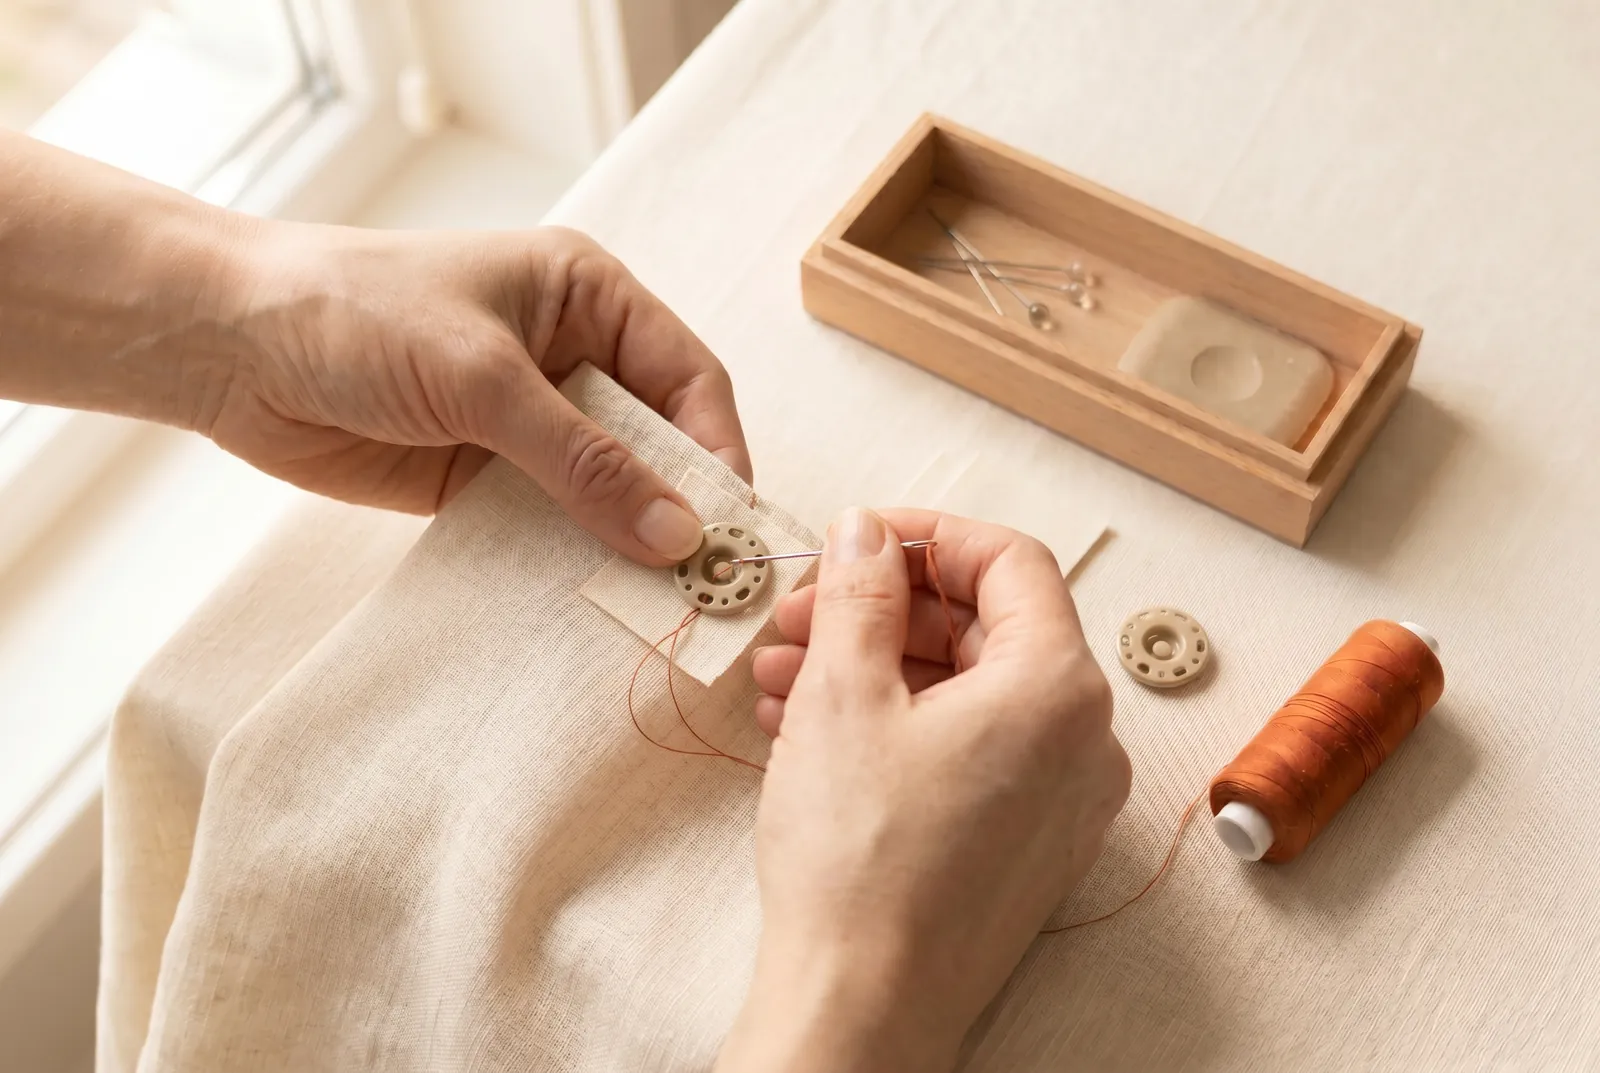
STEP 4/6Hold the stay against the wrong side directly beneath your mark. As you sew the fastener half down, take every stitch through the stay as well as the garment, so no stitch catches the outer cloth alone. Routing the stitches through the stay spreads the strain, and the fastener will bring away a bit of cloth before the sewing itself gives.
Step 5
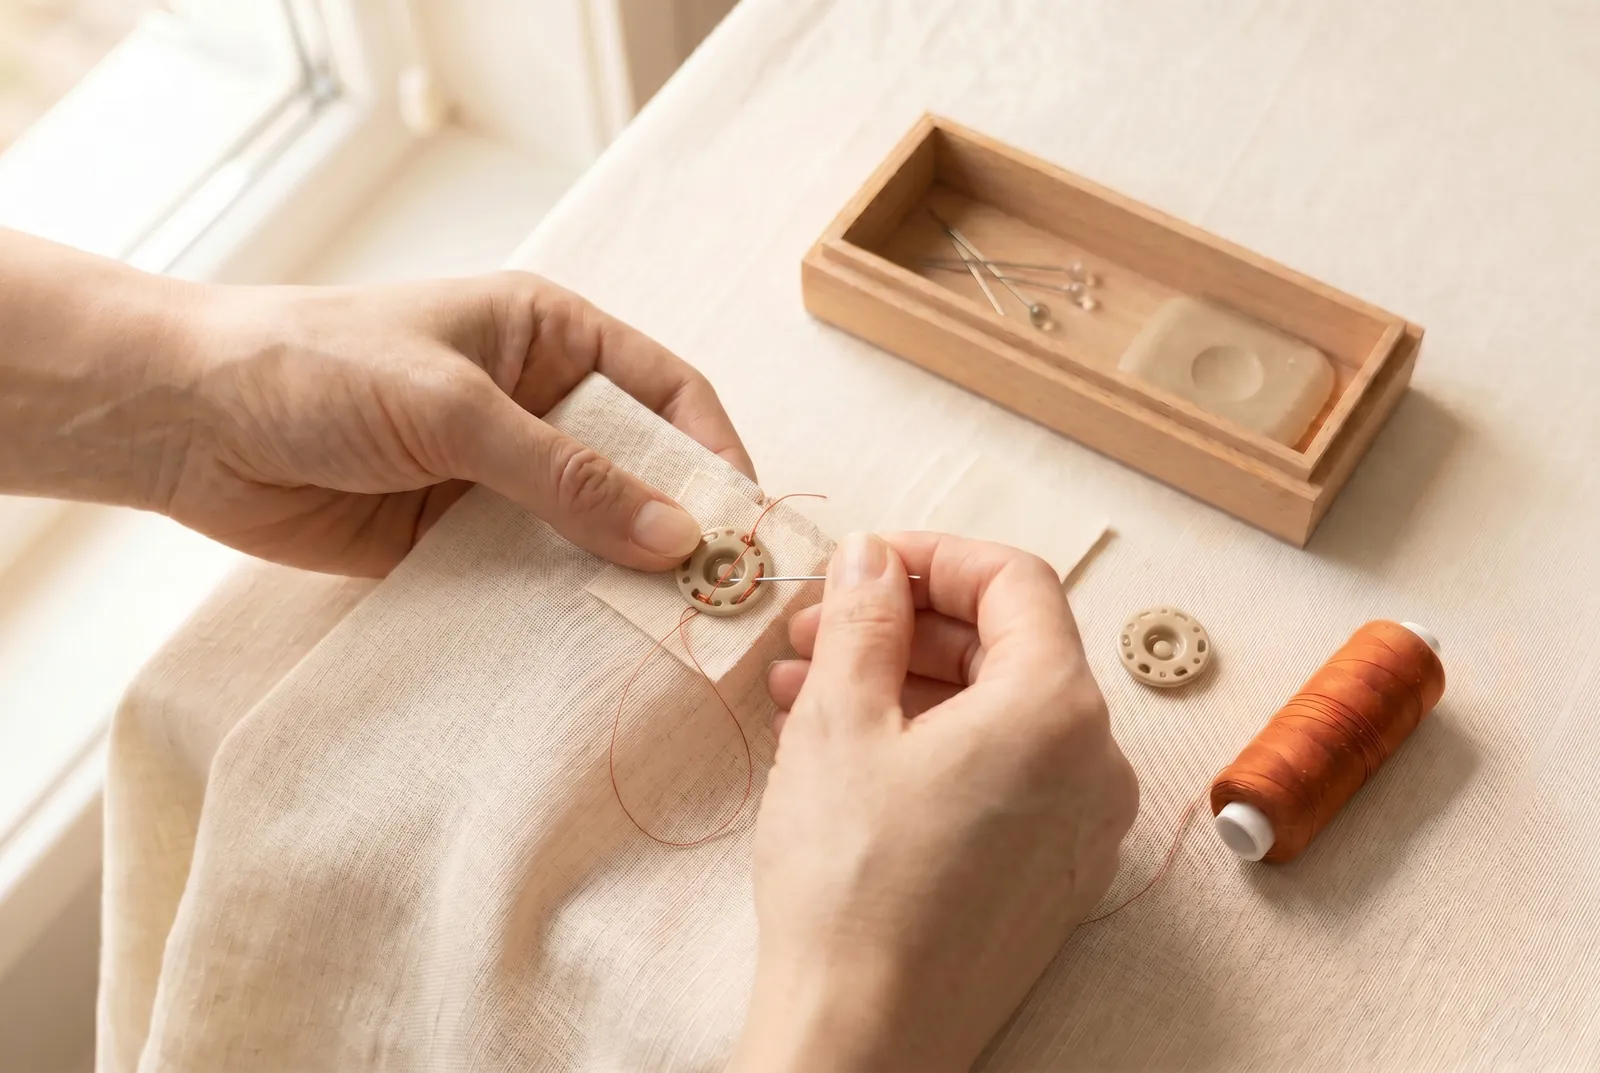
STEP 5/6When the half is stitched down, end the thread without a knot: on flat work a knot wears through, shows under the iron, and comes out in the wash. If you run short partway, start the new thread over the last two or three stitches of the old, so no weak place is left in the line of sewing.
Step 6
STEP 6/6After the garment's first wash, check the fastener. A half hanging by a thread or two is re-secured in a minute, while one that has pulled off can tear the cloth as it goes.