Visible & Decorative Mending · piece Nº 04 · 54 min
Boro-inspired layered patching: reinforce a worn place with running stitch
Reinforce a worn or thin place in a garment by laying a second layer of cloth over it and quilting the two together with rows of running stitch, in the Japanese boro and sashiko tradition. The stitching spreads the strain across both layers so they wear as one, and the finished mend lies flat and shows honest, visible repair.
The seam · 9 steps
Step 1
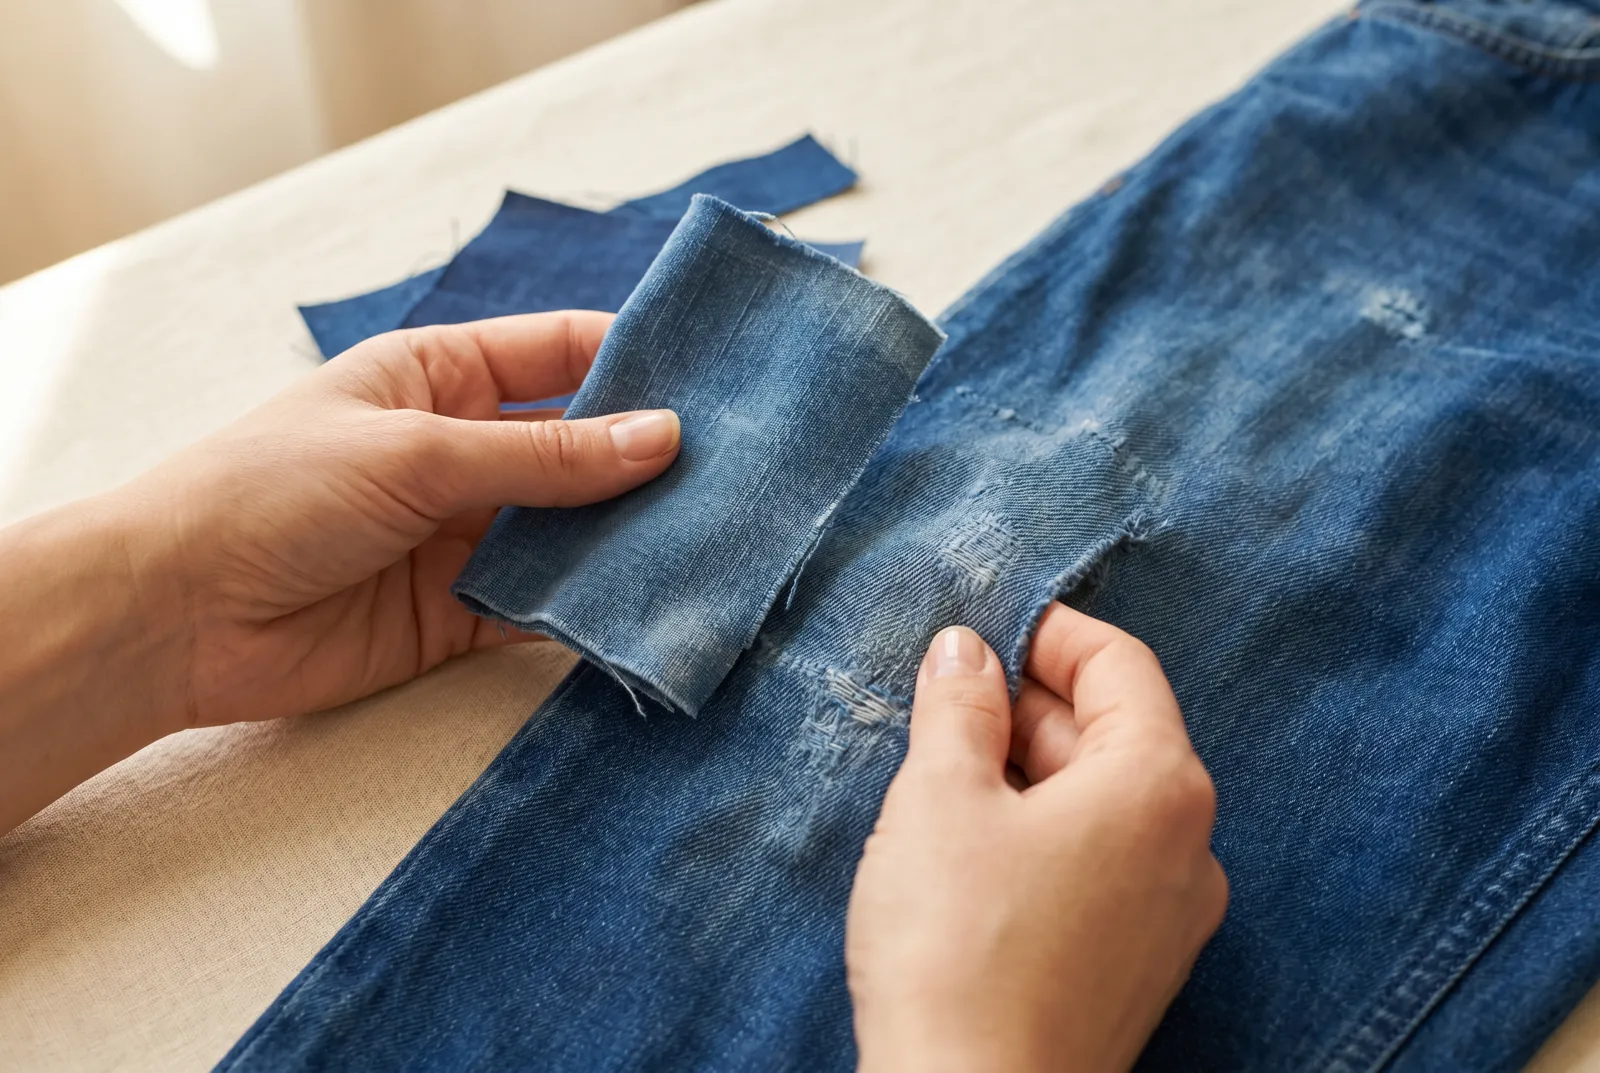
STEP 1/9Choose a patch cut from cloth that has had the same washing as the garment you are mending — a cotton for a cotton, from a saved scrap or a pre-washed rag. New, unwashed cloth set into washed cloth shows dark, shrinks in the first laundering, and puckers the mend, so wash the patch first if you are unsure.
Step 2
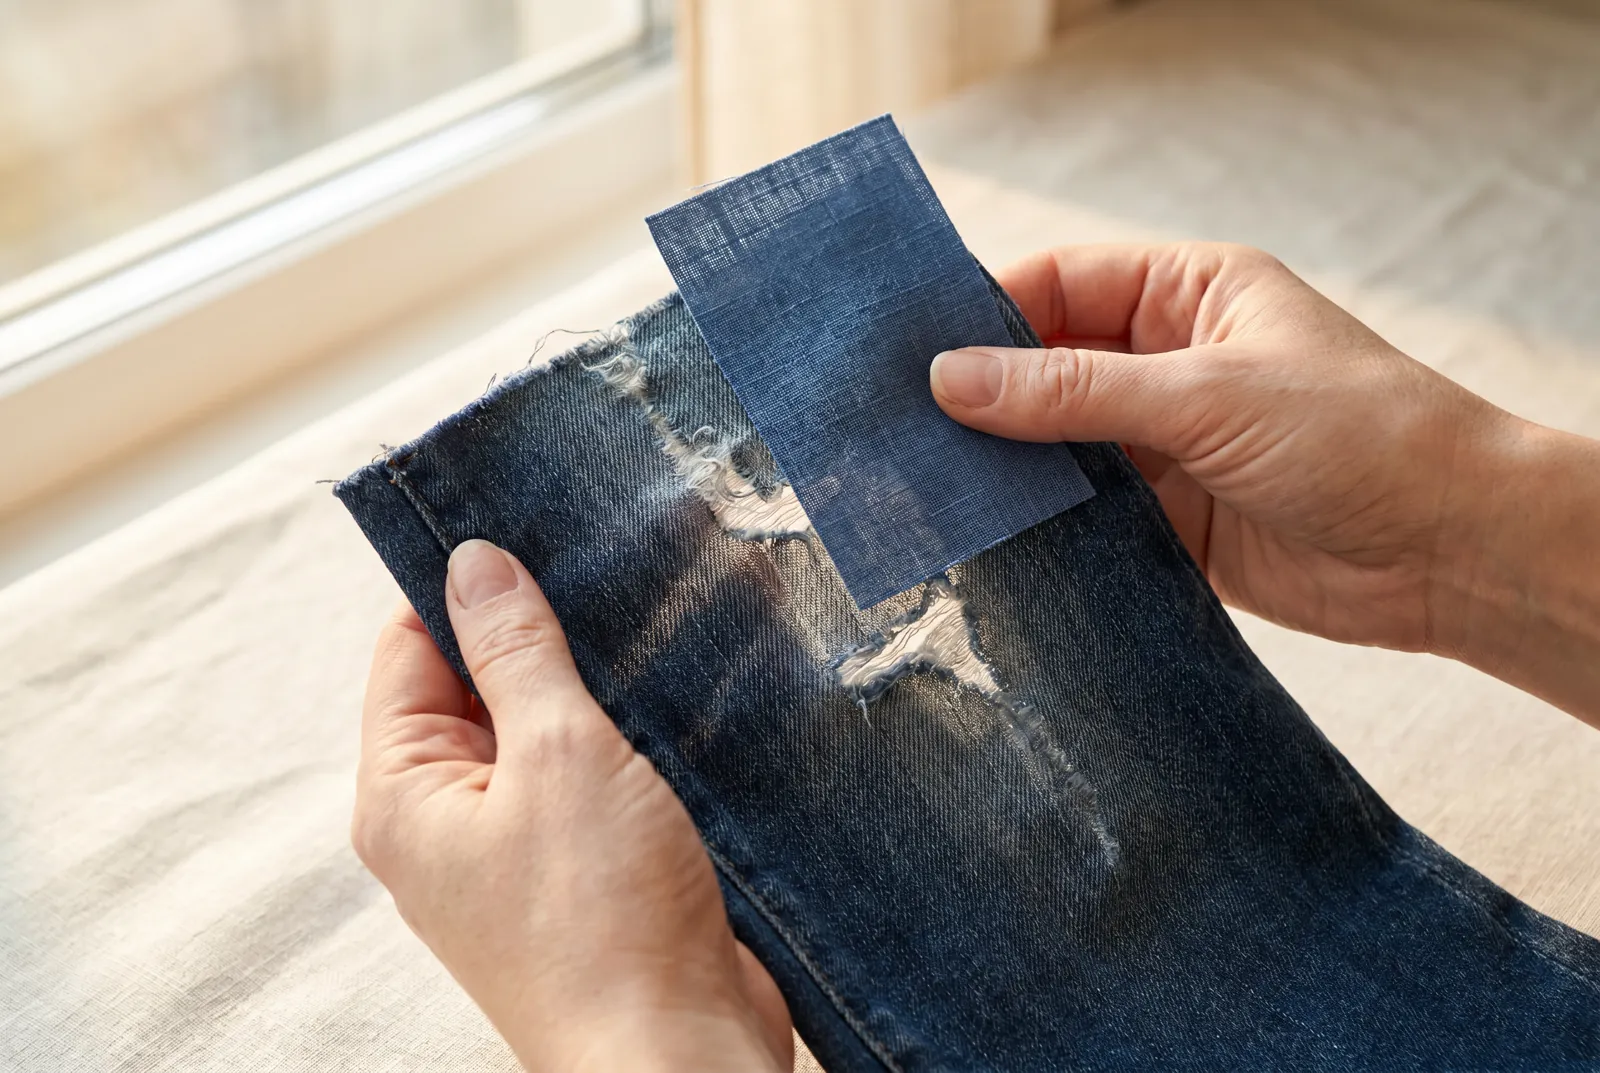
STEP 2/9Hold the garment's worn area and the patch cloth up to a window; thin places show light. Choose a patch with no thin spots of its own, and size it to cover the whole worn place and reach onto the sound cloth all around, so that no stitching falls on tender cloth.
Step 3
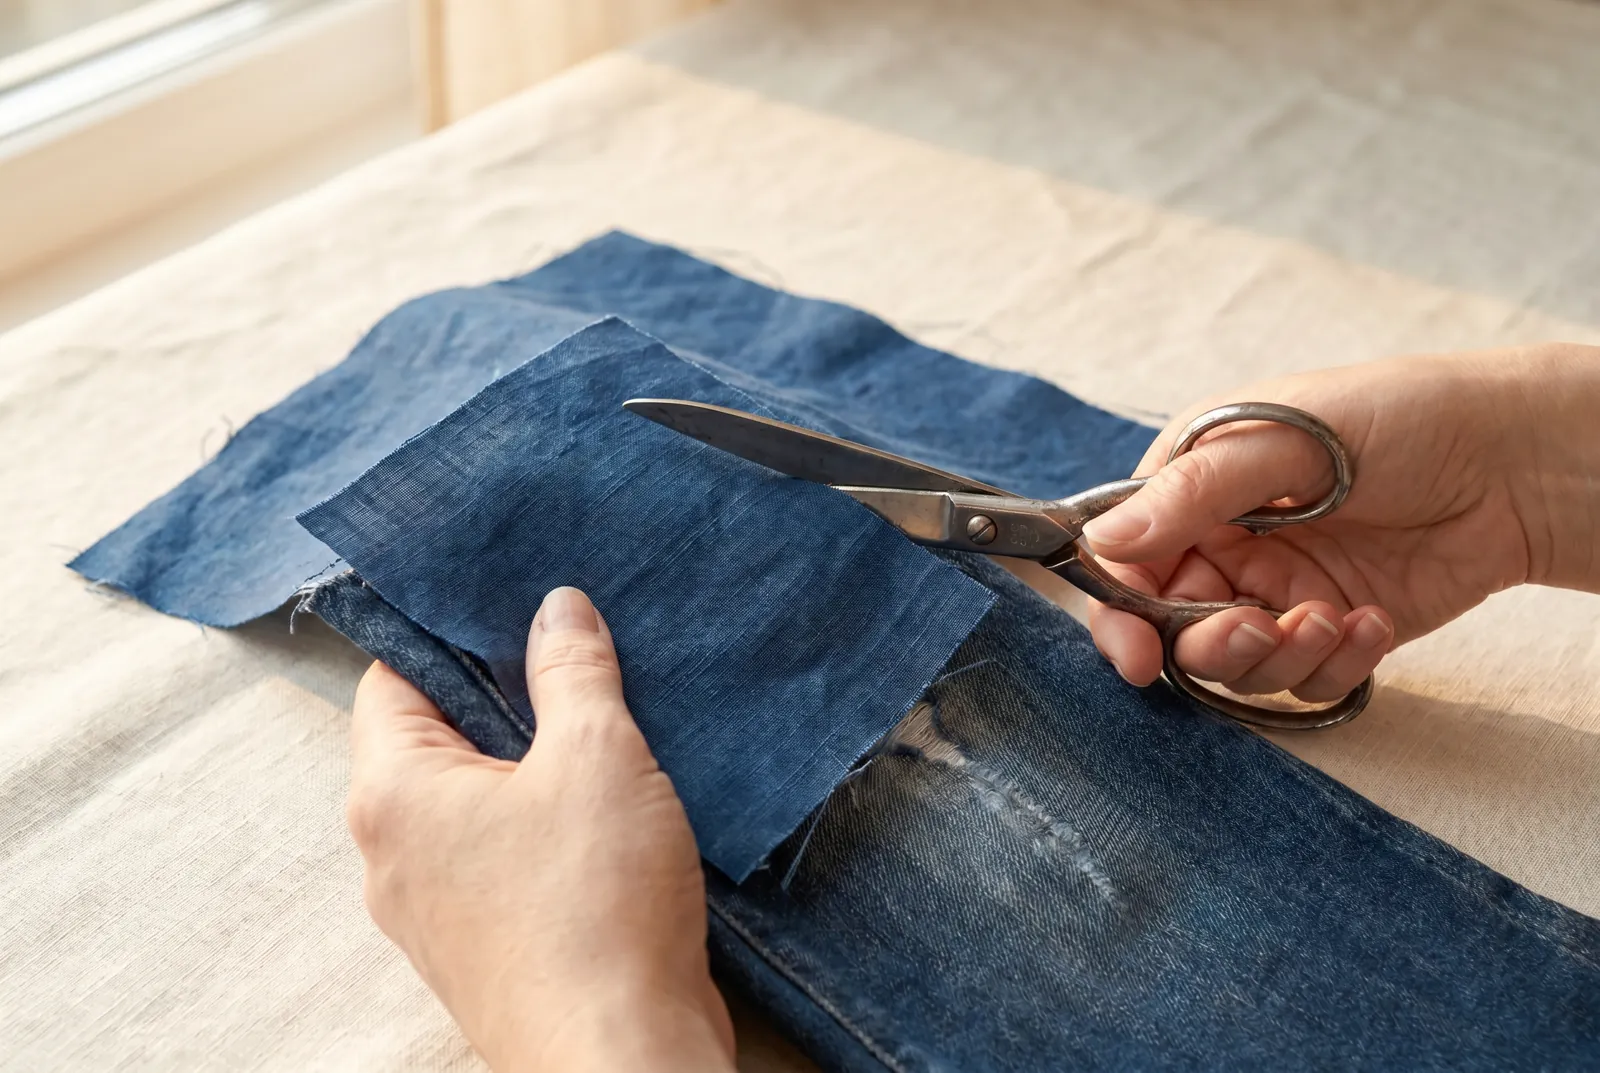
STEP 3/9Cut the patch generously, reaching well past the worn area on every side — leave at least 2 cm (about 3/4 in) of margin all around so the outer stitching rows land on sound cloth. In cloth that frays little, leave the cut edges flat: the patch sits over the worn place as a visible layer, in the boro manner.
Step 4
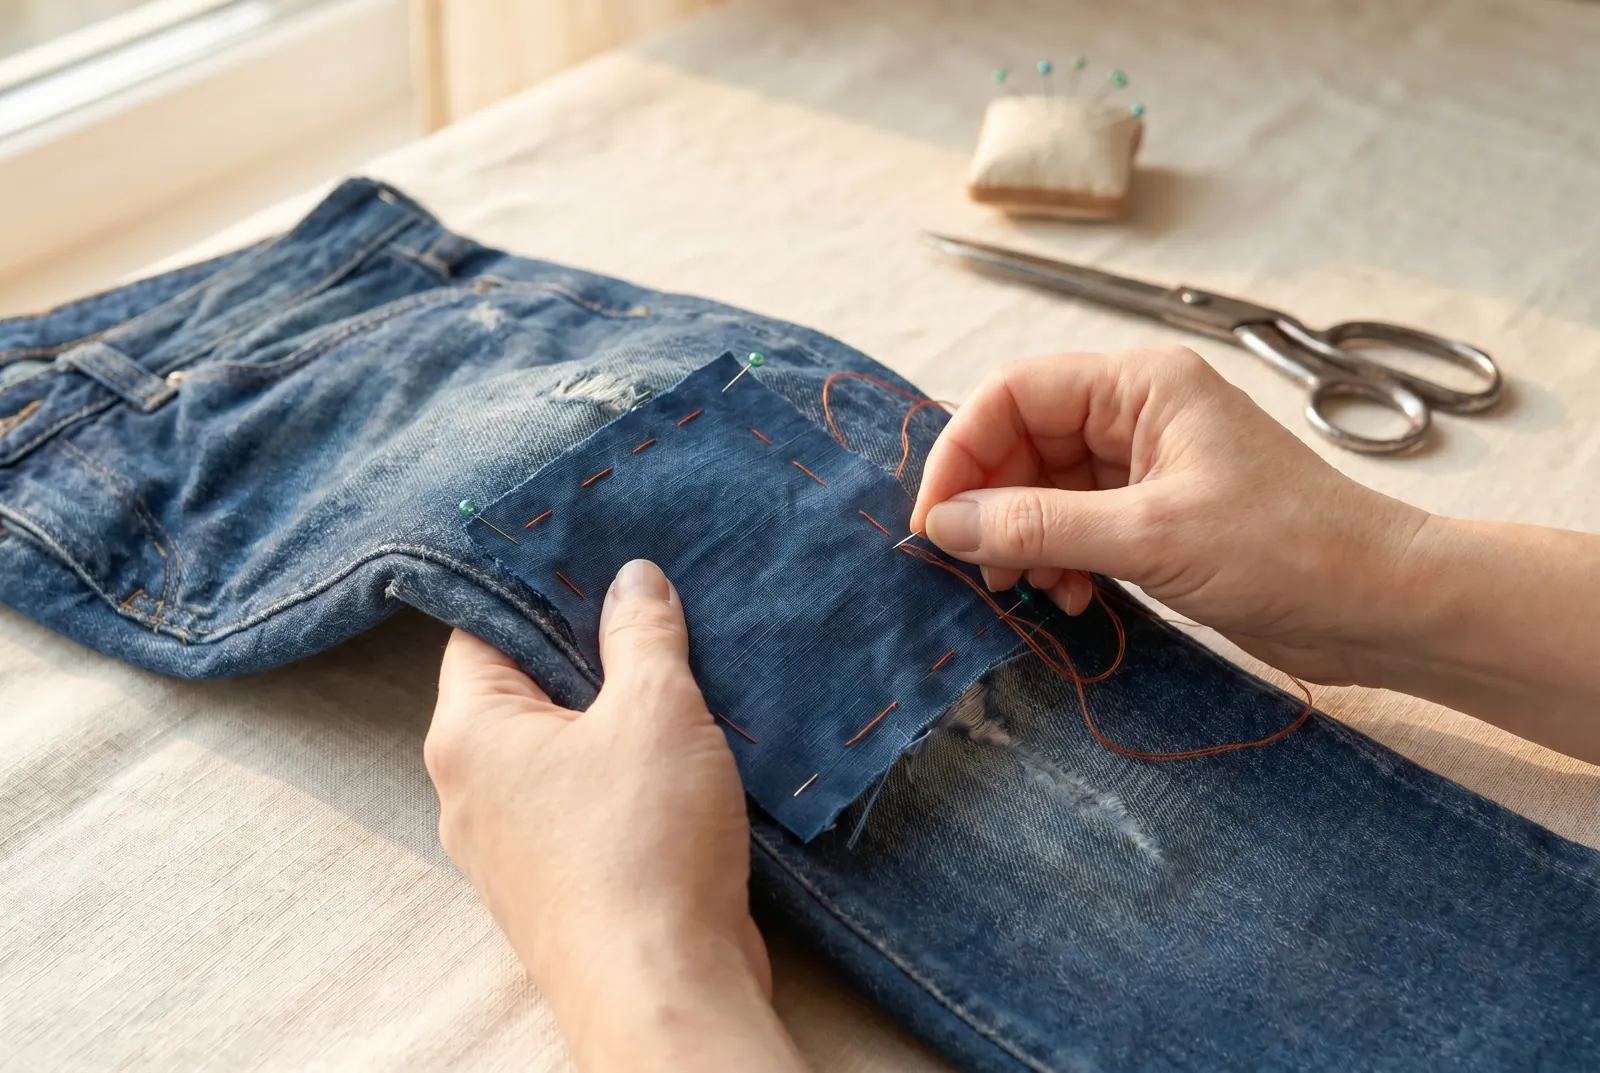
STEP 4/9Lay the patch in position and pin it flat at the corners and once at each side. Then baste it to the garment: knot your thread, run a line of long tacking stitches around all four edges and once or twice across the middle, and pull the pins out as the basting replaces them. The rows of quilting will shift the layers if they are not held, so do not skip the basting across the middle.
Step 5
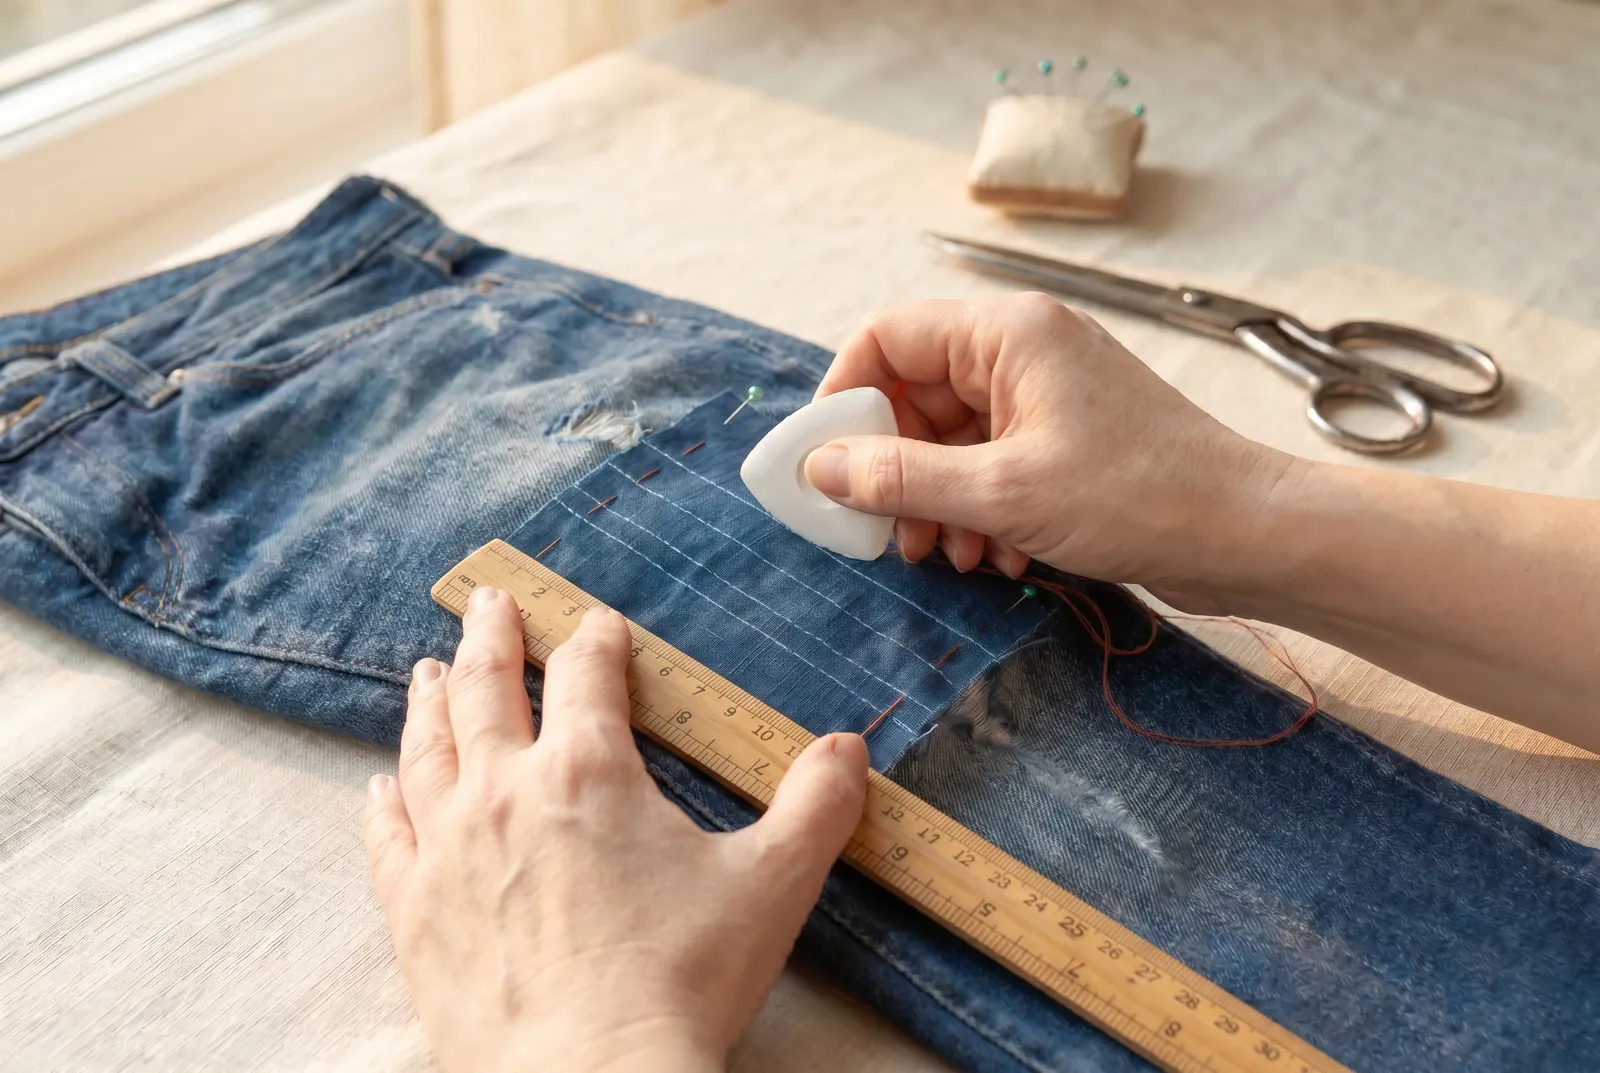
STEP 5/9On the right side, mark the quilting lines with tailor's chalk and a ruler: straight parallel lines 6 to 10 mm (1/4 to 3/8 in) apart. Keep the spacing even; straight lines, a grid, or diamonds all work and all hold the layers.
Step 6
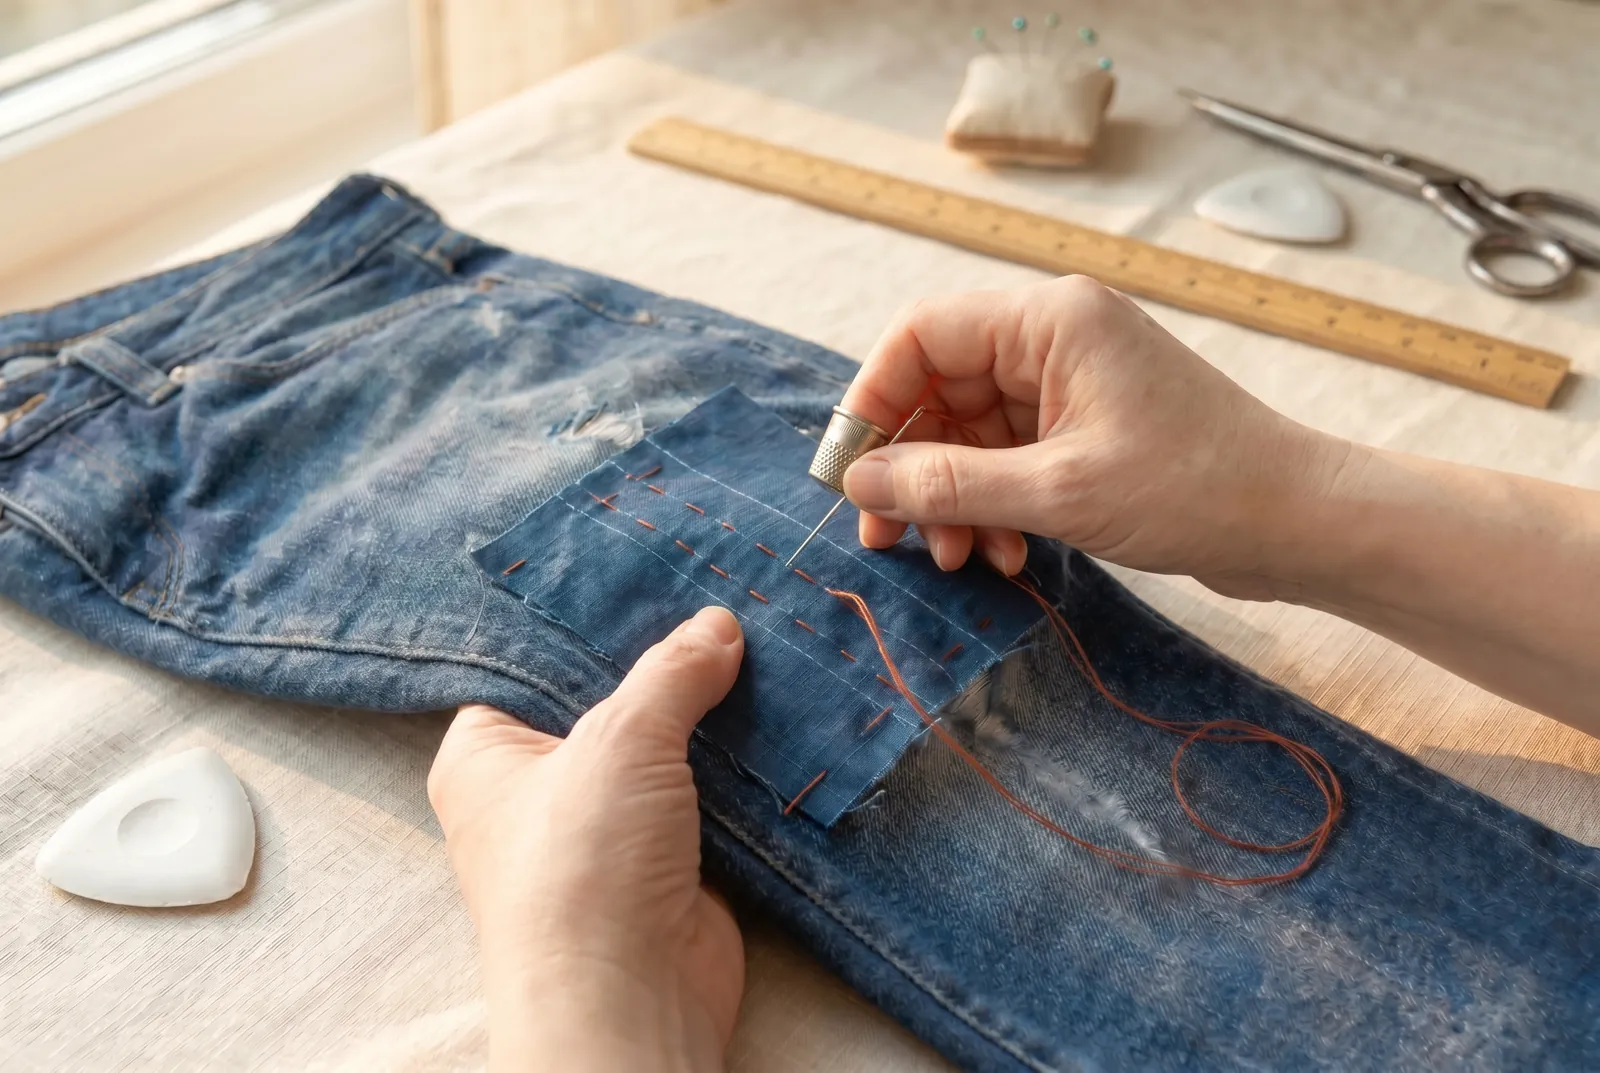
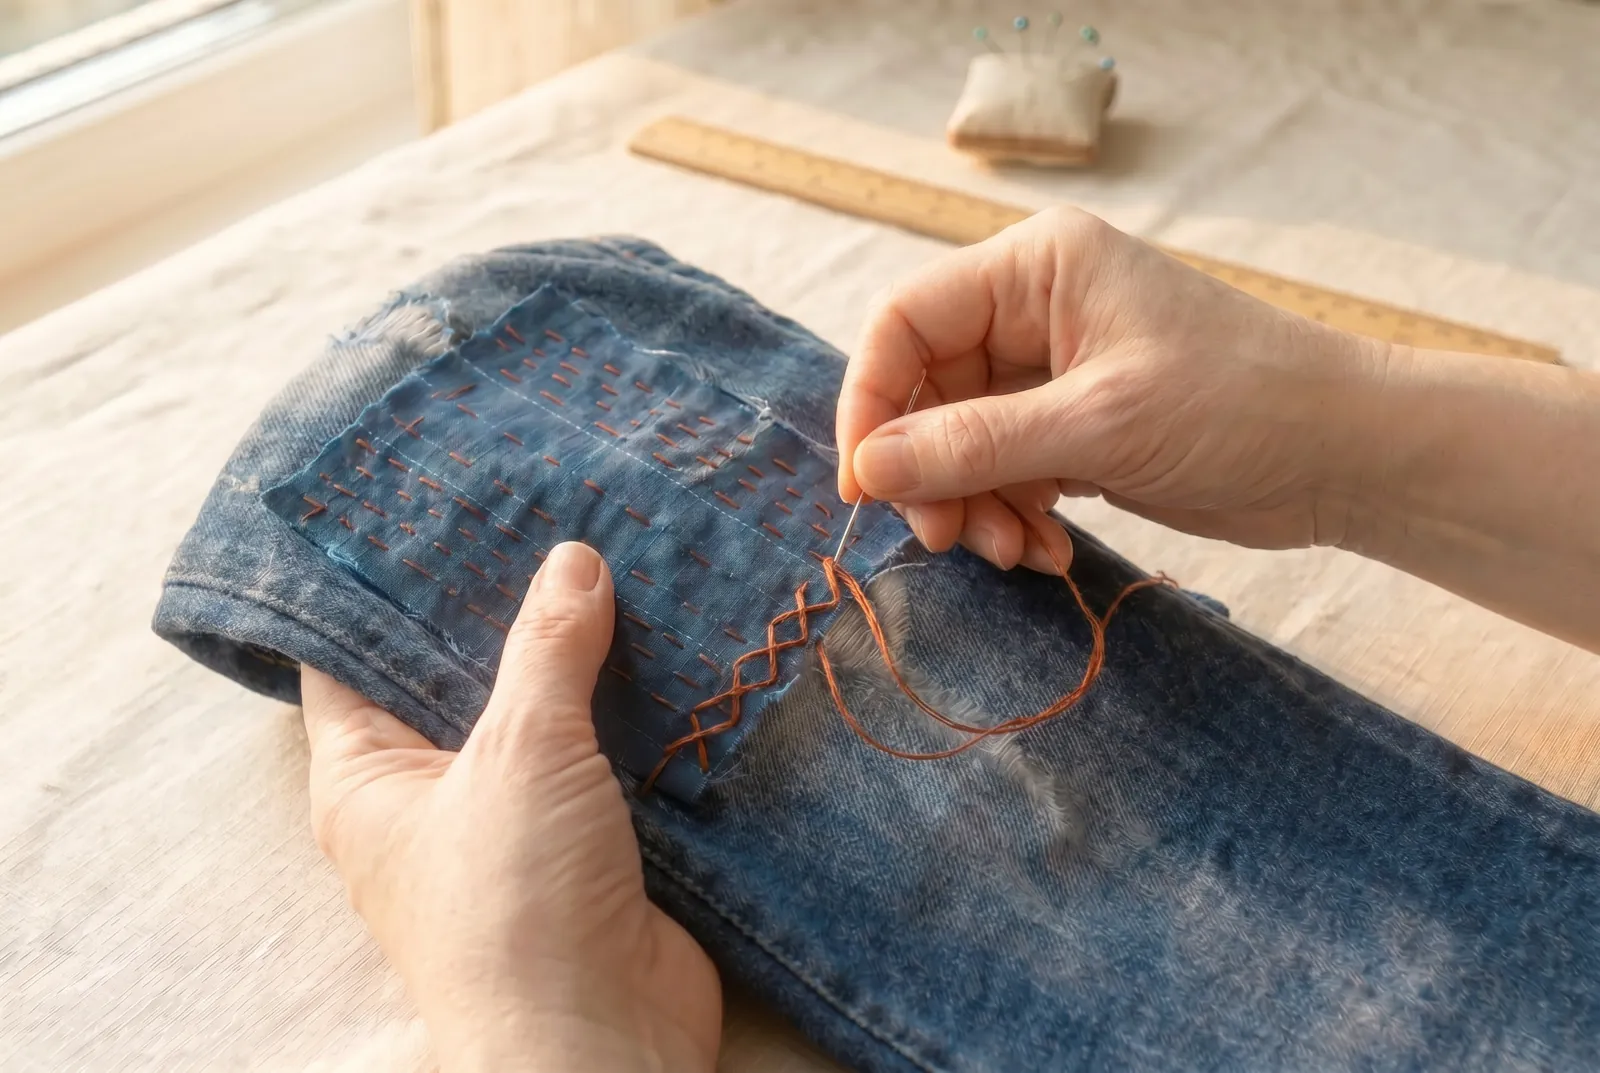
STEP 6/9Quilt the layers together: work small, even running stitches — sashiko means 'little stabs' — along each marked line, passing the needle through all thicknesses so the layers wear as one and the many lines share the strain. Start each row with a knot and fasten off with two small backstitches, or the quilting works loose in wear and washing. Keep the thread relaxed as you go; drawing it tight puckers and gathers the layers instead of letting them lie flat.
Step 7
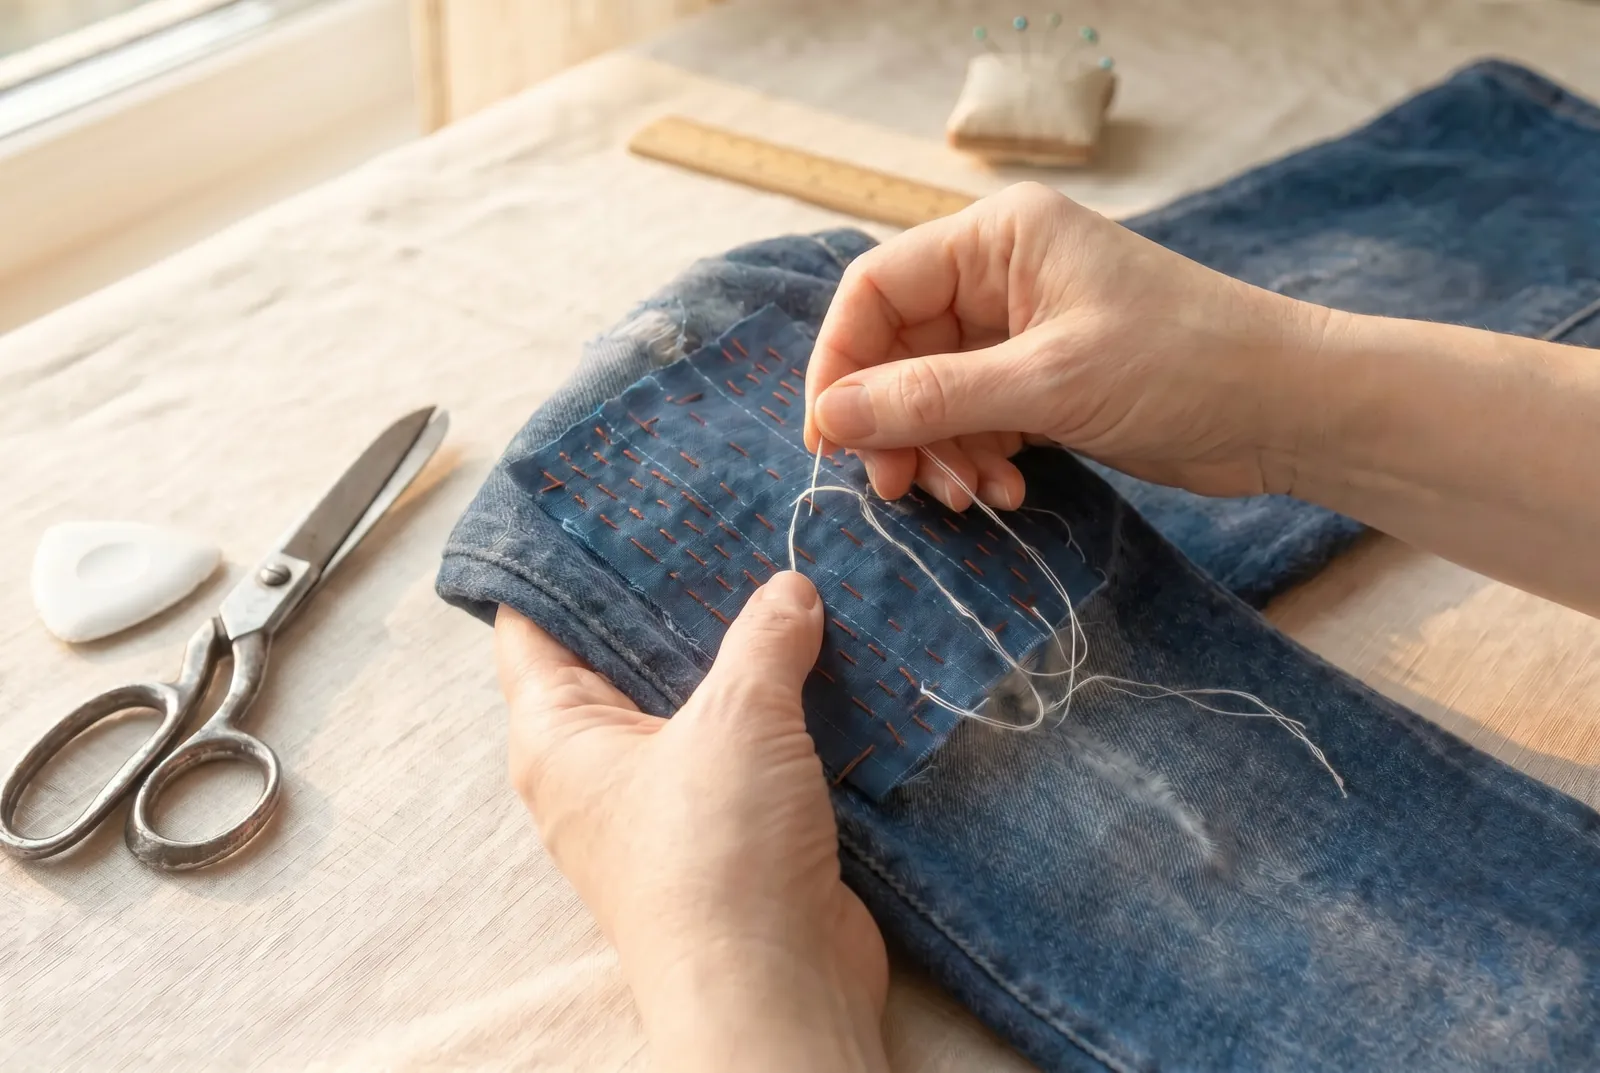
STEP 7/9When every row is stitched and the layers hold together as one firm cloth, pull out the contrasting basting threads.
Step 8
STEP 8/9Secure any raw patch edges left flat with a catch-stitch: work a row of crossed stitches over each raw edge so the crossing threads bind it flat against the whole cloth, and the edge sits covered by the crossed stitches. Use soft wool or silk thread rather than hard cotton, and take the stitches loosely so they give with the cloth.
Step 9
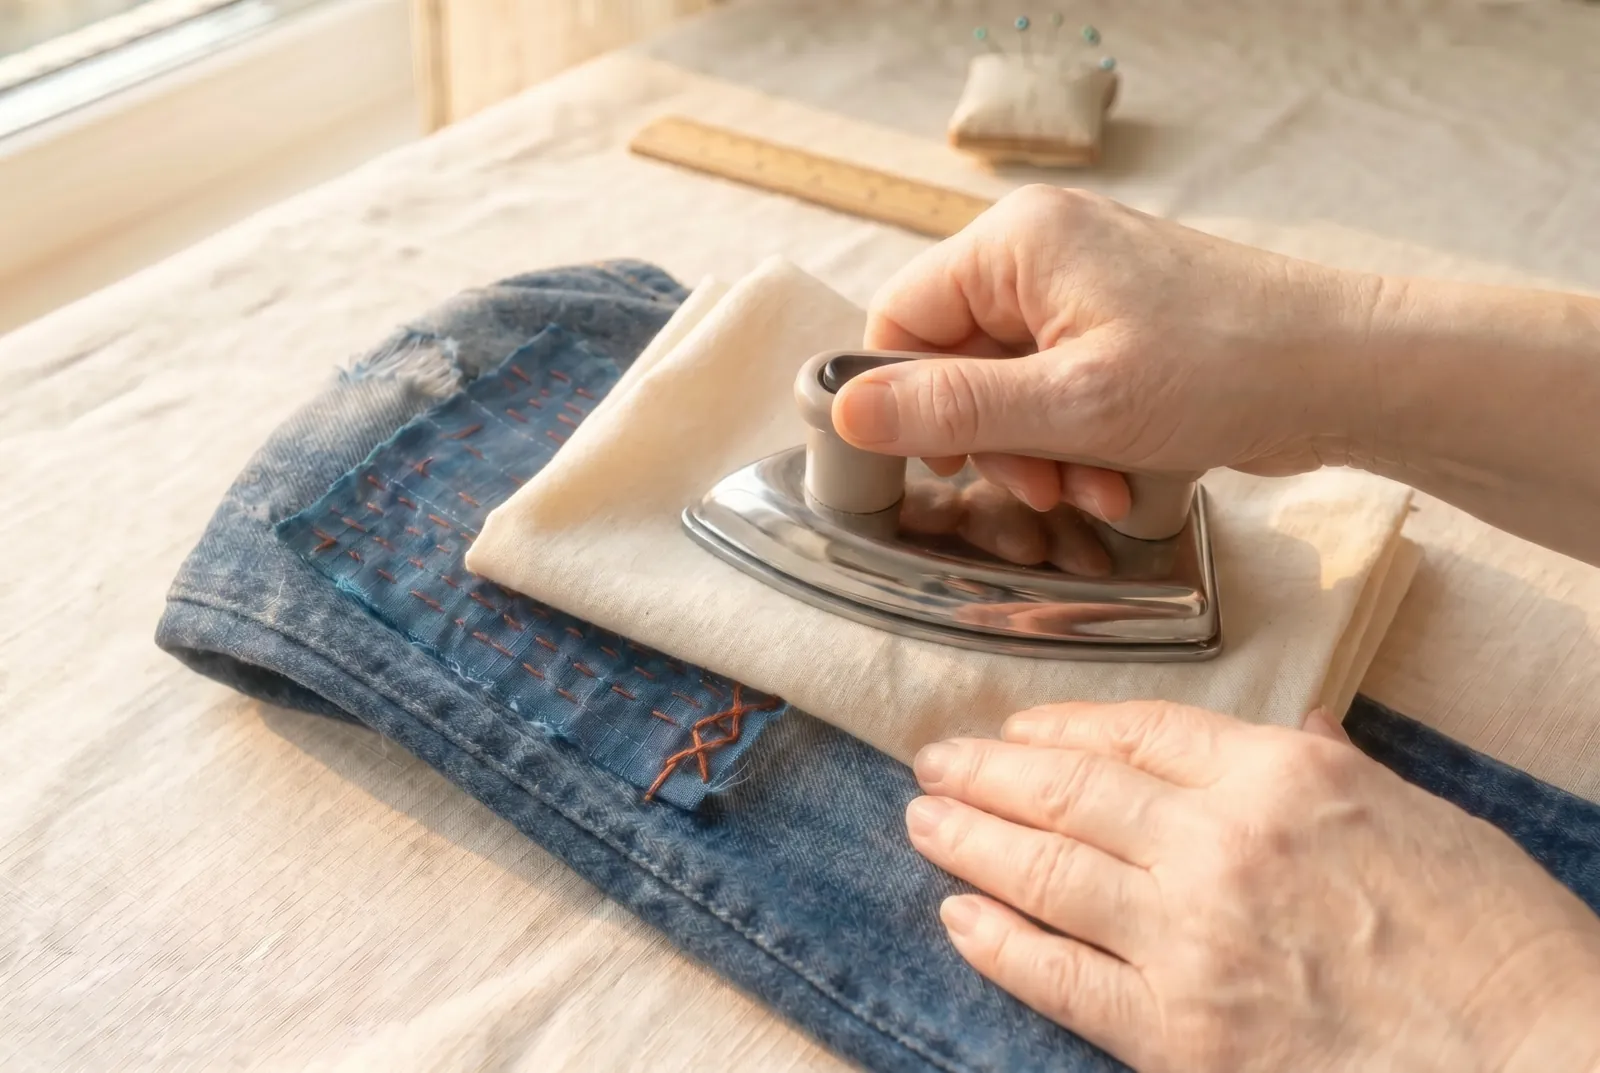
STEP 9/9Press the mend under a barely damp cloth with a moderate iron — a wool setting, about 150 C (300 F) — without bearing down on it. The finished patch lies flat, without a fold anywhere, and gives with the garment in wear and in washing.