Upcycling & Thrift Flips · piece Nº 46 · 54 min
Take in a thrifted shirt at the side seams
Bring a loose thrifted shirt closer to your shape by taking in the two lower side seams with a French seam, which encloses the raw edges for a clean finish inside and out. The take-in tapers to nothing a few centimetres below the underarm, so the armholes and sleeves are left as they are.
The seam · 9 steps
Step 1
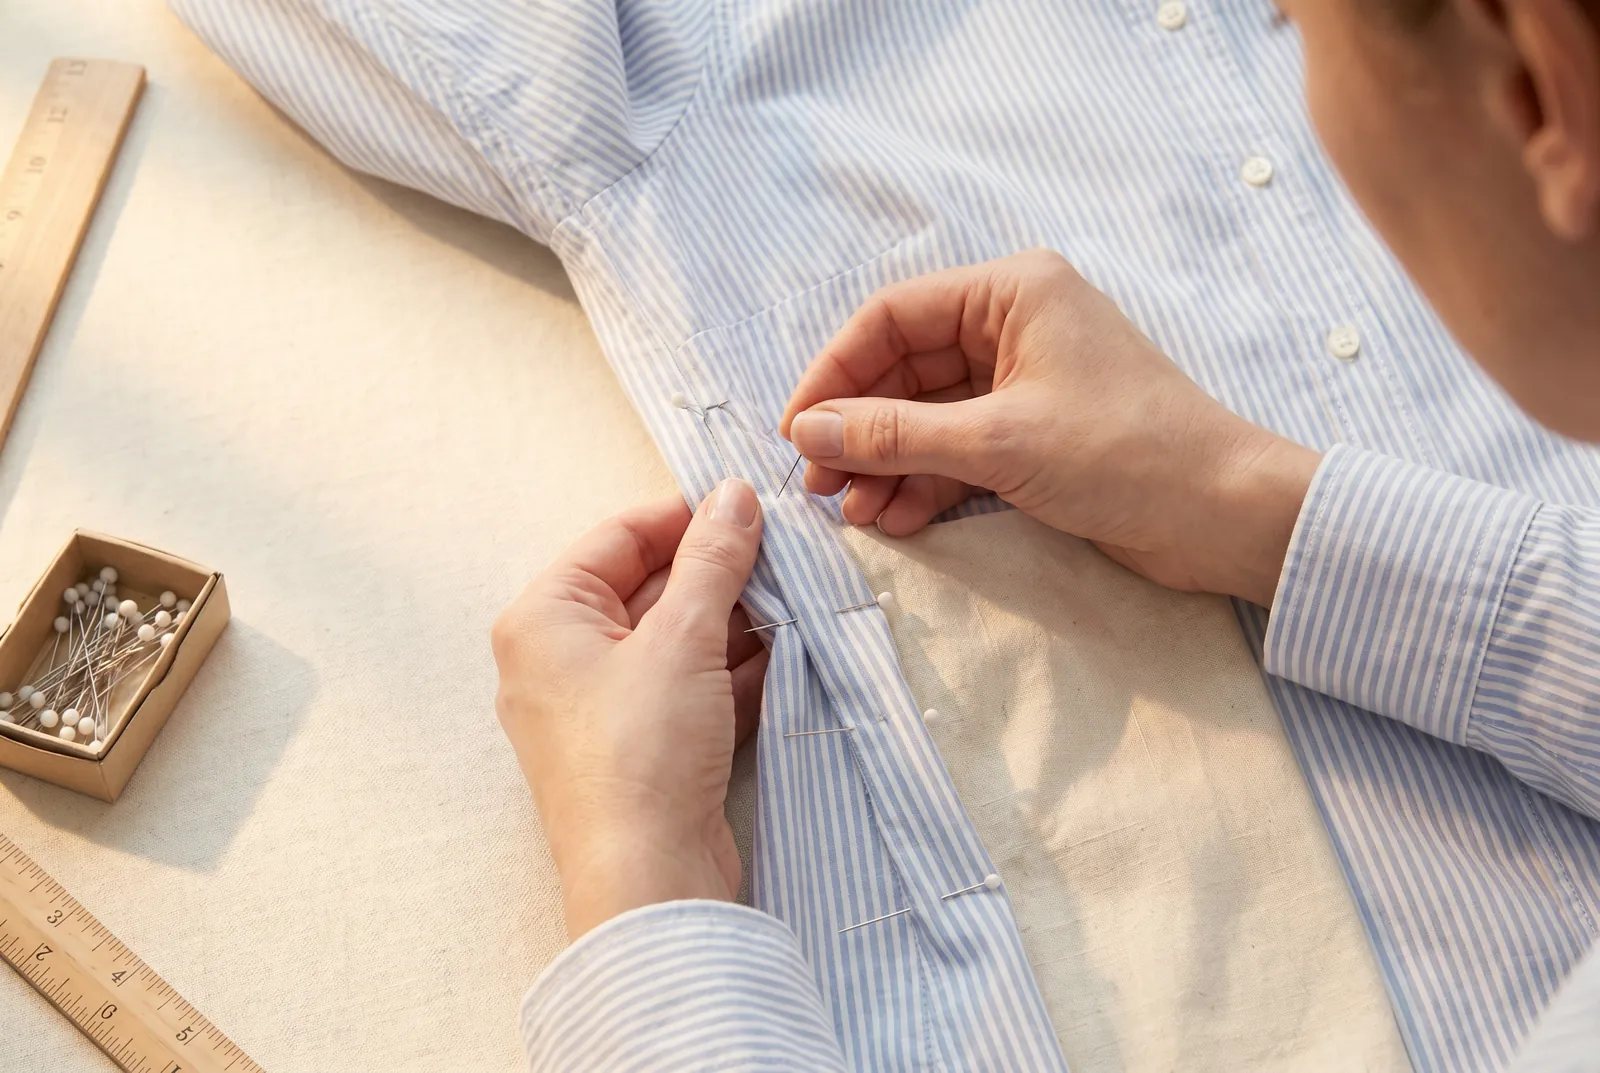
STEP 1/9Turn the shirt wrong side out and put it on. Pinch each side seam inward until the shirt follows your shape, and pin along that line, deepest near the hem and tapering back to the original seam a few centimetres below the underarm. Pin the same shape on the left and right so the shirt stays even.
Step 2
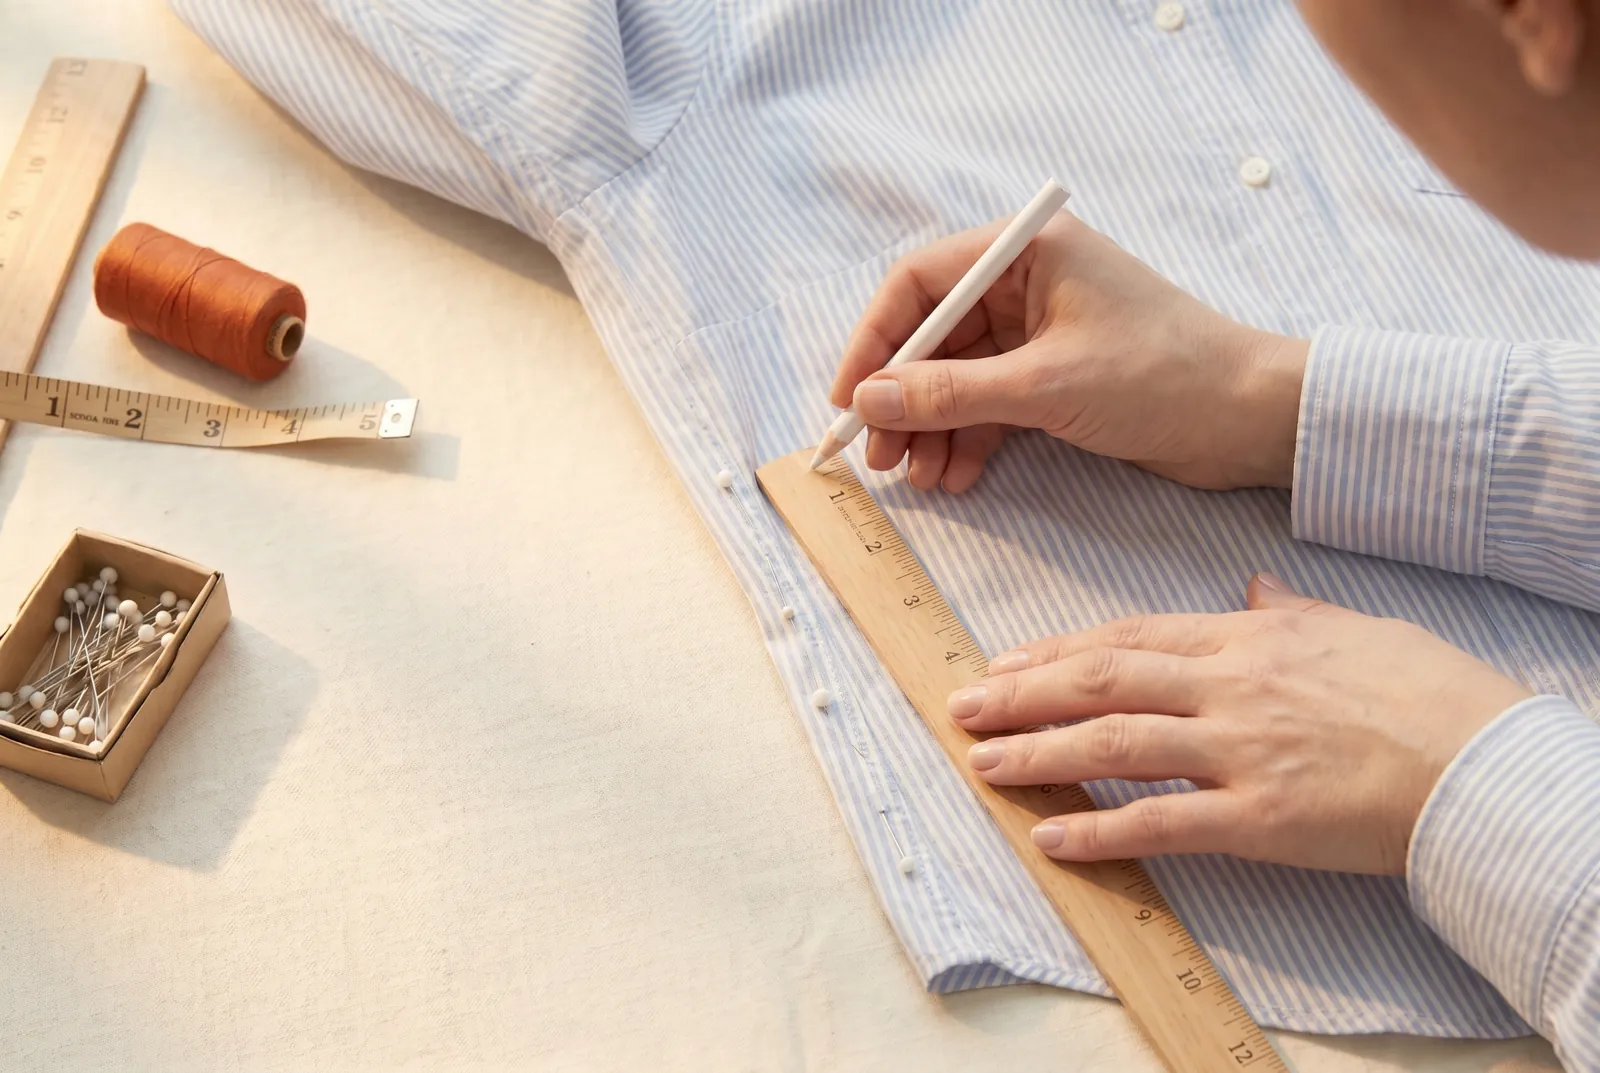
STEP 2/9Take the shirt off and lay it flat. Using a ruler and chalk or a washable marker, draw the pinned line on both sides as your new seamline, running it from the hem up and rejoining the original seam about 3-4 cm (1.5 in) below the underarm. The take-in is zero where the two lines meet, so there is no step at the join; measure from the original seam at several points to confirm both sides match. A take-in of about 1.5 cm (5/8 in) per side near the hem is common.
Step 3
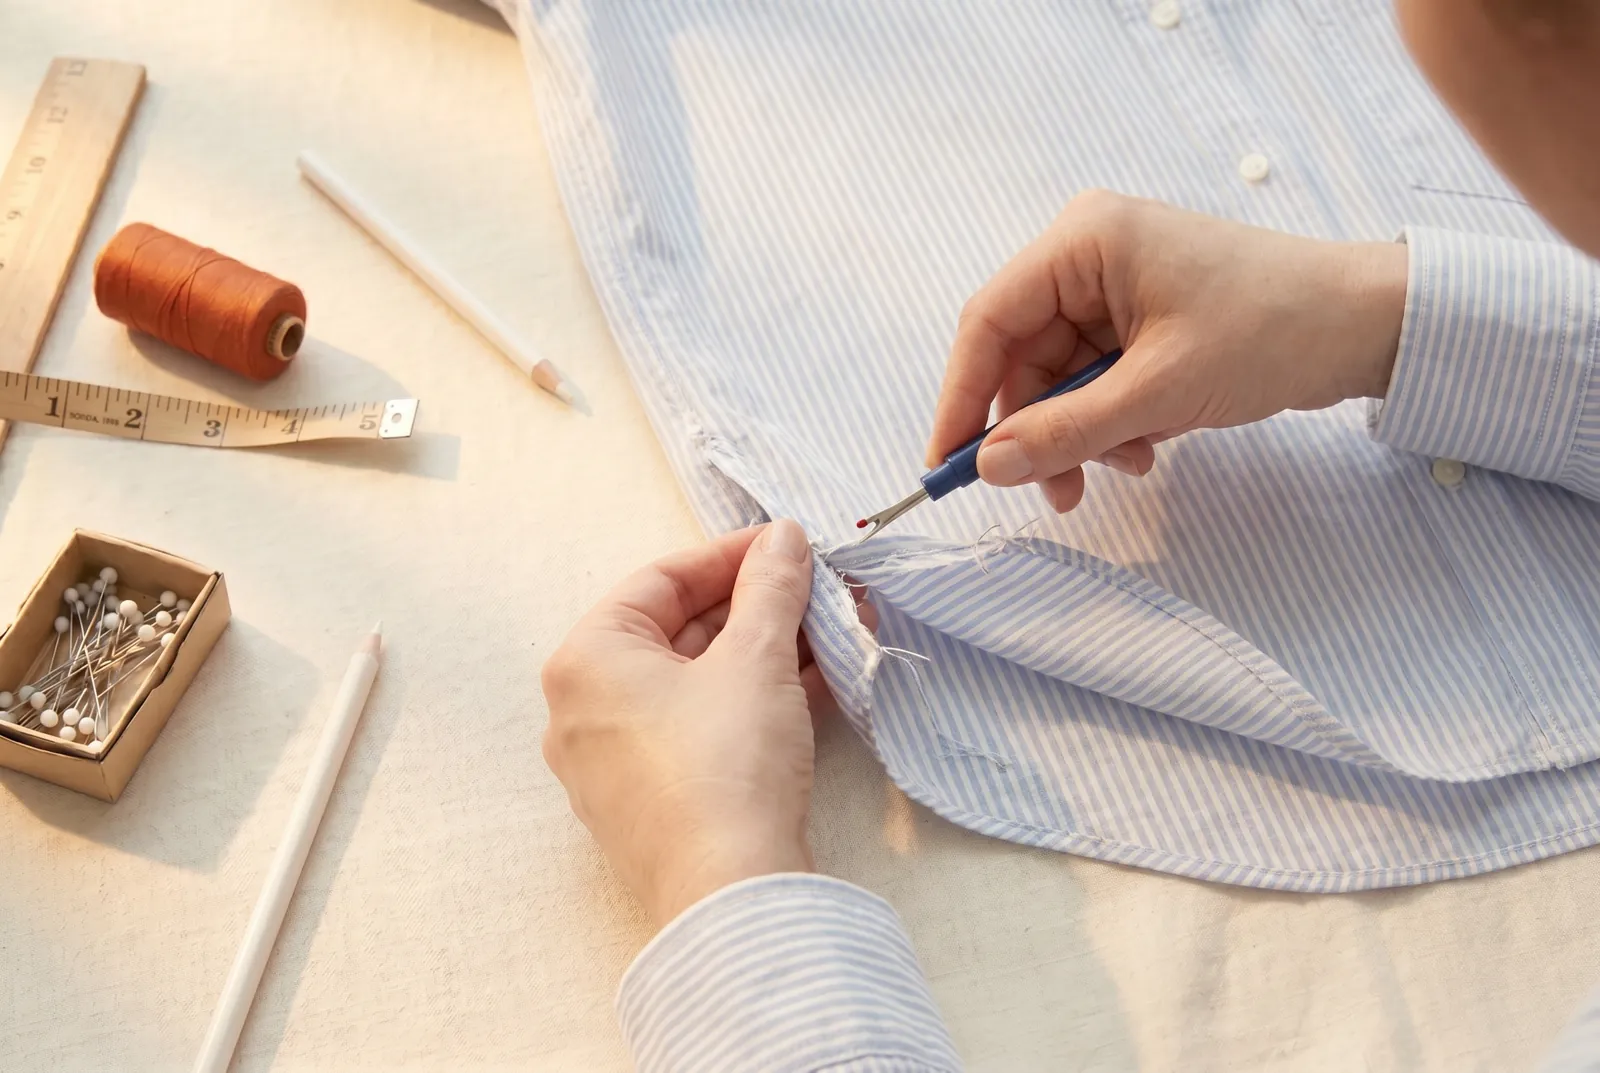
STEP 3/9With the seam ripper, open the shirt's existing bottom hem for about 5 cm (2 in) on each side of each side seam. This frees the folded hem so your cut and stitches do not pass through stacked layers, and lets you re-fold the hem cleanly at the end.
Step 4
STEP 4/9Draw a cutting line 1 cm (3/8 in) outside the new seamline, then cut along it through both layers from the hem up to the point where your new line rejoins the original seam. Stop cutting there, so the original seam and the armhole above stay intact. The 1 cm is the width a French seam uses up; this cut cannot be undone, so re-check the fit and that both sides match before you cut.
Step 5
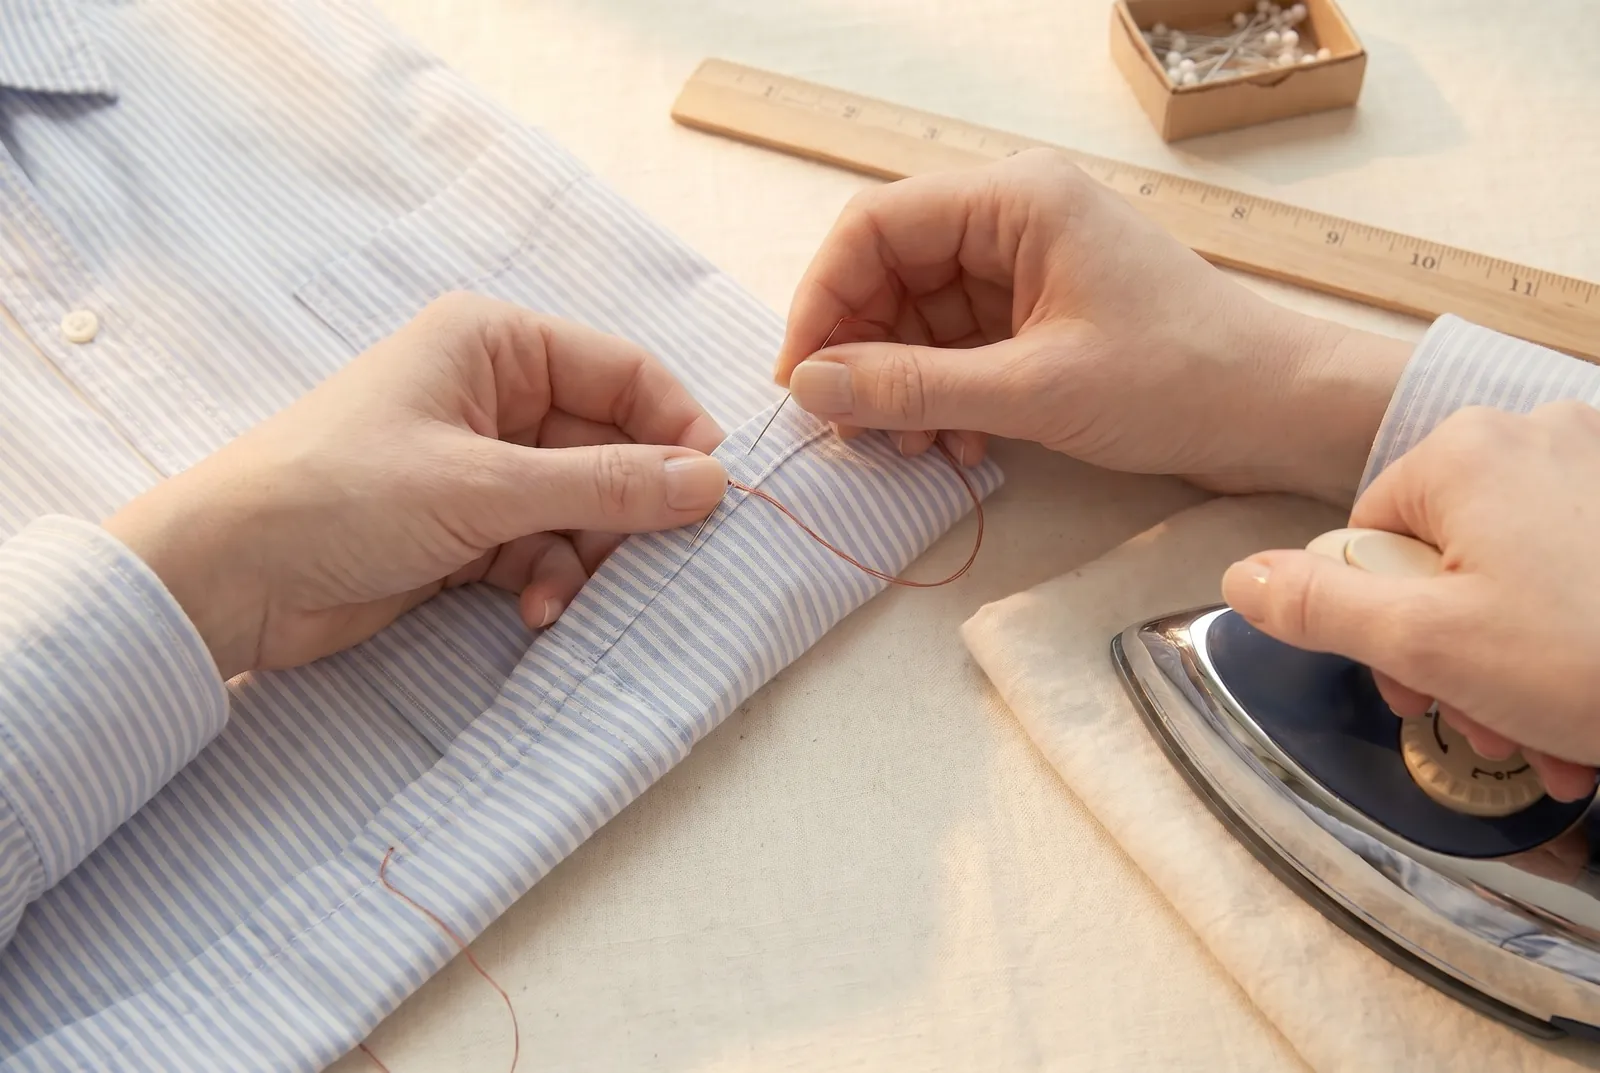
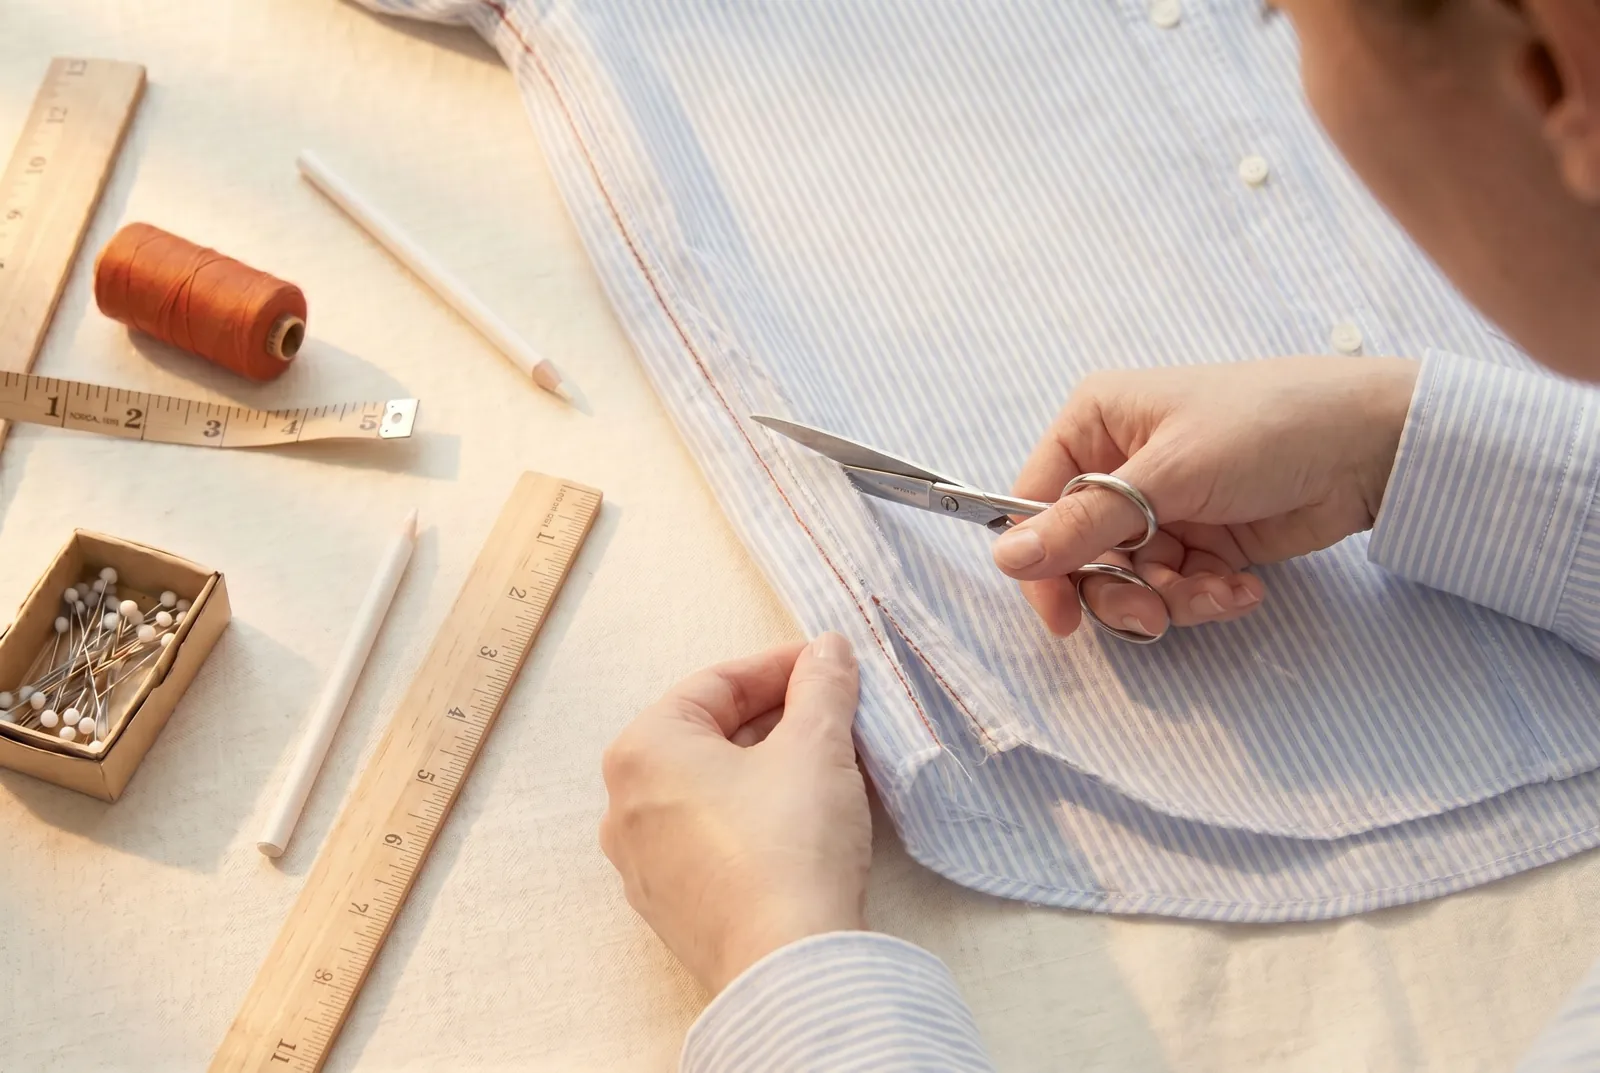
STEP 5/9With the shirt right side out and the two cut edges held together, sew a line of small running stitches 3 mm (1/8 in) from the edge, from the hem to the join; run this first seam by hand or by machine. Trim off any loose ravelings along the stitched edge.
Step 6
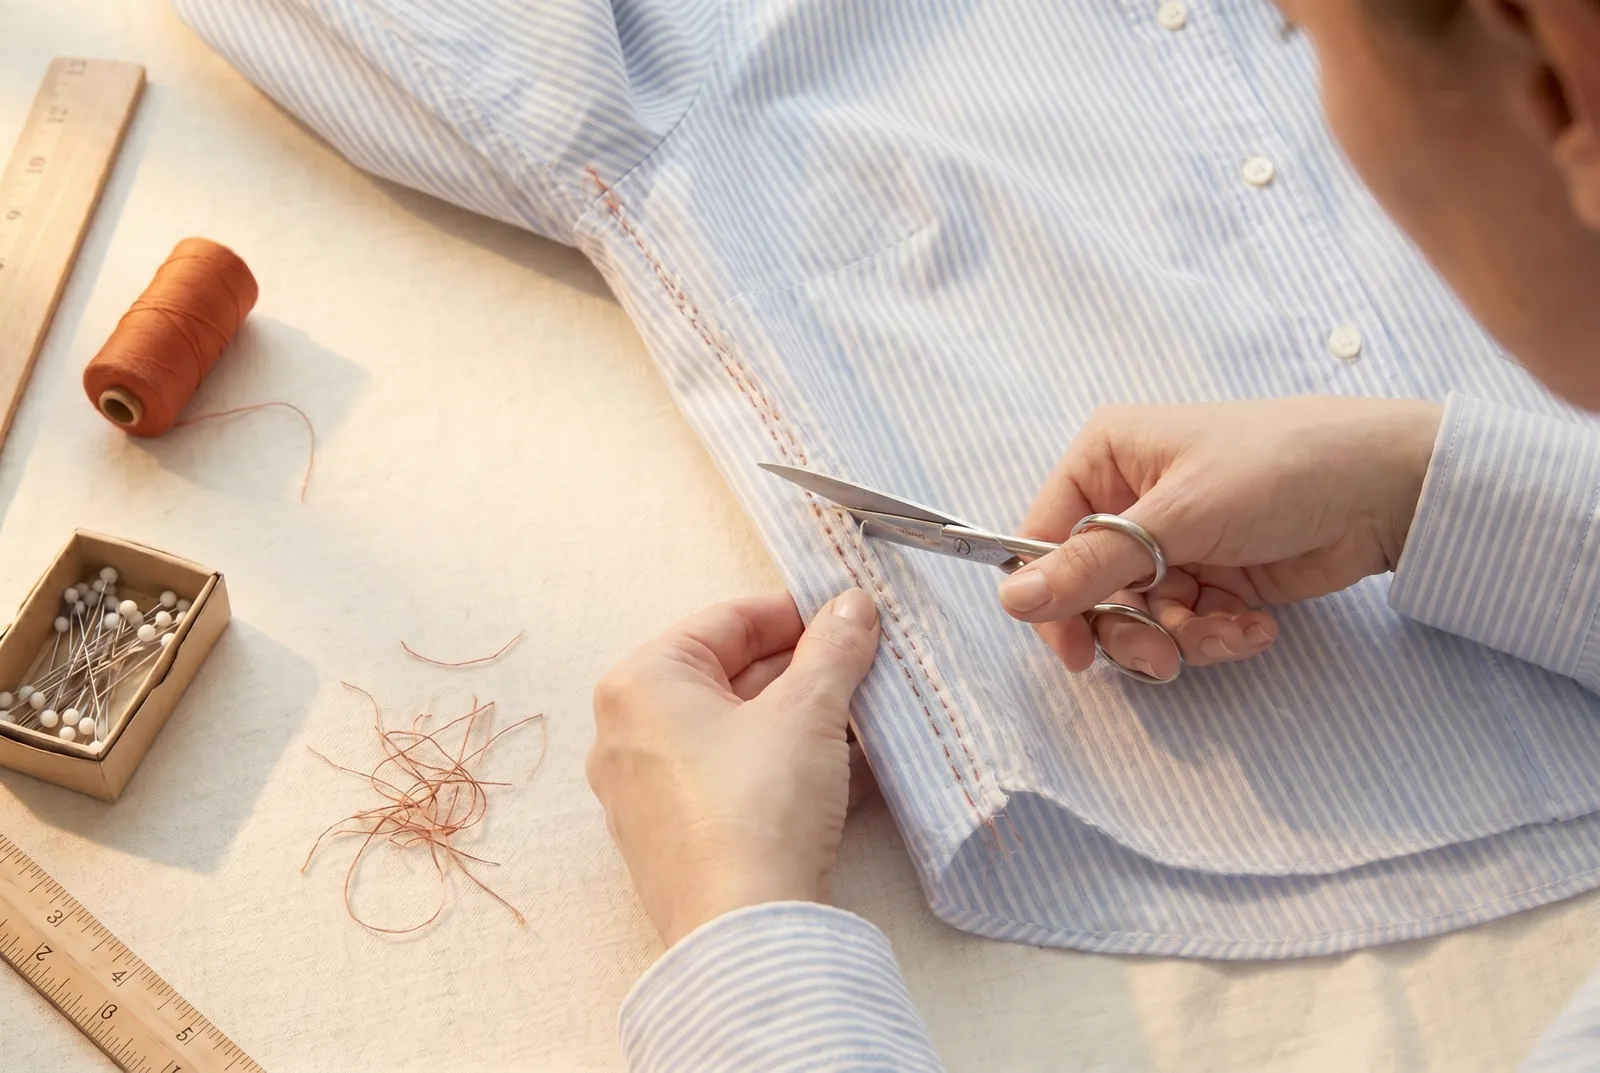
STEP 6/9Turn the shirt wrong side out and roll the seam between your fingers until that first line of stitching lies on the fold. Baste it down if the fabric is slippery, so it cannot shift while you sew the next line.
Step 7
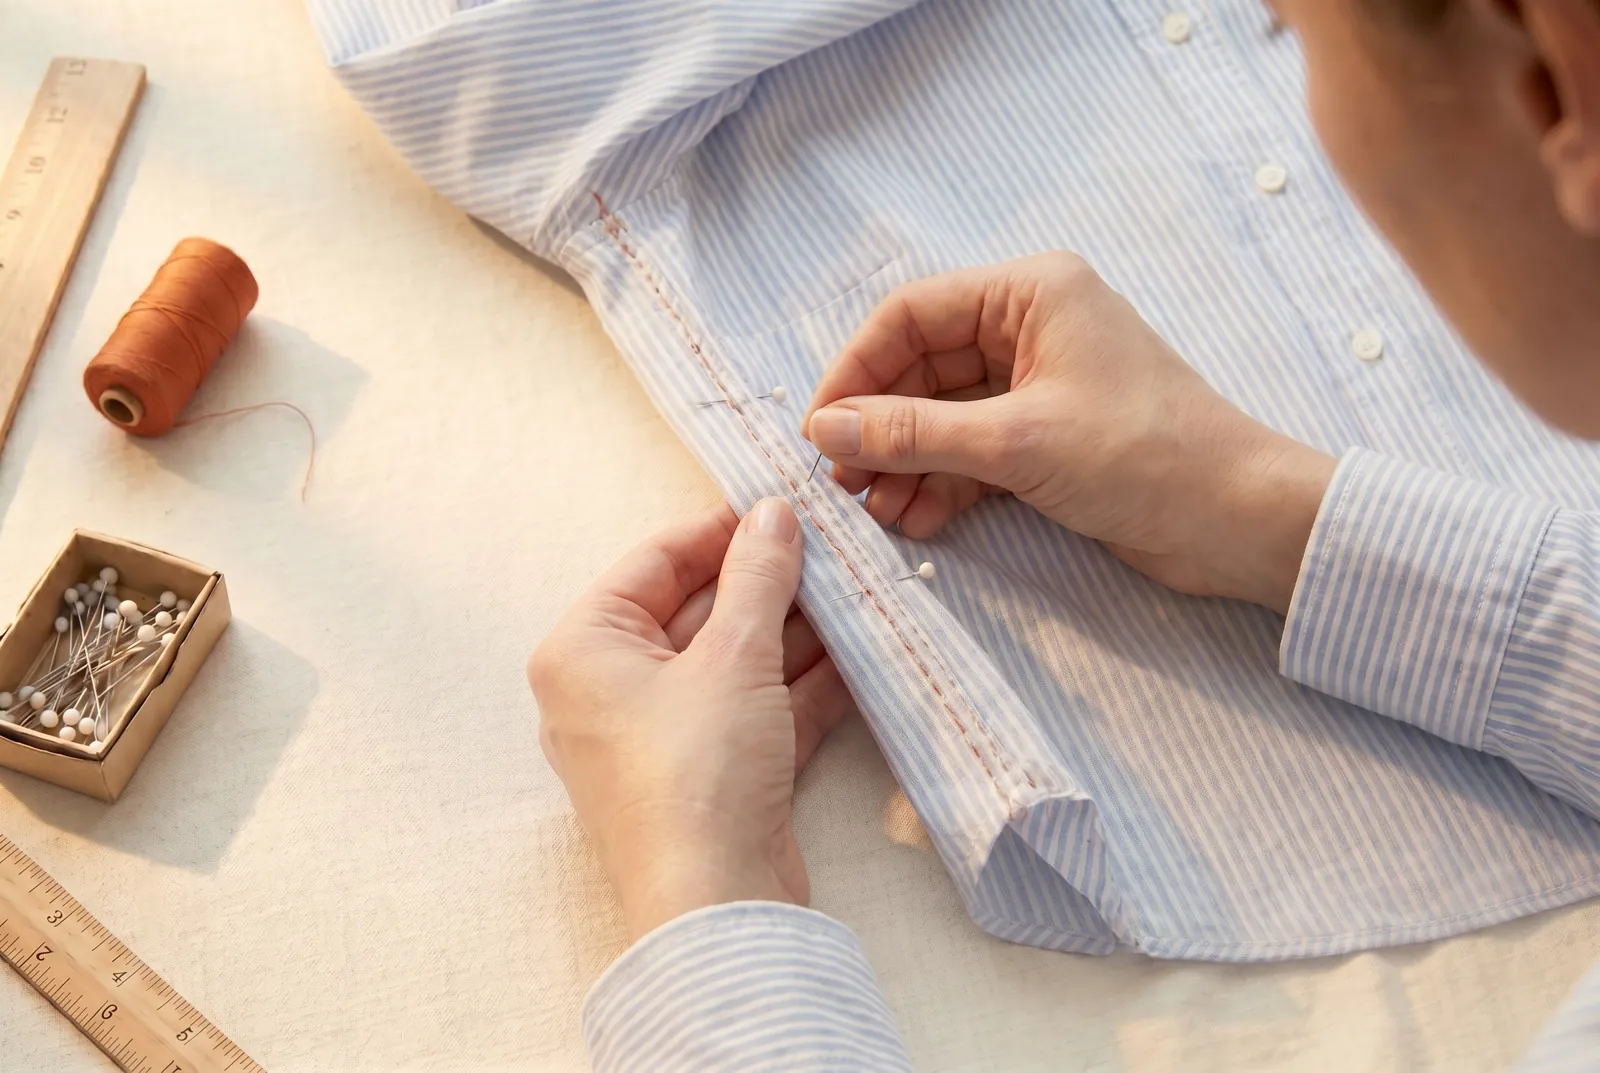
STEP 7/9Sew the second line 6 mm (1/4 in) from the fold, deep enough to shut the raw edges inside. On the outside the shirt shows one plain closed seam, and inside a narrow enclosed fold.
Step 8
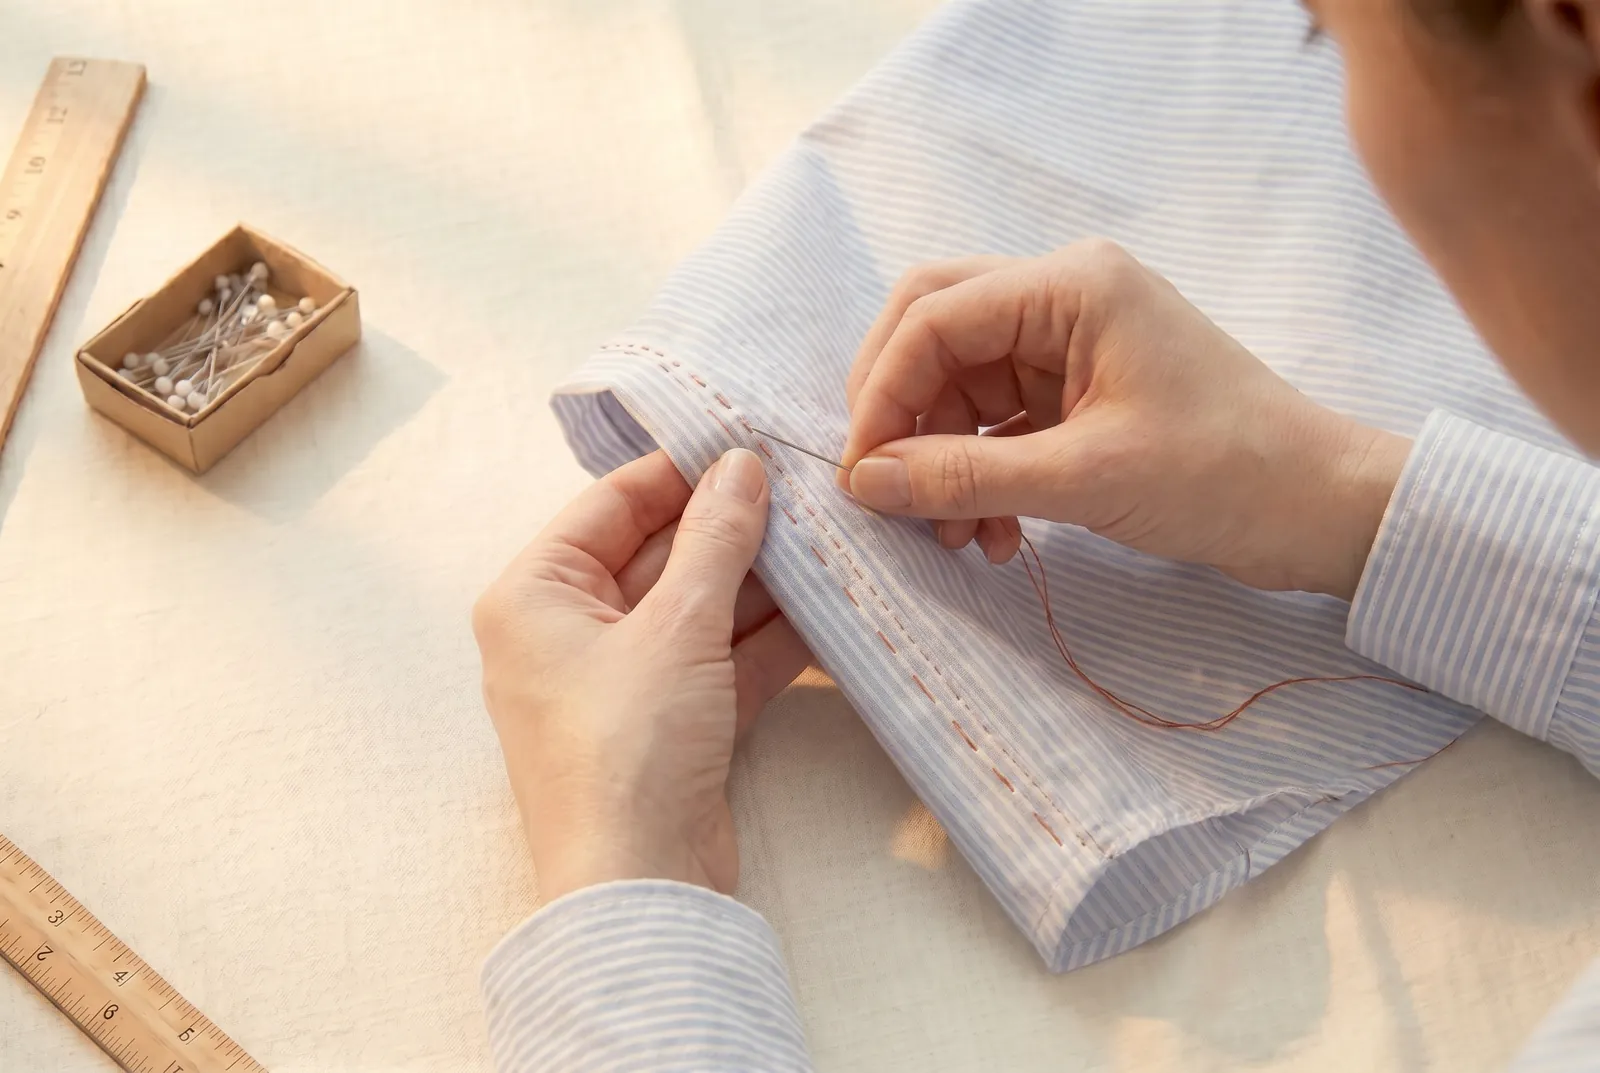
STEP 8/9End both lines of stitching where your new seam meets the original one, a few centimetres below the underarm, and leave the original seam and the armhole above untouched. A French seam sets badly on a sharp curve such as an armhole, which is why the take-in stays on the straight lower seam.
Step 9
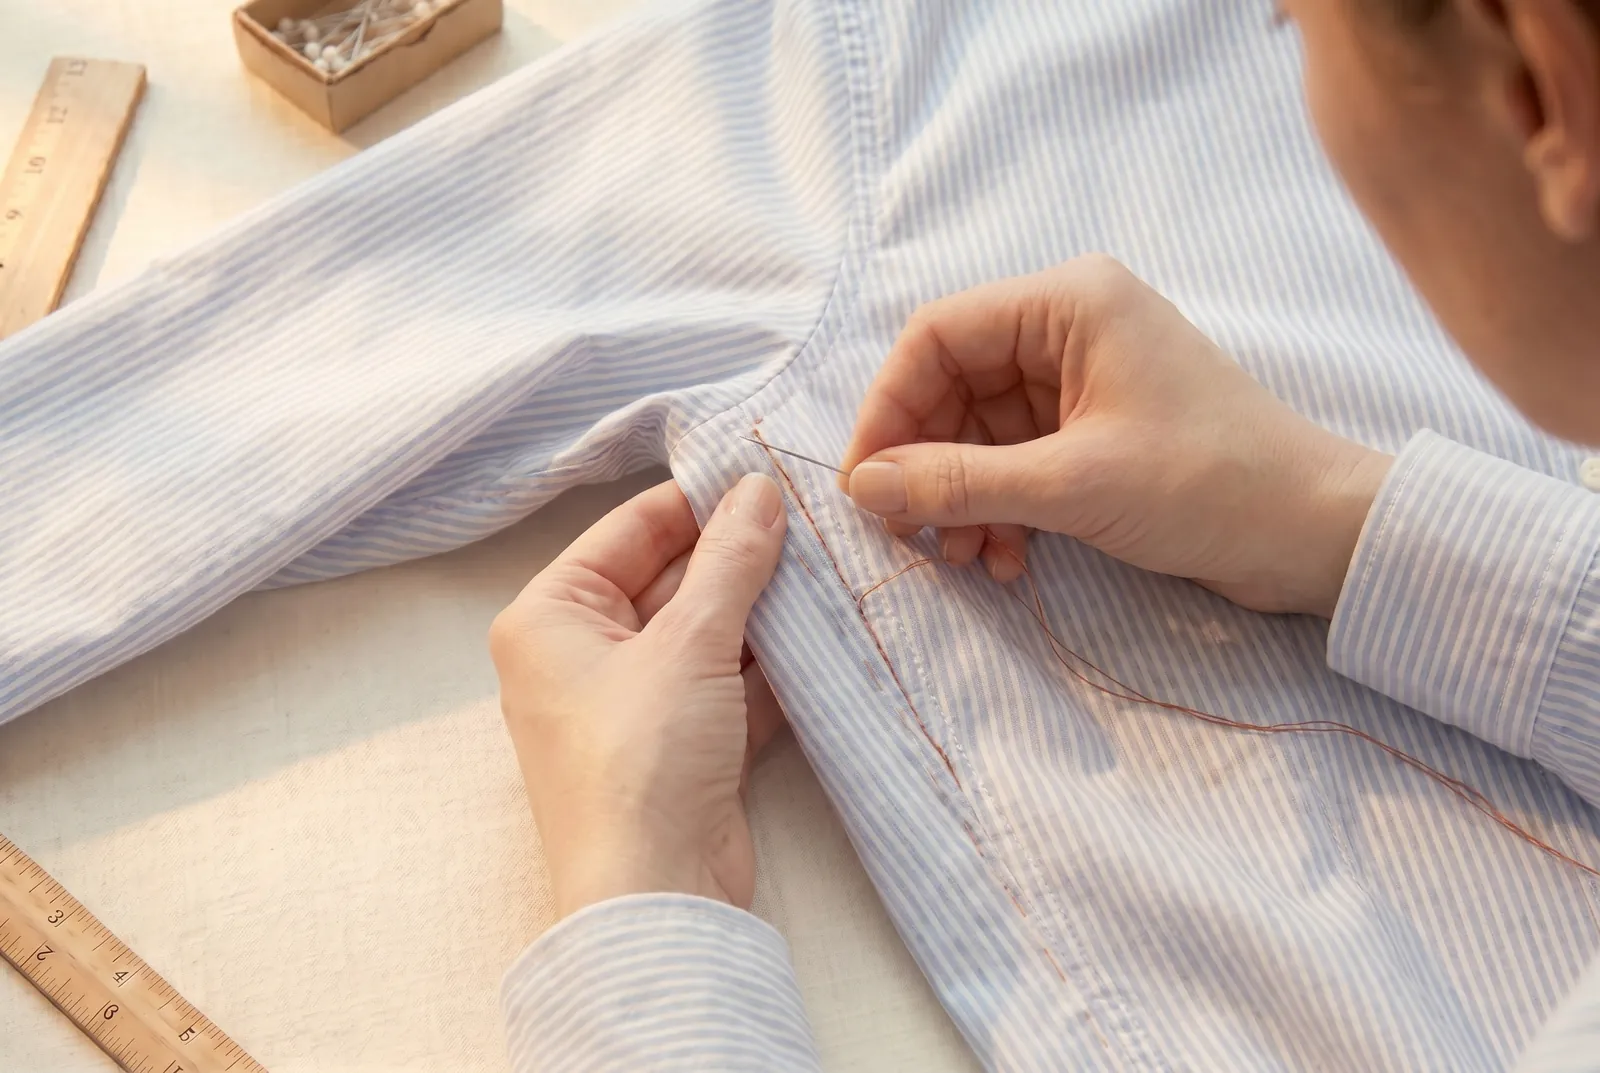
STEP 9/9Fold the opened hem back along its original crease across the new seam, and sew it down with a slip stitch, catching a single thread on the outside so no stitches show on the right side. Press the finished hem on the wrong side over a damp cloth.