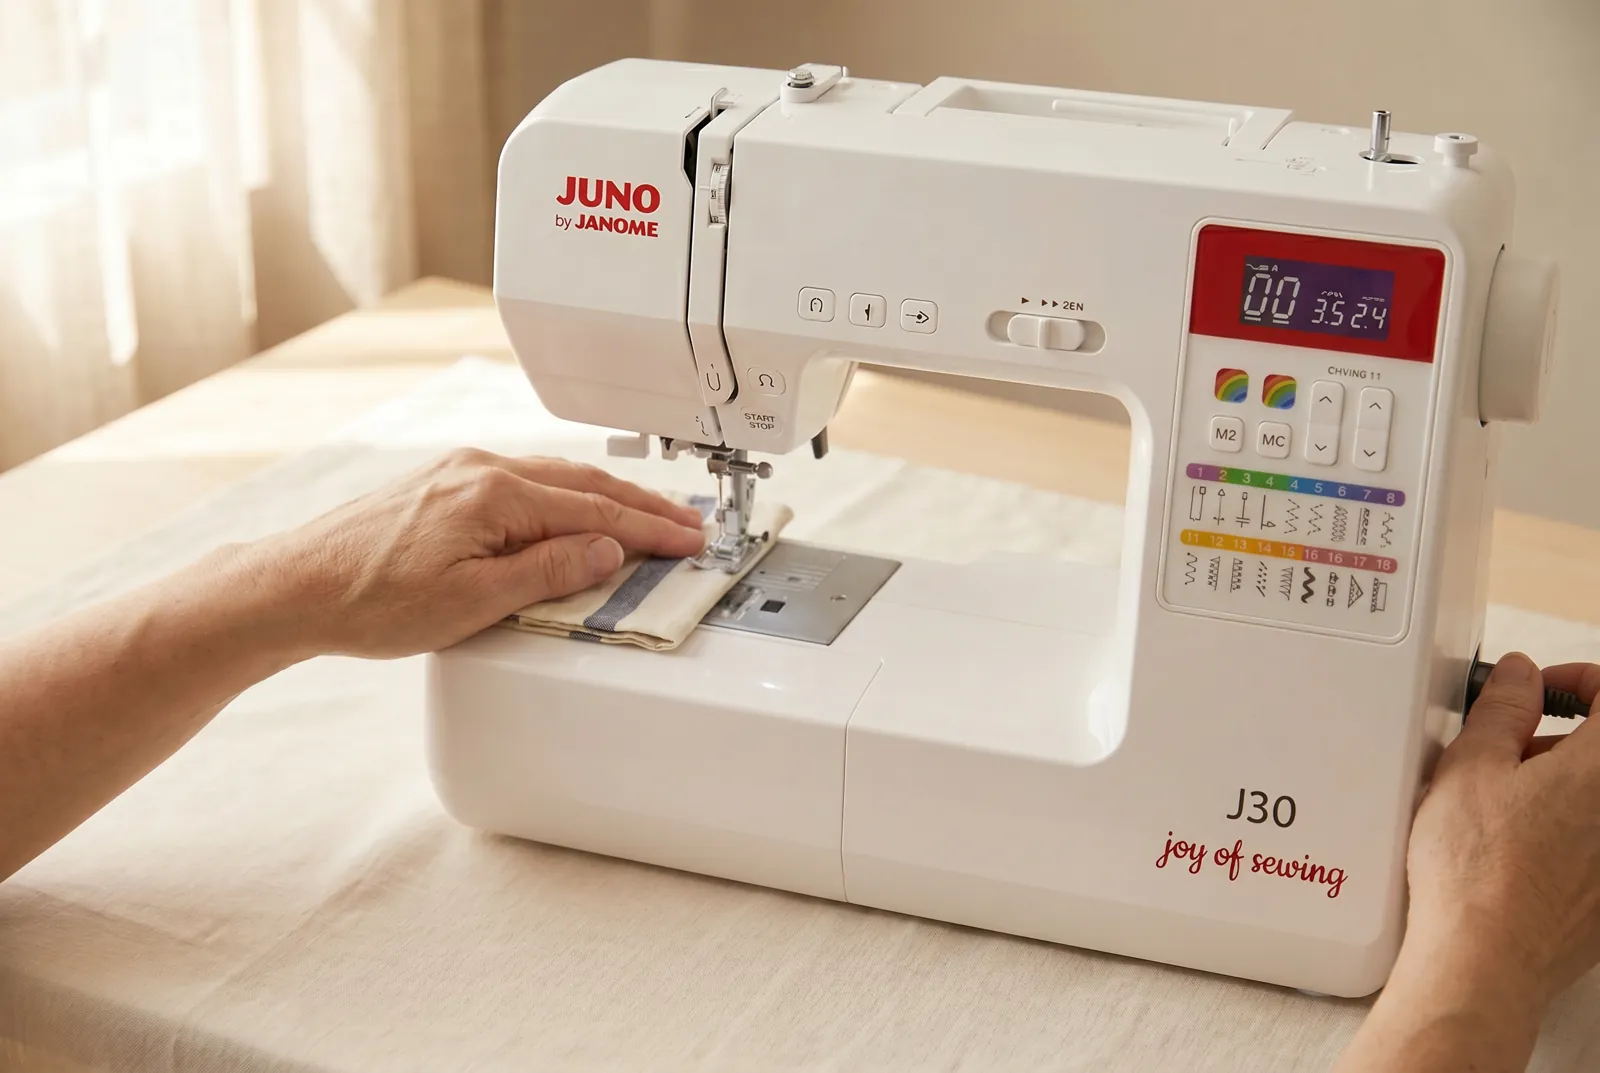
Meet Your Machine · piece Nº 01 · 54 min
Meet your Janome Juno J30
This lesson orients you to the Janome Juno J30 before you sew a stitch: you will locate every control you touch during a seam, and run the machine once without thread to feel its speed and watch the needle and feed dogs move.
The seam · 9 steps
Step 1
STEP 1/9Set the J30 on a stable table with the flat foot pedal on the floor in front of your chair, leaving both hands free to reach the machine. Plug the power cord into the machine and the wall, then connect the foot pedal cord to the port next to it. Leave the power switch off until you have located the controls in the steps below.
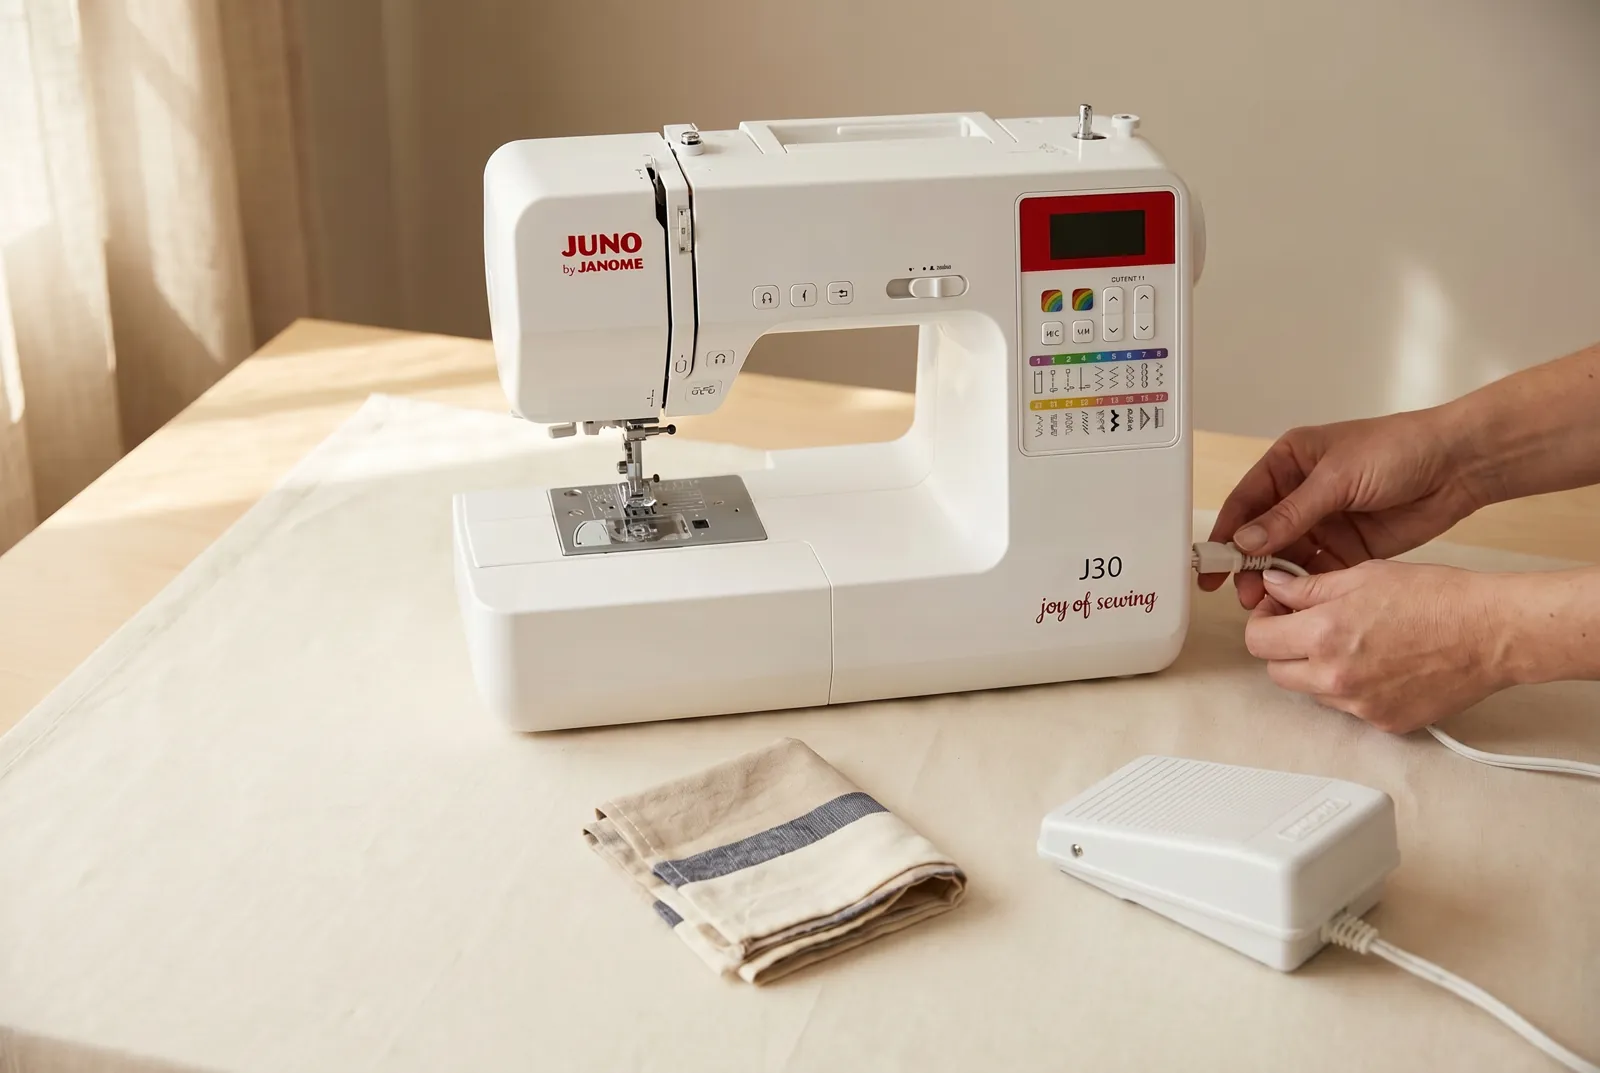
Step 2
STEP 2/9Find the handwheel at the right end of the machine — the large dial that moves the needle up and down. Turn it toward you, never away, or you can jam the thread take-up; turn it now to bring the needle to its highest point, the parking position before you start or finish any seam.
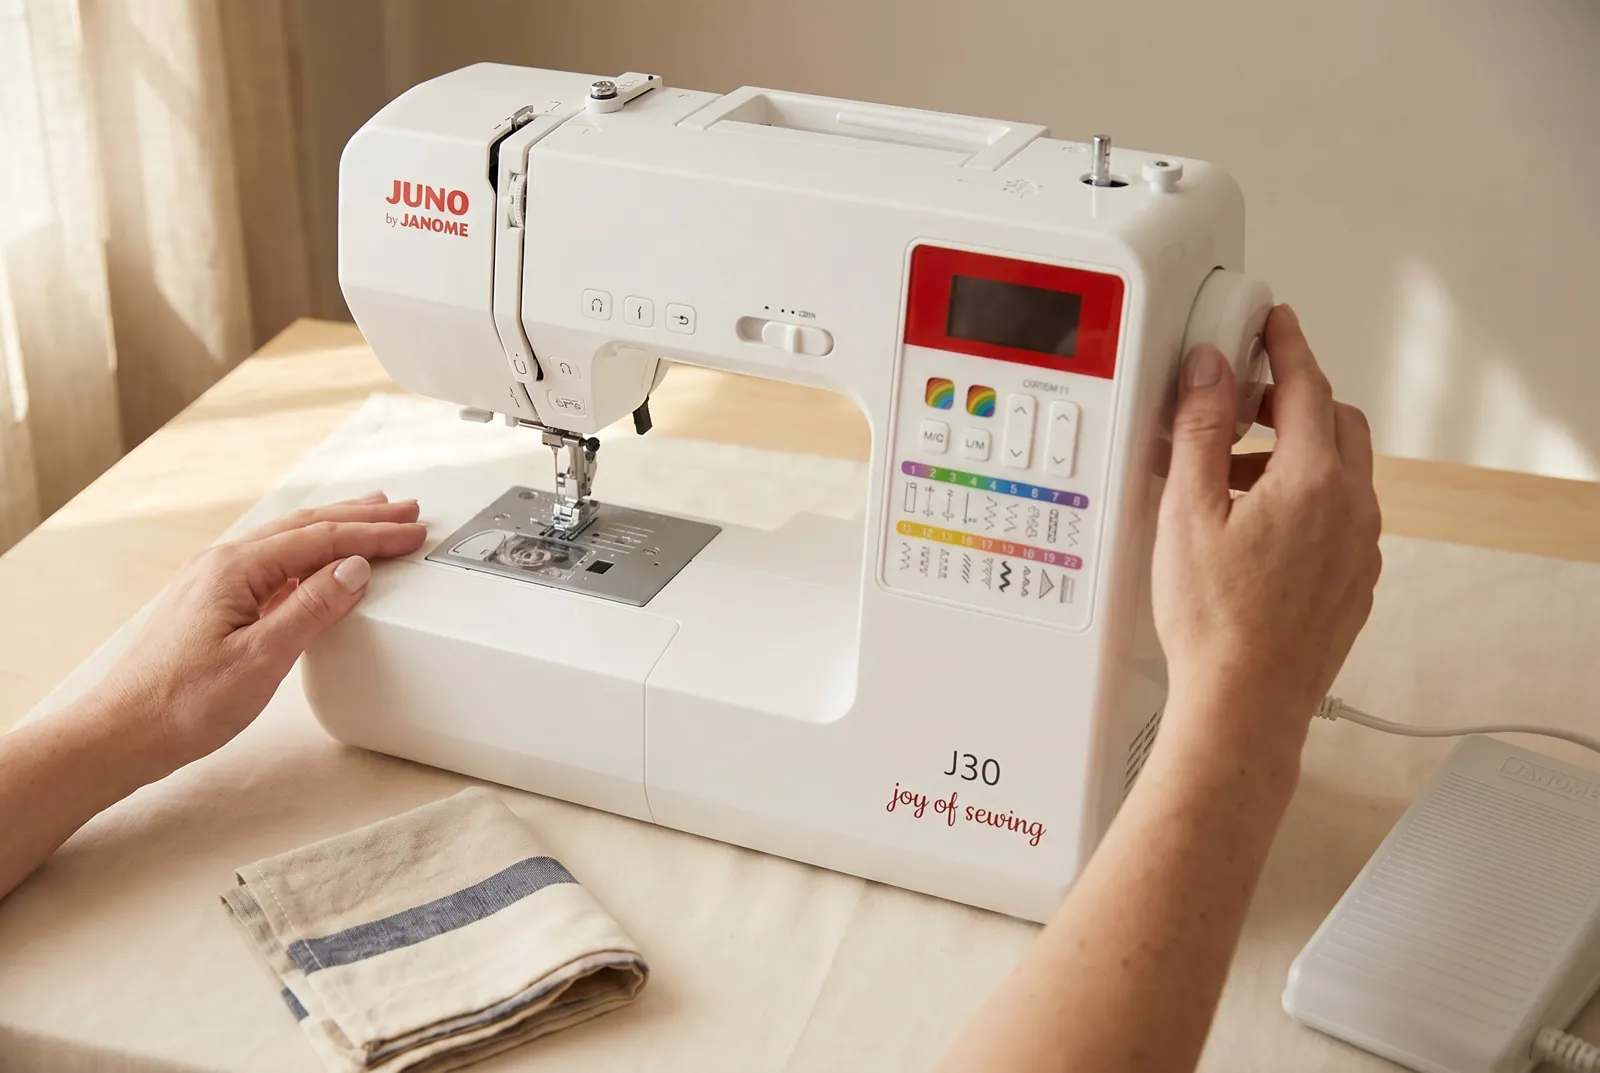
Step 3
STEP 3/9Locate the presser foot under the needle and the presser-foot lever directly behind it, at the upper right of the needle area. Push the lever up to raise the foot and down to lower it; do this once now and watch the foot lift clear of the needle plate and drop back down.
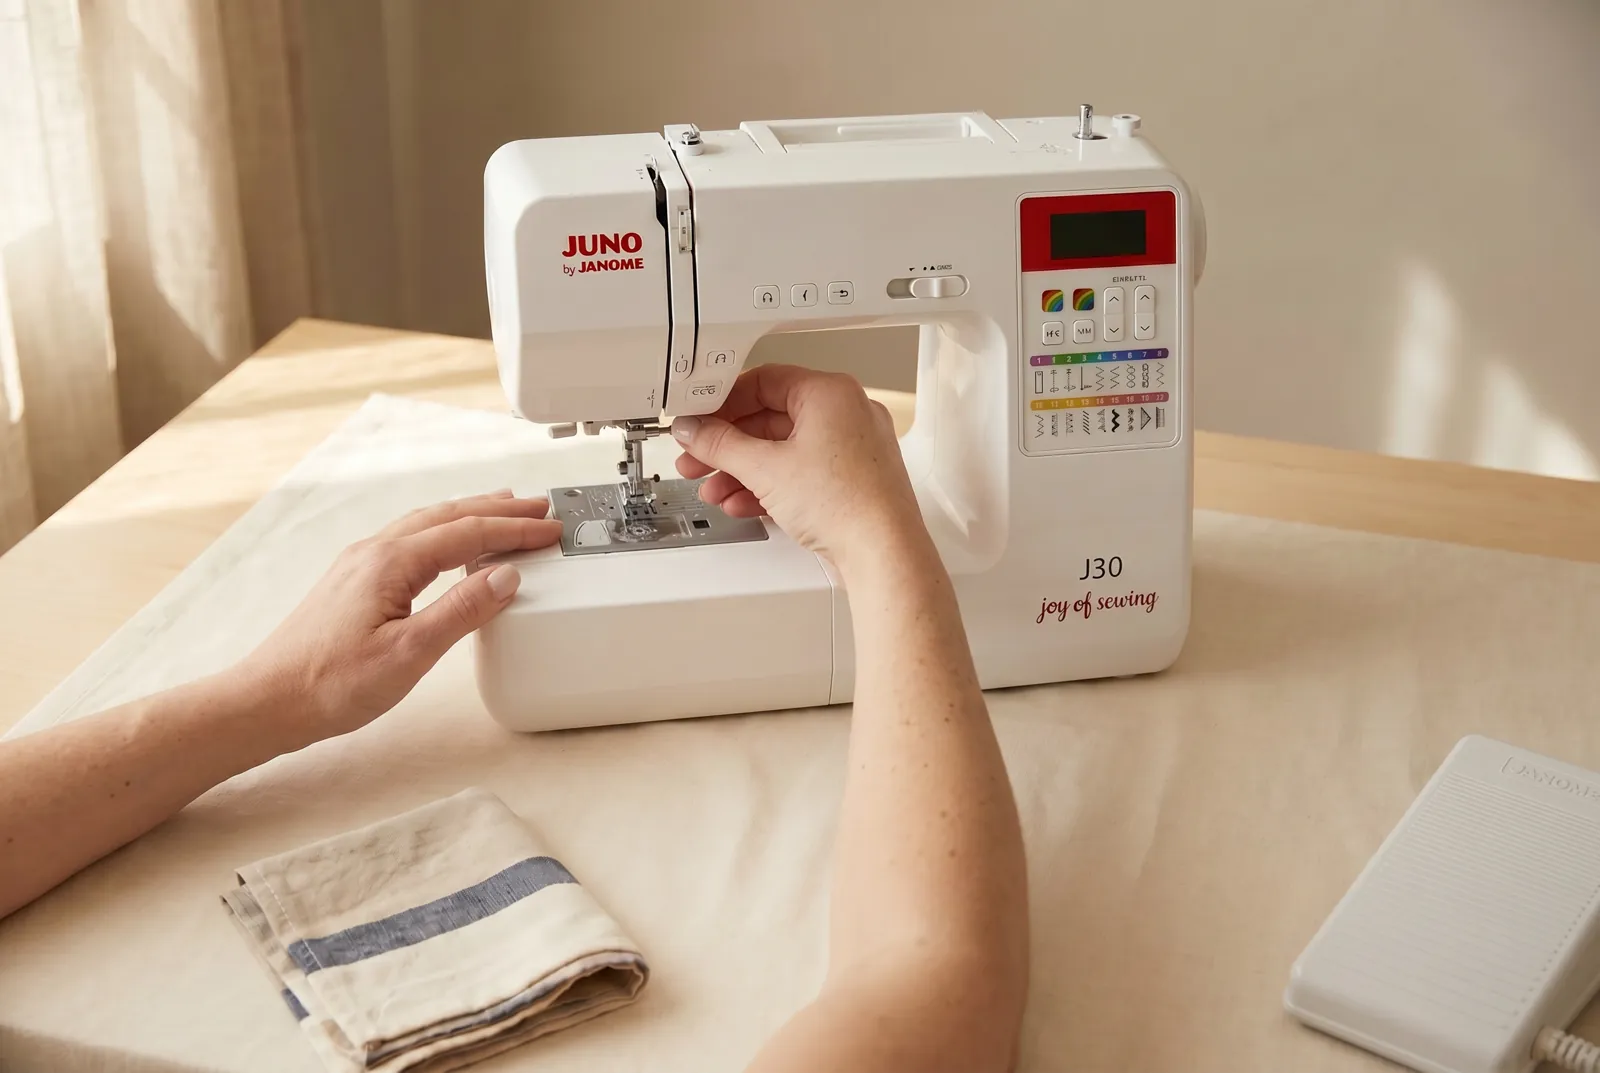
Step 4
STEP 4/9Find the needle and the needle clamp — the small screw directly above it that holds the needle in place. You will loosen this screw to change needles; for now, note its position so you recognize it when your manual tells you to use it.
Step 5
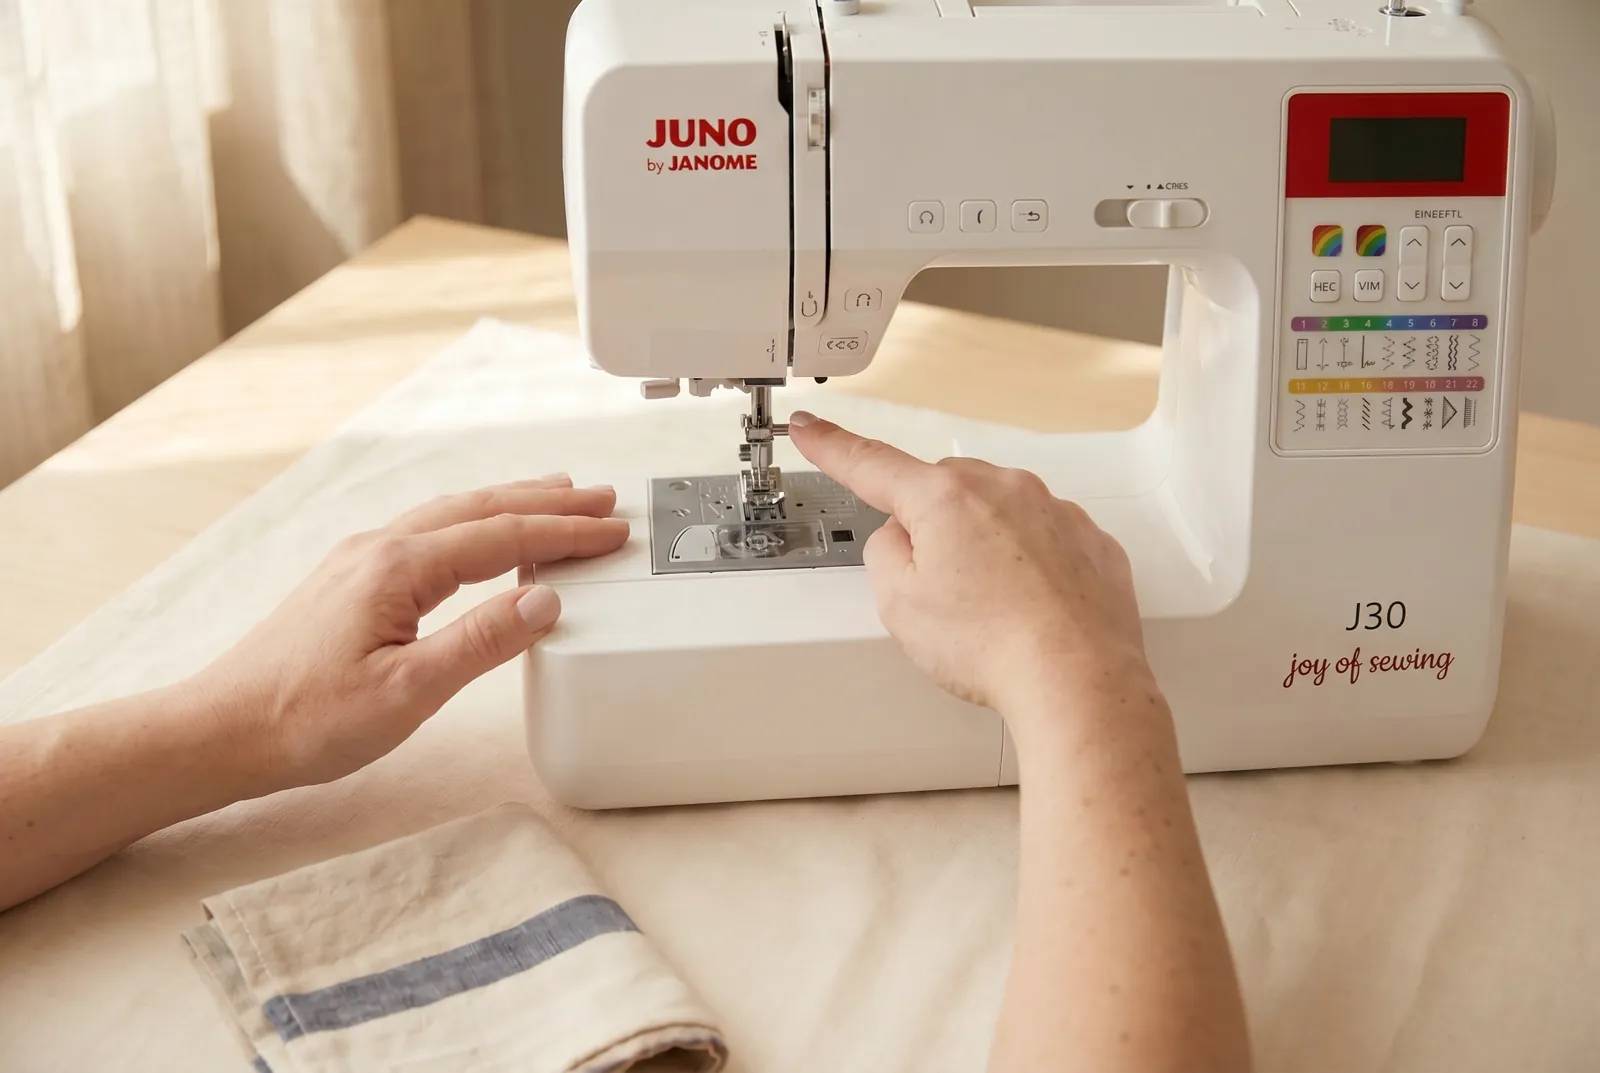
STEP 5/9Locate the bobbin cover, the clear plastic plate set into the needle plate directly under the needle. The J30 uses a drop-in bobbin: it sits in a hook under this cover, not in a removable case, and the clear plastic lets you check the thread level without opening it.
Step 6
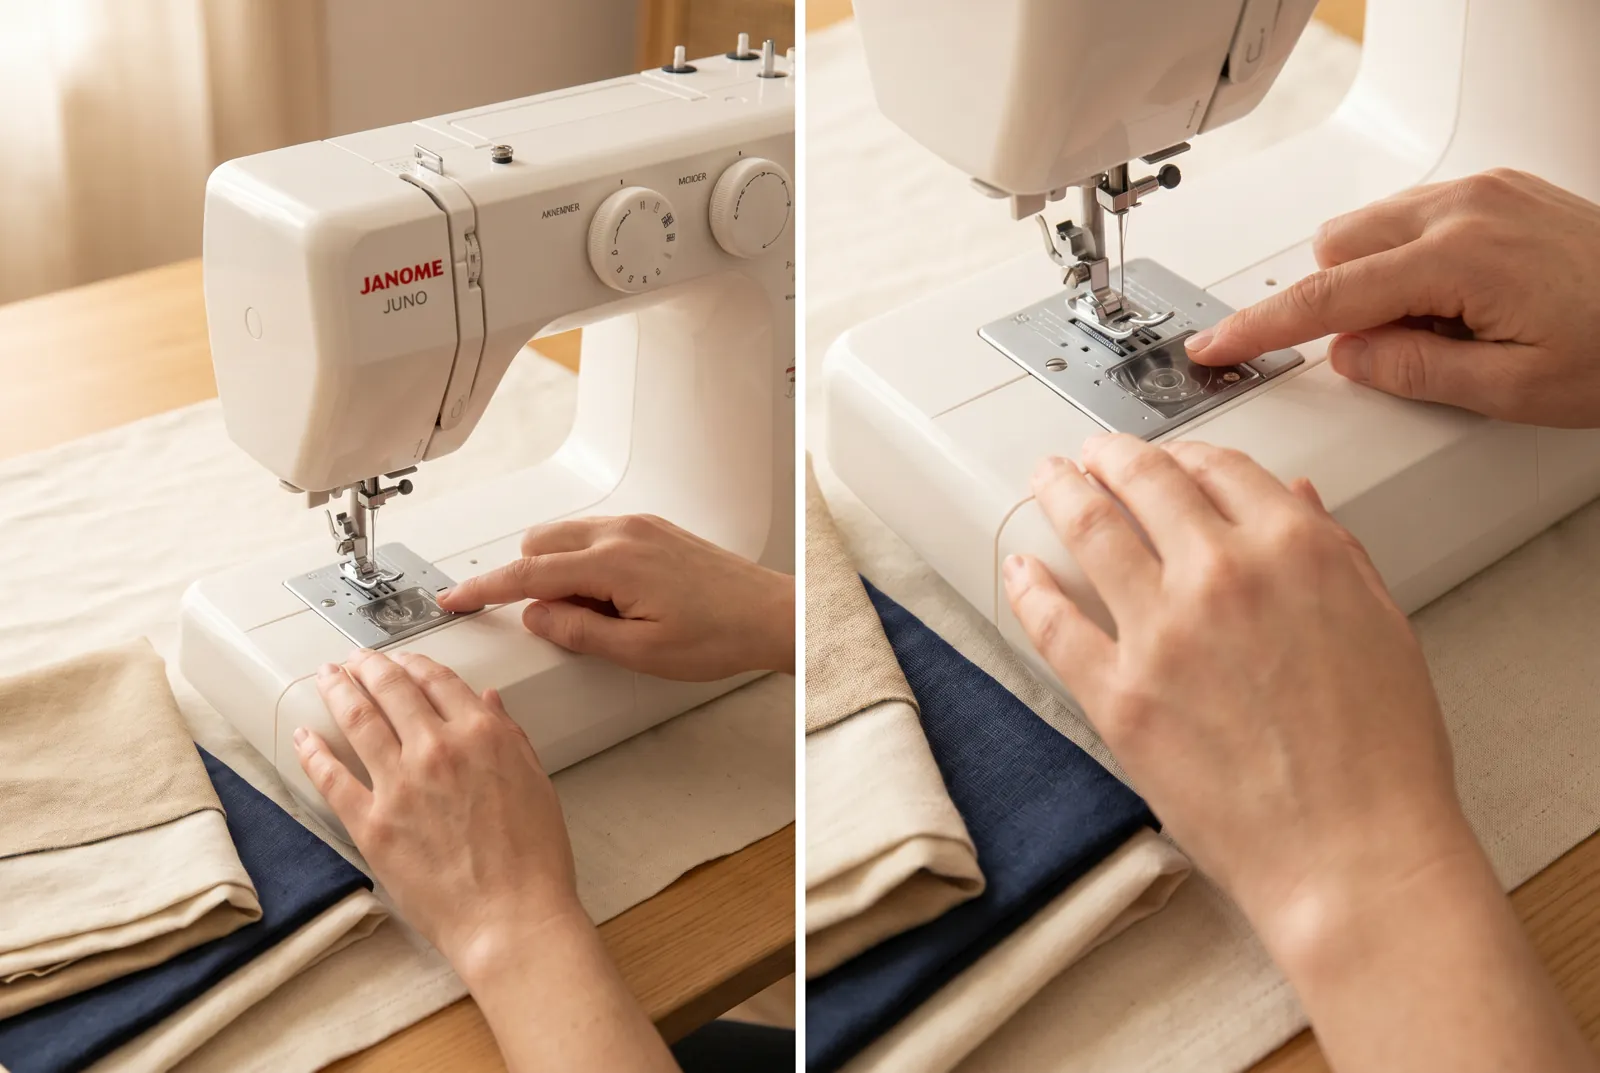
STEP 6/9Find the spool pin on top of the machine, where a spool of thread sits, and trace the printed thread-guide path that runs from the pin down toward the needle. You are not threading the machine yet — locate the guides so you recognize the path when you thread it in your next lesson.
Step 7
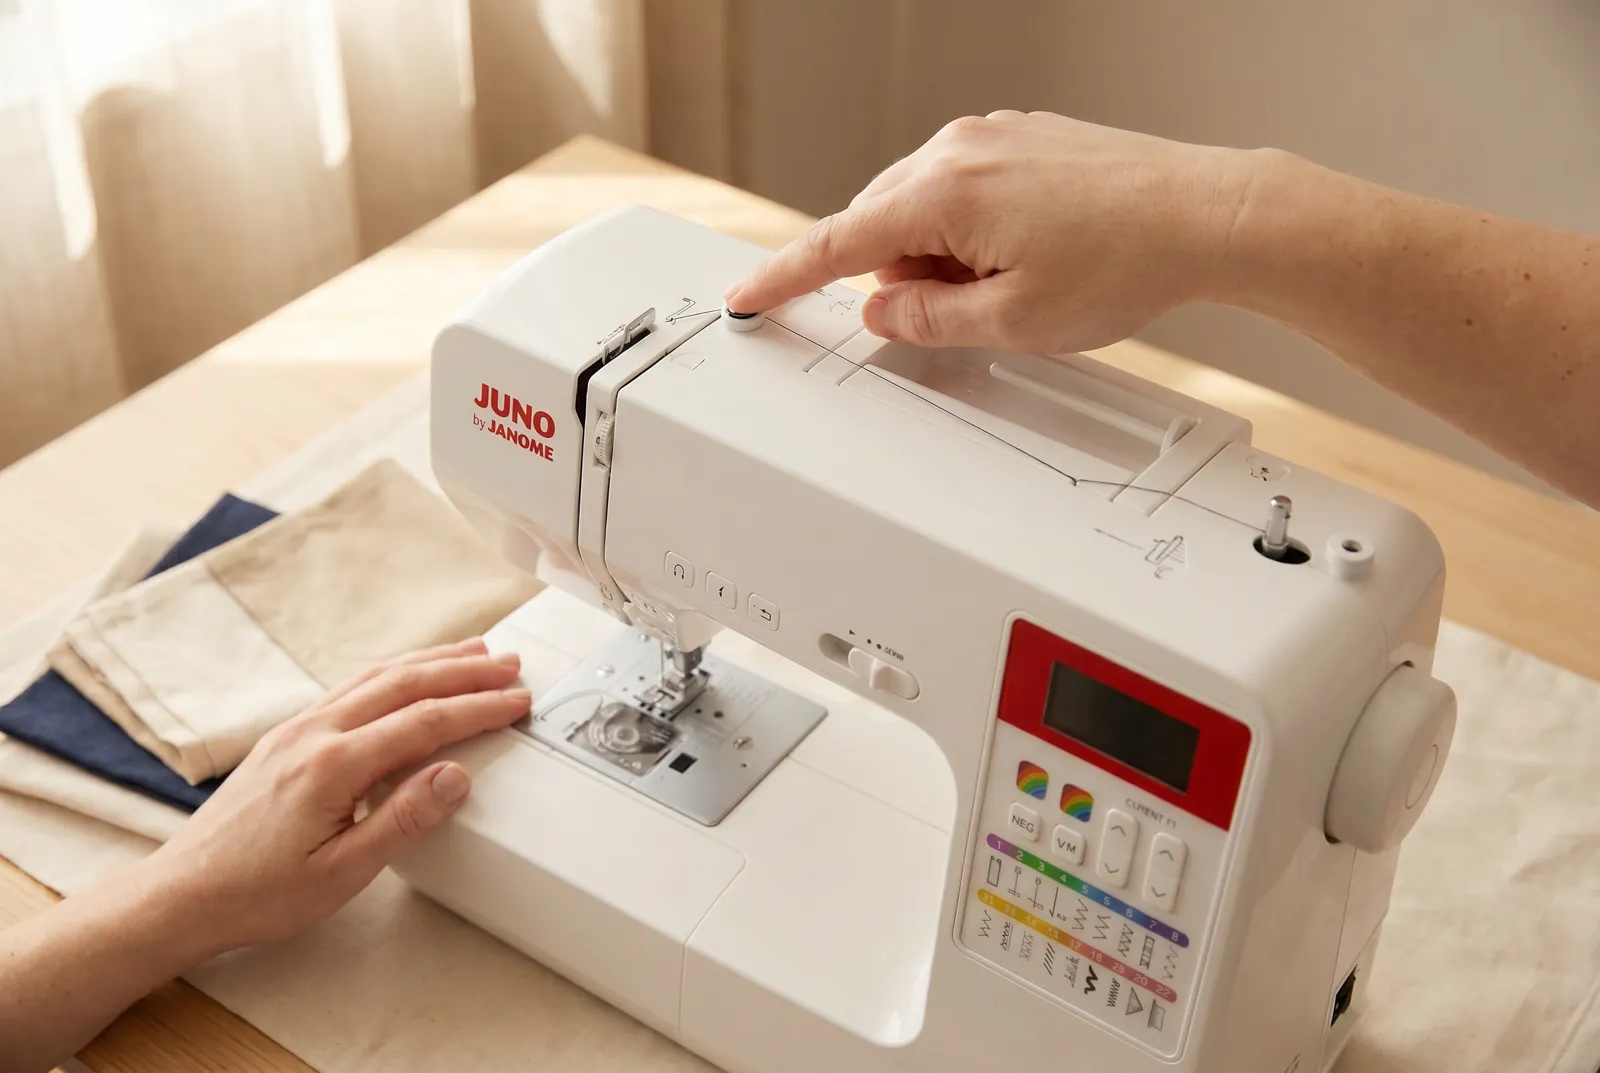
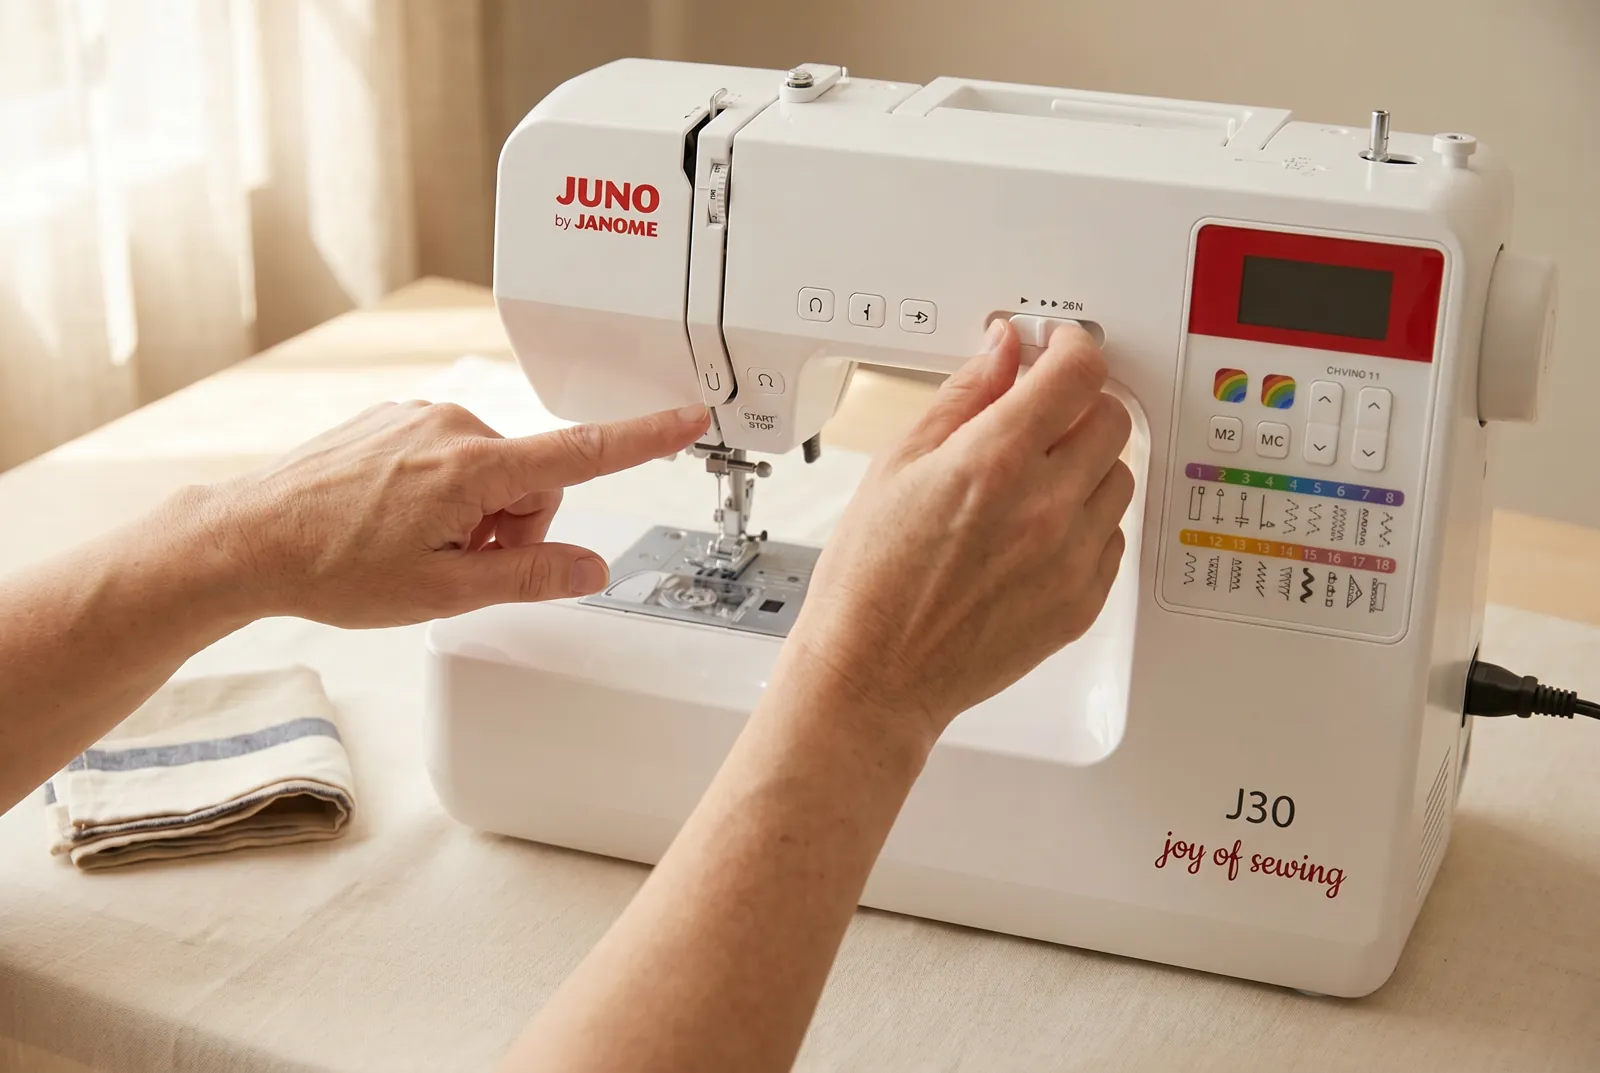
STEP 7/9Turn the machine on and look at the LCD screen above the needle. Use the + and − buttons beside it to select stitch programs by number, and check the stitch chart printed on the front panel, which lists what each program sews. Press − until the screen reads 00, the straight stitch — the program you will use for most seams.
Step 8
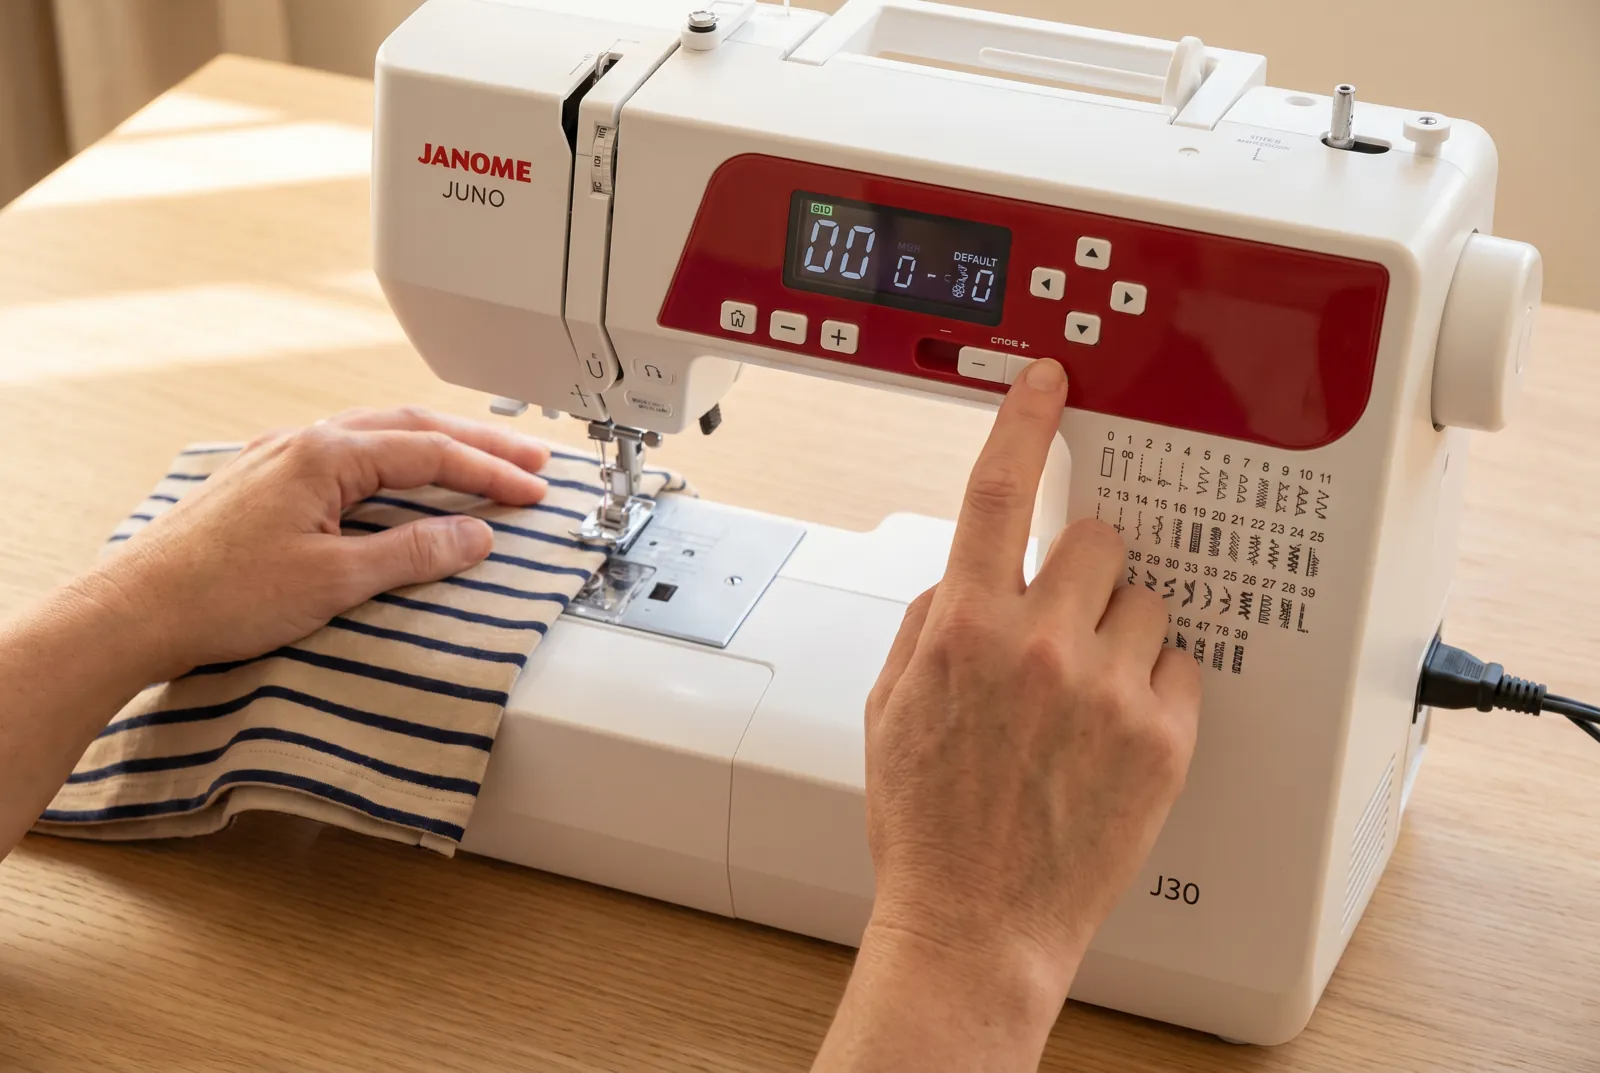
STEP 8/9Locate three more controls: the reverse/backstitch button near the needle, which sews backward while held down to lock a seam's end; the start/stop button, which runs the machine without the foot pedal; and the speed slider, which sets how fast the machine sews. Slide the speed slider to its lowest setting for this first practice.
Step 9
STEP 9/9Place the fabric scrap under the presser foot with no thread loaded, lower the foot with the lever, and press the foot pedal gently. Watch the needle move up and down and the feed dogs — the small ridged teeth in the needle plate — push the scrap toward you as they cycle. Stop, raise the needle to its highest point with the handwheel, and raise the foot: that is what "ready to sew" looks like before every seam from here on.