Meet Your Machine · piece Nº 06 · 54 min
Zigzag a raw edge so it won't fray
Learn to overcast a raw fabric edge with the zigzag stitch so it stops fraying in the wash. This is the beginner alternative to an overlocker and finishes seam allowances on almost any woven fabric.
The seam · 9 steps
Step 1
STEP 1/9A raw, unfinished fabric edge frays because the cut threads along it work loose with handling and washing. Finish any raw edge that will stay inside a garment or project - most often a seam allowance - before you wear or wash the piece.
Step 2
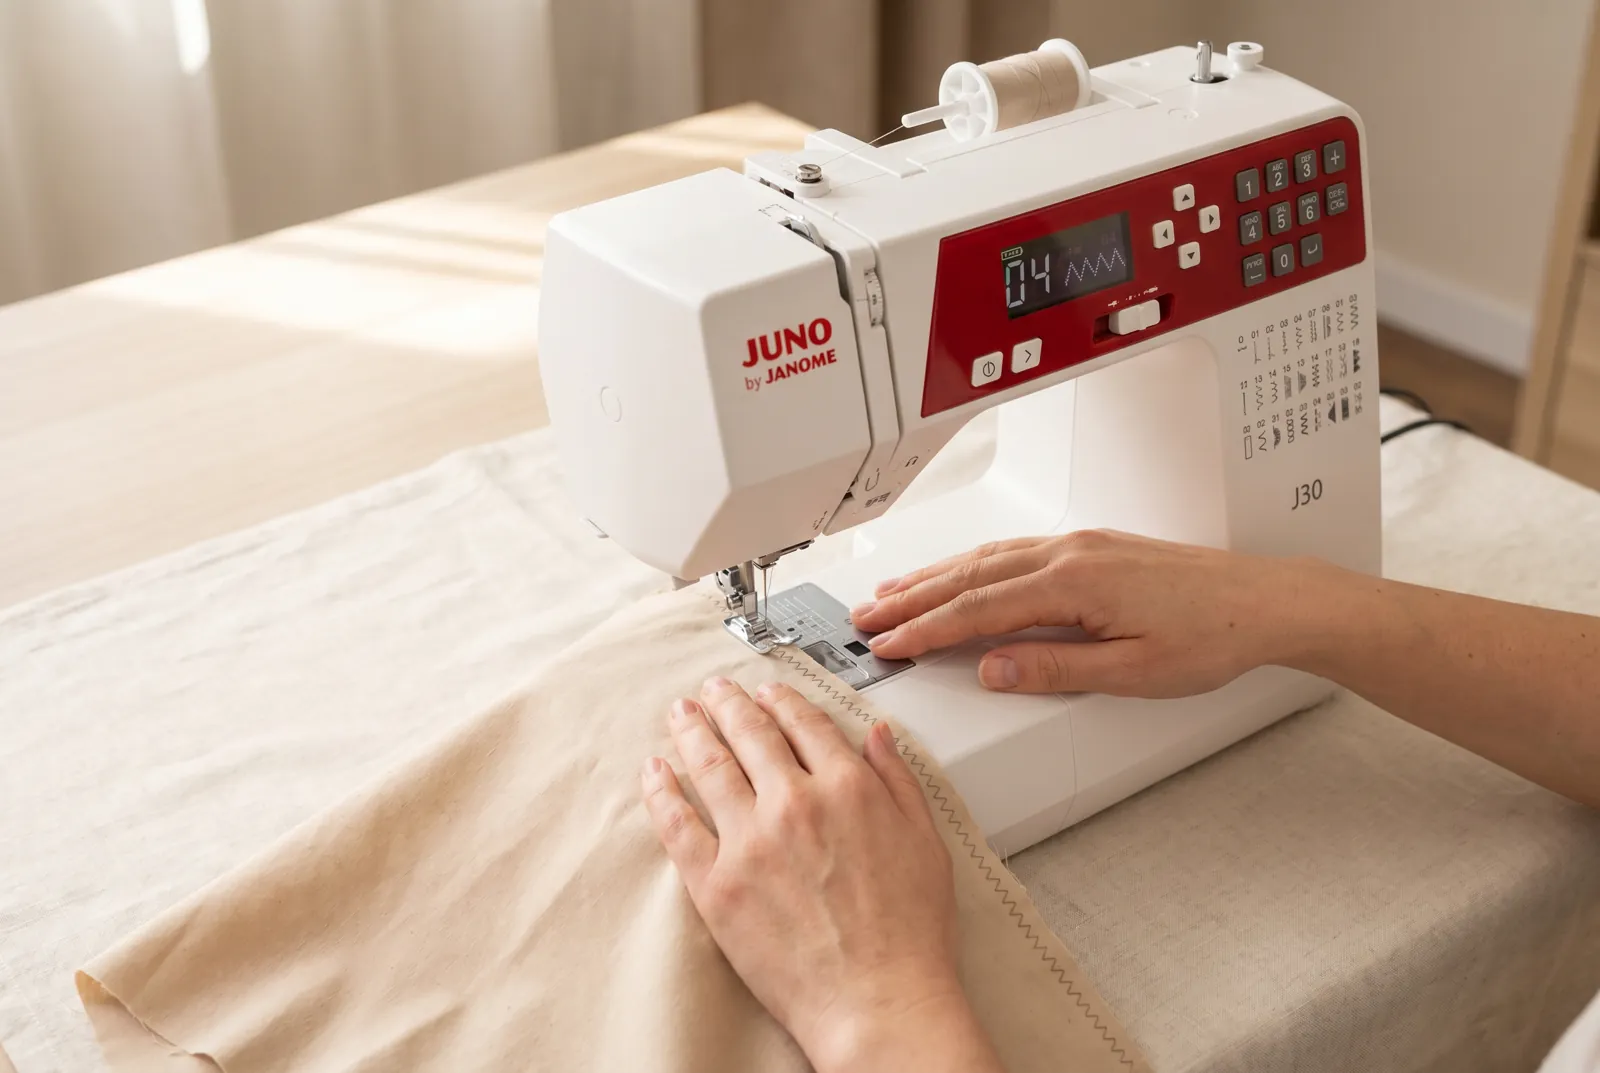
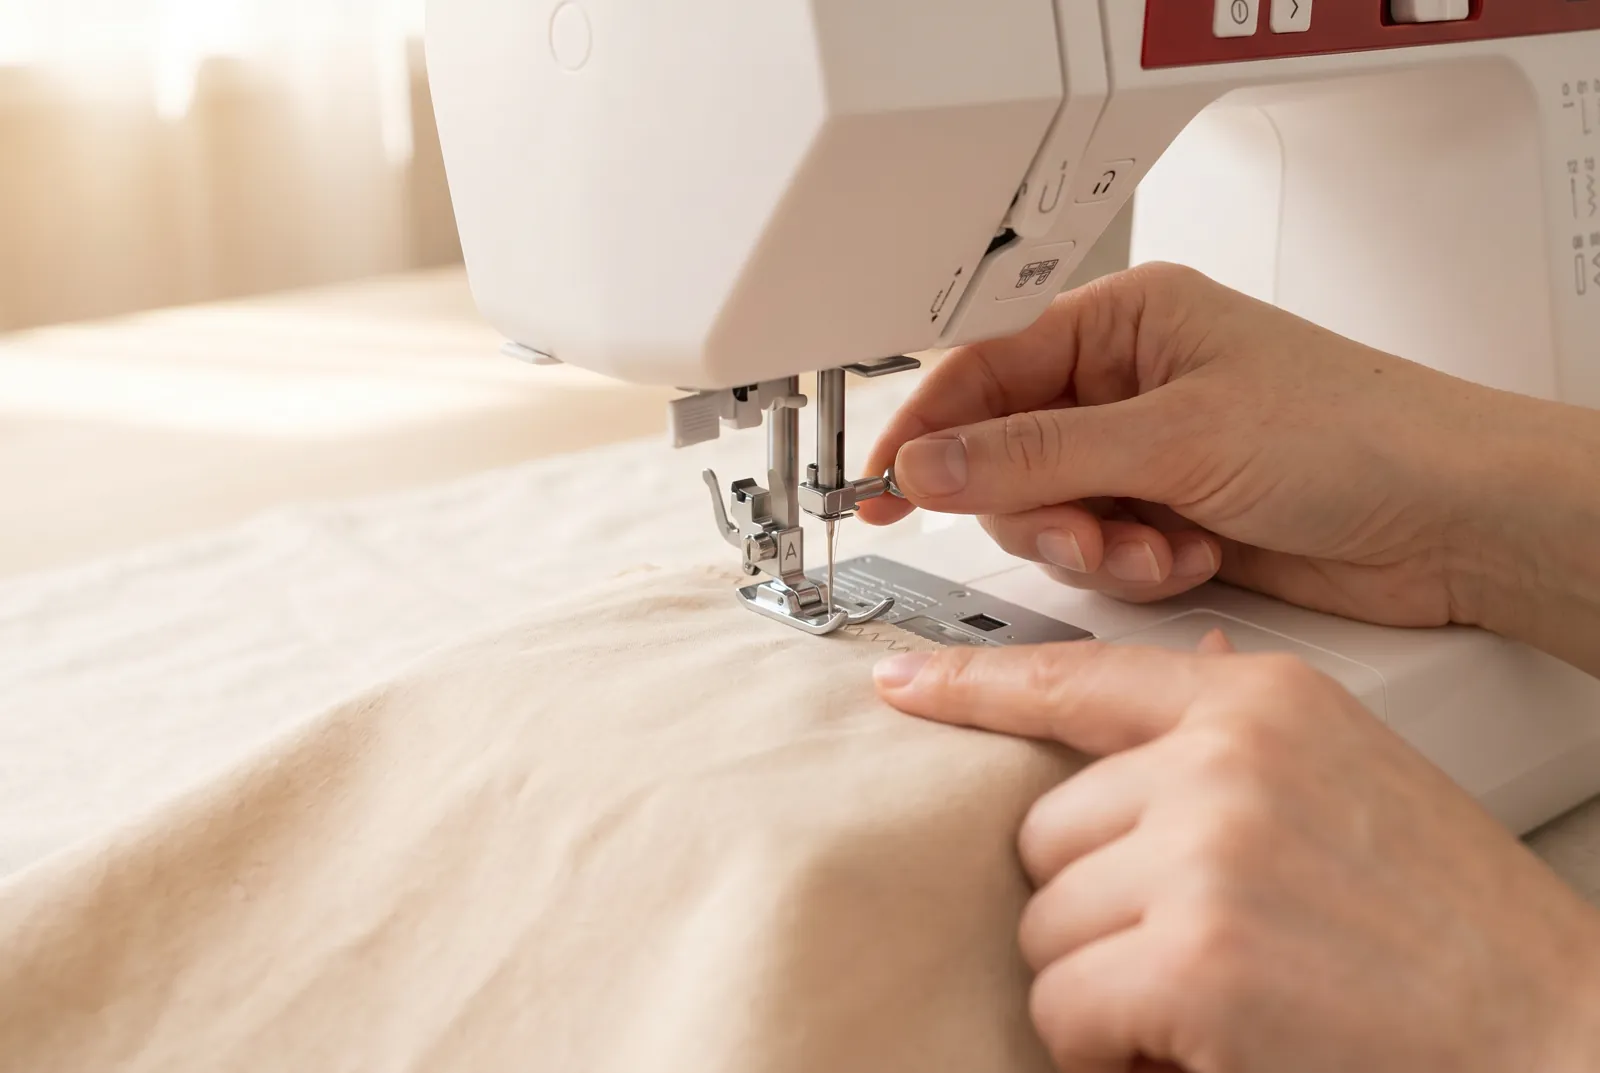
STEP 2/9Check that the universal/zigzag foot (A) is on the machine; its wide opening lets the needle swing side to side without hitting the foot.
Step 3
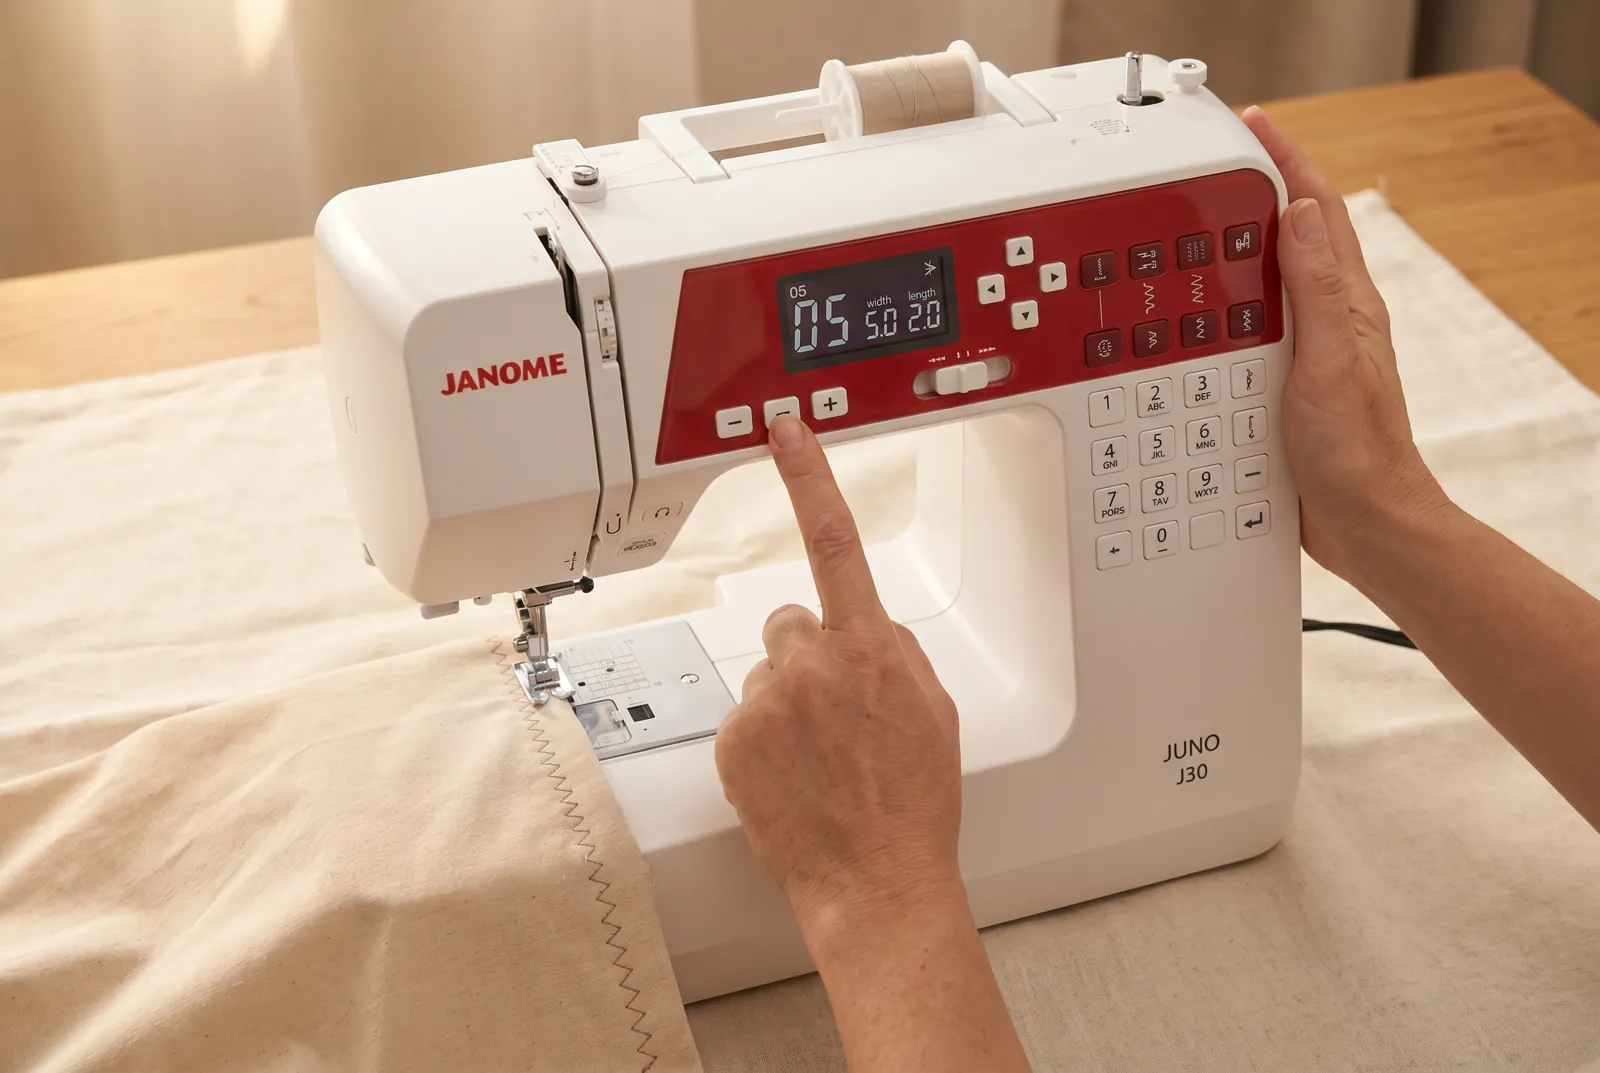
STEP 3/9Use the +/- buttons to select the zigzag stitch program from the stitch chart on the front panel. Set stitch width to about 5 mm and stitch length to about 2 mm.
Step 4
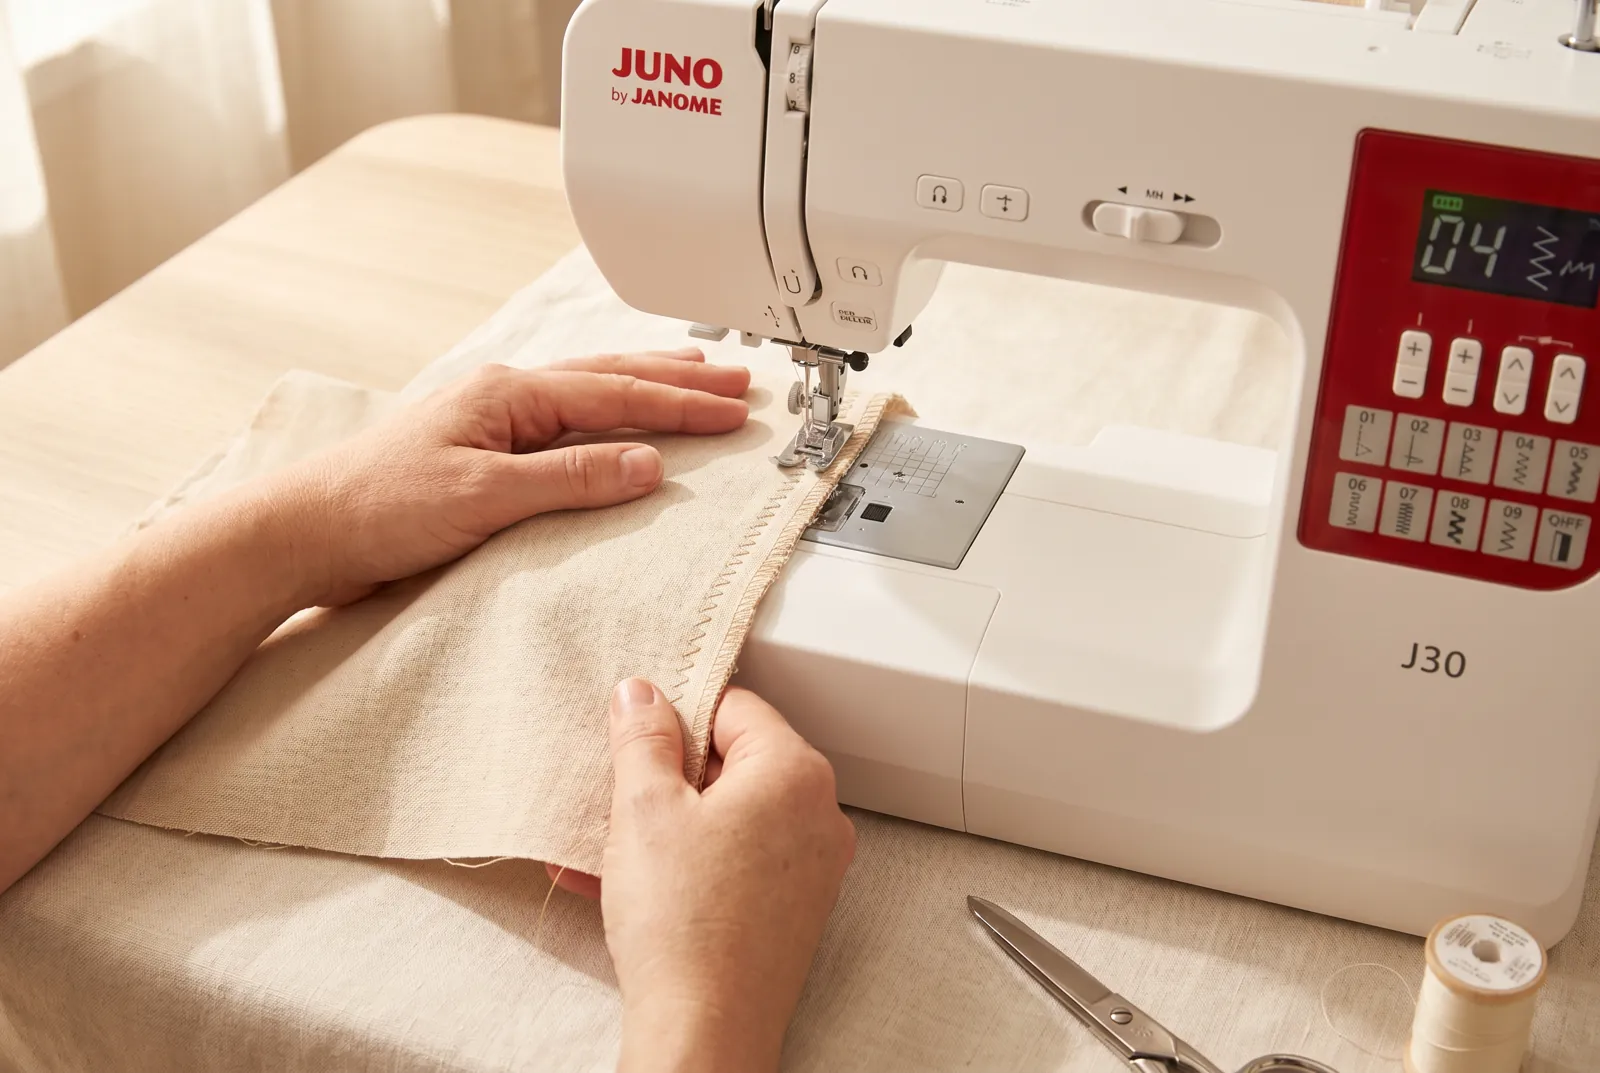
STEP 4/9Position the fabric so the raw edge runs under the centre of the foot: on the left swing the needle sits in from the edge, and on the right swing it drops right off the edge to wrap the threads. On a lighter or looser-woven fabric, aim the right swing a hair inside the edge instead of fully off it, so the stitching has fabric to hold onto.
Step 5
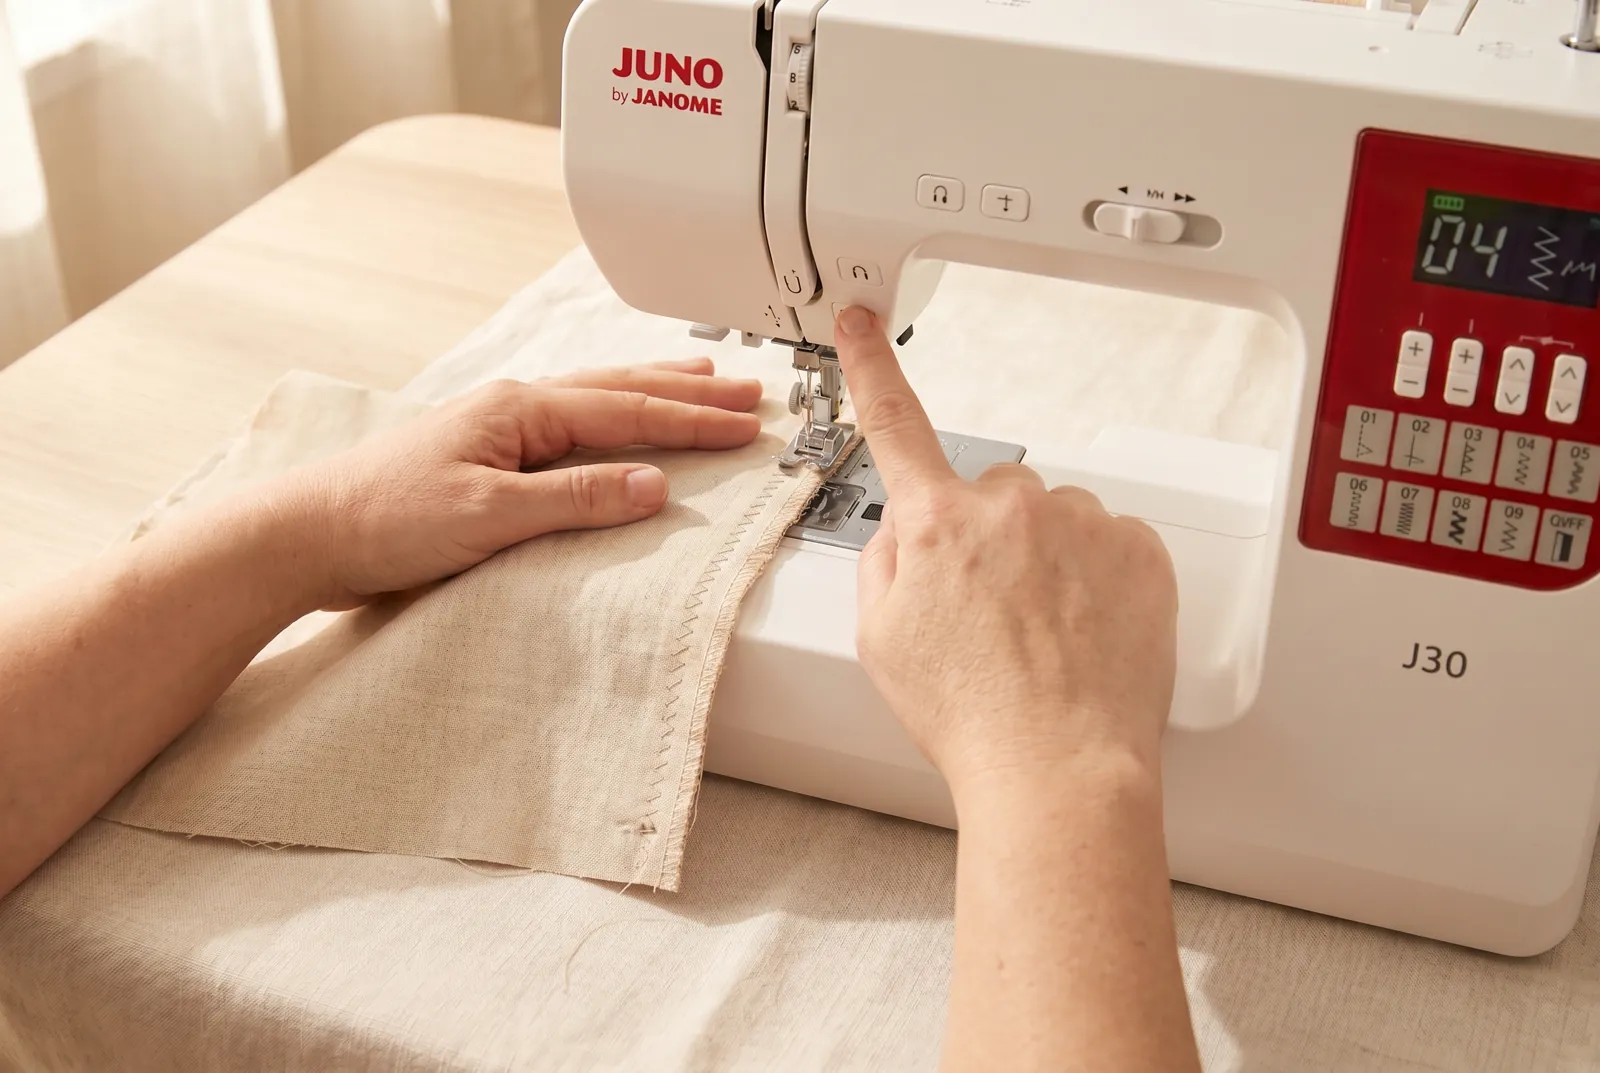
STEP 5/9Lower the presser foot, sew a few stitches, then use the reverse button to backtack and lock the start of the stitching.
Step 6
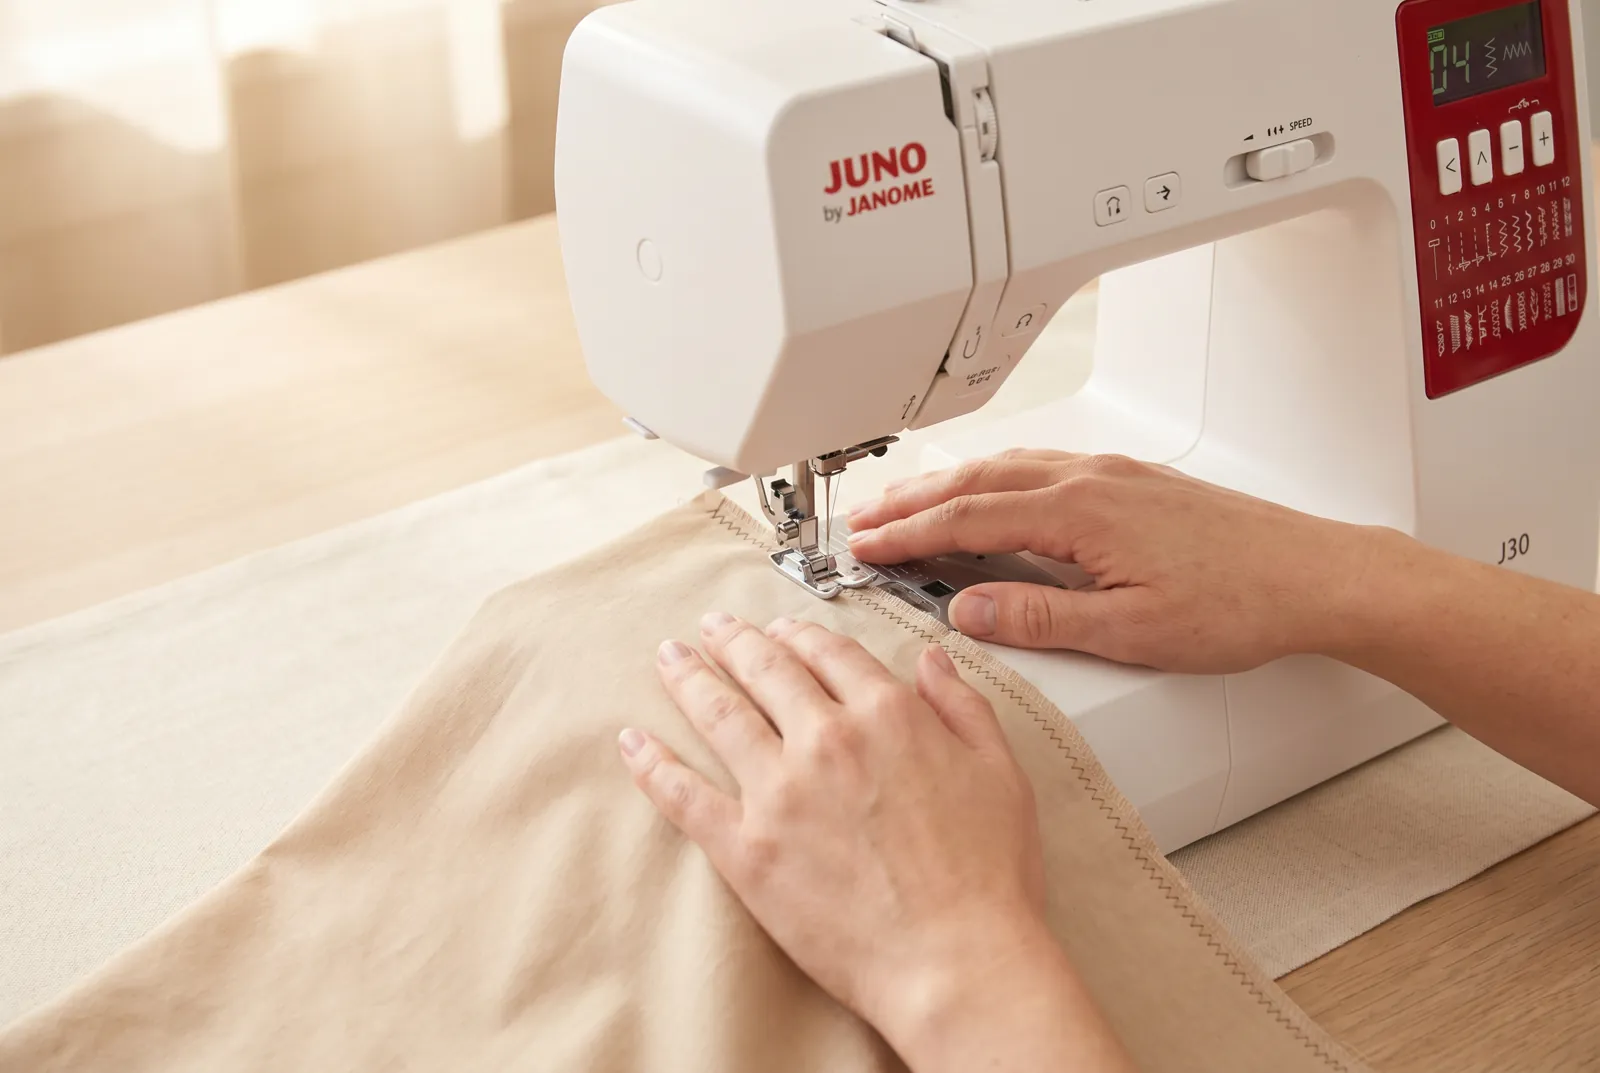
STEP 6/9Stitch the length of the raw edge at a steady moderate speed, keeping your eyes on the edge ahead of the needle rather than on the needle itself.
Step 7
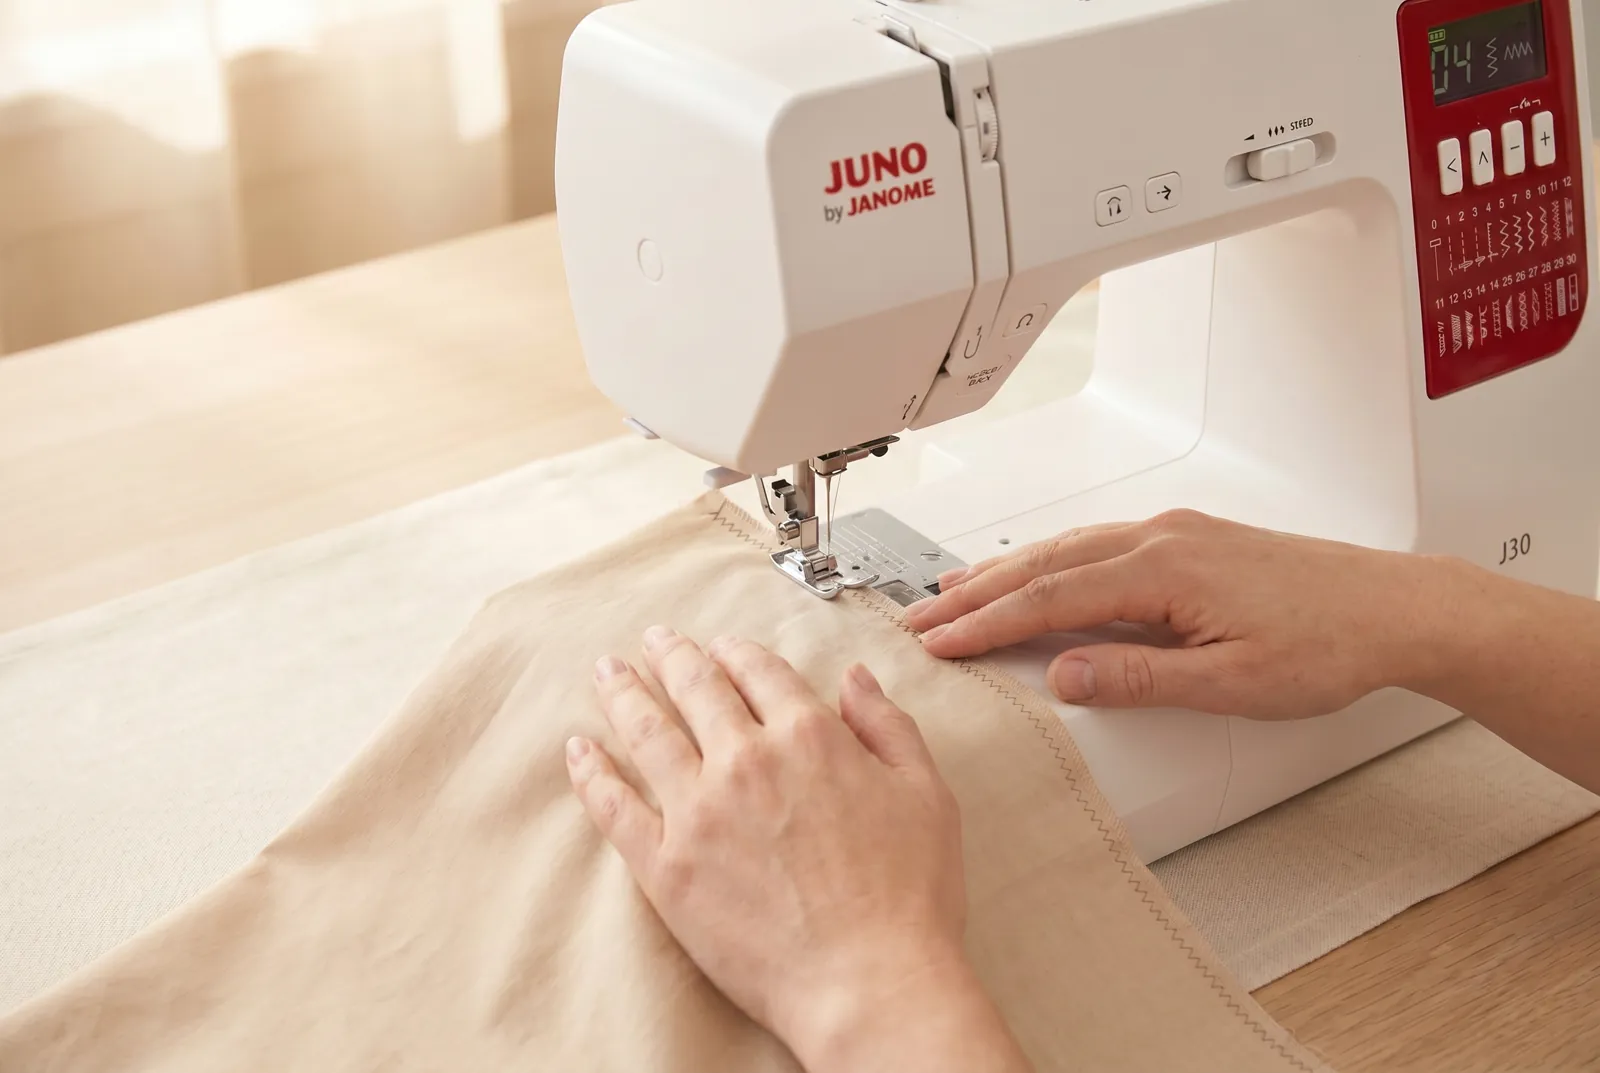
STEP 7/9Keep the edge feeding in a straight line - a wandering edge makes the zigzag bite unevenly, with some swings barely catching the fabric and others digging in too far.
Step 8
STEP 8/9At the end of the edge, backtack again for a few stitches to lock it off, then lift the presser foot and pull the fabric free.
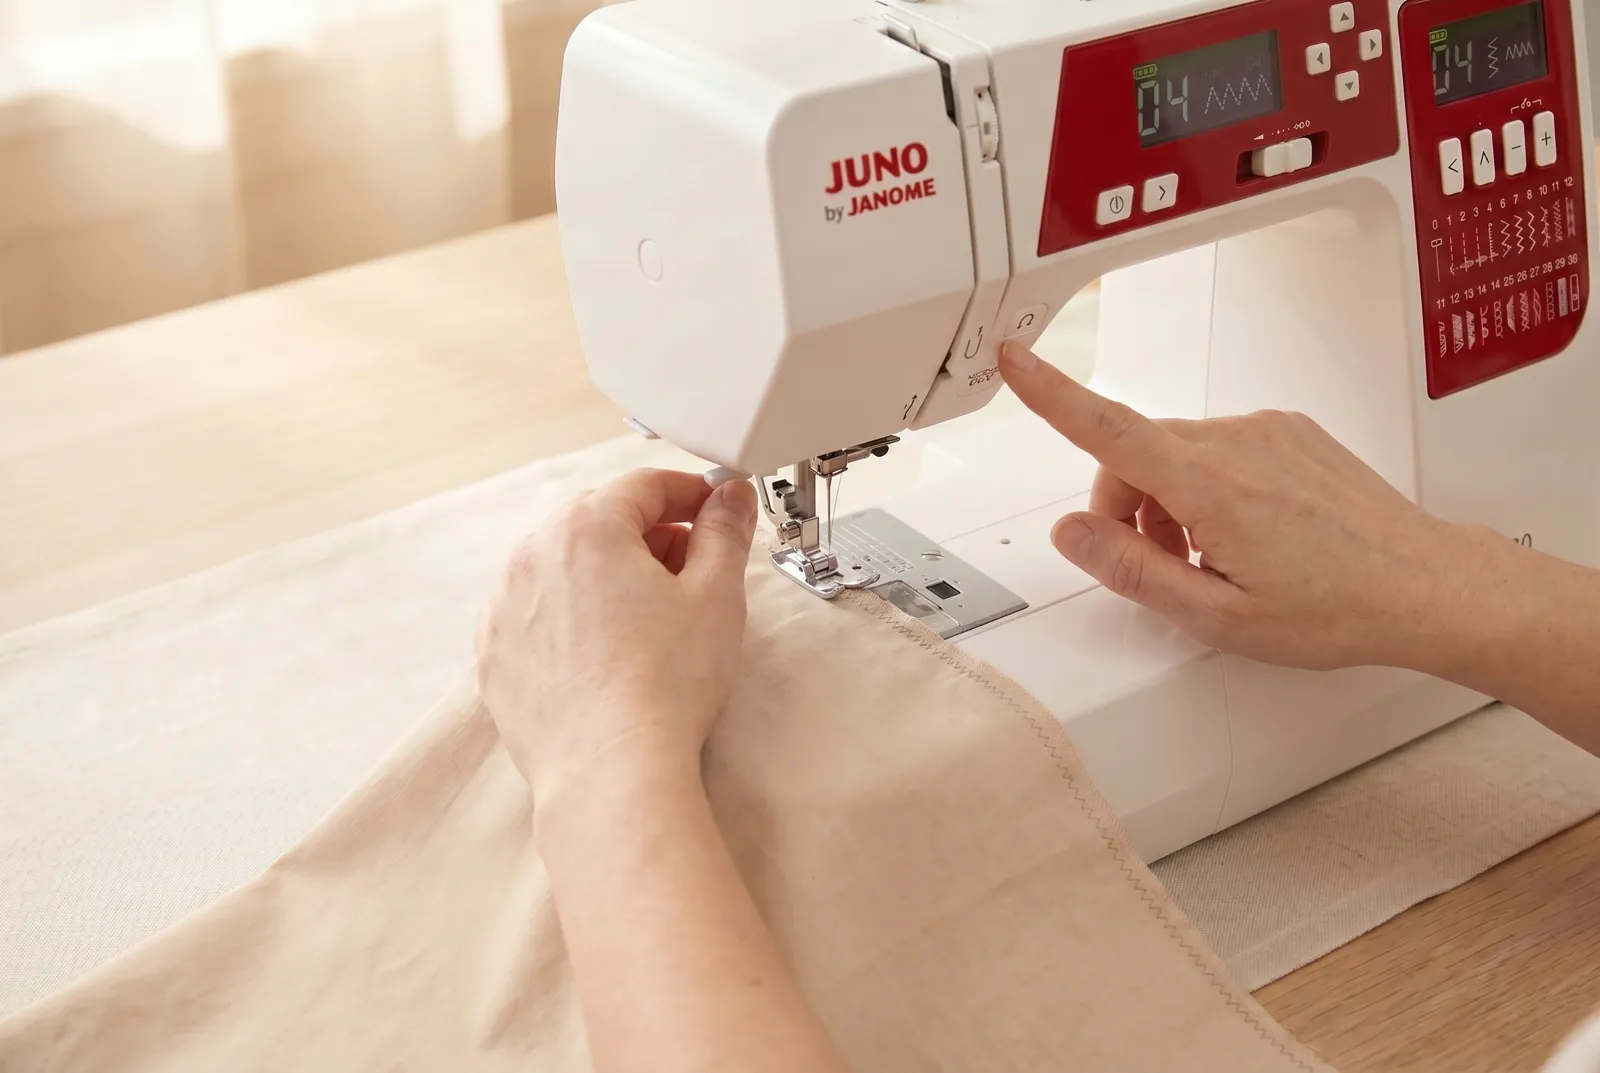
Step 9
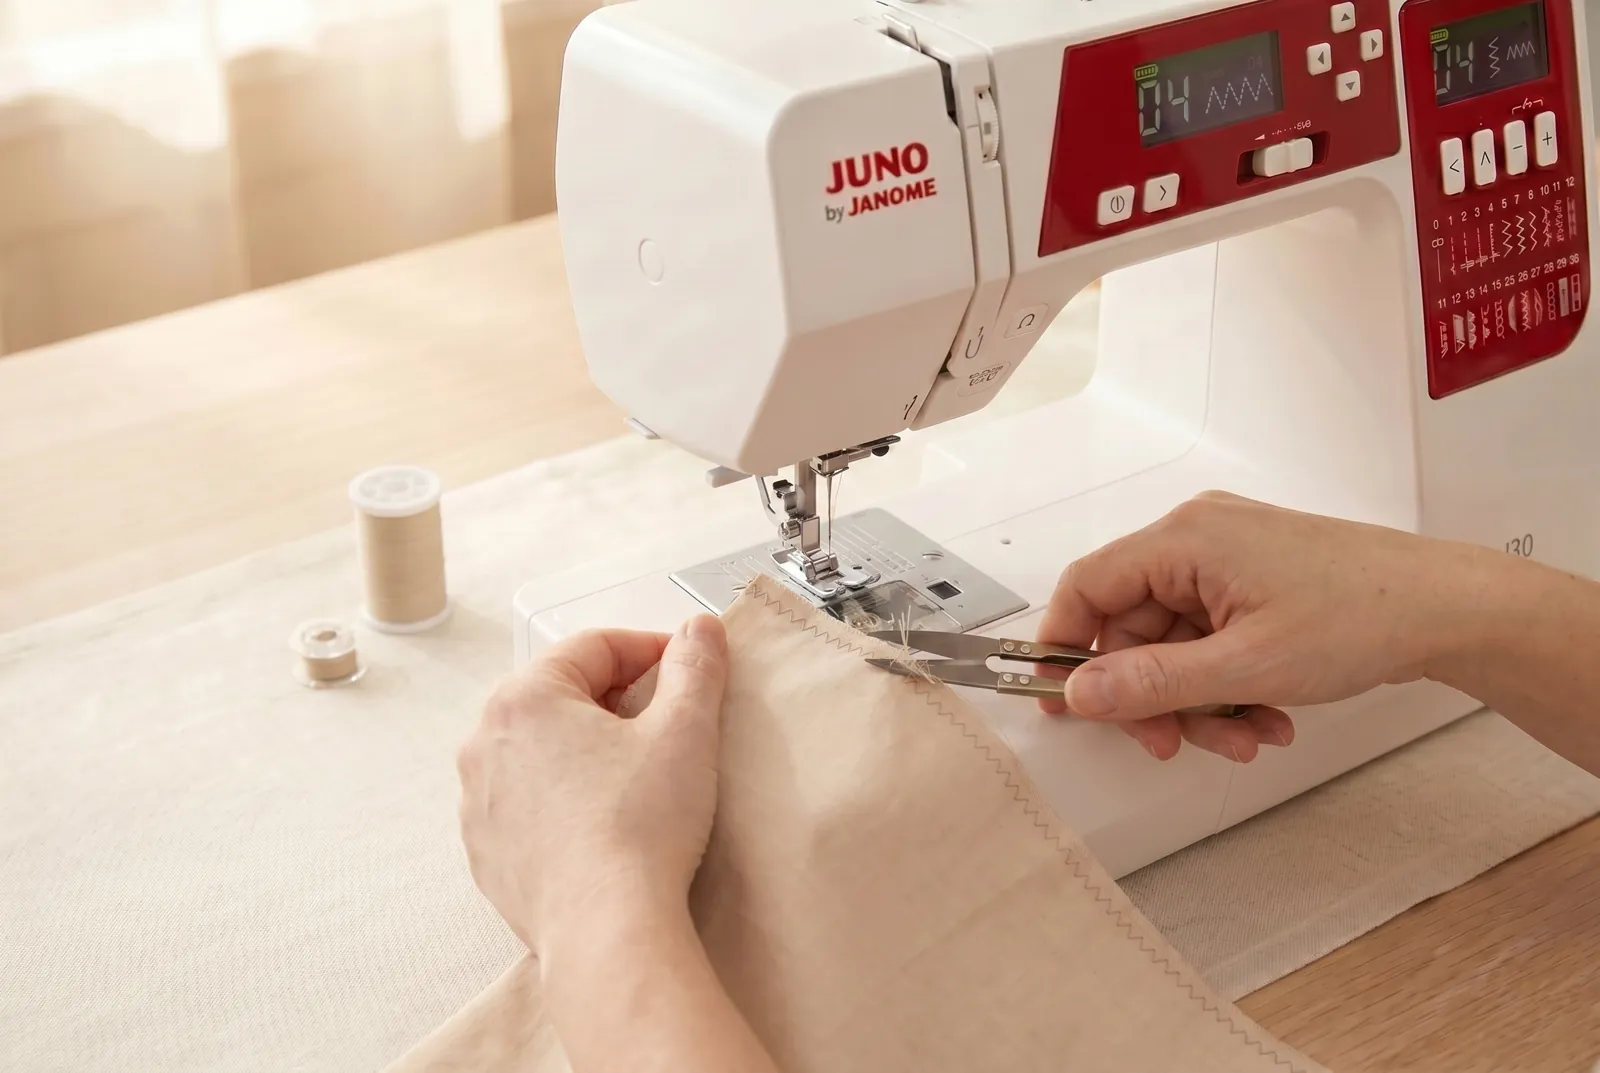
STEP 9/9Trim away any whiskers of fabric that stick out past the stitching. The finished edge should lie flat with even zigzag loops wrapping the raw threads on both sides; puckering along the stitching means the width or length is too tight for that fabric - try loosening the length to about 2.5 mm and test again on a scrap. Note that the J30 also has a dedicated overlock/overcast stitch program on its chart that finishes a raw edge the same way, if you prefer its shape to a plain zigzag.