Upcycling & Thrift Flips · piece Nº 08 · 60 min
Crop a T-shirt with a clean, hand-sewn hem
Turn a too-long T-shirt into a cropped length finished with a narrow double-fold hem sewn by hand. You will mark a new bottom line, cut it, then fold and stitch the cut edge so it is enclosed inside the hem rather than left raw.
The seam · 10 steps
Step 1
STEP 1/10Put the shirt on in front of a mirror and mark where you want the new bottom edge to fall, drawing a line of chalk at that height. Take the shirt off, lay it flat, and even the chalk line all the way around so the front and back match. This line is the finished crop line: the bottom of the hem will sit here.
Step 2
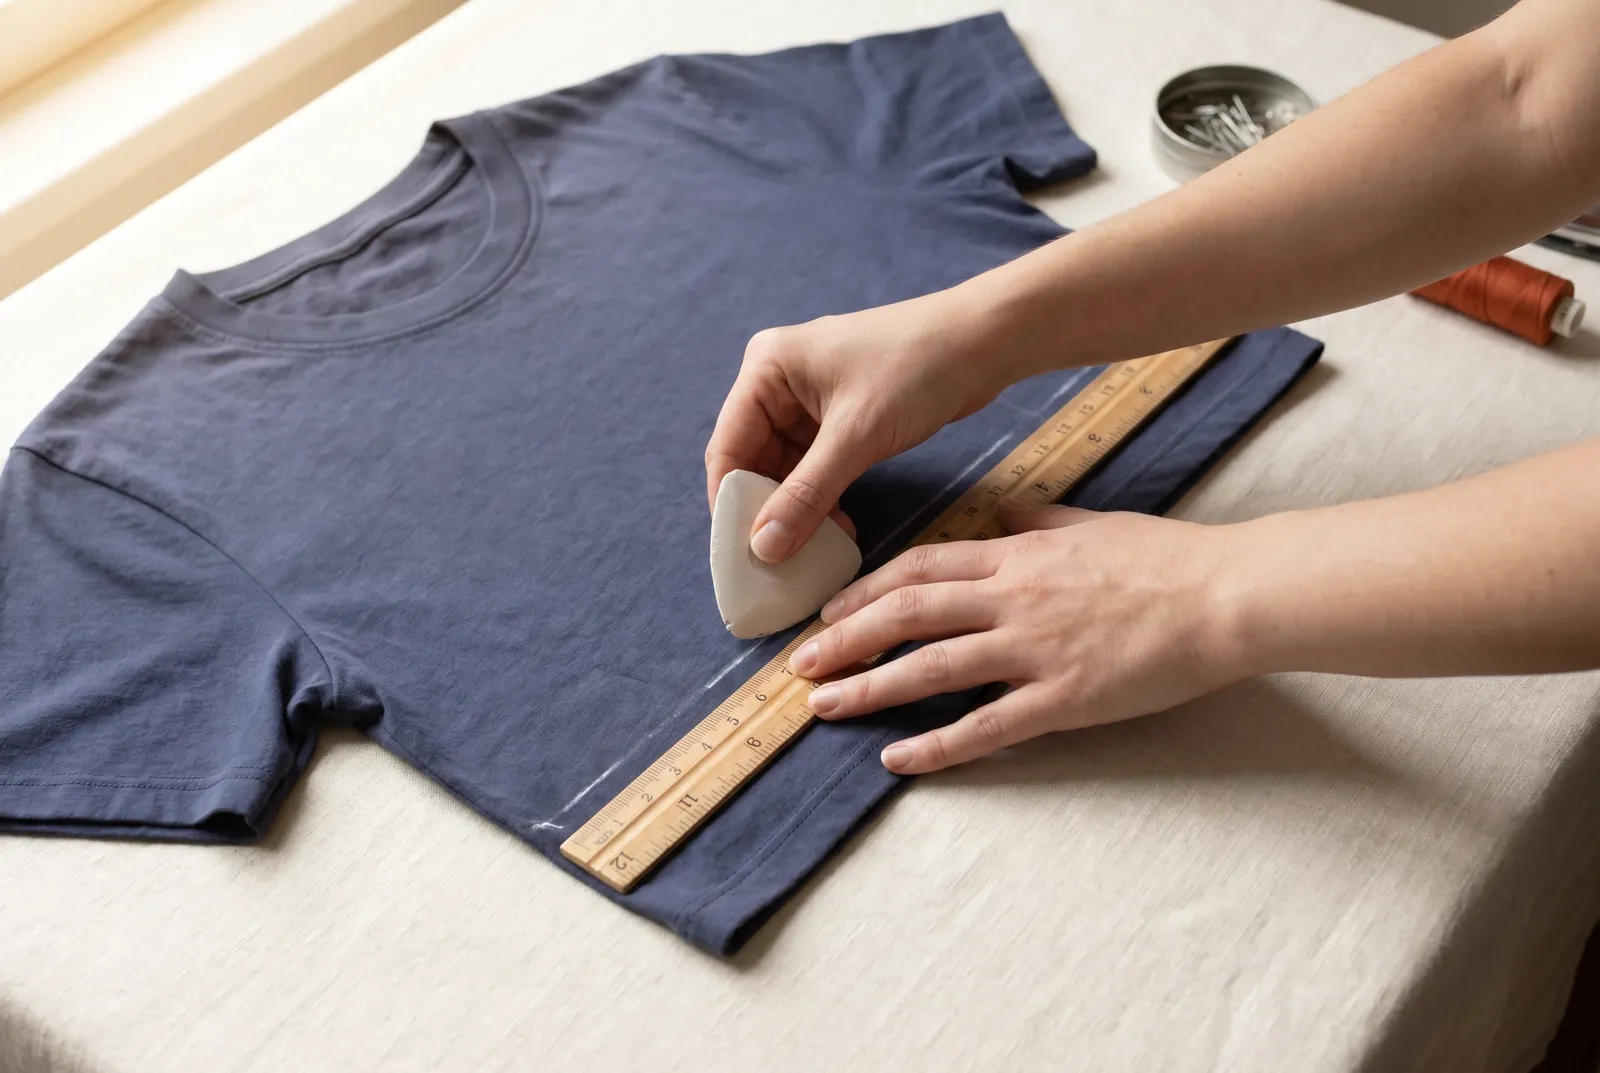
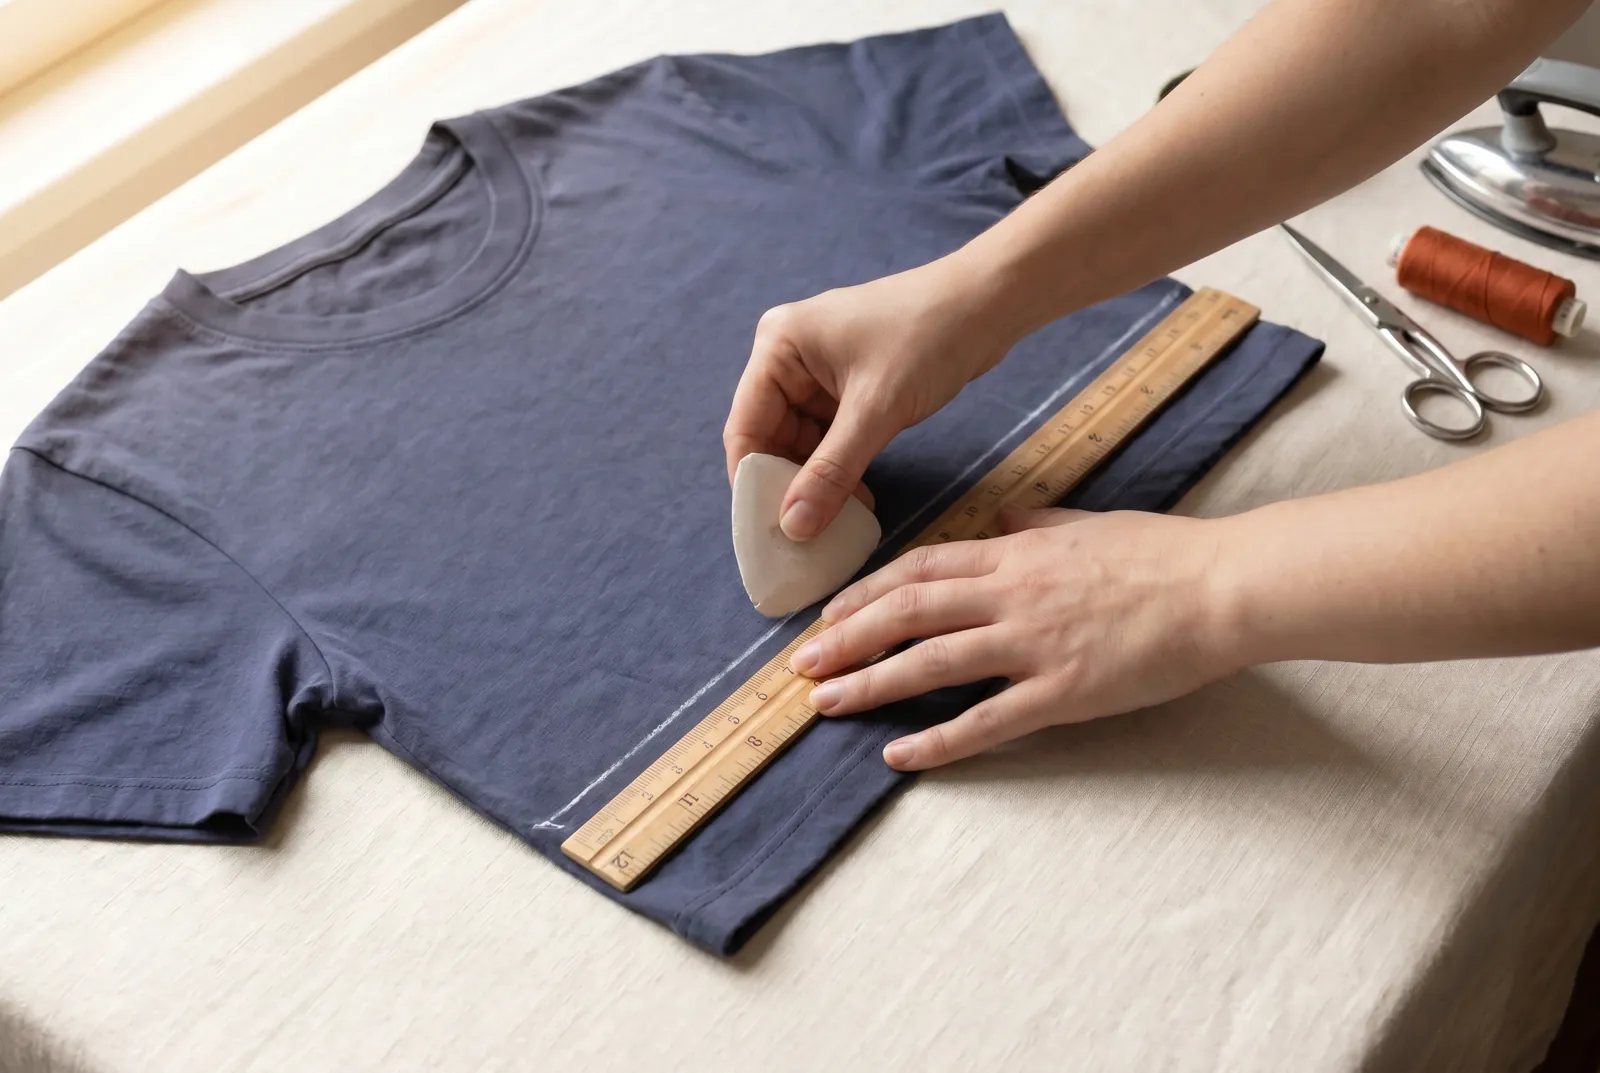
STEP 2/10Using a ruler or seam gauge, mark a second chalk line 12 mm (1/2 in) below the crop line, all the way around. That 12 mm is the hem allowance, made of two folds of 6 mm (1/4 in) each, so measure it exactly rather than by eye.
Step 3
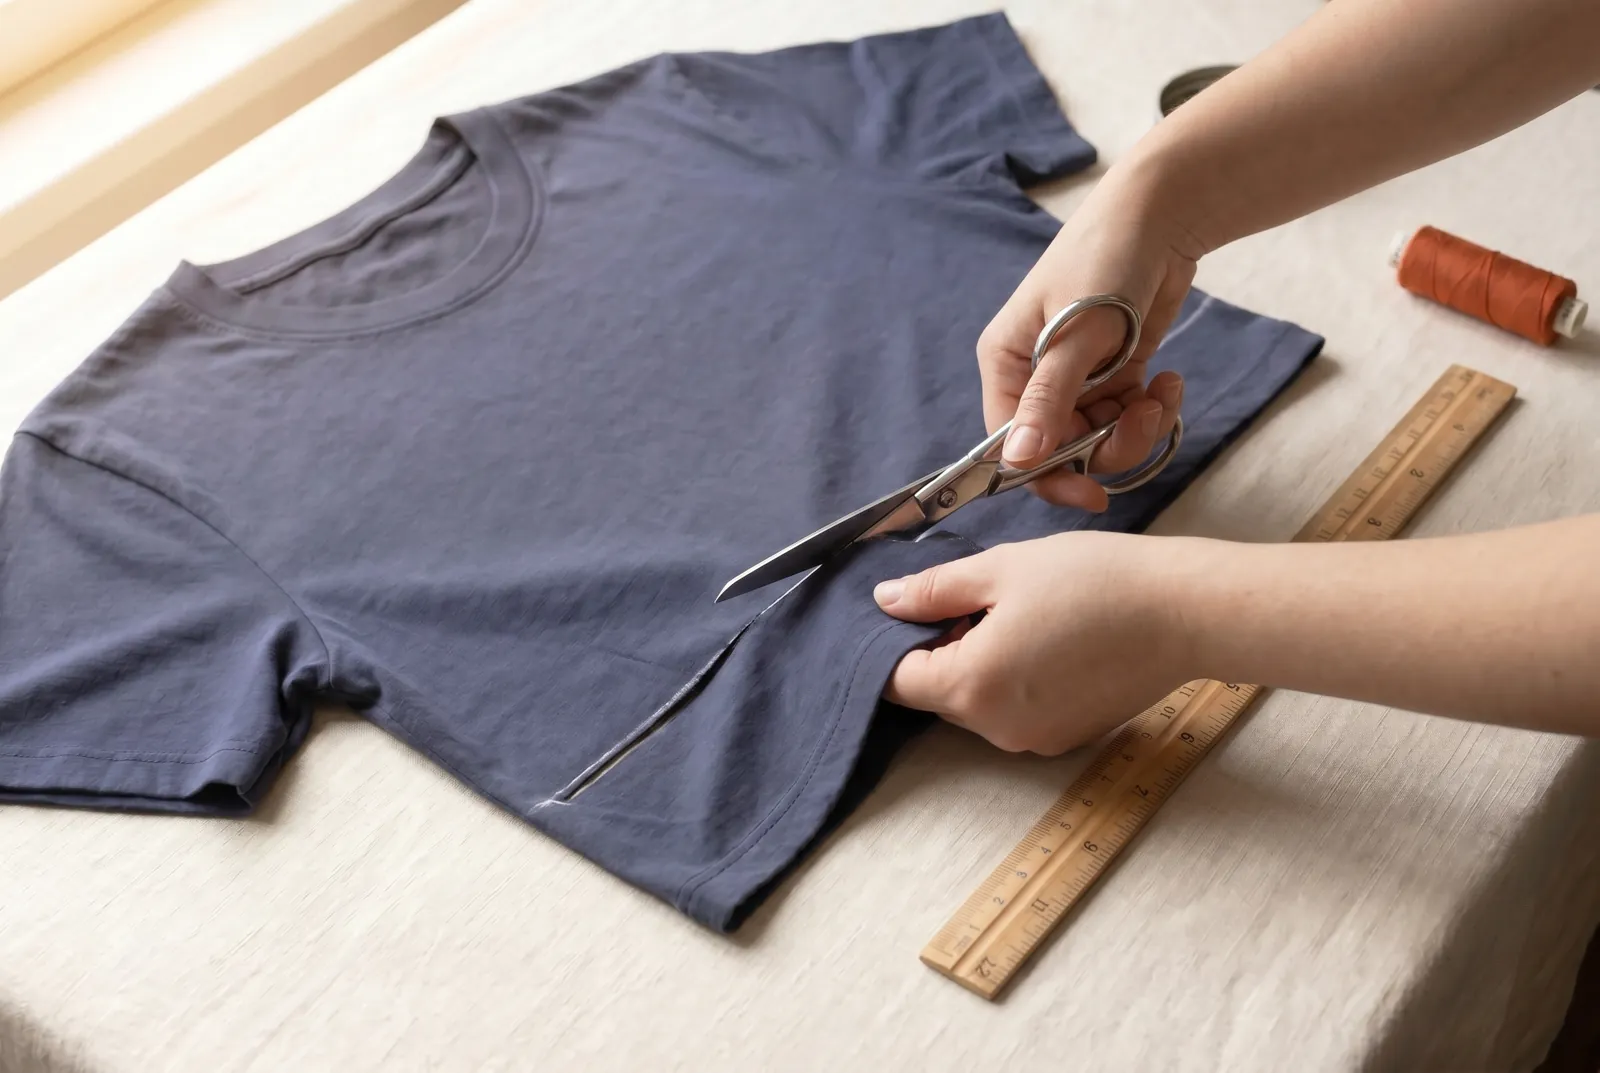
STEP 3/10Cut along the lower line with sharp scissors, keeping to a smooth, even line. A jagged cut makes the finished hem sit unevenly, so cut slowly and check that the front and back come out the same length.
Step 4
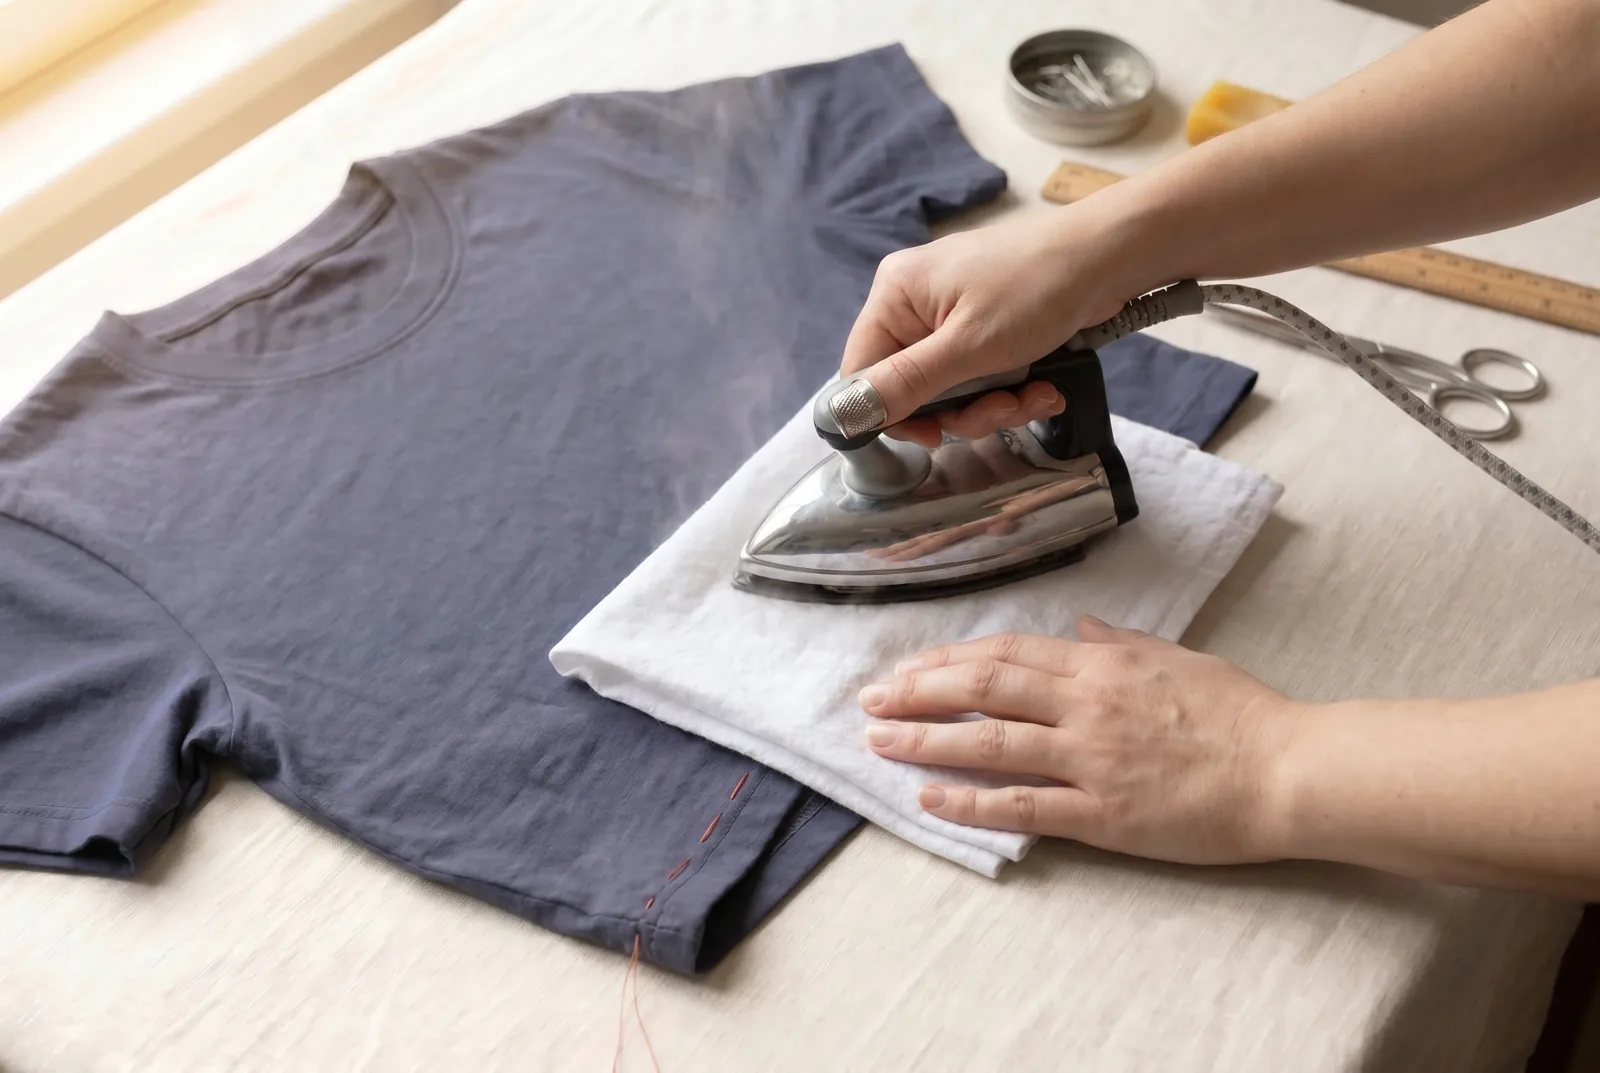
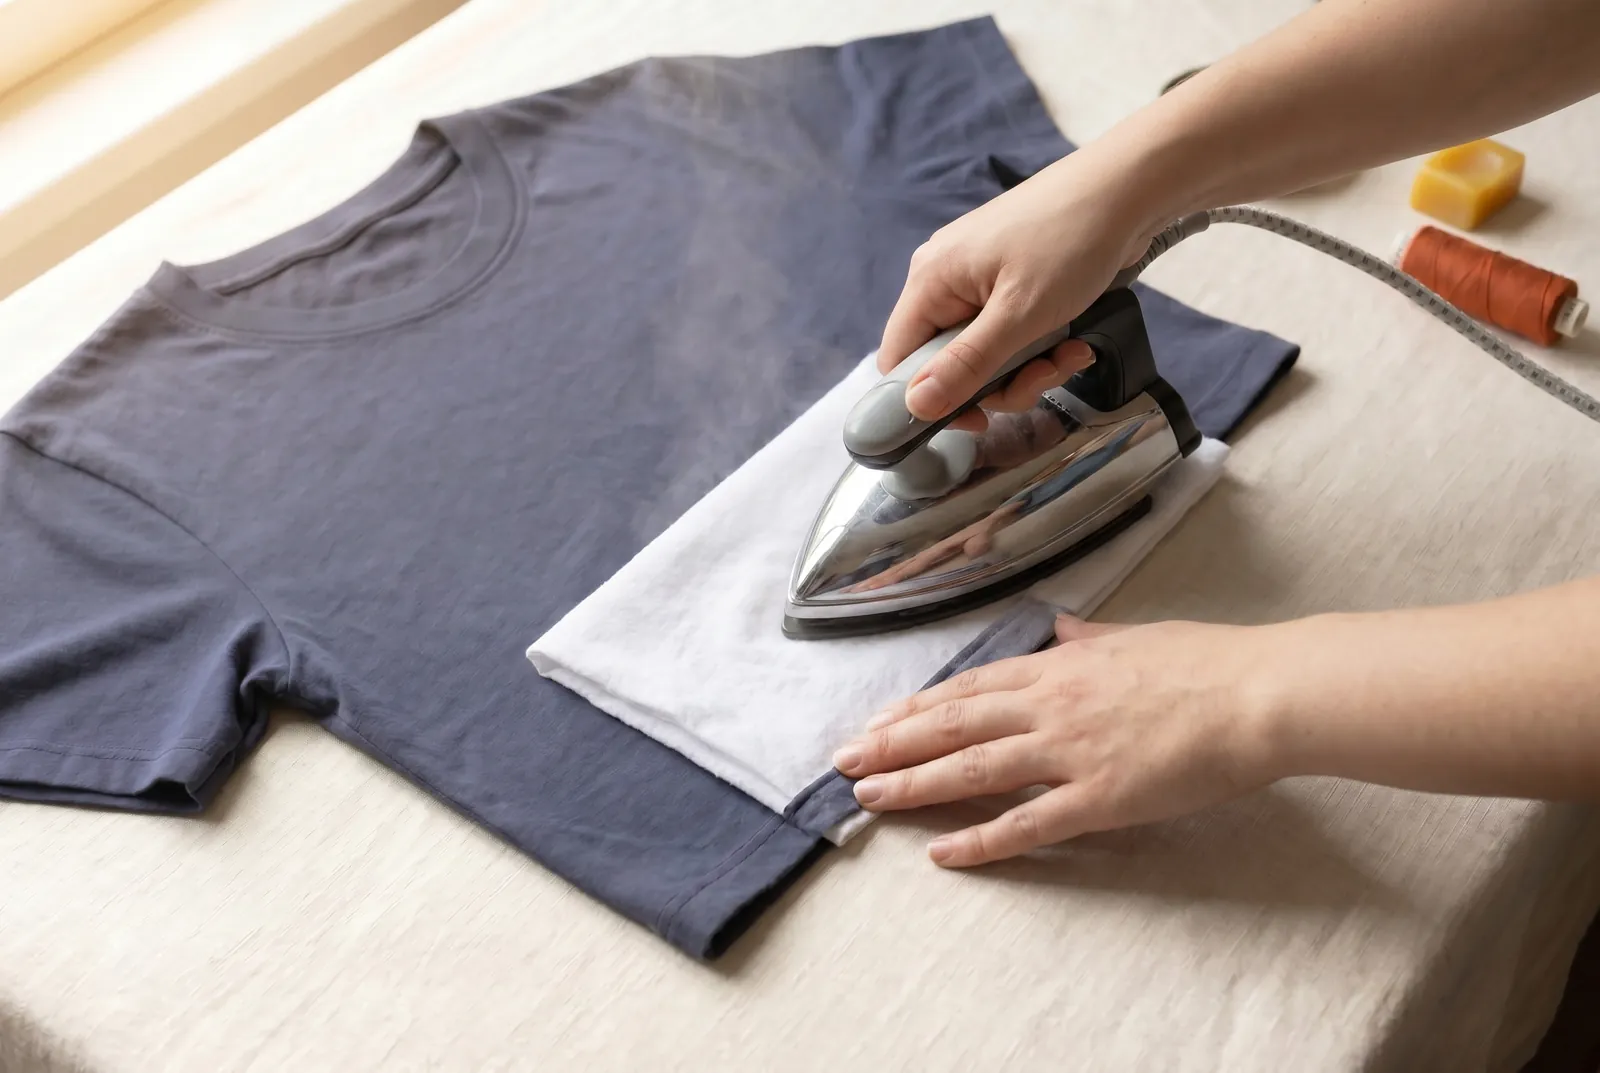
STEP 4/10Turn the raw edge under 6 mm (1/4 in) toward the wrong side all the way around, and press the fold flat with the iron under a damp cloth. Pressing on the wrong side sets the fold so it holds while you work.
Step 5
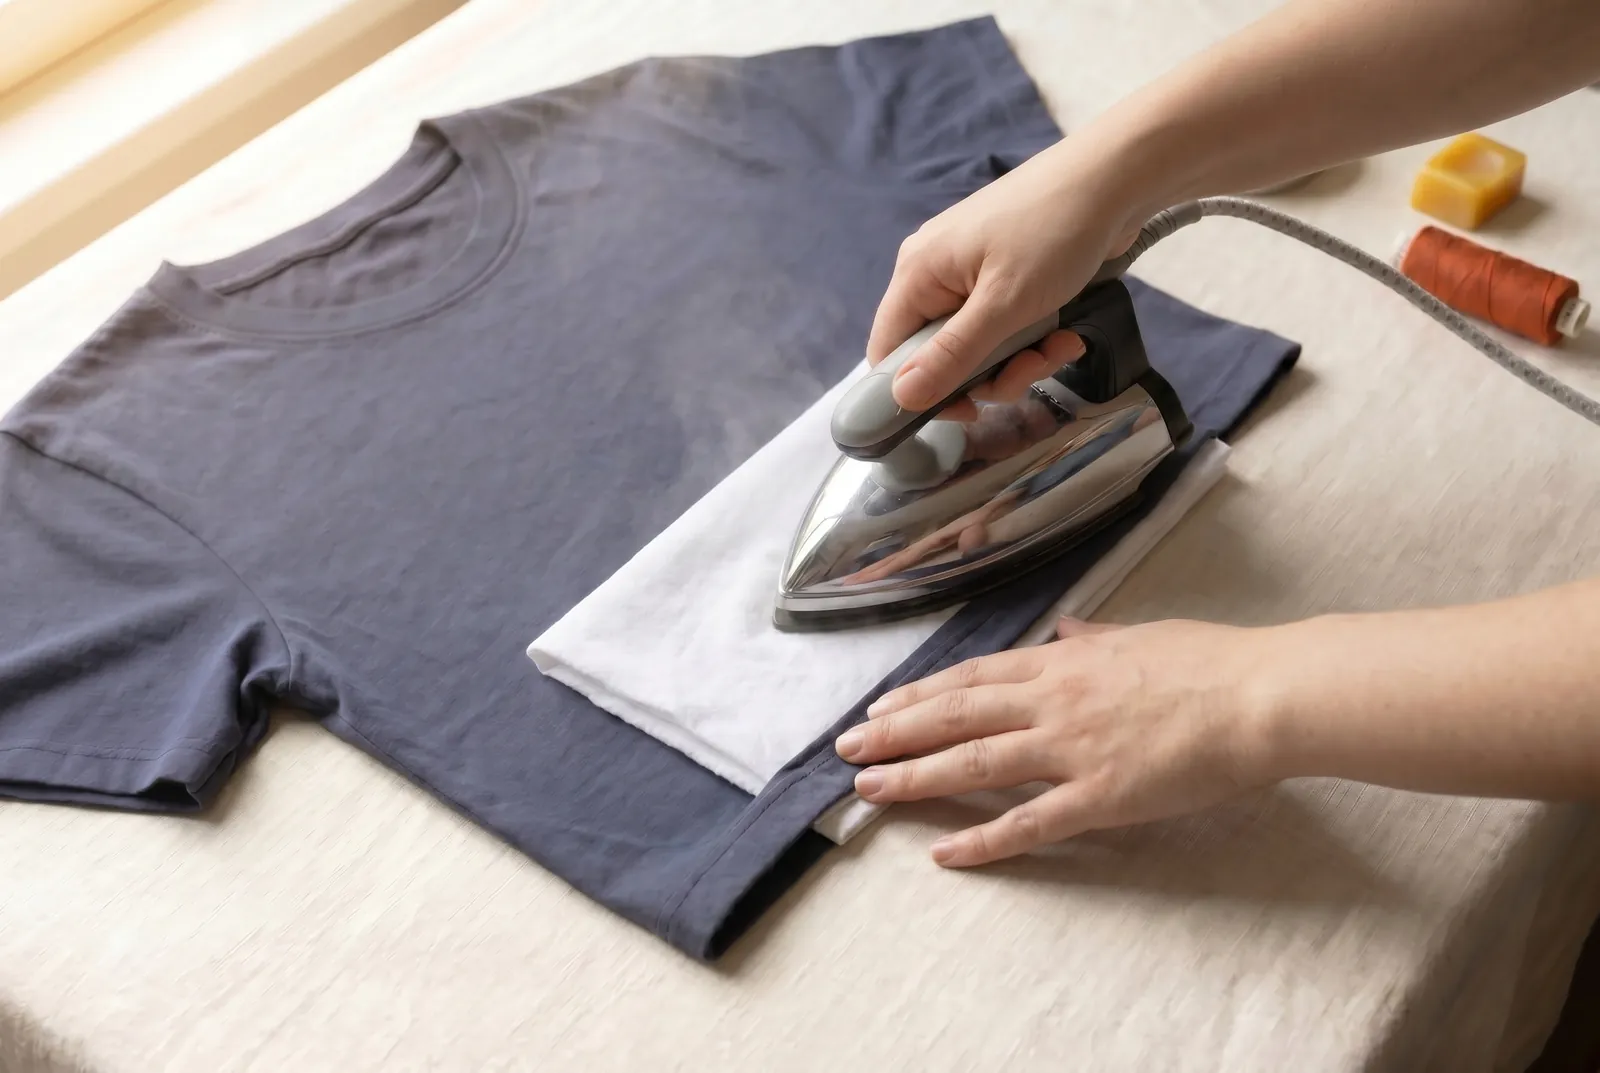
STEP 5/10Turn the folded edge under another 6 mm (1/4 in) and press again. This second fold tucks the raw cut edge inside the hem so it cannot fray along the bottom.
Step 6
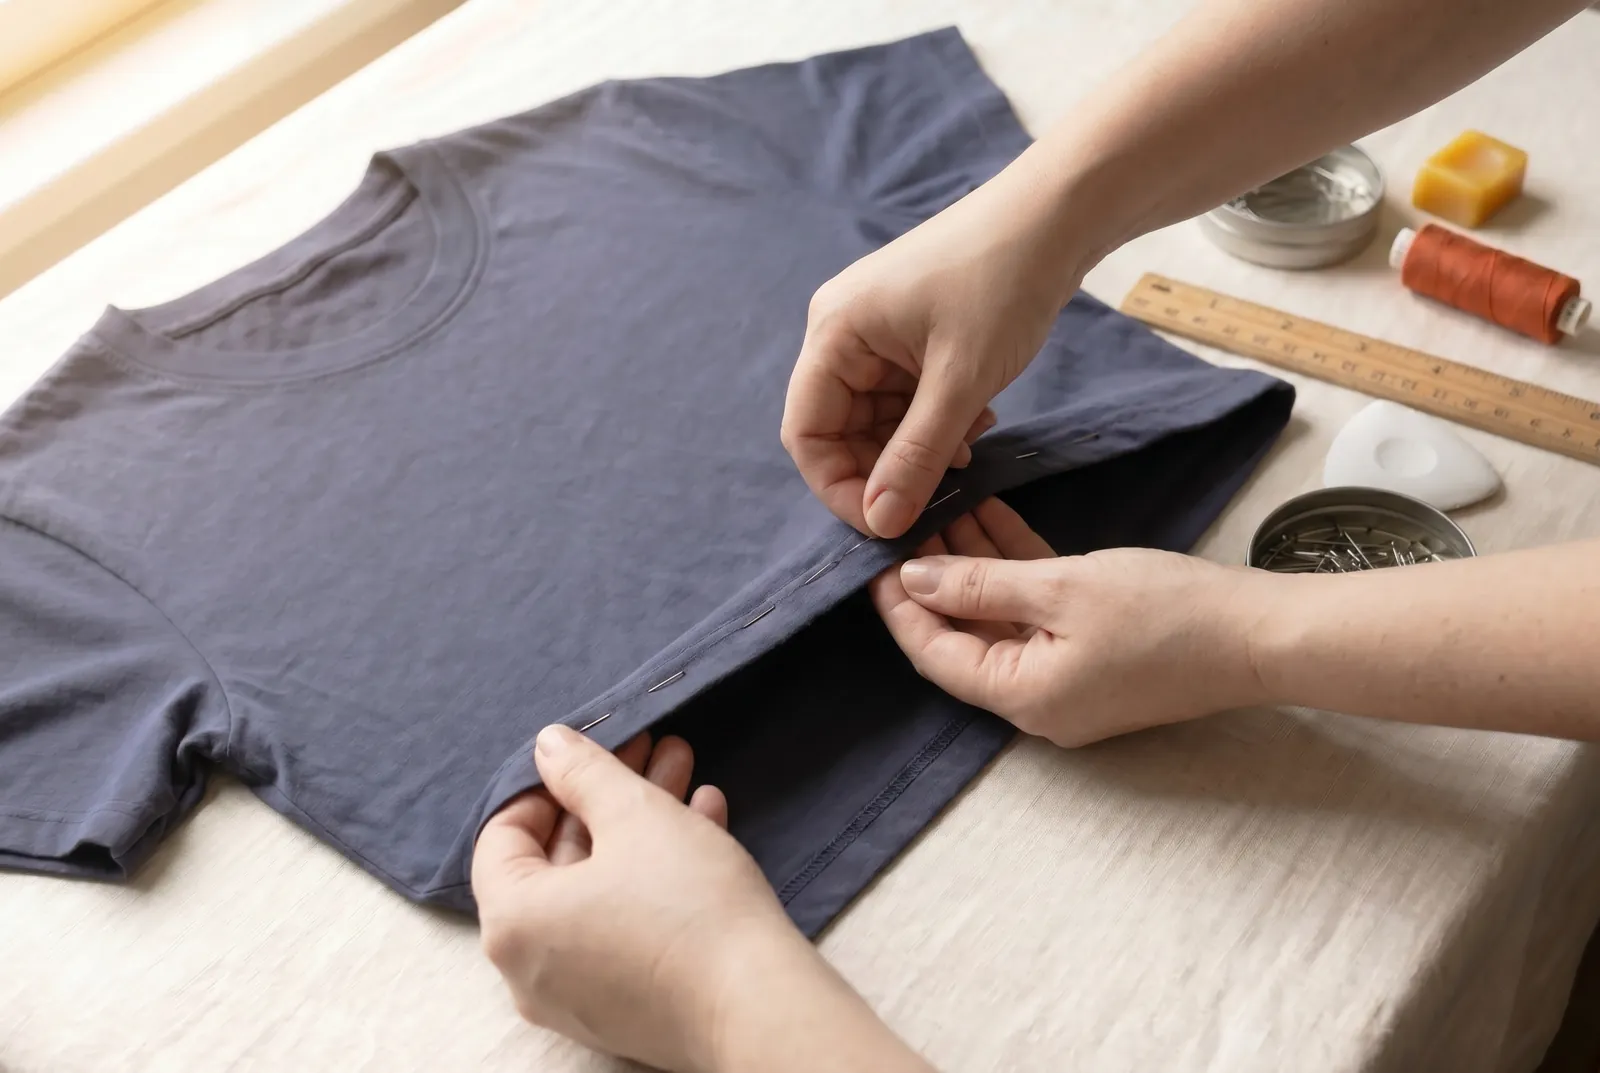
STEP 6/10Pin the doubled hem in place around the whole edge, setting the pins across the fold so they are easy to pull out later.
Step 7
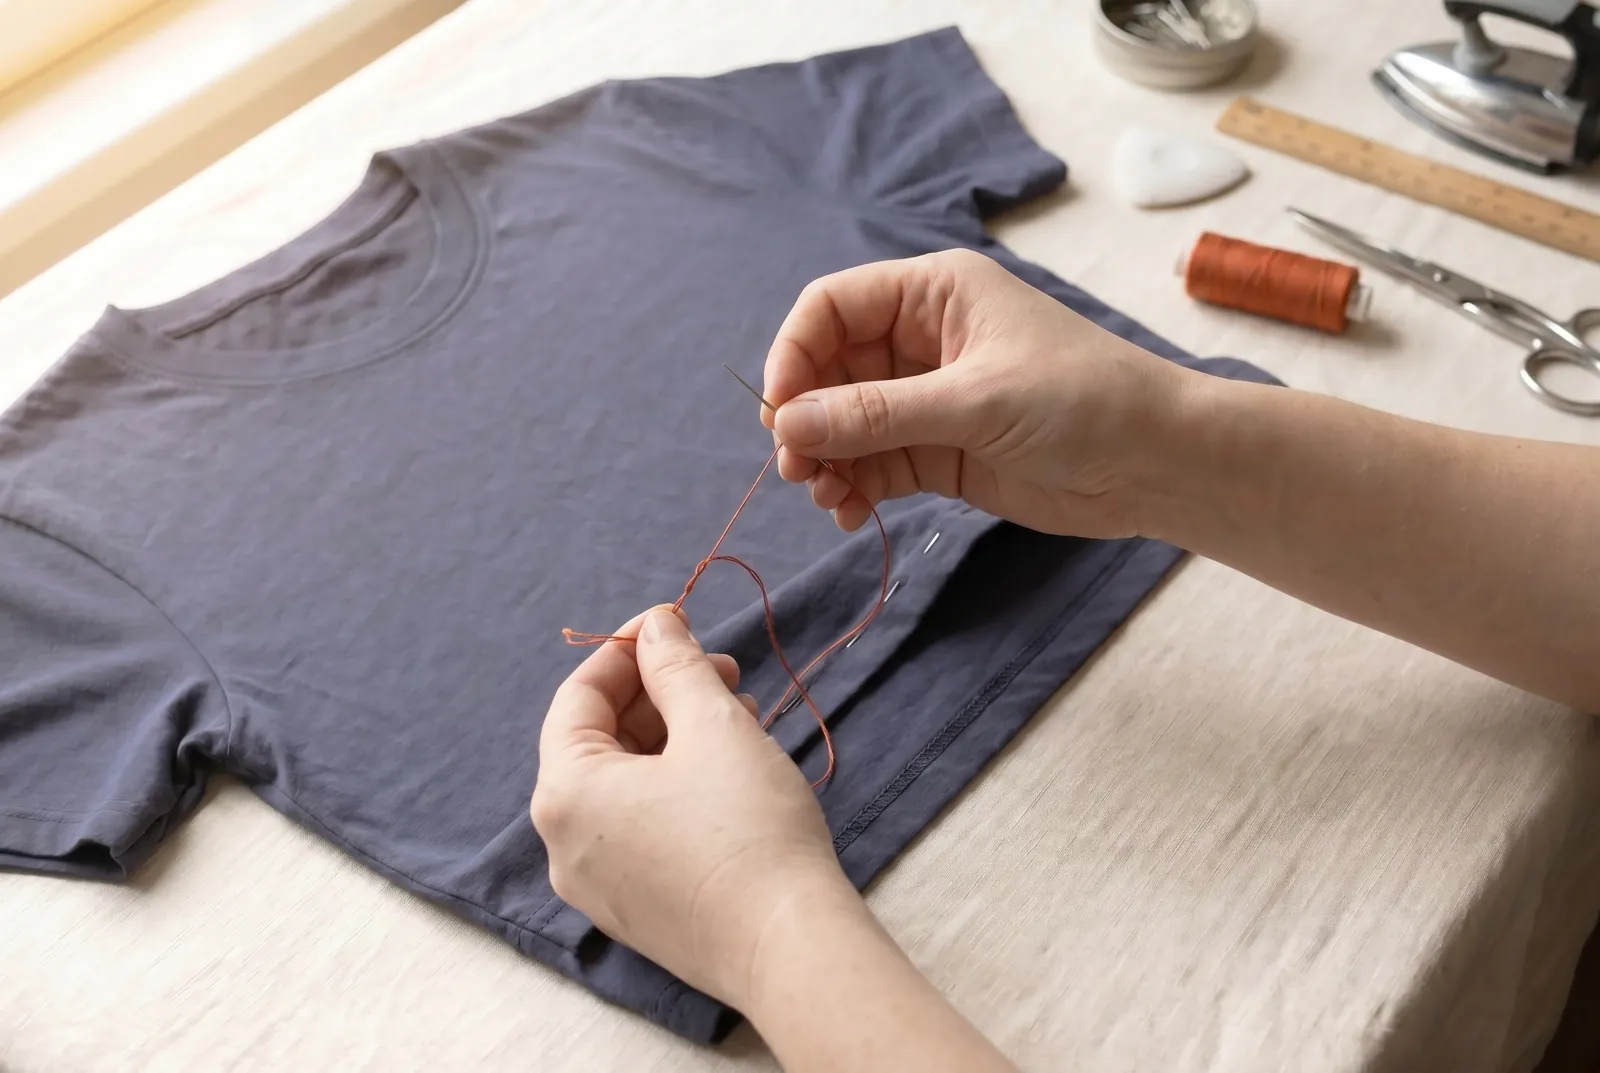
STEP 7/10Thread the needle with cotton thread matched to the shirt and knot the end. Use cotton rather than silk, since the shirt will be washed, and a No. 40 to No. 70 thread suits hand hemming.
Step 8
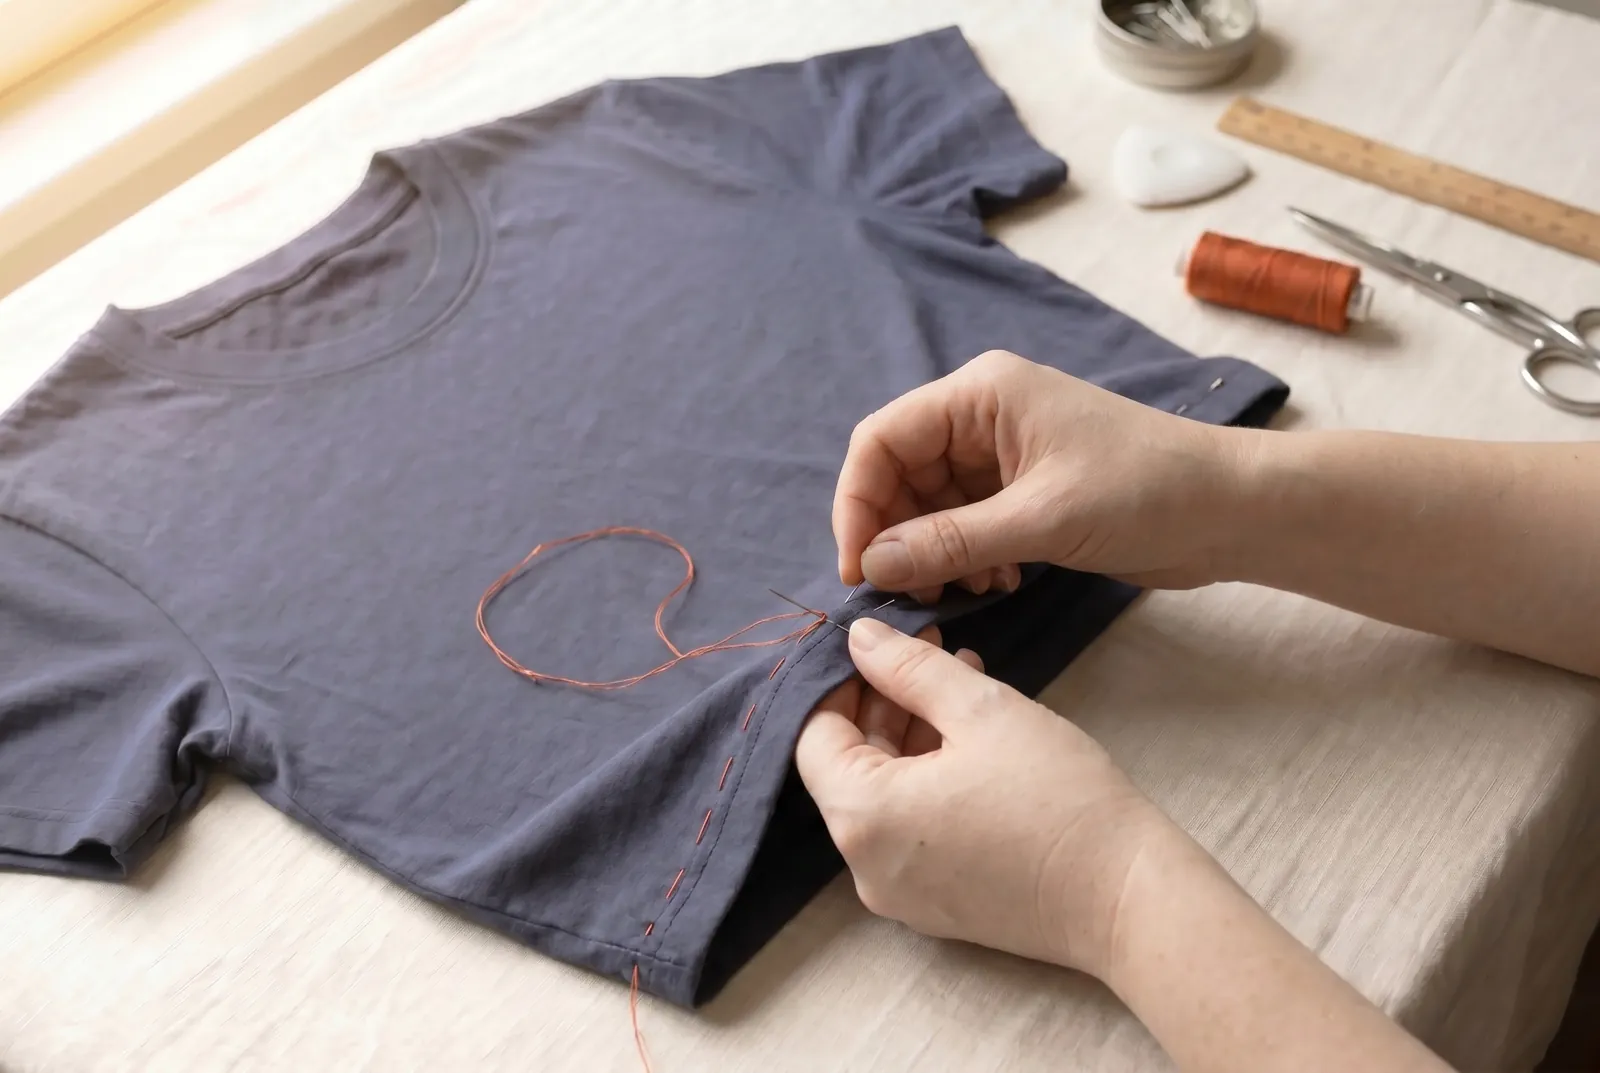
STEP 8/10Baste the hem with long running stitches to hold the fold while you sew, pulling out each pin as you reach it. Basting keeps the fold from shifting far better than pins alone.
Step 9
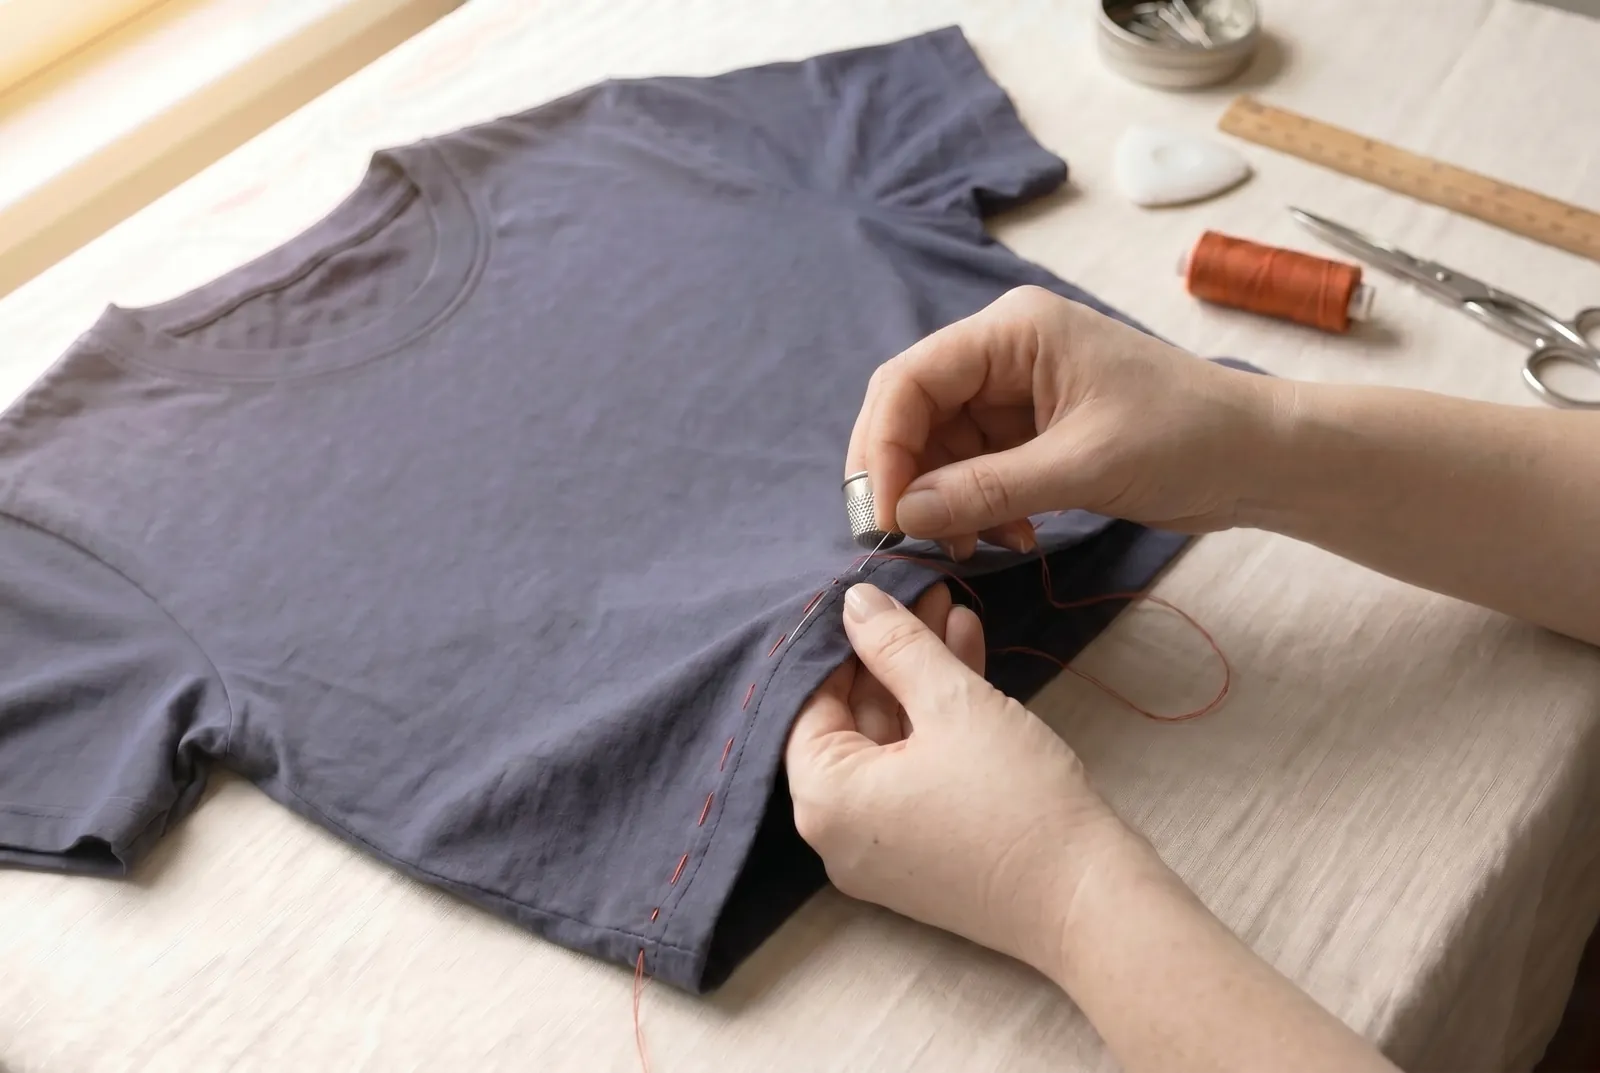
STEP 9/10Hem the fold to the shirt by hand with small stitches that do not show through on the right side, working around the whole edge (the hemming stitch from the hem-stitches lesson does this; catch only a thread or two of the shirt with each stitch). Keep the stitches easy and evenly spaced, because pulling the thread tight puckers the hem. When you come back to the start, fasten off with two or three small stitches worked into the hem fold, then remove the basting.
Step 10
STEP 10/10Press the finished hem on the wrong side under a damp cloth to flatten the fold and the stitches. Let it cool and dry before wearing so the fold keeps its shape.